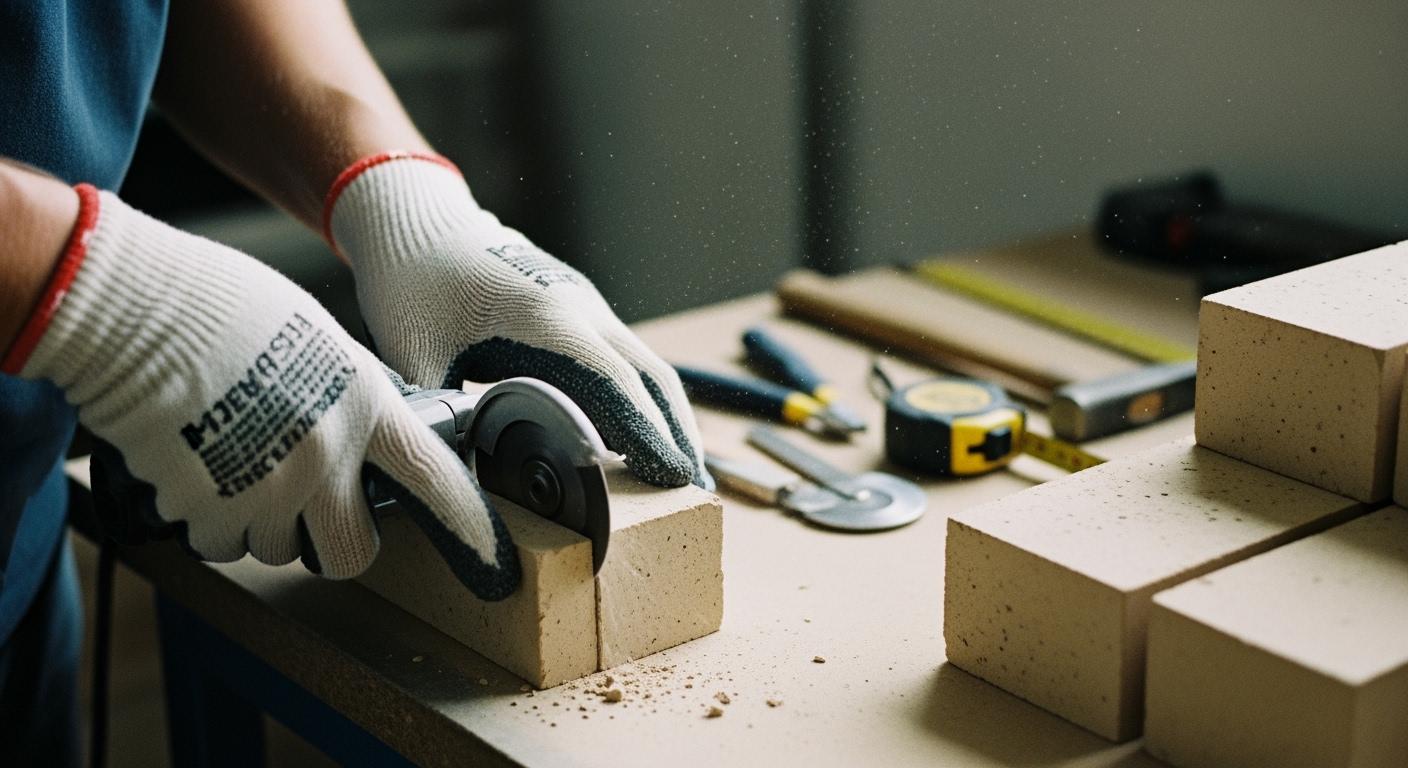
You can reduce chipping when cutting and grinding refractory bricks by choosing the right tools and following careful preparation steps. Use Aimgrind diamond grinding wheels for smoother cuts and cleaner edges. Check each brick before starting. Mark your lines clearly. Hold the brick securely. Apply steady pressure and keep your hands safe. Focus on using the correct technique for each cut.
Key Takeaways
- Inspect each refractory brick for cracks and damage before cutting. This helps prevent chipping during the process.
- Use Aimgrind diamond grinding wheels for smoother cuts and fewer chips. These wheels are designed for durability and efficiency.
- Choose the right grit size for your cutting and grinding tasks. Coarse grits remove material quickly but can cause more chipping, while fine grits provide a smoother finish.
- Secure bricks properly before cutting to avoid movement. Use clamps or a vise to hold them steady and prevent accidents.
- Always wear safety gear, including gloves and goggles, to protect yourself from dust and debris while working.
Why Chipping Happens
Material Structure of Refractory Bricks
You need to understand the structure of refractory bricks to prevent chipping. These bricks are strong, but they have some weaknesses. The way manufacturers mix and fire the materials affects the final strength. If the mix is not even, or if the binder is weak, the brick can chip more easily. You may see chipped edges or missing corners if the brick has:
- Not enough matrix content to hold everything together
- Weak binder that does not keep particles in place
- Too much force used during handling or processing
- Uneven mixing of materials
- Particles that separate instead of blending
- Low pressure during forming
- Firing at a temperature that is too low
Cracks can also form inside the brick. These cracks often lead to chipping. Cracks happen when the brick shrinks or expands too much during drying or firing. If the brick heats or cools unevenly, thermal stress can cause cracks. You should always check bricks for cracks before you start cutting or grinding.
Common Causes During Cutting and Grinding
Many mistakes during cutting and grinding can make chipping worse. You can avoid most of these problems by using the right steps. Here are the most common causes:
- Rushing the marking process. If you do not mark your lines clearly, you will make inaccurate cuts.
- Forcing the blade. If you push too hard, you can damage the blade and the brick. Let the tool do the work.
- Skipping safety gear. You must protect your eyes, ears, and lungs every time you cut or grind.
- Not using enough water with wet saws. Water keeps the blade cool and reduces dust. Without it, the blade can overheat and chip the brick.
- Failing to secure the brick. If the brick moves, you lose control and increase the risk of chipping.
You can reduce chipping by understanding these causes and taking steps to avoid them.
Tool Selection for Reducing Chipping
Choosing the Right Saw and Grinder
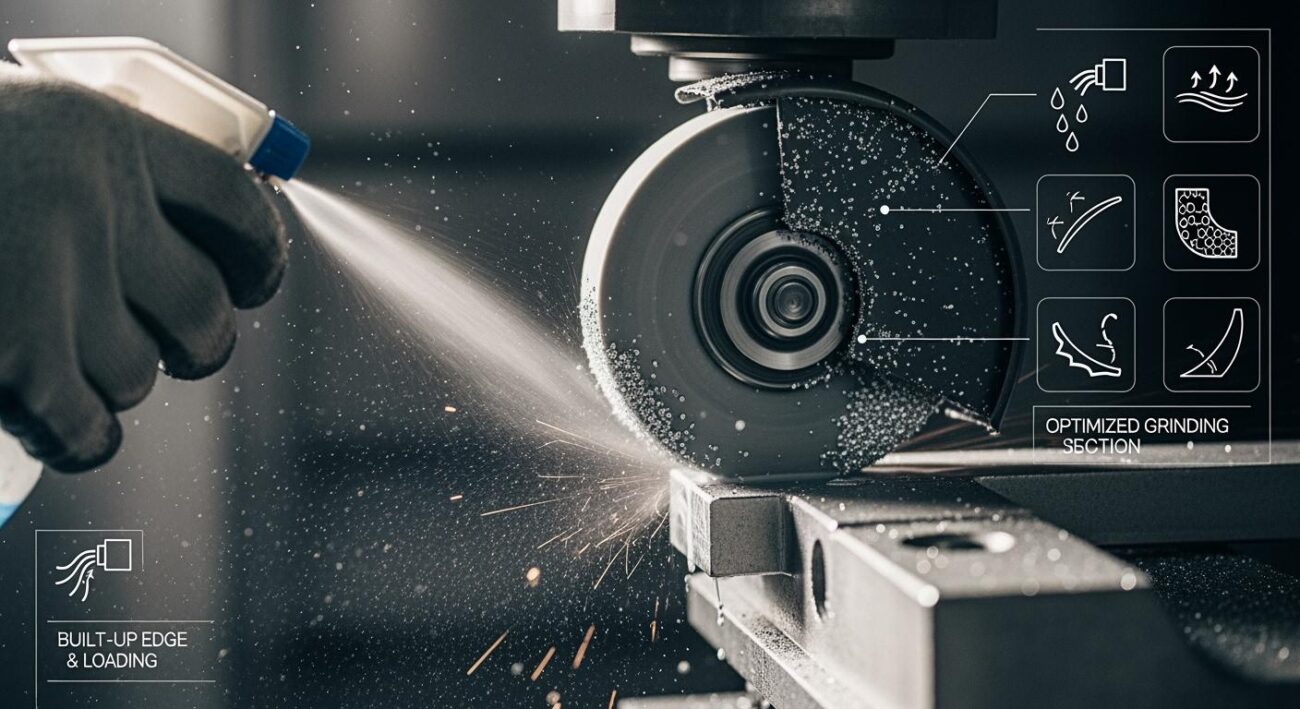
You need the right saw and grinder to reduce chipping when working with refractory bricks. Industry experts recommend using cutting tools that match the hardness and density of the material. The best choice for you is a laser-welded diamond blade. This type of blade handles high temperatures and keeps its shape during tough jobs. You can use these blades with angle grinders, high-speed saws, table saws, and walk-behind saws. These tools work well for both wet and dry cutting methods.
Tip: Wet cutting helps keep the blade cool and reduces dust. This method also helps you reduce chipping and get a cleaner edge.
Here is a table to help you choose the right blade for your project:
| Recommended Blade | Design Features | Cutting Parameters |
|---|---|---|
| Laser-Welded Diamond Blade | High-temperature resistance (>600°C) | Low-speed wet cutting (≤3,000 RPM) |
You can use these blades for granite, stone, hard brick, refractory brick, brick pavers, bluestone, and reinforced concrete. Always check the speed and cooling method before you start. The right diamond blade and saw will help you reduce chipping and keep your work neat.
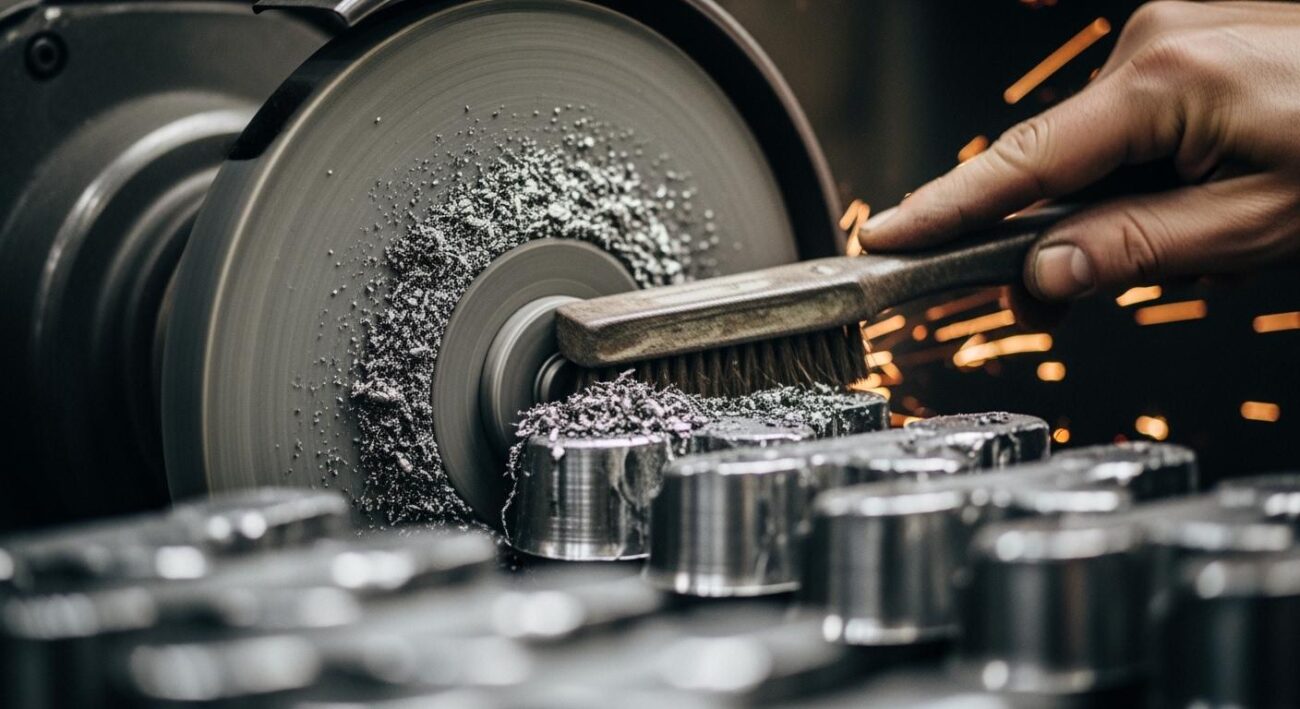
Aimgrind Diamond Grinding Wheels Advantages
Aimgrind diamond grinding wheels give you a big advantage when you want to reduce chipping. These wheels use a strong diamond abrasive layer. This layer cuts through hard materials like refractory bricks with less force. You get smoother surfaces and fewer chips. Aimgrind wheels come in different bond types, such as resin, metal, and vitrified. You can pick the one that fits your grinding machine and your project.
You will notice that Aimgrind diamond grinding wheels last longer than regular blades. They keep their shape and sharpness, so you do not need to change them often. This means you spend less time on tool changes and more time getting clean results. You can use these wheels for both wet and dry grinding. Wet grinding helps you reduce chipping even more. Aimgrind diamond grinding wheels help you finish your work faster and with better quality.
Note: Aimgrind offers custom sizes and formulas. You can match the wheel to your exact needs and reduce chipping on every job.
Blade and Disc Grit Size Matters
You must pay attention to the grit size of your diamond blade or grinding disc. The grit size affects how smooth your cut will be and how much chipping you see. Coarse diamond mesh sizes, such as 20 to 60, remove material quickly. These grits work well for rough shaping, but they can cause more micro damage and chipping. If you want a very smooth finish, you should use finer mesh sizes, such as 240 to 400. Finer grits cut slower, but they reduce chipping and leave a cleaner edge.
- Coarse grits (20-60): Fast cutting, more chipping, rougher finish
- Fine grits (240-400): Slow cutting, less chipping, smoother finish
You can start with a coarse diamond blade to shape the brick. Then, switch to a finer grit for the final pass. This two-step process helps you reduce chipping and get a professional look. Always check the grit size before you begin. The right diamond blade and disc will help you achieve the best results.
Remember: The right tool, the right diamond blade, and the right grit size all work together to reduce chipping and give you clean, precise cuts.
Preparing Bricks Before Cutting
Inspect and Mark for Precision
You should always inspect each refractory brick before you start any cutting or grinding. Careful inspection helps you avoid using bricks that might chip or crack during the process. Look for surface cracks, edge damage, and internal flaws. Use the table below to check what is acceptable:
| Defect Type | Allowable Limit |
|---|---|
| Surface Cracks | Not larger than 19 mm (0.8 inch) in length, deeper than 2 mm (0.1 inch), wider than 0.25 mm (0.01 inch). |
| Edge and Corner Damage | No more than two to three defects with total dimensions equal to 1928 mm (3/41 1/8 inch) maximum. More than 35 defects results in rejection. |
| Internal Laminations | Free of internal laminations or voids larger than 10 mm diameter. Must be visible on a cut surface. |
| Warpage | Measure according to ASTM C-134 procedure, record maximum readings to the nearest 0.5 mm (0.02 inch). |
| Handling | Handle firebricks without causing damage; visual inspections required. Metallic hammers are not allowed. Saw cutting is required. |
You should avoid using damaged bricks. If you see cracks or chips that go beyond these limits, set the brick aside. Mark your cutting lines with a pencil or chalk. Make sure your lines are straight and clear. This helps you cut with accuracy and reduces the risk of chipping. Never try to cut bricks to less than 50% of their original thickness or below 50 mm. This keeps the brick strong and prevents breakage.
Tip: Always use a wooden hammer for alignment. Metal hammers can damage the brick surface.
Secure Bricks Properly
You need to secure each brick before you start cutting or grinding. A loose brick can move and cause chips or cracks. Place the brick on a stable, flat surface. Use clamps or a vise to hold the brick steady. Make sure the clamps do not press too hard, as too much force can damage the edges.
Handle bricks gently. Do not drop or toss them. Always use both hands when moving bricks to prevent accidental drops. Never use steel shims to adjust the position. Use wooden blocks if you need to level or support the brick.
- Handle bricks carefully to prevent chipping or cracking.
- Do not use damaged bricks.
- Never cut bricks by hand or with a chisel.
- Keep cut bricks away from each other during installation.
By following these steps, you prepare your bricks for clean, precise cuts and reduce the risk of chipping.
Cutting Fire Bricks with Minimal Chipping
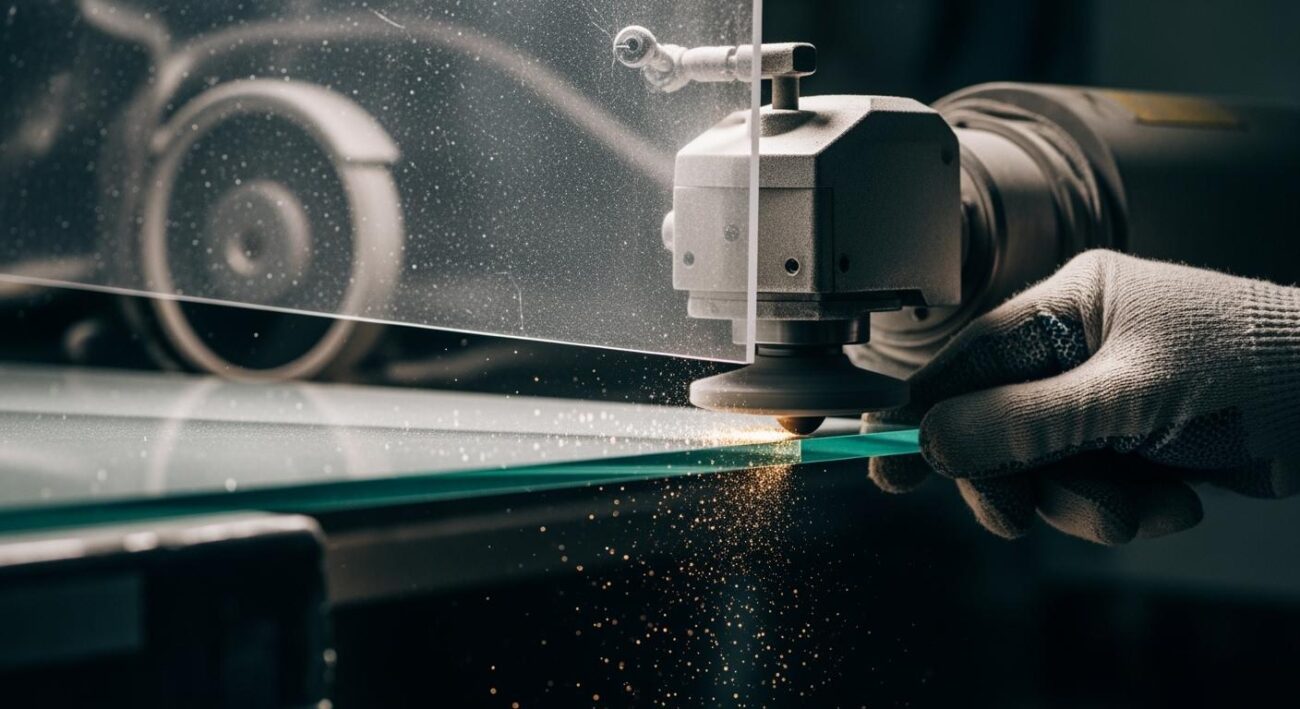
Wet vs. Dry Cutting Methods
When you start cutting fire bricks, you need to choose between wet and dry methods. Wet cutting fire bricks uses water to cool the blade and reduce dust. This method helps you get smoother edges and less chipping. You can use a wet saw or attach a water source to your cutting tool. Water keeps the temperature low and washes away small particles. You will see less dust in the air, which makes your workspace safer.
Dry cutting fire bricks does not use water. You can use a dry saw or an angle grinder. Dry cutting fire bricks works well for small jobs or when you cannot use water. You need to cut slowly and let the tool do the work. If you rush, you can cause more chipping. Always wear a mask and goggles to protect yourself from dust when dry cutting fire bricks.
Tip: Wet cutting fire bricks is best for long cuts and thick bricks. Dry cutting fire bricks is good for quick jobs or when water is not available.
Proper Cutting Angles and Pressure
You must use the right angle and pressure when cutting fire bricks. Hold the tool steady and keep the blade at a 90-degree angle to the brick. This angle helps you make straight cuts and reduces chipping. If you tilt the blade, you can break the edge or chip the surface. Always mark your line before cutting fire bricks.
Apply gentle, steady pressure when cutting fire bricks. Do not force the blade. Let the tool and the diamond wheel do the work. If you push too hard, you can crack the brick or damage the blade. Start slow and increase speed only if the cut stays smooth. If you hear strange sounds or see sparks, stop and check your setup.
You can use this table to remember the best practices for cutting fire bricks:
| Step | Wet Cutting Fire Bricks | Dry Cutting Fire Bricks |
|---|---|---|
| Use water | Yes | No |
| Wear safety gear | Yes | Yes |
| Keep blade at 90° angle | Yes | Yes |
| Apply gentle pressure | Yes | Yes |
| Cut slowly | Yes | Yes |
Remember: Cutting fire bricks with the right method, angle, and pressure gives you cleaner edges and less chipping every time.
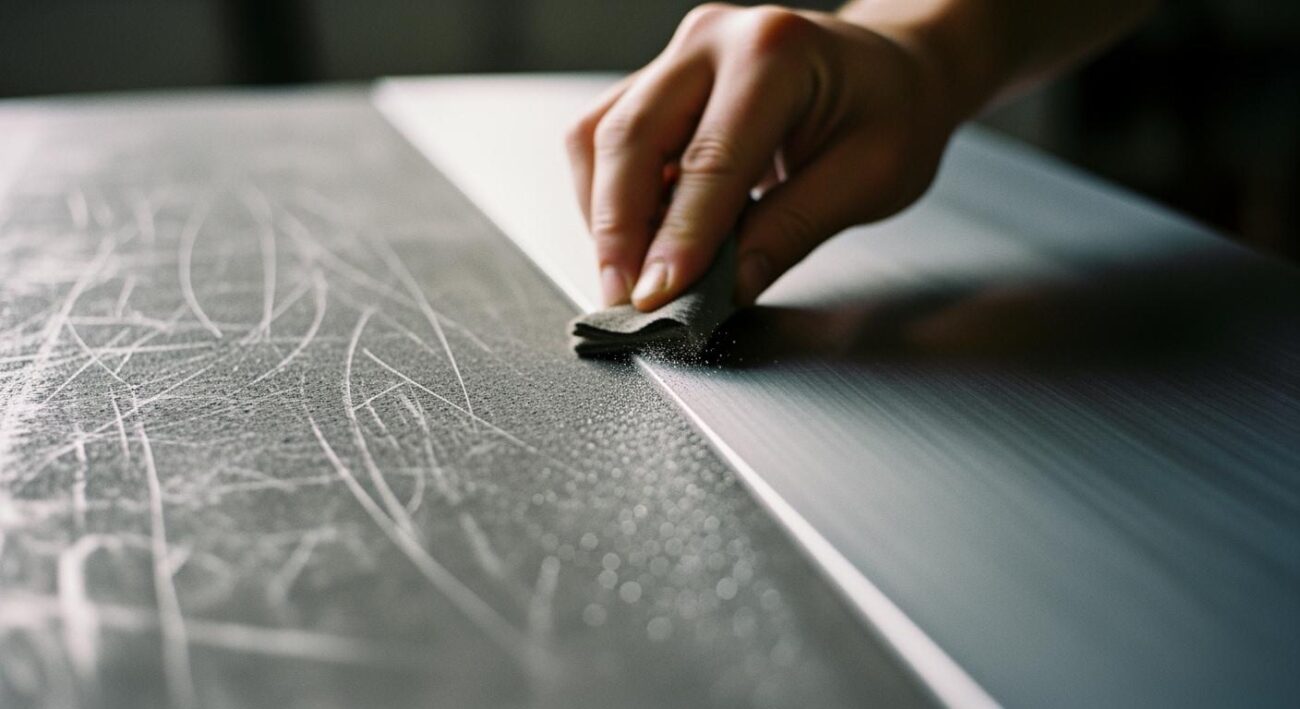
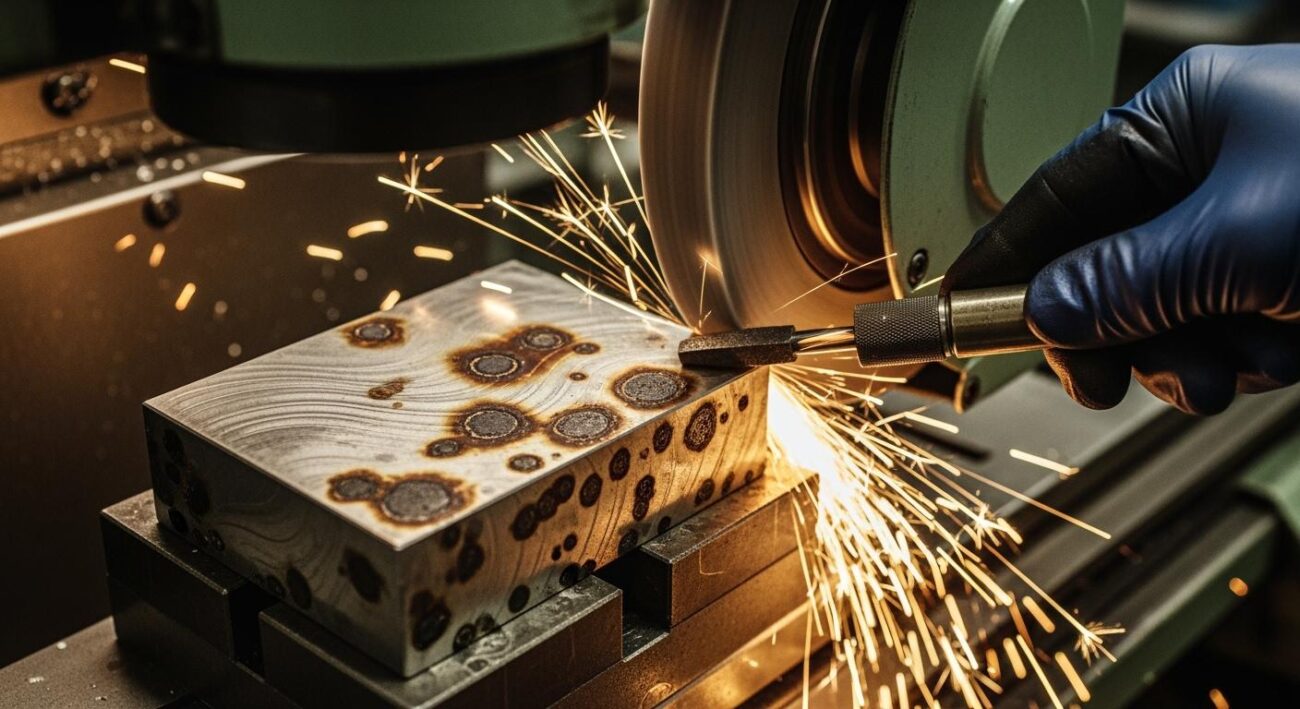
Grinding Techniques to Reduce Chipping
Best Practices for Stone Grinding
You can reduce chipping by following the best practices for stone grinding. Start by choosing the right grinding tools for refractory bricks. This step helps you get cleaner cuts and less breakage. Always check that your tools are sharp and clean. Dull or dirty tools can drag on the brick and cause chips.
Use a proper grit sequence when you grind. Begin with a coarse grit to shape the brick. Move to a medium grit for smoothing. Finish with a fine grit to polish the surface. This order helps you avoid micro-chipping and gives you a better finish.
Keep your grinding at a consistent speed and angle. Hold the grinder steady and do not rush. Even pressure helps you avoid uneven spots and chips. Handle each brick with care before you start grinding. Use material handling equipment if you need to move heavy bricks.
Here is a quick checklist for best practices:
- Choose the right grinding tool for refractory bricks.
- Follow a proper grit sequence from coarse to fine.
- Keep tools sharp and clean.
- Grind at a consistent speed and angle.
- Handle bricks carefully before grinding.
Tip: Clean your grinding area often. Dust and debris can scratch the brick and cause more chipping.
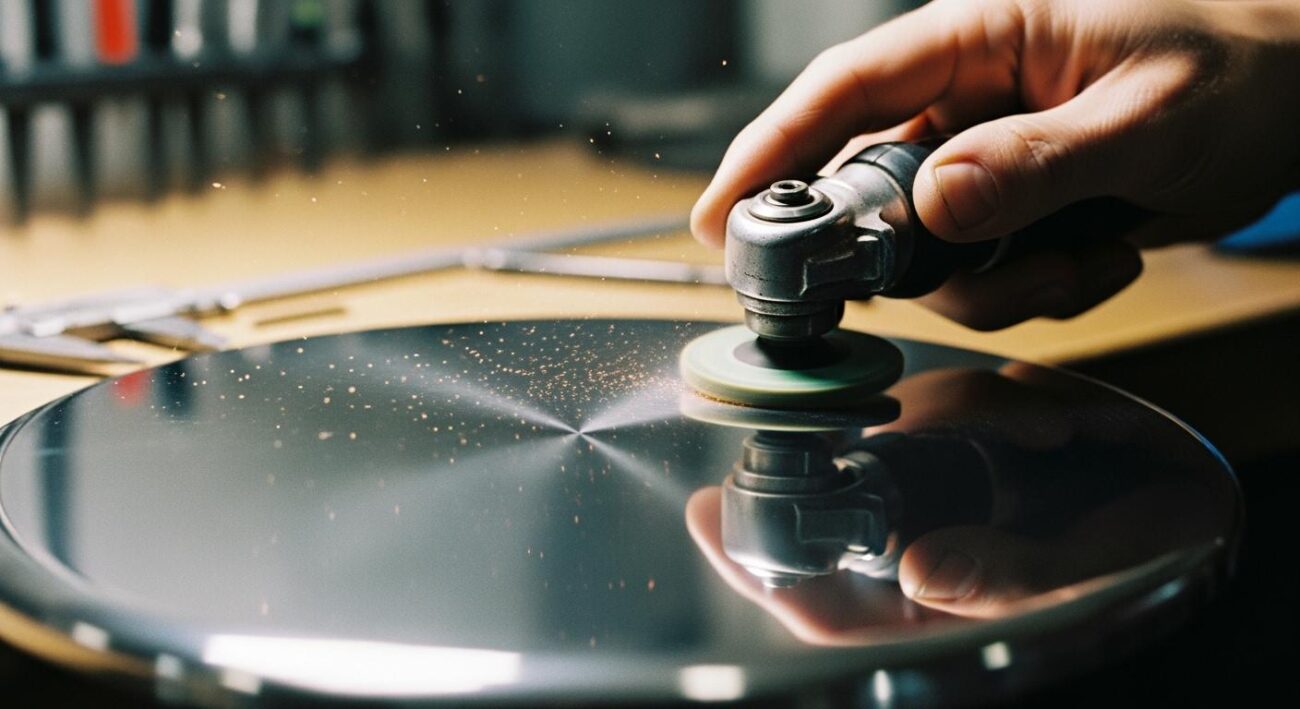
Grit Sequence and Polishing Steps
You need to use the correct grit sequence to get smooth results. Start with a coarse grit, such as 60 or 80. This grit removes material quickly and shapes the brick. Switch to a medium grit, like 120 or 180, to smooth out rough marks. Finish with a fine grit, such as 240 or 400, to polish the surface and enhance finishes.
You should not skip any grit steps. Skipping grits can leave deep scratches and cause more chipping. Each step removes the marks from the previous grit. Use light pressure and keep the grinder moving. Do not stay in one spot for too long.
Here is a table to help you remember the grit sequence:
| Step | Grit Size | Purpose |
|---|---|---|
| Shaping | 60-80 | Remove material fast |
| Smoothing | 120-180 | Remove rough marks |
| Polishing | 240-400 | Enhance finishes |
Note: Always check the brick after each grit. If you see chips or scratches, repeat the step before moving to a finer grit.
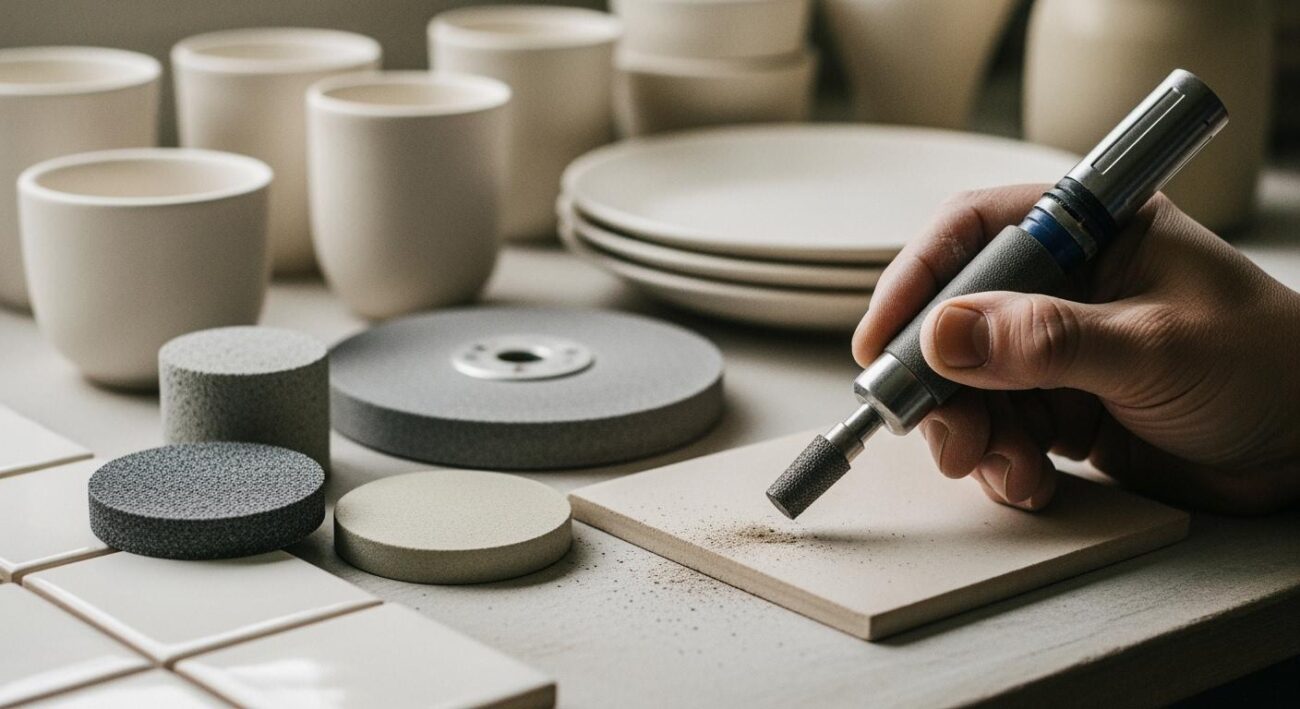
Using Aimgrind Diamond Grinding Wheels for Finishing
You can get the best results by using Aimgrind diamond grinding wheels for finishing. These wheels have a strong diamond layer that cuts through refractory bricks with less force. You will see fewer chips and a smoother surface. Aimgrind wheels come in different grit sizes, so you can match the wheel to each step in your grinding process.
Start with a coarse Aimgrind wheel for shaping. Move to a medium grit wheel for smoothing. Finish with a fine grit wheel to polish the brick. This method helps you control the grinding and reduce chipping. Aimgrind wheels keep their shape and sharpness, so you get consistent results every time.
You can use Aimgrind diamond grinding wheels for both wet and dry grinding. Wet grinding helps keep the brick cool and reduces dust. Dry grinding works well for small jobs or when water is not available. Always follow safety rules and wear protective gear.
Callout: Aimgrind diamond grinding wheels help you finish your work faster and with better quality. You can find more options and custom sizes at Aimgrind’s official website.
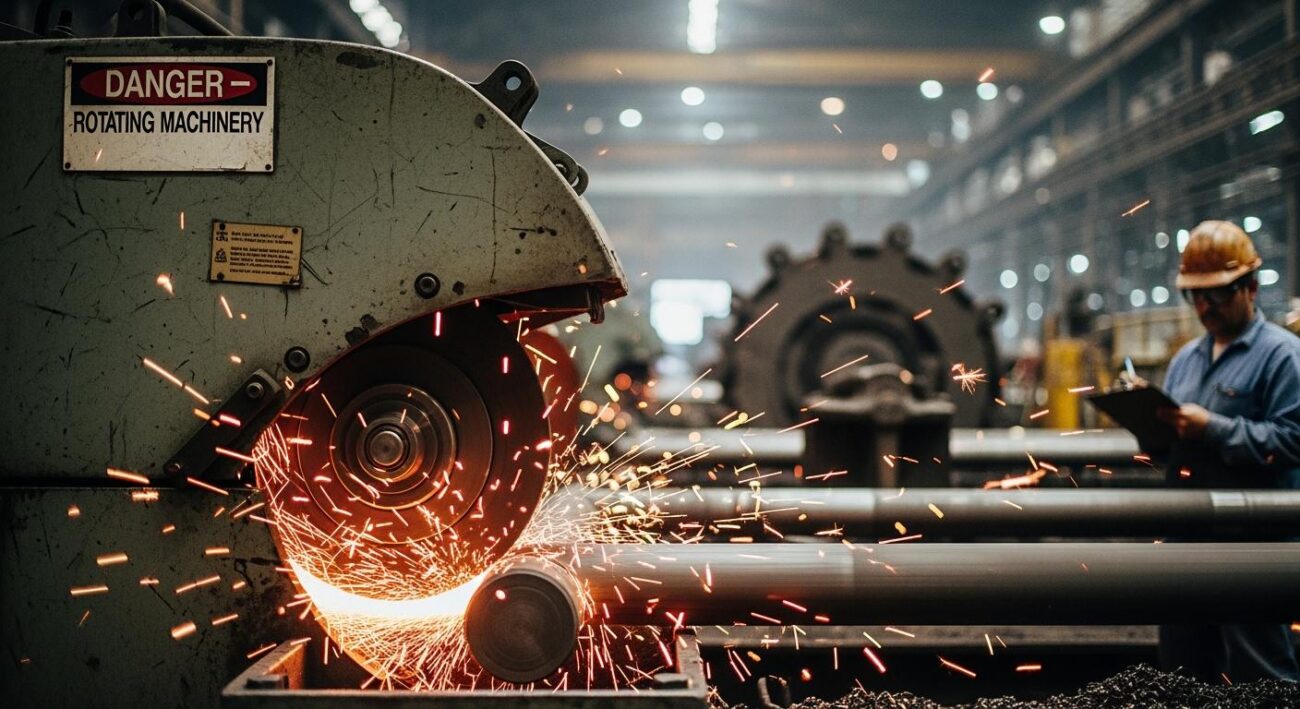
Safety and Best Practices
Personal Protective Equipment
You must protect yourself every time you cut or grind refractory bricks. The right gear keeps you safe from burns, dust, and flying debris. Always wear heat-resistant gloves to shield your hands. Put on a face shield or goggles to keep your eyes safe from chips. Use a heat-resistant apron to guard your body. Steel-toed boots protect your feet when you move heavy bricks. A dust mask helps you breathe clean air and blocks harmful particles from cutting or grinding. These techniques make your work safer and help you focus on getting high-quality finishes.
- Heat-resistant gloves
- Face shield or goggles
- Heat-resistant apron
- Steel-toed boots
- Dust mask
Tip: Never skip safety gear, even for quick jobs with a wet saw.
Safe Work Environment
You need a safe workspace to use your techniques well and keep accidents away. Make sure your area is clean and free of clutter. Good lighting helps you see your cutting lines and grinding marks. Always check that the hangers and supports are strong before you start. If you use a wet saw, keep the floor dry to prevent slips. Train everyone who works with you on the right techniques for using a wet saw and other tools. Set clear job procedures, especially for outside helpers. If dust clouds block your view, stop and clean up before you continue. These steps help you keep your work safe and your results at a high quality.
- Clean and organized workspace
- Strong supports and hangers
- Good lighting
- Proper training for all workers
- Clear job procedures
- Dust control
Note: A safe environment lets you use your techniques with confidence and get the best quality.
Tool Maintenance
You must keep your tools in top shape to get the best results. Clean your wet saw after every use. Use the right blade for each job and check it often for wear. Wet cutting with a wet saw helps your blade last longer and gives you smoother cuts. Always clean the blade after cutting bricks or other materials. These techniques help you avoid chipping and keep your work at a high quality. When you use a wet saw, you get better control and more even results. Regular tool care means you spend less time fixing mistakes and more time using your techniques for perfect cuts.
| Maintenance Task | Why It Matters |
|---|---|
| Clean wet saw and blade | Keeps cuts smooth and reduces chips |
| Use correct blade | Improves quality and finish |
| Wet cutting | Extends blade life and performance |
| Inspect tools | Prevents accidents and poor results |
Callout: Good tool maintenance and the right techniques help you achieve high-quality finishes with every wet saw cut.
Troubleshooting and Fixes
Handling Unexpected Chips
You may see chips appear even when you follow every step. These chips can happen for many reasons. Sometimes, the problem comes from the brick itself. Other times, the tools or your technique cause the issue. You should know the most common problems so you can fix them quickly.
Here is a table that shows what you might face:
| Issue | Description |
|---|---|
| Underburning | Insufficient firing leading to weak bricks that can chip easily. |
| Overburning | Excessive firing causing brittleness, increasing the likelihood of chipping. |
| Damage | Includes missing edges and chipped corners due to mishandling or poor production practices. |
| Contamination | Foreign materials affecting the integrity of the bricks, leading to defects like chipping. |
| Cracking | Structural failures that can result in chipping during handling and installation. |
If you use a dry saw, you may notice more chips, especially if you rush or use too much force. Always check your dry saw blade for wear. A dull blade can make chipping worse. You should also check the brick for cracks before using a dry saw. If you see dust building up, stop and clean your work area. This helps you spot chips early and keeps your cuts clean. When you use a dry saw, cut slowly and let the tool do the work. If you hear a strange sound, check the blade and the brick right away.
Tip: If you see a chip while using a dry saw, pause and inspect both the tool and the brick. Quick action can prevent bigger problems.
Repairing Minor Damage
You can fix small chips or cracks without replacing the whole brick. First, look at the damage. If the chip is small and does not go deep, you can repair it. If the brick sounds hollow when you tap it with a tool handle, you may need to replace it.
For minor repairs, follow these steps:
- Use a specialized masonry filler or patching compound to fill chips or cracks.
- Clean the damaged area before you apply the filler.
- Smooth the surface with a trowel or putty knife.
- Let the repair dry fully before you use the brick again.
If you use a dry saw and see small chips, you can often patch them right away. Always check the repair after it dries. If you see more cracks, you may need to replace the brick. You should avoid using a dry saw on bricks that already have many chips or cracks. This keeps your work strong and safe.
Note: Regular checks and quick repairs help you keep your project looking good and lasting longer.
You can achieve clean, chip-free cuts on refractory bricks by following these steps:
- Inspect and mark each brick carefully.
- Secure bricks before cutting or grinding.
- Use Aimgrind diamond grinding wheels for smooth results.
- Choose the right grit size for each stage.
- Wear proper safety gear and keep your workspace organized.
Tip: Save this checklist for your next project. Focus on quality and safety every time you work with refractory bricks.
FAQ
What tools work best for cutting refractory bricks?
You should use diamond blades or Aimgrind diamond grinding wheels. These tools cut hard materials cleanly. They help you avoid chips and cracks. Always check the tool for sharpness before you start.
How do you keep bricks from moving during cutting?
You can secure bricks with clamps or a vise. Place the brick on a flat, stable surface. Hold it firmly, but do not use too much force. This keeps your cuts straight and reduces chipping.
Why does grit size matter when grinding bricks?
Grit size controls how smooth your finish looks. Coarse grits remove material fast but can cause chips. Fine grits give you a smooth edge. You should start coarse and finish with a fine grit.
Can you use Aimgrind diamond grinding wheels for both wet and dry grinding?
Yes, you can use Aimgrind diamond grinding wheels for wet or dry grinding. Wet grinding keeps dust down and cools the brick. Dry grinding works for small jobs. Always wear safety gear.
Contact Us
For More Grinding Solution or Customized Abrasive Tools