You want to quickly remove grinding marks without causing damage. Aimgrind diamond grinding wheels help you quickly remove tough marks. The right abrasive tool and grit sequence matter when you quickly remove scratches. Industry studies show:
- The correct grit sequence helps you quickly remove marks.
- Skipping grits means extra work and uneven surfaces.
- Each abrasive must quickly remove the last grit’s scratches.
Both pros and DIYers can quickly remove marks and get a smooth finish.
Key Takeaways
- Choose the right abrasive tool for quick and effective grinding mark removal. Aimgrind diamond grinding wheels are recommended for their speed and durability.
- Follow the correct grit sequence to avoid extra work. Start with coarse grits and gradually move to finer ones to achieve a smooth finish without leaving scratches.
- Always clean your workpiece after grinding to prevent metallic debris damage. Rinse, dry, and ensure your workspace is clear to maintain a professional appearance.
Essential Tools for Quick Removal
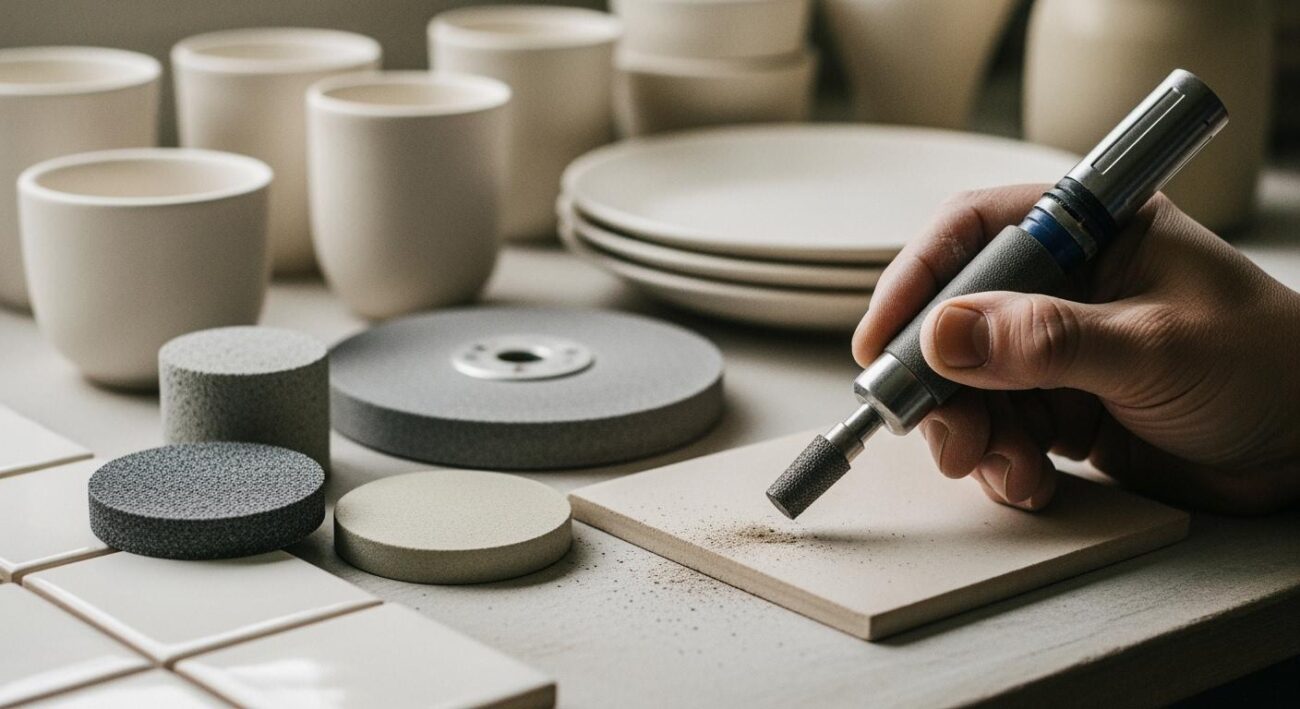
Choosing the Right Abrasive
You want to pick the best tool for the job. Many people use different abrasives for fast grinding mark removal. Here’s a quick look at some popular options:
| Product Type | Purpose |
|---|---|
| 3M™ Cubitron™ Grinding Wheel | Efficient weld removal and surface preparation. |
| 3M™ Cubitron™ Fibre Disc | Fast removal of welds, smoothing joints, and blending surfaces. |
| 3M™ Flap Disc | Designed for grinding and finishing applications, providing control and reducing vibration. |
| 3M™ XT Pro Extra Cut | Abrasives for beveling, creating consistent bevels and clean edges for weld joints. |
| 3M™ XT Pro | Fast-cutting abrasives for beveling applications. |
You can see that many tools help with grinding, but not all give you the same speed or finish.
Why Use Aimgrind Diamond Grinding Wheels
Aimgrind stands out as a trusted brand for grinding solutions. You get wheels that cut fast and last long. Aimgrind diamond grinding wheels remove marks quickly and leave a smooth surface. These wheels work well on hard metals, ceramics, and composites. You save time and get better results. Many industries trust Aimgrind for their grinding needs.
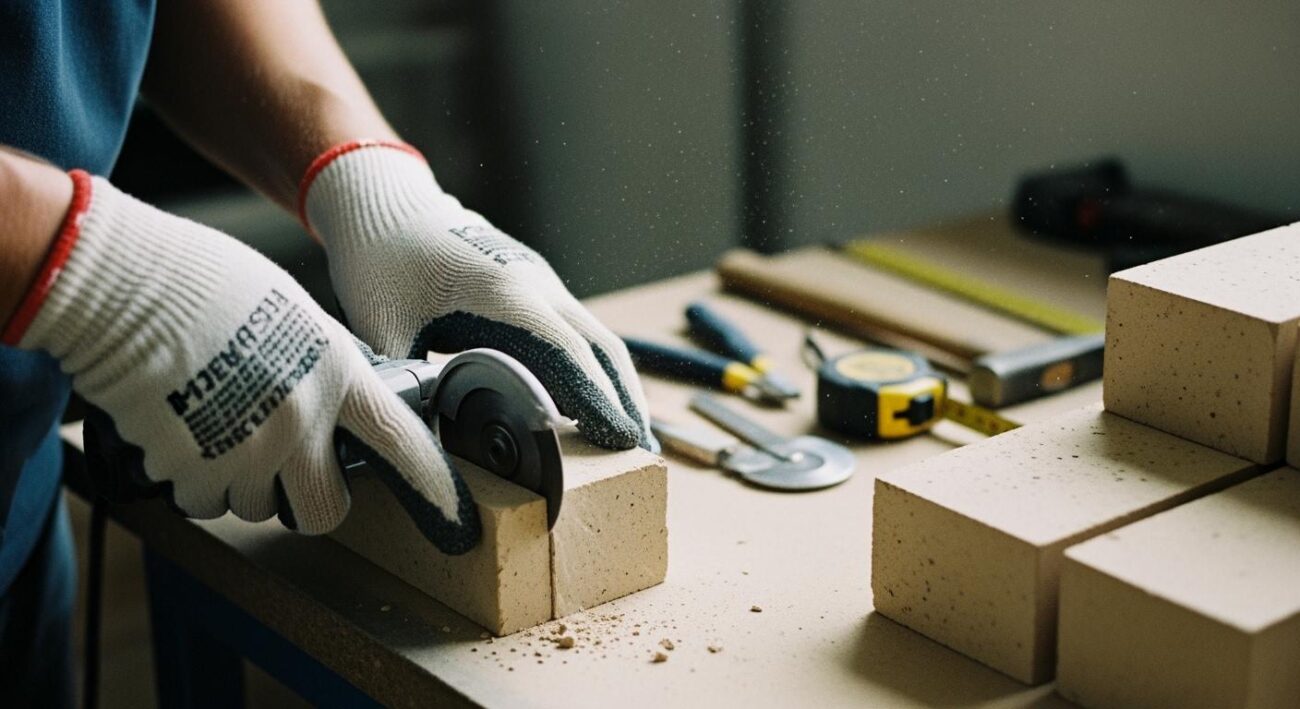
Safety and Preparation
Before you start, always wear safety glasses, gloves, and a dust mask. Clear your workspace so nothing gets in your way. Check your tools for damage. Make sure everything is secure. Good safety habits protect you and help you work faster.
How to Quickly Remove Grinding Marks
Assessing Grinding Mark Depth
Before you start, take a close look at the marks on your workpiece. Some marks are shallow and easy to fix. Others go deep and need more work. You want to know what caused the marks and how deep they go. This helps you pick the right tool and method for restoration.
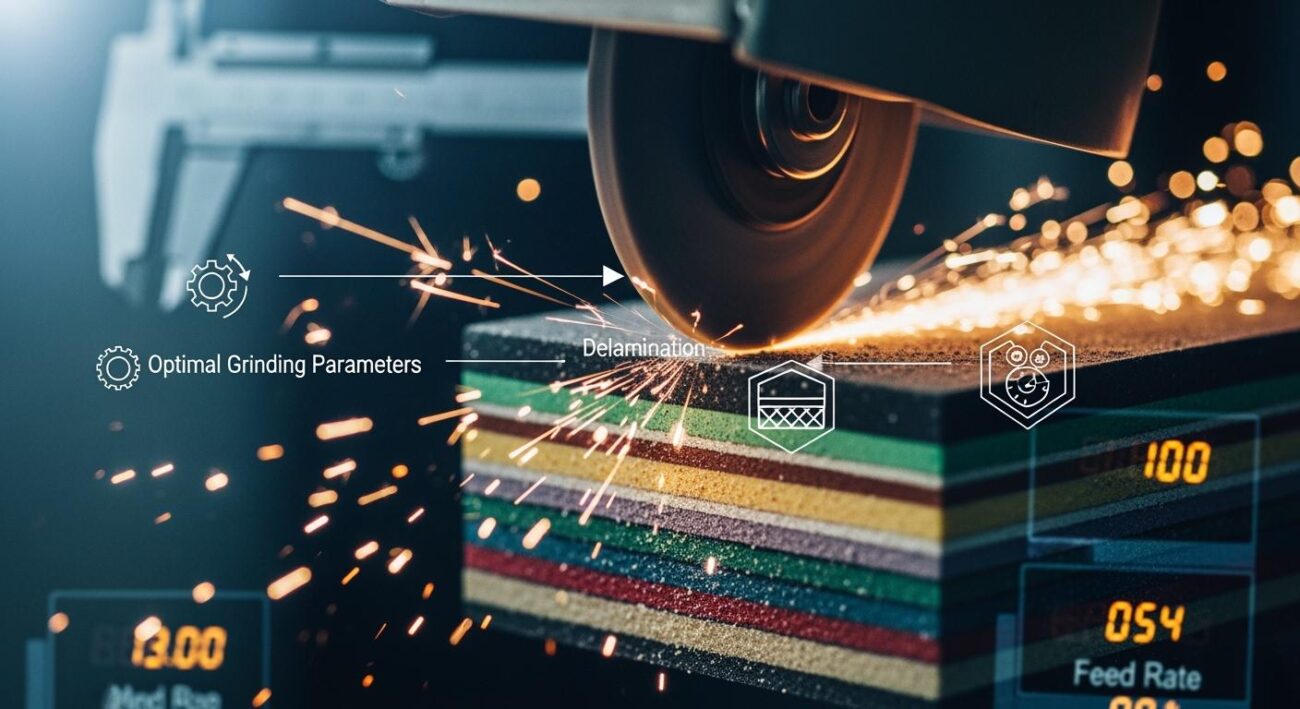
Here’s a quick table to help you understand what affects the depth of grinding marks:
| Factor | Description |
|---|---|
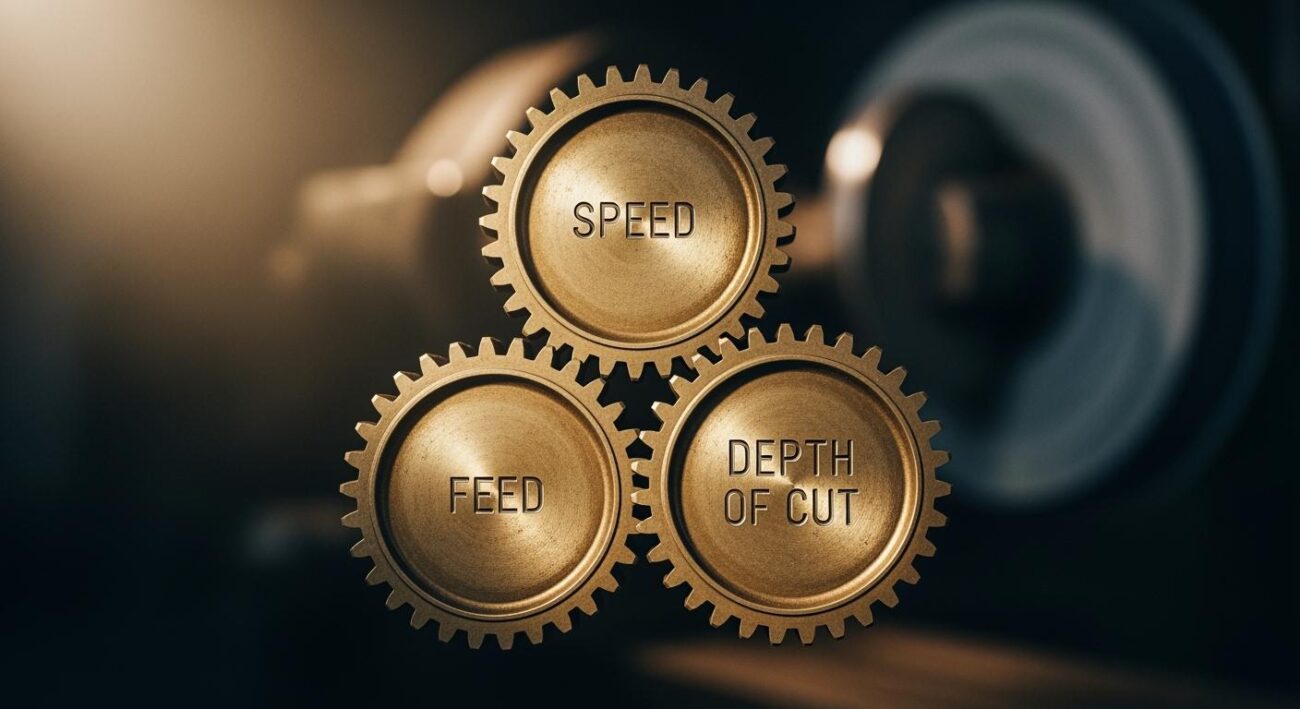
| Cutting Parameters | Wheel speed, workpiece speed, depth of cut, and feed rate all change how the surface looks. |
| Depth of Cut | Shallow cuts leave fewer surface marks. Deep cuts remove more material but can make rougher marks. |
| Workpiece Material Properties | Hardness and structure of the material matter. Harder metals need special wheels to avoid damage. |
| Machine Tool Condition | A solid, steady machine gives you a smoother finish. Vibrations or loose parts can make deeper marks. |
Take a minute to check your grinding machine and the material. This step saves you time and helps you avoid extra restoration work later.
Step-by-Step Removal Process
You want to remove those marks fast and get a smooth finish. Here’s a simple process you can follow for effective restoration:
- Start with a lower grit abrasive. If the marks are deep, use a grit similar to the one that made the scratches. For most metal jobs, 60 or 100 grit works well.
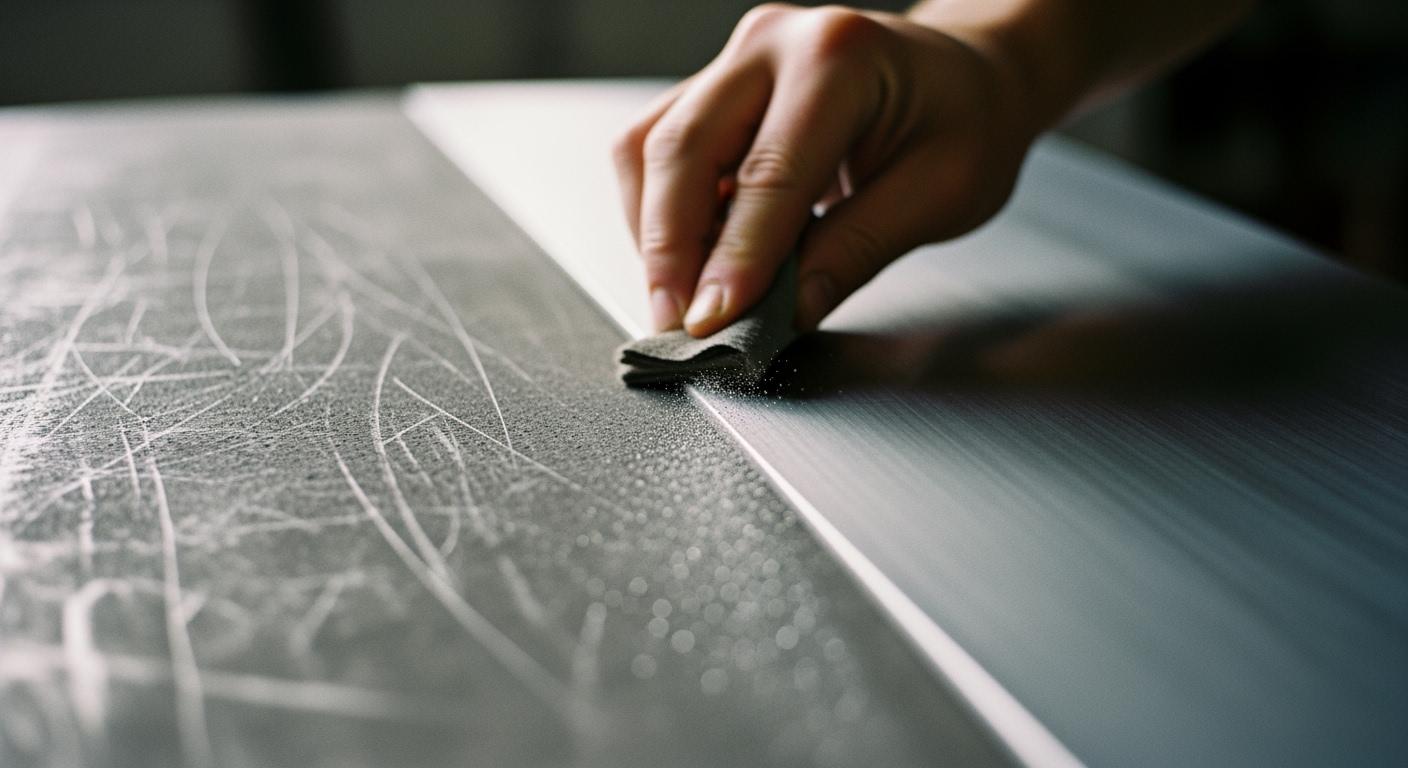
- Sand the area using steady, even strokes. Don’t press too hard. Too much pressure can cause damage or uneven spots.
- Move up to the next grit. Don’t skip grits. Each step should remove the scratches from the last grit.
- Use wet or dry sandpaper with a firm backing. This helps you control the process and avoid rounding over edges.
- Once you see the marks are gone, switch to finer sanding sponges. Go from fine to superfine, then ultrafine or microfine for the final restoration.
- Keep checking your progress. Stop when the surface feels smooth and you see no more surface marks.
Tip: Aimgrind diamond grinding wheels make this process faster. They cut through tough marks and help you finish restoration with less effort.
Grit Sequence for Best Results
Getting the right finish depends on your grit sequence. You want to start coarse and move to fine. This helps you remove marks without leaving new scratches behind.
- Start with coarse grits (P8 – P80) for heavy restoration or paint removal.
- Move to medium grits (P100 – P220) for shaping and prepping the surface.
- Finish with fine grits (P240 and above) for polishing and sharpening.
- For metal, a good sequence is 60 grit, then 120 grit, 220 grit, and finally 320 grit.
- Don’t skip more than one grit. Skipping can leave swirls or uneven spots.
Using Aimgrind diamond grinding wheels with the right grit progression gives you a smooth, professional finish. You save time and avoid extra restoration steps. Always check your work as you go. This way, you catch any missed marks before moving to the next step.
Remove Metallic Grinding Debris Effectively
Cleaning After Grinding
You just finished grinding. Now, you need to remove metallic grinding debris for a flawless finish. Loose debris can stick to your surface and cause metallic grinding debris damage. Here’s how you can clean up fast:
- Rinse your workpiece under running water. This step washes away loose particles.
- Try ultrasonic cleaning for 30-60 seconds if you have access. It shakes off stubborn debris.
- Dry your sample before moving to the next abrasive. Wet surfaces can trap debris and lead to metallic grinding debris damage.
- Clean your hands and sample holder. You don’t want to transfer metallic grinding debris to other surfaces.
- Use proper lubrication. Water, water with surfactant, or oil-based lubricants help flush away removed material and reduce heat.
Tip: Aimgrind offers accessories that make removal easier. Their cleaning brushes and lubricants help you remove metallic grinding debris quickly and safely.
Preventing Surface Contamination
You want to keep your workspace safe and your surface clean. Metallic grinding debris damage can cause health problems and damage your equipment. Here’s what you should watch out for:
- Grinding dust can become airborne. It may cause respiratory issues for you and others.
- Metallic debris can contaminate machinery and surfaces. This leads to more metallic grinding debris damage.
- Metal swarf from reactive metals like magnesium or titanium can catch fire. Improper storage increases the risk.
- Always use dust control measures. Keep your workspace clean to prevent surface contamination.
Note: Removing metallic grinding debris right after grinding protects your surface and prevents damage. You stay safe and your results look professional.
Alternative Methods for Smoother Surfaces
Using Flap Wheels and Sandpaper
You have a few choices when it comes to smoothing out your project. Flap wheels and sandpaper both help with smoothing, but they work a bit differently. Flap wheels combine many sanding flaps in one tool, so you can smooth out rough spots fast. Sandpaper works well for small areas or detailed work. Take a look at how they compare:
| Criteria | Flap Wheels | Traditional Methods |
|---|---|---|
| Efficiency | Single-step process, reduced time and labor | Multi-step, more effort |
| Surface Quality | Consistent, smoother finish | More imperfections |
| Cost-Effectiveness | Moderate cost, lasts longer | Cheaper, wears faster |
| Environmental Impact | Low dust, less waste | More dust, more waste |
If you want quick smoothing and less mess, flap wheels are a great choice. Sandpaper still works for touch-ups or tight spots.
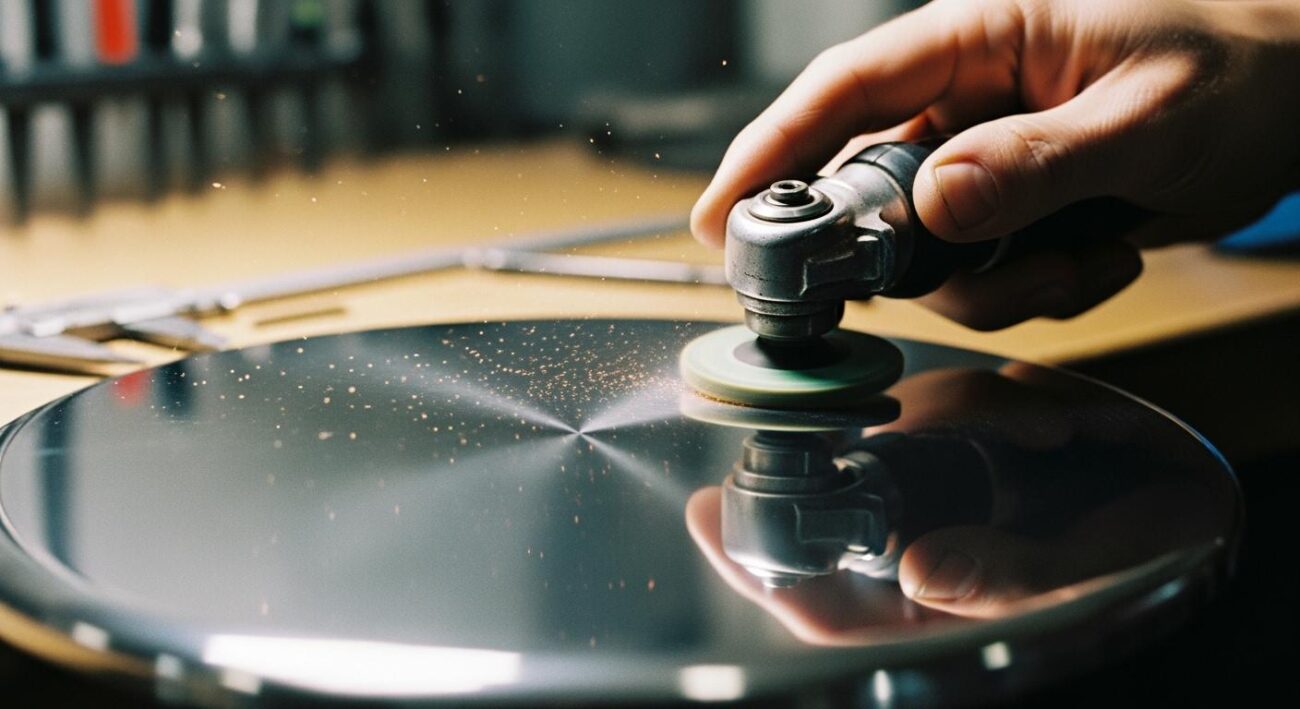
Wet vs. Dry Grinding Techniques
You might wonder if wet or dry methods work better for smoothing. Wet grinding gives you a shinier, smoother surface. It also keeps dust and debris under control, which helps protect your health and workspace. Dry grinding makes more dust and can cause heat damage. If you want the best smoothing and less risk of damage, wet grinding is the way to go.
Light Bead Blasting Options
Light bead blasting is another way to finish smoothing your surface. This method uses tiny beads to gently remove imperfections. You get a flatter, more even finish without harsh chemicals. Grinding stands out because it removes coatings completely, smooths out minor flaws, and avoids patchy results. You also skip the risk of chemical damage. Smoothing with bead blasting or grinding gives you a safer, more uniform surface.
Common Mistakes to Avoid
Skipping Grits
You might feel tempted to skip grit sizes when you want to speed up remedying the appearance. That shortcut can actually make things harder. If you skip grits, you risk leaving scratches behind. The next abrasive may not remove them, so your appearance looks uneven. You could even cause damage to your grinding tools. Here’s what happens if you skip grit sizes:
- You get inadequate surface finishing.
- You might damage your grinding tools.
- Using a higher grit without removing old scratches can make the appearance worse.
Take your time and follow each step. You’ll see a smoother appearance and save yourself extra work.
Excessive Pressure
You may think pressing harder will help you fix the appearance faster. That’s not true. Too much pressure can wear out your tools and leave deep marks. You might even change the shape of your surface. Light, steady strokes give you better control and help you keep the appearance consistent. If you push too hard, you risk making the appearance rough and uneven.
Tip: Let your abrasive do the work. You don’t need to force it.
Inadequate Cleaning
Cleaning matters when you want a flawless appearance. If you leave debris behind, you can scratch the surface again. Metallic particles can stick and ruin your hard work. Always clean your workspace and tools before you start remedying the appearance. You’ll protect your surface and keep your results looking professional.
Pro Tips for a Perfect Finish
Inspecting Your Progress
You want to make sure your work looks great before you finish. Here are some steps you can follow to check your progress:
- Turn off your machine and unplug it. This keeps you safe while you inspect.
- Take off the grinding wheel and look for cracks, chips, or other signs of damage.
- Check if the wheel lines up right. A crooked wheel can mess up your finish.
- Look at the mounting flanges. They should be flat and clean.
- Make sure the wheel is balanced. If it shakes, your surface will not look smooth.
- Try a ring test to check for hidden cracks.
If you follow these steps, you can catch problems early and avoid redoing your work.
Maintaining Your Tools
You get better results when you take care of your tools. Clean your grinding wheels and keep them sharp. Regular maintenance helps your tools last longer and work faster. When your tools are in good shape, you avoid overheating and get a smoother finish. You also lower the risk of damage to your project. Always store your tools in a dry place and check them before each use.
Buffing can heat up your metal. Use light pressure and keep the wheel moving. If the metal gets hot, stop and let it cool down.
User Recommendations
Many users have tips that help you get the best results:
- Use grinders carefully to avoid extra marks.
- Try hand filing or sanding for small touch-ups.
- Match your grinding speed to the job. This helps you avoid spiral marks.
- Pick the right abrasive for your material. For steel, use aluminum oxide. For stainless steel, try zirconia alumina or ceramic alumina.
- Think about what you want your surface to look like before you start.
If you follow these tips, you can get a finish that looks professional and lasts longer.
You can remove grinding marks fast with Aimgrind diamond grinding wheels. Use the right grit sequence and clean your surface after each touch-up. Avoid damage by checking your tools and following each touch-up step. You get a smooth surface and save money. Try these touch-up tips for every touch-up job. Visit Aimgrind for more touch-up solutions.
FAQ
How do you know when grinding marks are gone?
You can check the surface under good light. If you see no lines or scratches, you have removed the grinding marks.
Can you fix damage from grinding too hard?
Yes, you can. Start with a coarser grit to remove the damage, then move to finer grits for a smooth finish.
What’s the best way to clean up after grinding?
You should rinse your workpiece with water, dry it well, and wipe away any leftover dust or debris.
Contact Us
For More Grinding Solution or Customized Abrasive Tools