If you want sharp, durable cutlery edges, choose a diamond grinding wheel with a fine to medium grit. Diamond grinding wheels give you unmatched precision and long-lasting performance. You get clean, consistent edges every time. Aimgrind stands out by offering custom grinding solutions that fit your needs. This Grinding Wheel Guide helps you select the right tool for perfect results.
Key Takeaways
- Choose diamond grinding wheels for unmatched precision and durability. They provide the best results for sharpening cutlery.
- Select the right grit size based on your task. Use coarse grits for shaping and fine grits for finishing to achieve sharp, clean edges.
- Ensure proper installation and alignment of your grinding wheel. This step is crucial for safe and effective sharpening.
- Regularly dress and maintain your grinding wheel. This practice keeps it sharp and extends its lifespan, ensuring consistent performance.
- Always prioritize safety by wearing appropriate personal protective equipment. Protect your eyes, ears, and lungs while grinding.
Grinding Wheel Guide for Cutlery
Best Wheel Types and Grits
You want the right grinding wheel for your cutlery. The Grinding Wheel Guide helps you understand the options. Different wheels work best for different steps in sharpening and shaping.
Here are the most common types of grinding wheels you will see in the cutlery industry:
- Aluminum oxide (white)
- Chromium oxide (pink)
- Ceramic oxide (blue or green)
- Cubic boron nitride (CBN)
- Diamond
Each type has its own strengths. Aluminum oxide and ceramic wheels work well for general sharpening. CBN wheels handle tough metals. Diamond wheels give you the highest precision and durability.
Grit size matters, too. The Grinding Wheel Guide recommends these grit ranges for cutlery:
| Grit Range | Application Description |
|---|---|
| 54 – 60 | Roughing out the main portion of the knife blank |
| 100 – 120 | Micro finishing portion of the knife for a beautiful finished cut |
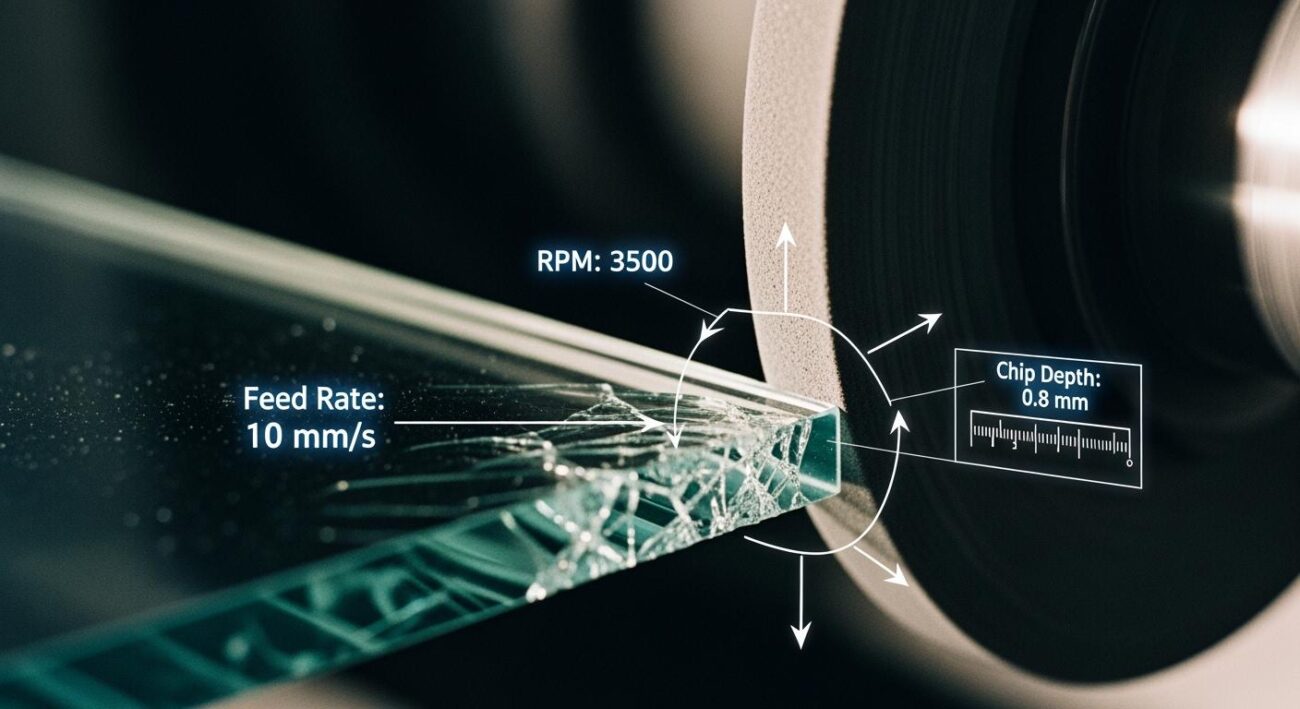
You use coarse grits (10-24) for fast material removal. Medium grits (30-60) help with shaping and general grinding. Fine grits (70-220) give you a smooth, sharp edge. For most cutlery, you start with a medium grit and finish with a fine grit for the best results.
Tip: Always match the grit to your task. Use coarse grits for shaping, and fine grits for finishing. This approach keeps your edges sharp and your tools in top shape.
Industry standards also guide your choice. You should consider abrasive type, grit size, hardness grade, grain structure, and bond type. Hardness grades range from A (soft) to Z (hard). Bond types include vitrified, resinoid, rubber, and metal. Each factor affects how your grinding wheel performs and how long it lasts.
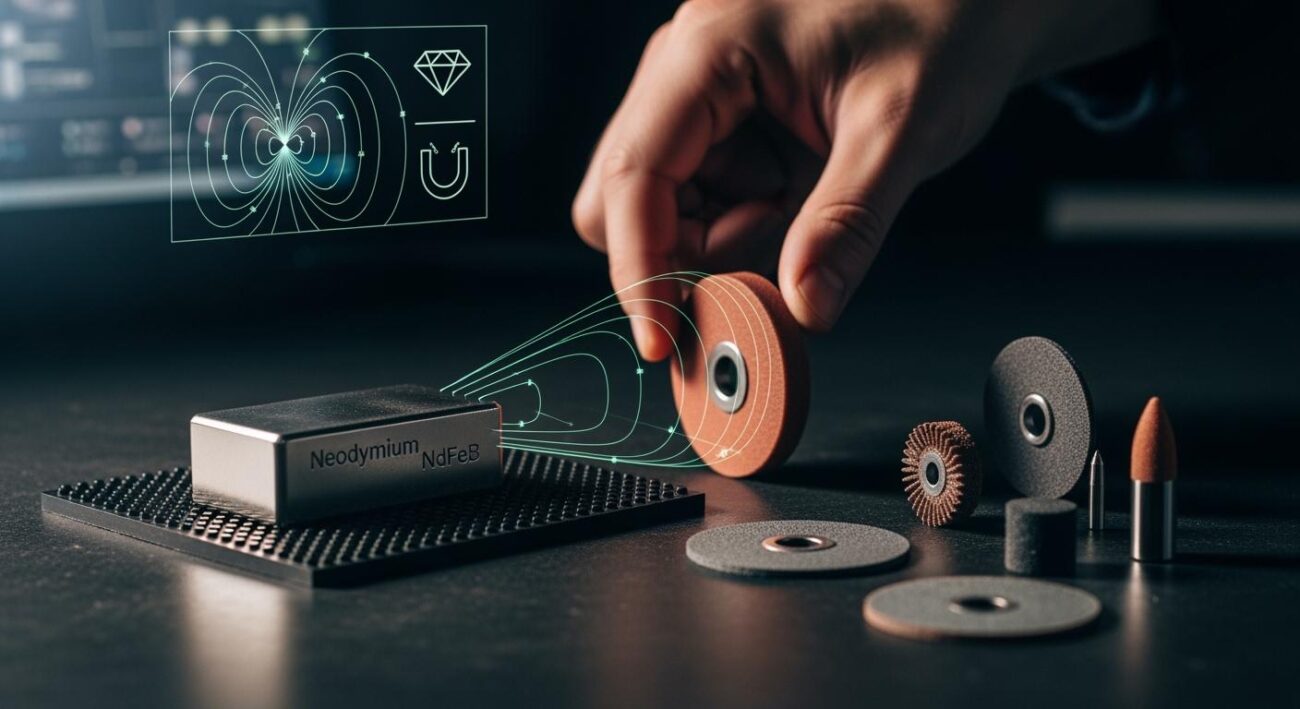
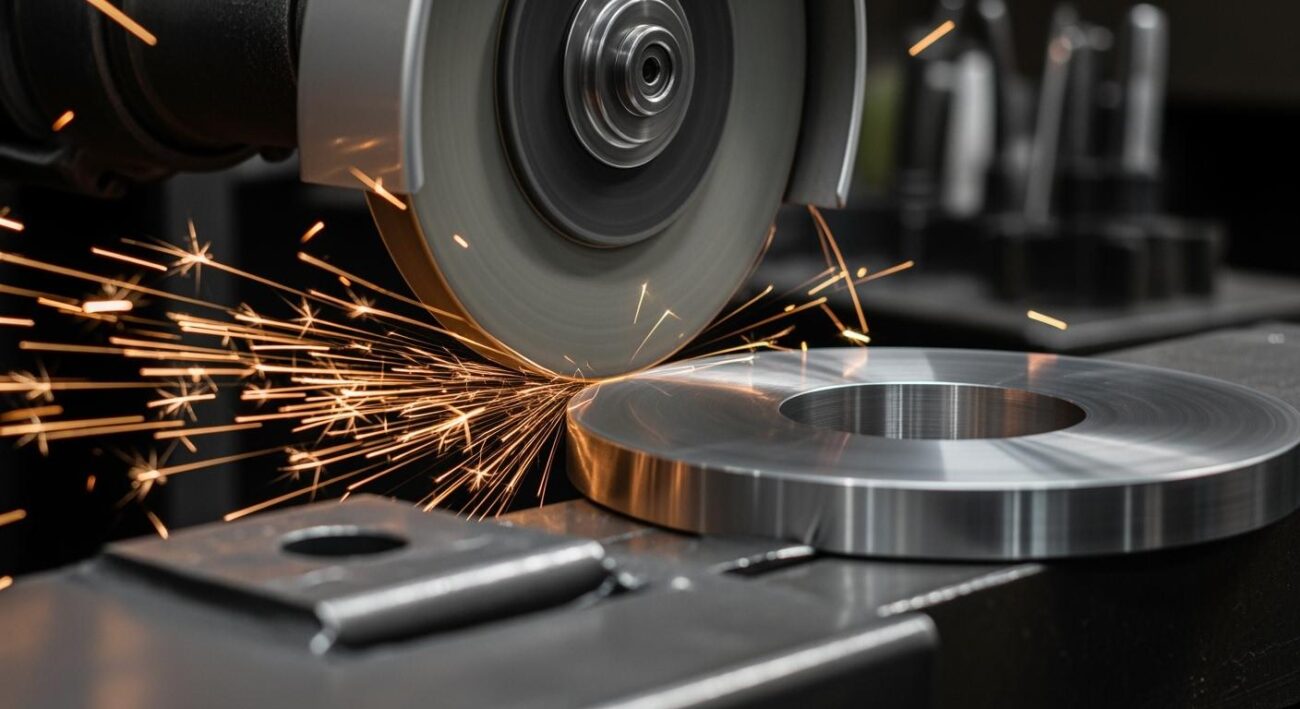
Why Diamond Grinding Wheels Excel
Diamond grinding wheels stand out in every Grinding Wheel Guide. You get unmatched performance when you choose diamond wheels for cutlery sharpening.
Let’s compare diamond wheels to conventional wheels:
| Feature | Diamond Grinding Wheels | Conventional Grinding Wheels |
|---|---|---|
| Material Removal Efficiency | 2-3 times higher than aluminum oxide wheels | Lower efficiency, struggles with hard materials |
| Longevity and Durability | Up to 50 times longer lifespan | Shorter lifespan, requires frequent replacements |
| Precision and Surface Finish | Better surface finish, less tolerance | Inferior surface finish compared to diamond wheels |
You remove material faster with diamond wheels. You spend less time changing wheels because they last much longer. You also get a smoother, more precise edge. This means your knives stay sharper and look better.
Diamond grinding wheels work on hard alloys, ceramics, and composites. You can use them for both wet and dry grinding. They keep their shape and sharpness, so you get consistent results every time.
Note: If you want the best edge for your cutlery, diamond grinding wheels are the top choice. They help you achieve professional results with less effort.
The Grinding Wheel Guide shows that diamond wheels meet the highest industry standards. You get the right abrasive, grit, and bond for your needs. You also enjoy better productivity and quality in your sharpening process.
By following this Grinding Wheel Guide, you make smart choices for your cutlery. You get sharp, durable edges and save time and money in the long run.
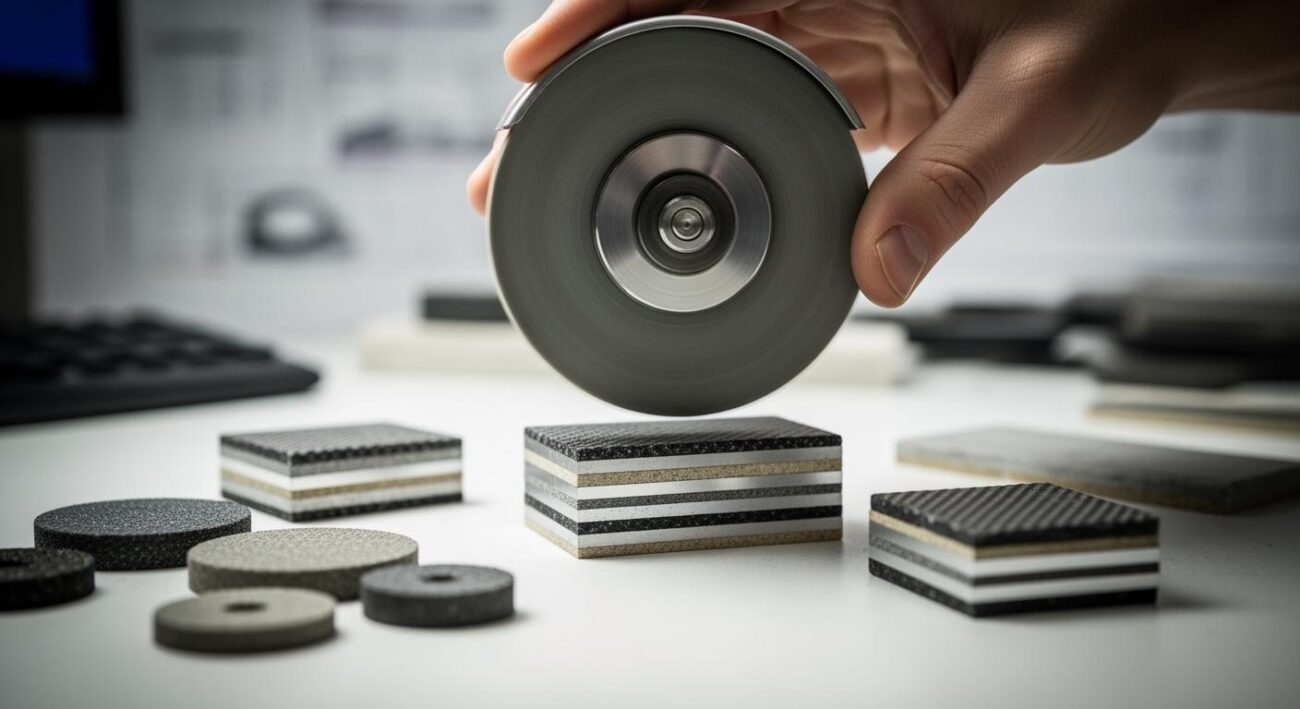
Grinding Wheel Selection
Types and Grits Overview
You need to know the main types of grinding wheels before you choose the right one for your cutlery. Each type works best for certain materials and sharpening needs. Here are the most common grinding wheels you will find for cutlery sharpening:
- Ceramic grinding wheels: These wheels give you high-precision grinding. You can use them for tough materials like PCD and PCBN. They last a long time and keep their shape well.
- Resin and electroplated grinding wheels: These wheels work well for tungsten carbide and high-speed steel. They offer good precision and resist heat during grinding.
- Standard grinding wheels: You can use these for general steel and high-speed steel. They are reliable for everyday sharpening tasks.
Grit size is another important factor. Coarse grits remove material quickly. Fine grits help you get a smooth, sharp edge. You should match the grit size to your sharpening step. For rough shaping, use a coarse grit. For finishing, use a fine grit. The Grinding Wheel Guide recommends starting with a medium grit and finishing with a fine grit for the best results.
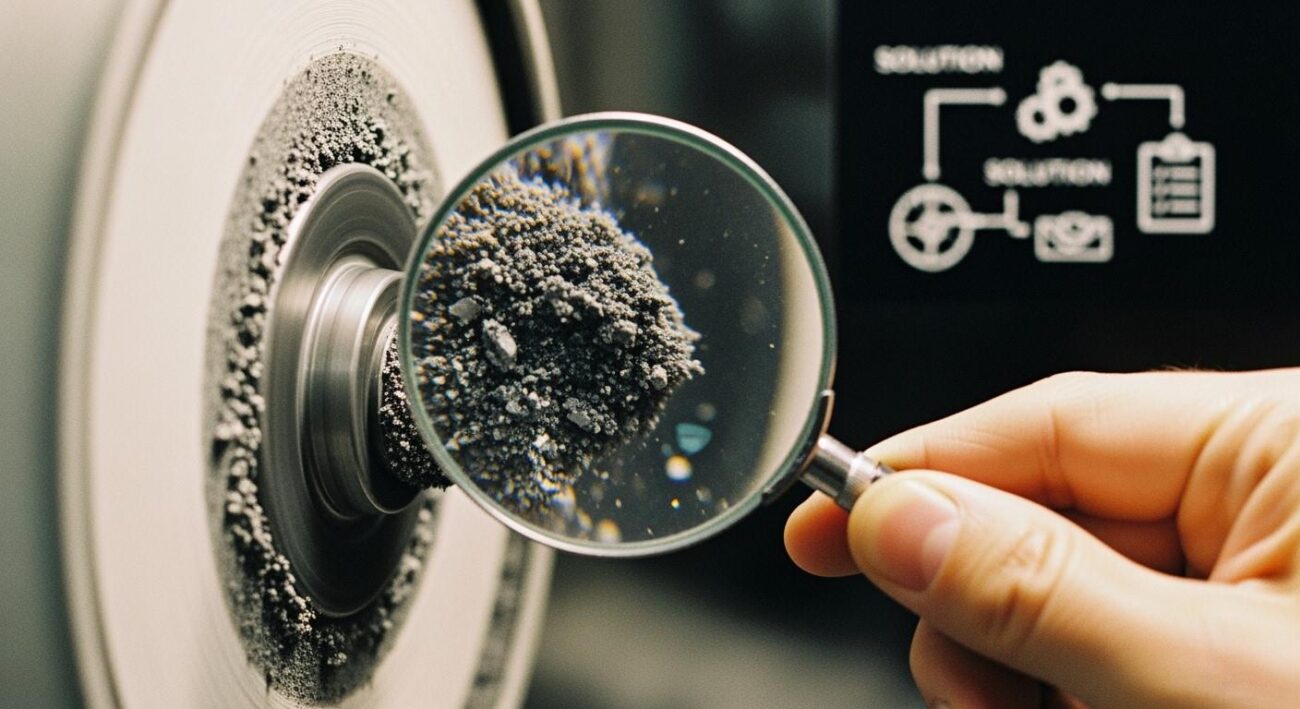
Aimgrind Diamond Grinding Wheels
Aimgrind offers diamond grinding wheels that stand out for cutlery sharpening. You get wheels made with high-quality diamond abrasives. These wheels deliver fast material removal and a smooth finish. You can use them on hard alloys, ceramics, and composites. Aimgrind diamond grinding wheels keep their shape and sharpness, so you get consistent results every time.
You can choose from different bond types, such as resin, metal, and vitrified. Aimgrind customizes each wheel to fit your equipment and process. You get a wheel that matches your needs, whether you sharpen kitchen knives or industrial blades. Aimgrind’s service includes problem diagnosis and parameter matching. You can trust their expertise to help you achieve perfect cutlery edges.
Tip: If you want a wheel that lasts longer and gives you a better finish, try Aimgrind diamond grinding wheels. They help you save time and improve your sharpening results.
Choosing the Right Bond
The bond type in your grinding wheel affects how it performs. Each bond has its own strengths. You should pick the bond that matches your grinding needs. Here is a table to help you compare the most common bond types:
| Bond Type | Advantages |
|---|---|
| Resin Bond | Works for wet or dry grinding. Offers good performance. Can be tailored for special tasks. |
| Hybrid Bond | Reduces cycle times. Removes material faster. Gives higher thermal stability. |
| Electroplated Bond | Keeps its profile for detailed grinding. Cuts hard materials efficiently. |
| Metal Bond | Lasts longer. Holds its shape well. Good for glass and composites. |
| Vitrified Bond | Rigid and porous. Removes heat well. Increases grinding speed. |
| Polyimide Bond | Handles high temperatures. Holds abrasives well. Good for CNC operations. |
When you select a grinding wheel, you should also think about these factors:
| Factor | Description |
|---|---|
| Grit Size | Coarse grits cut fast. Fine grits give you a smooth finish. |
| Wheel Grade | Softer grades work for hard materials. Harder grades suit softer metals. |
| Bond Type | Affects how well the wheel cuts and how long it lasts. |
| Material Compatibility | Use diamond wheels for non-ferrous materials. Use CBN wheels for ferrous metals. |
You can also consider:
- Material type: Choose diamond wheels for non-ferrous materials. Use CBN wheels for ferrous metals.
- Wheel bond type: Resin bonds are popular for general use. They give you a good balance of speed and durability.
- Grit size and concentration: Finer grits polish your edge. Coarser grits help with rough grinding.
Aimgrind helps you select the right wheel by offering custom solutions. You get expert advice and a wheel that fits your sharpening process. The Grinding Wheel Guide from Aimgrind makes it easy to choose the best wheel for your cutlery.
Grinder Setup
Installation and Alignment
You need to install and align your grinding wheel correctly to get the best results. Start by checking that the grinding wheel matches your grinder’s size and speed rating. Always keep the labels on the sides of the wheel. These labels help spread the holding pressure and keep the wheel safe.
Follow these steps for proper installation and alignment:
- Place the wheel dresser on the tool rest. Angle it upward with the edge facing the wheel.
- Move the wheel dresser slowly toward the stone. Stop when the uneven side touches the dresser.
- Use light pressure to make the face of the stone flat and true.
- Check the R.P.M. rating of your new wheel. It must be higher than your grinder’s motor speed.
- Make sure the outer diameter of the wheel fits your grinder’s specifications.
- If the wheel wobbles, look for burrs on the motor shaft. Smooth them out if needed.
You should also align the spindle assembly:
- Align the grinding wheel spindle assembly to the factory settings.
- Remove safety guards to reach the spindle for calibration.
- Clean off any rust with fine sandpaper so you can see the stamped settings.
- Move the spindle assembly back to the factory position if it has shifted.
Tip: A well-aligned wheel gives you smoother, safer sharpening and helps your wheel last longer.
Speed and Tool Rest Adjustment
Set the grinder speed according to the wheel’s rating. Never exceed the maximum speed marked on the wheel. Adjust the tool rest so it sits close to the wheel, usually within 1/8 inch. This keeps your blade steady and prevents it from slipping.
You should avoid these common mistakes during setup:
| Mistake | Description |
|---|---|
| Wrong Angle | Changes blade shape and causes tearing instead of clean cuts. |
| Over-Grinding | Wears down the blade and damages its surface. |
| Heat Damage | Softens the blade, making it dull faster. |
| Burrs/Chipping | Leaves rough edges and reduces cutting performance. |
Note: Careful setup protects your tools and helps you achieve sharp, professional edges every time.
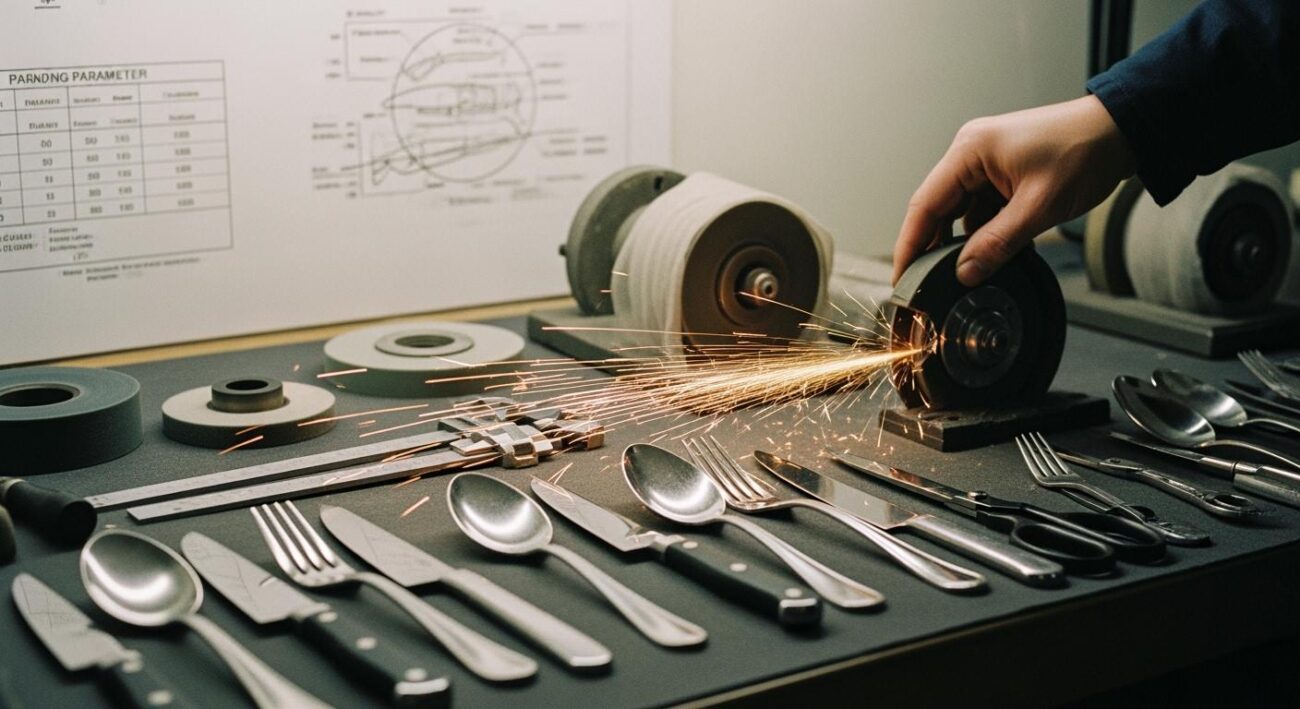
Sharpening Techniques
Step-by-Step Process
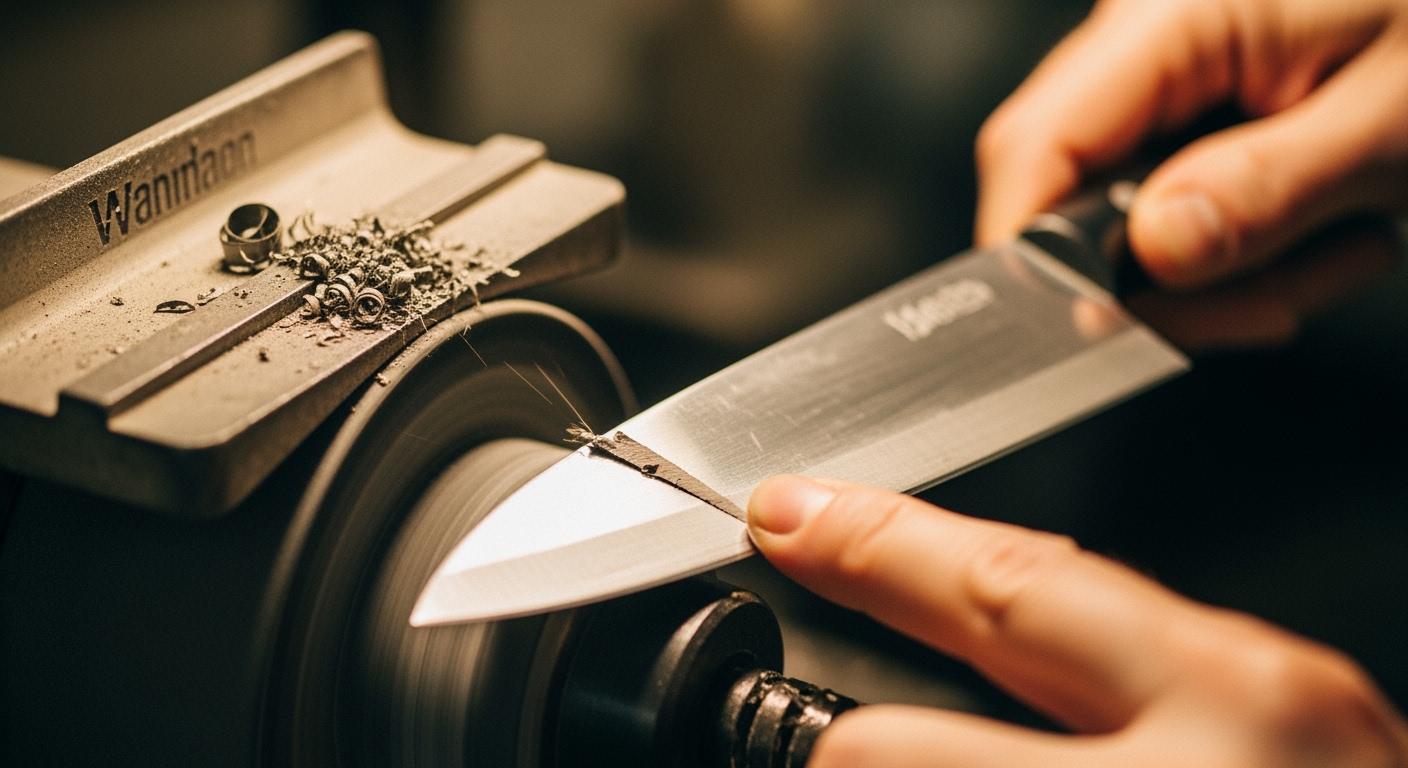
You can sharpen your cutlery safely and effectively by following these steps:
- Clean the Knife: Wash your knife to remove any dirt or grease. A clean blade gives you better results.
- Check Grinder Rotation: Make sure the grinding wheel spins away from the knife’s edge. This prevents the wheel from catching and damaging the blade.
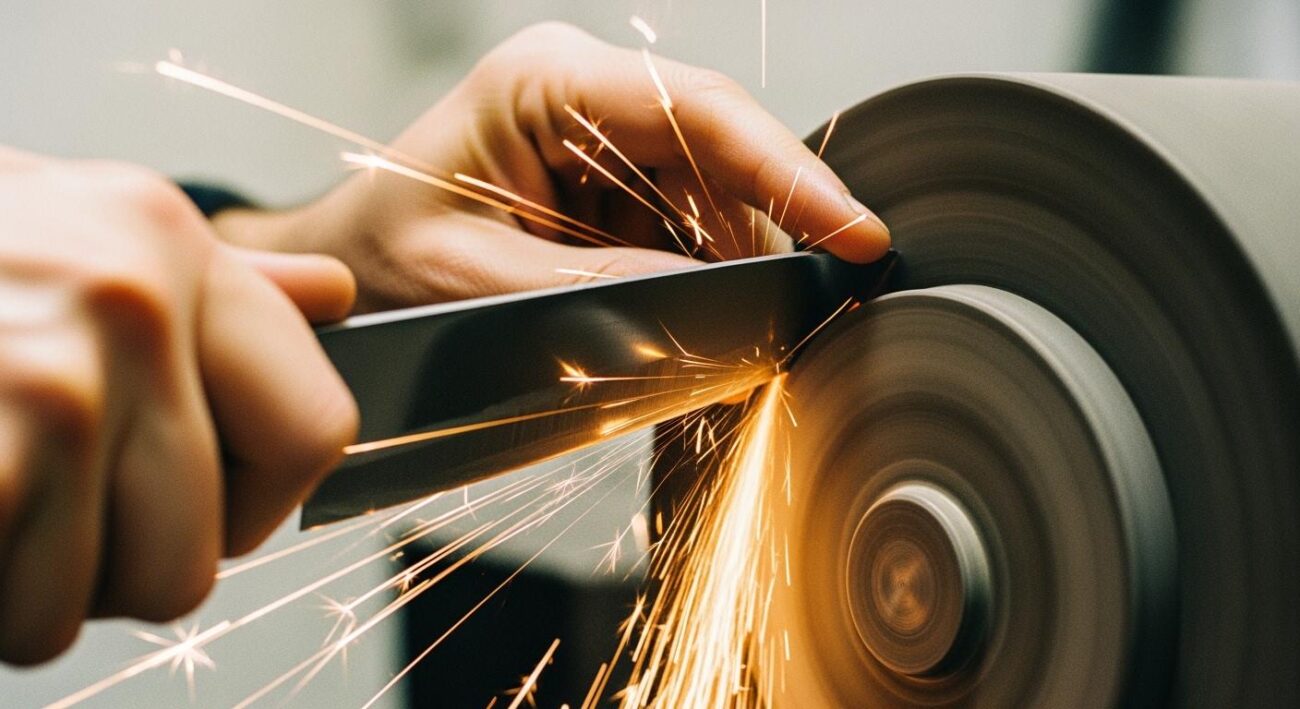
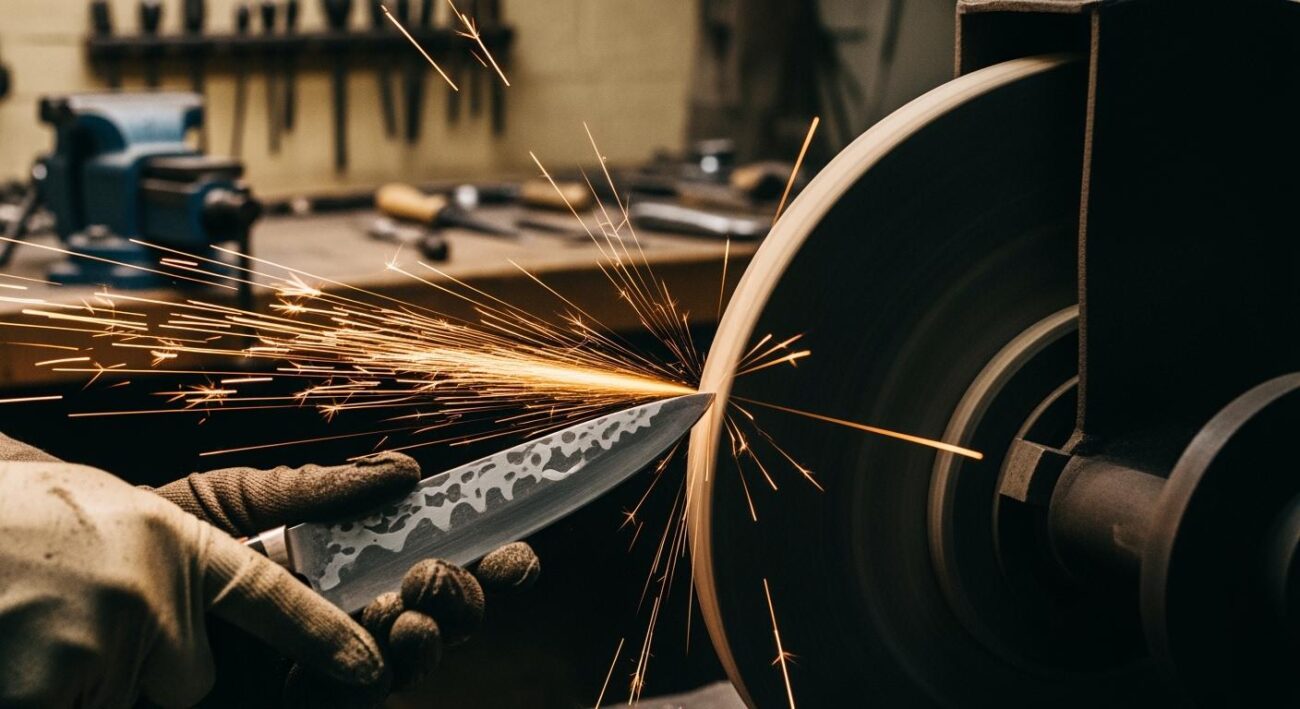
- Sharpen the Knife: Turn on your grinder. Place the blade on the tool rest. Use gentle, steady pressure. Push the edge forward along the wheel. Move slowly and keep your hands steady.
- Test Sharpness: Try cutting a piece of paper. If the knife slices easily, you have a sharp edge. If not, repeat the process.
Tip: Always use gentle pressure. Let the diamond grinding wheel do the work for you.
Angle and Consistency
The sharpening angle affects how sharp and durable your knife will be. For most kitchen knives, use an angle of 20 to 22 degrees per side. This gives you a good balance between sharpness and strength. Harder Japanese knives can use a lower angle, like 18 degrees, but you should add a micro-bevel for extra durability.
- A lower angle (10–15 degrees) makes a sharper edge but can chip easily.
- Higher angles make the edge stronger but less sharp.
- Choose the right angle for your knife’s purpose.
You can keep a steady angle by using sharpening guides or jigs. If you sharpen freehand, practice holding the blade at the same angle each time. Consistency is key for a smooth, even edge.
Cooling and Overheating Prevention
Grinding creates heat. Too much heat can damage your knife. You should cool the blade often during sharpening.
- Use water cooling. Aim a steady flow of water (2–8 liters per minute) at the blade’s side. This keeps the blade cool and removes dust.
- Keep the water at room temperature. This prevents thermal shock.
- If you grind dry, use light pressure and take breaks. Let the blade cool between passes.
- Oil-based coolants work if water is not available, but they are less effective and can make the area slippery.
Note: Cooling your blade helps keep it strong and sharp. Never let the blade get too hot to touch.
Safety Tips
PPE Essentials
You must protect yourself when sharpening cutlery with a grinding wheel. Grinding creates sparks, dust, and noise. You need the right personal protective equipment (PPE) to stay safe. Here are the essentials:
- Eye and Face Protection: Wear safety glasses and a full face shield. These protect your eyes and face from flying sparks and fragments.
- Hearing Protection: Use earplugs or earmuffs. Grinding machines make loud noises that can damage your hearing.
- Respiratory Protection: Put on a NIOSH-approved N95 respirator. This keeps dust and fumes out of your lungs.
- Hand and Body Protection: Choose sturdy gloves, non-flammable clothing, and safety boots. These protect your hands and body from cuts, heat, and sparks.
Tip: Always check your PPE before you start. Replace any damaged gear right away.
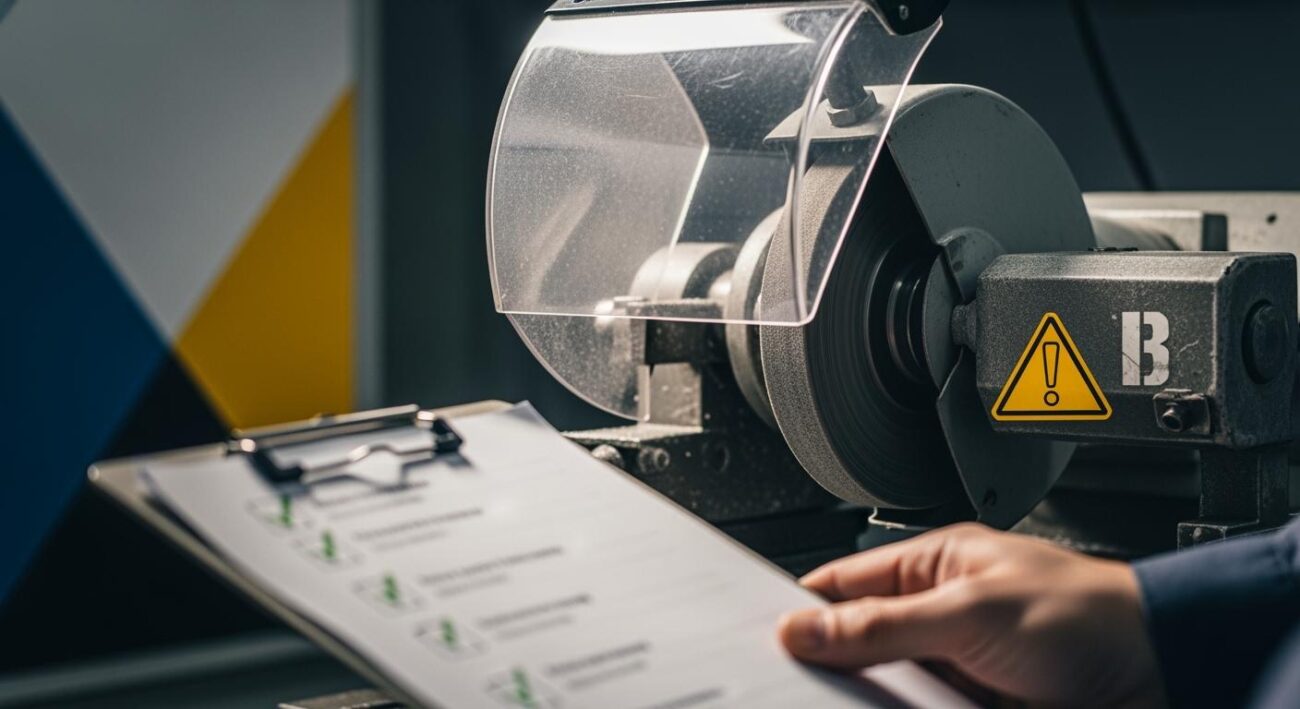
Safe Operation Practices
You need to follow safe practices every time you use a grinding wheel. These steps help prevent accidents and injuries. The table below shows important safety practices and what you should do:
| Safety Practice | Description |
|---|---|
| Check Machine Guards | Make sure the grinder’s safety guard is in place and adjusted. Never use the grinder without the guard. |
| Check Speed Rating (RPM) | Look at the wheel’s maximum speed. It must match or be higher than your grinder’s speed. |
| Proper Mounting | Fit the wheel correctly on the spindle. Clean the mounting flanges and use the right size. Do not overtighten the locking nut. |
| The “Ring Test” | Tap the wheel gently with a non-metallic object. A clear ring means the wheel is safe. A dull sound means you should not use the wheel. |
| Essential Personal Protective Equipment | Always wear your safety glasses, face shield, ear protection, and respirator. |
| Hand and Body Protection | Wear gloves, non-flammable clothes, and safety boots. Make sure your clothes are not loose so they do not get caught in the tool. |
Note: Safe habits protect you and help your grinding wheel last longer. Always stay alert and follow these steps every time you sharpen your cutlery.
Edge Maintenance
Honing and Finishing
After grinding your cutlery, you need to hone and finish the edge for the best sharpness. Honing smooths out the tiny grooves left by grinding and brings the edge to a fine point. You should always use finer abrasives as you move through the process. This helps you create a crisp, sharp line instead of a rough edge.
Follow these steps for effective honing and finishing:
- Use a fine hone on the bevel to re-flatten the edge. Move the knife, not the stone, for better control.
- Hone one side until you feel a slight burr on the opposite edge. Then switch sides.
- Always strop after honing. Stropping gives your blade a shiny, flawless surface.
- Place a cutting board or dish towel under the hone to keep it steady.
- Visualize the correct angle or use a folded paper to help you find it.
- Pull the knife toward you with light pressure. Keep the tip on the hone.
- Alternate sides until the edge feels sharp. Test by slicing paper.
Tip: Finer grits make smaller teeth on the edge, which leads to a sharper and longer-lasting blade.
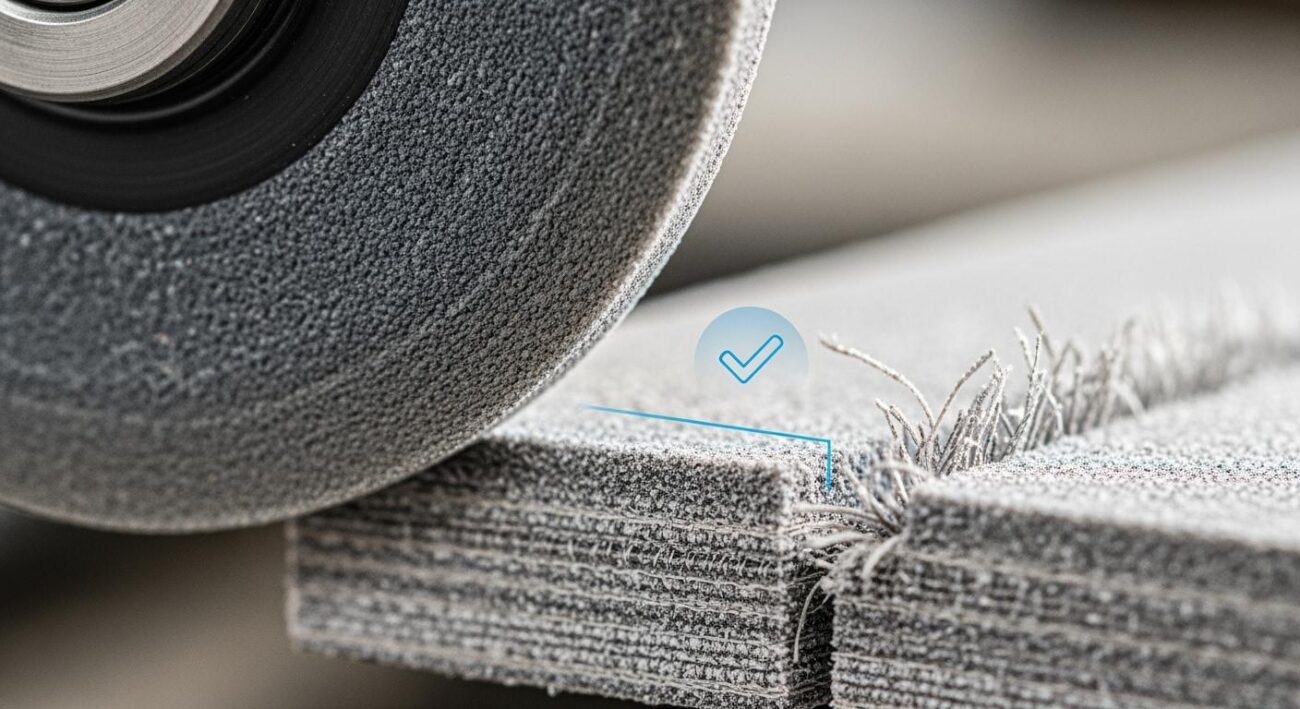
Wheel Care and Dressing
Taking care of your diamond grinding wheel keeps it working at its best. Dressing the wheel means cleaning and reshaping it so it stays sharp and true. You should dress your wheel on a regular schedule and check your setup often.
Here are the best practices for wheel care and dressing:
- Dress the wheel to open up the surface and true it to correct any unevenness.
- Use a dressing stick that is one or two grits finer than your wheel.
- Employ a brake dresser in small passes until any marks disappear.
- Make sure the wheel runs smoothly before you start grinding again.
- Turn the coolant back on before grinding.
- Replace dressing sticks when they stop working well.
- Retire the wheel if it no longer responds to dressing.
Note: Regular wheel care helps you achieve consistent, high-quality edges and extends the life of your grinding wheel.
Troubleshooting Guide
Common Grinding Issues
You may face several problems when sharpening cutlery with a grinding wheel. Knowing these issues helps you fix them quickly and keep your knives sharp.
- You might find it hard to keep a steady grinding angle. This can make your knife less sharp, especially if you are just starting out.
- Sometimes, the grinding stone does not wear down enough. If your wheel is too fine or your knife is very hard, you may not remove enough material.
- An uneven or unflat whetstone can also cause trouble. If the stone is not flat, you will have a hard time getting a sharp edge.
Tip: Check your grinding wheel often. Make sure it stays flat and clean for the best results.
Fixing Uneven Edges
Uneven bevels are a common problem, especially for beginners. If one side of your knife looks different from the other, it can affect both how your knife looks and how it cuts. You need to know how to spot and fix these uneven edges.
Start by looking at both sides of your knife. If you see that one bevel is shorter, follow these steps:
- Work on the side with the shorter bevel.
- Keep grinding at the same angle until both sides match.
- Check that the edge stays centered with the spine of the knife.
You may notice that uneven bevels make your knife look odd. Many new users struggle with this, but practice and careful attention will help you get better. Over time, you will learn to create even, balanced edges.
Preventing Heat Damage
Grinding can make your knife edge very hot. Too much heat can soften the edge and make it dull faster. You want to avoid this problem to keep your knives strong and sharp.
- Use water to cool the blade as you grind. Sprinkling water or using a water-cooled grinder works best.
- Try hand sharpening or use steels that can handle high temperatures if you work with powered grinders.
- When using a belt sharpener, make quick, light passes. Do not let the blade stay in contact with the wheel for too long.
- Watch for heat transfer from the edge. If the blade feels hot, stop and let it cool.
Note: Keeping your blade cool during grinding protects its hardness and helps your edge last longer.
To achieve perfect cutlery edges, follow these steps from the Grinding Wheel Guide:
- Inspect your wheel for surface condition and geometry.
- Choose the right dressing tool and grit.
- Prepare your grinder and setup.
- Dress and true the diamond wheel.
- Check sharpness and adjust speeds.
- Troubleshoot any issues.
Keep your grinder clean and check for worn parts to ensure consistent results. For more tips, visit Aimgrind’s website for guides on grit size, safety, and best practices.
FAQ
What grit should you use for sharpening kitchen knives?
You should use a medium grit (100–120) for sharpening. Start with a coarser grit if your knife is very dull. Finish with a fine grit for a smooth, sharp edge.
Can you use diamond grinding wheels on all types of cutlery?
You can use diamond grinding wheels on most cutlery, especially those made from hard alloys or ceramics. For regular steel knives, you may also use ceramic or CBN wheels.
How do you know when to replace your grinding wheel?
Check for cracks, chips, or uneven wear. If the wheel no longer sharpens well or cannot be dressed, you should replace it. Safety comes first.
Why choose Aimgrind diamond grinding wheels?
Aimgrind diamond grinding wheels give you high precision, long life, and custom options. You get expert support and a wheel that matches your sharpening needs.
Contact Us
For More Grinding Solution or Customized Abrasive Tools