You can use Grinding Wheels to sharpen chef knives right at home. With Aimgrind’s diamond grinding wheels, you get tools that last longer than traditional stones and create an extra sharp edge. These wheels work well on both high-carbon and stainless steel knives. They handle tough sharpening jobs and fine finishing. Just remember—using the right technique and staying safe matter a lot. When you use the proper tools and care, you can achieve a perfect edge every time.
Key Takeaways
- Use Aimgrind diamond grinding wheels for long-lasting sharpness and precision on chef knives.
- Prepare your workspace by wearing safety gear and ensuring good lighting to enhance safety and visibility.
- Choose the right grit for your knife: coarser grits reshape edges, while finer grits polish for a sharp finish.
- Maintain a steady bevel angle while sharpening to achieve the best cutting performance and durability.
- Regularly hone your knife to keep the edge sharp and ready for use, ensuring smooth cuts every time.
Grinding Wheels for Chef Knives
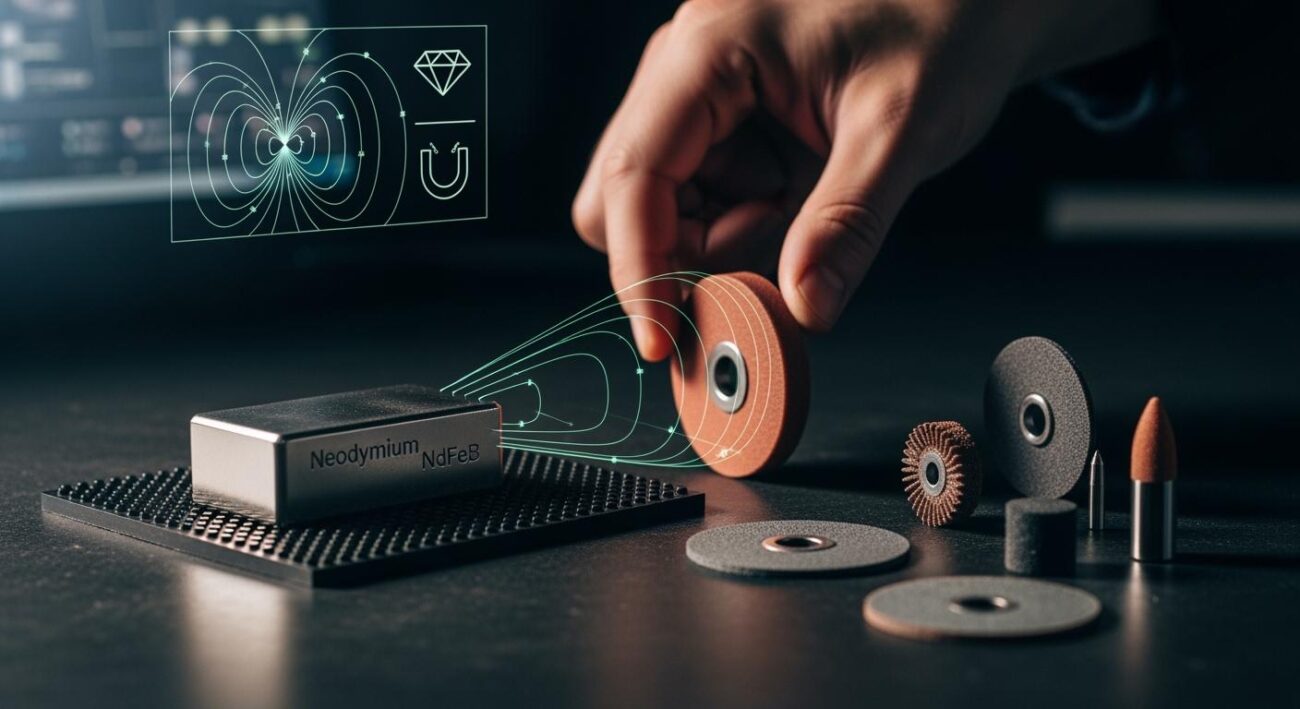
Why Choose Aimgrind Diamond Grinding Wheels
You want your chef knives to stay sharp and last longer. That’s where Aimgrind comes in. Aimgrind has spent almost twenty years perfecting grinding wheels for all kinds of sharpening jobs. The diamond grinding wheels from Aimgrind give you a big advantage when you need to grind a chef knife. You can trust these wheels to handle both tough and delicate grinding tasks.
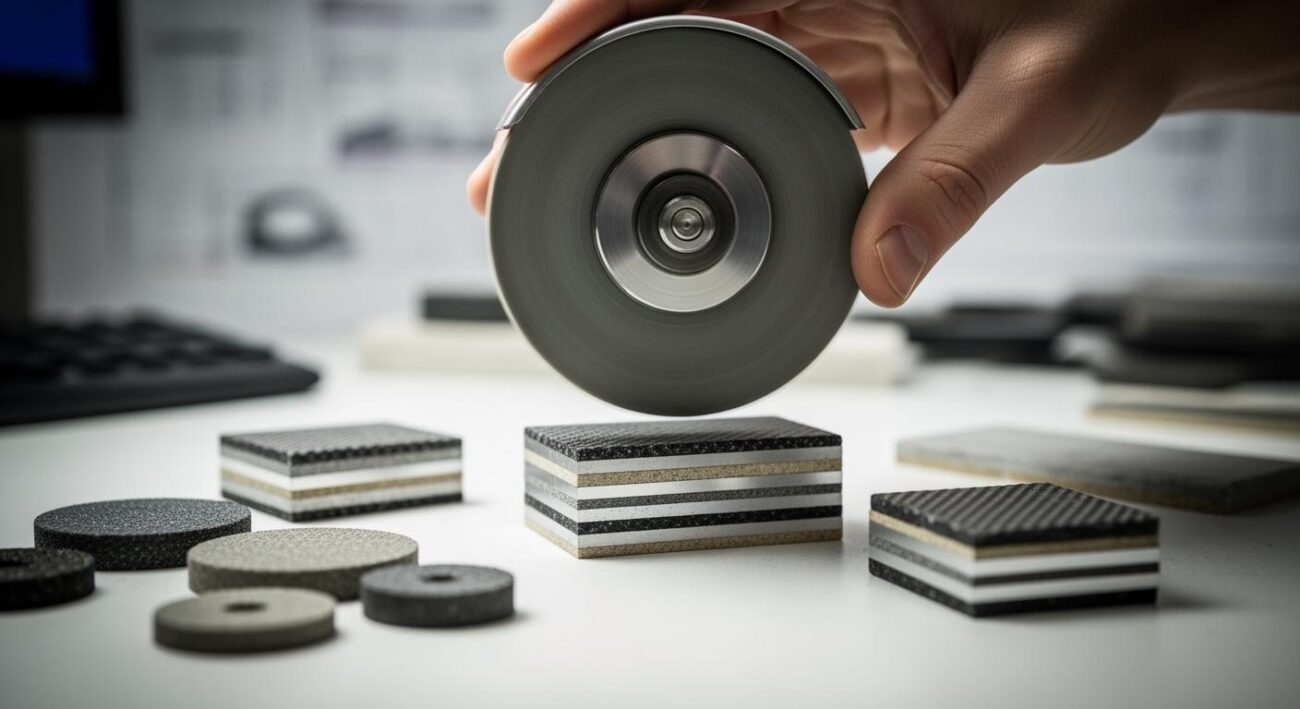
When you look at grinding wheels for sharpening, you’ll see a lot of choices. Here’s what you’ll find in professional kitchens:
- Coarser grits (80-120) work fast for reshaping or fixing damaged edges.
- Finer grits (600 and above) help you finish and polish the edge.
- Aluminum oxide wheels are good for most steel knives.
- Silicon carbide wheels are better for ceramic or very hard steel.
- Diamond wheels give you the best precision for high-hardness knives.
- Ceramic wheels stay sharp and resist heat, making them great for a polished edge.
Aimgrind’s diamond grinding wheels stand out because they work on both high-carbon and stainless steel. You get a wheel that can grind, sharpen, and finish your knife edge with ease.
Benefits for Achieving a Perfect Edge
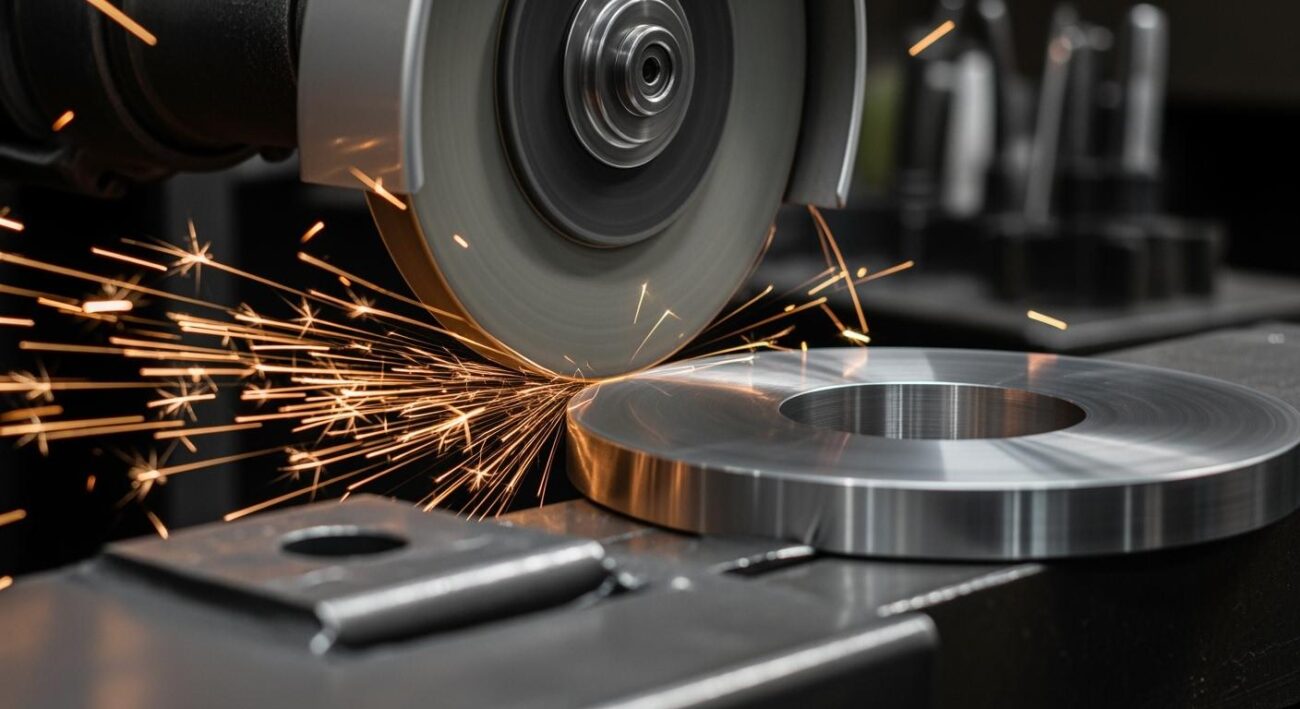
You want your chef knife to cut cleanly every time. Diamond grinding wheels from Aimgrind help you get there. Let’s see how they compare to regular grinding wheels:
| Advantage | Description |
|---|---|
| Durability | Diamond wheels last much longer than regular wheels. |
| Cutting Efficiency | You can grind faster and more smoothly with diamonds. |
| Precision | You control the grind and get a sharp, even edge. |
| Heat Dissipation | Less heat means you protect your knife from damage during grinding. |
| Versatility | One diamond wheel can grind many types of knives and tools. |
Aimgrind knows that every knife and grinder is different. The team helps you pick the right grinding wheels for your grinder and your sharpening style. You get advice on grit, bond type, and wheel size. This means you always have the best tool for the job. When you use Aimgrind’s grinding wheels, you make sharpening easier and get a perfect edge every time.
Preparation and Setup
Knife and Workspace Preparation
You want to start with a clean, safe workspace before sharpening your chef knife. Here’s how you can get ready:
- Put on safety goggles and gloves. You protect your hands and eyes from sparks and debris.
- Choose a well-lit area. Good lighting helps you see the knife edge clearly.
- Clear your work surface. Remove anything you don’t need so nothing gets in your way.
- Gather your tools. You need your knife, Aimgrind diamond grinding wheel, safety glasses, and a damp cloth.
- Assess your knife. Look for chips, dull spots, or damage. Decide if you need to reshape or just sharpen.
- Clean your knife. Wipe off dirt and oil so the grinding wheel works better.
- Keep a bucket of cool water nearby. Dip your knife in water to keep it cool during grinding.
A stable surface keeps your knife from slipping. An organized workspace makes sharpening easier and safer.
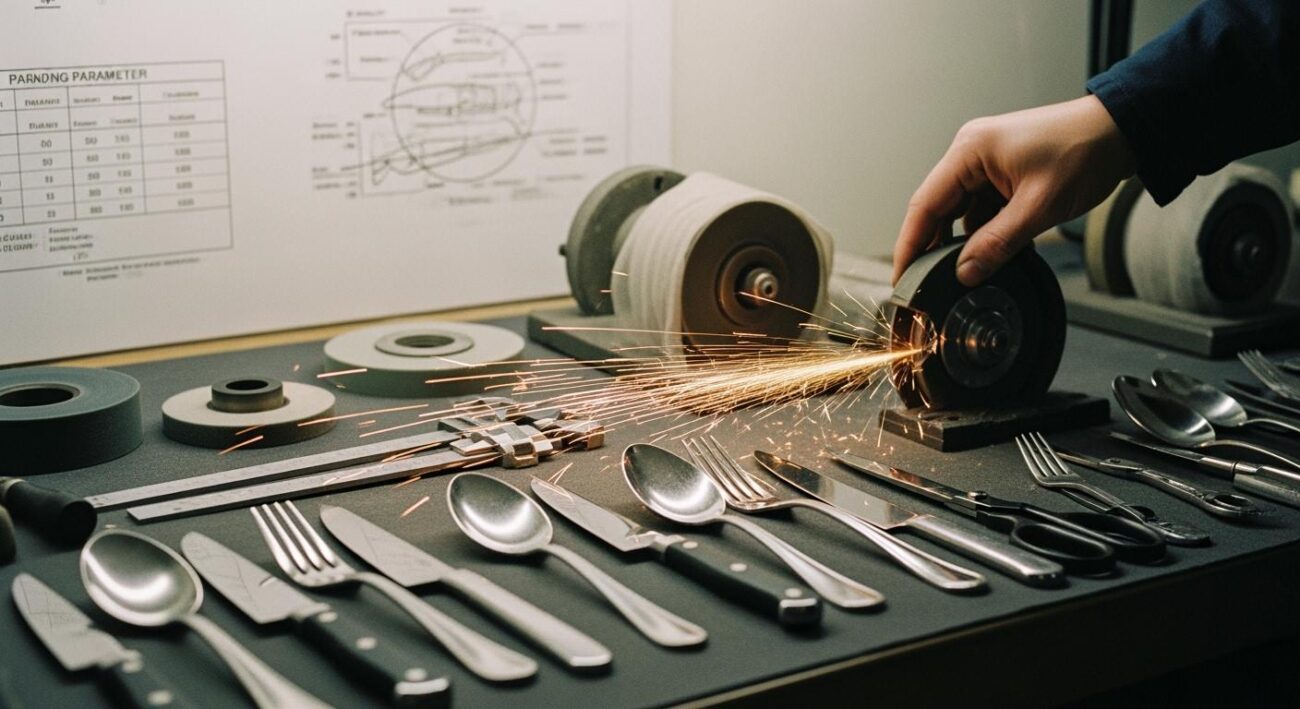
Selecting the Right Grit and Bond
Picking the right Aimgrind diamond grinding wheel is important for your knife. Coarser grits like 80 or 120 remove material fast. You use these if your knife has chips or needs reshaping. Finer grits, such as 600 or higher, give your knife a polished, sharp edge. The bond type matters too. Vitrified bonds help you get precise edges. Resin bonds let you grind cooler and add flexibility, which helps your knife last longer. Aimgrind offers wheels for every sharpening need.
Setting Up the Grinding Wheel
You need to set up your grinding wheel safely. Always check the wheel for cracks before mounting. Clean the mounting surfaces so your wheel doesn’t wobble. Use blotters and tighten screws in a star pattern for even pressure. Balance the wheel with a dynamic balancing machine. This step gives you a smooth grind and keeps your knife edge straight. Make sure your grinding wheel fits your machine. Double-check everything before you start sharpening your knife.
Tip: Take your time with setup. A careful start means your knife gets the best edge and you stay safe.
Achieving the Perfect Edge
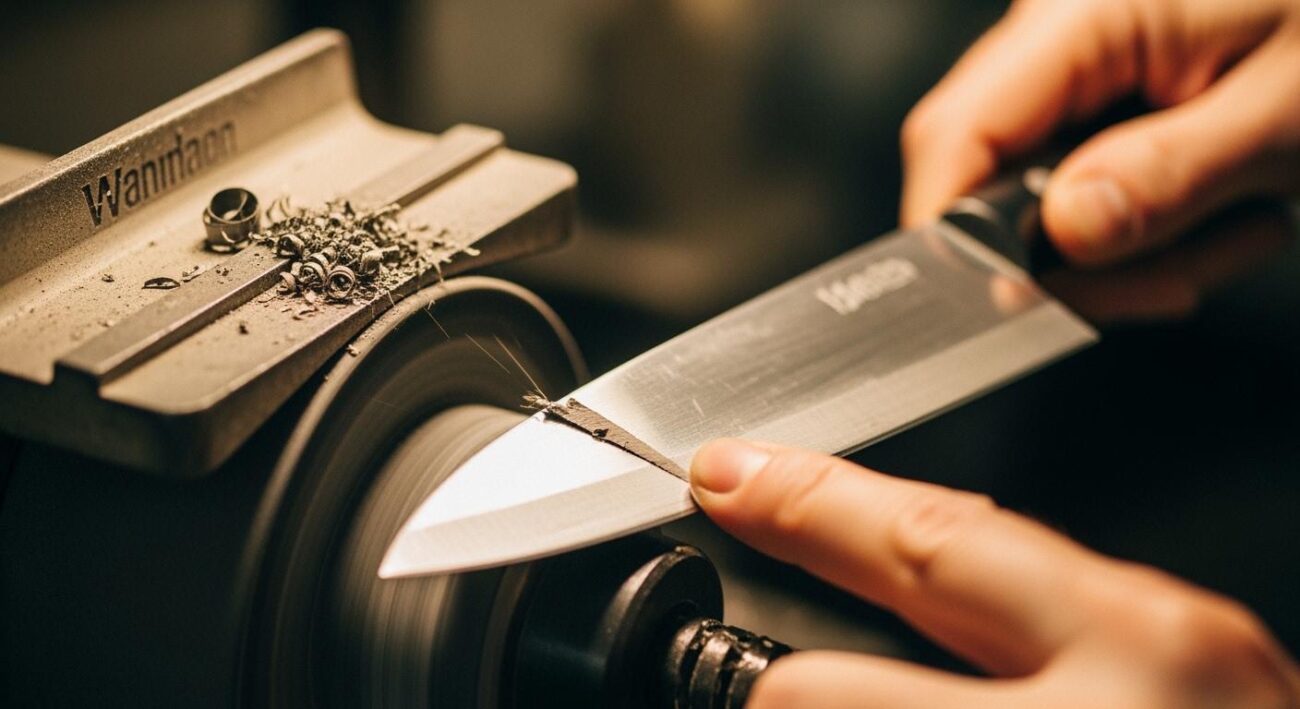
Sharpening Angle and Technique
You want to start sharpening your chef knife with the right bevel angle. The angle you choose affects both sharpness and durability. If you use a Western knife, aim for a bevel between 20° and 22°. Japanese knives work best with a bevel from 15° to 17°. Harder steels need an 18° bevel, and you can add a 20° micro-bevel for extra strength. Here’s a quick look at how the bevel angle impacts cutting ability and sharpness:
| Knife Type | Recommended Angle (per side) | Impact on Performance |
|---|---|---|
| Western Knives | 20° to 22° | Balances sharpness and durability |
| Japanese Knives | 15° to 17° | Allows for cleaner cuts but may be less durable |
| Harder Steels | 18° with a 20° micro-bevel | Maintains sharpness while enhancing durability |
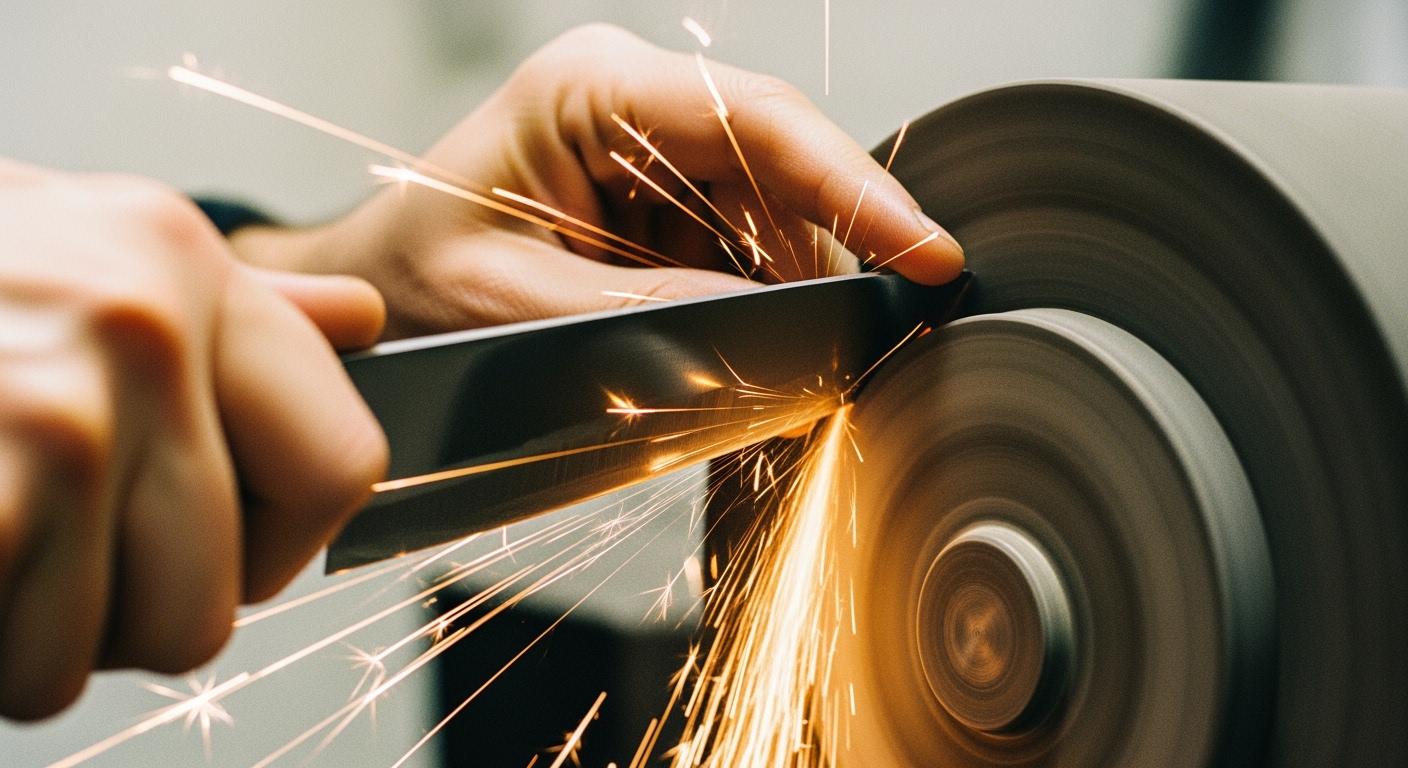
You want to keep your sharpening angle steady throughout the grinding process. Try these steps for optimal results:
- Grip the knife with your thumb on top and your index finger along the spine. This keeps the bevel steady.
- Lock your wrist so the angle doesn’t change.
- Move your whole body, not just your arm, to keep the bevel consistent.
- Divide the blade into sections. Focus on one area at a time, especially if you have a curved blade.
- Use a marker on the bevel. This helps you see if you’re keeping the right angle.
You can use Aimgrind diamond grinding wheels for hollow grind, full flat grind, or convex grind types. Hollow grind gives you a razor-sharp blade but may reduce durability. Full flat grind improves slicing ability and cutting ability. Convex grind supports the edge and boosts durability. You want to match the grind type to your cooking style and knife material.
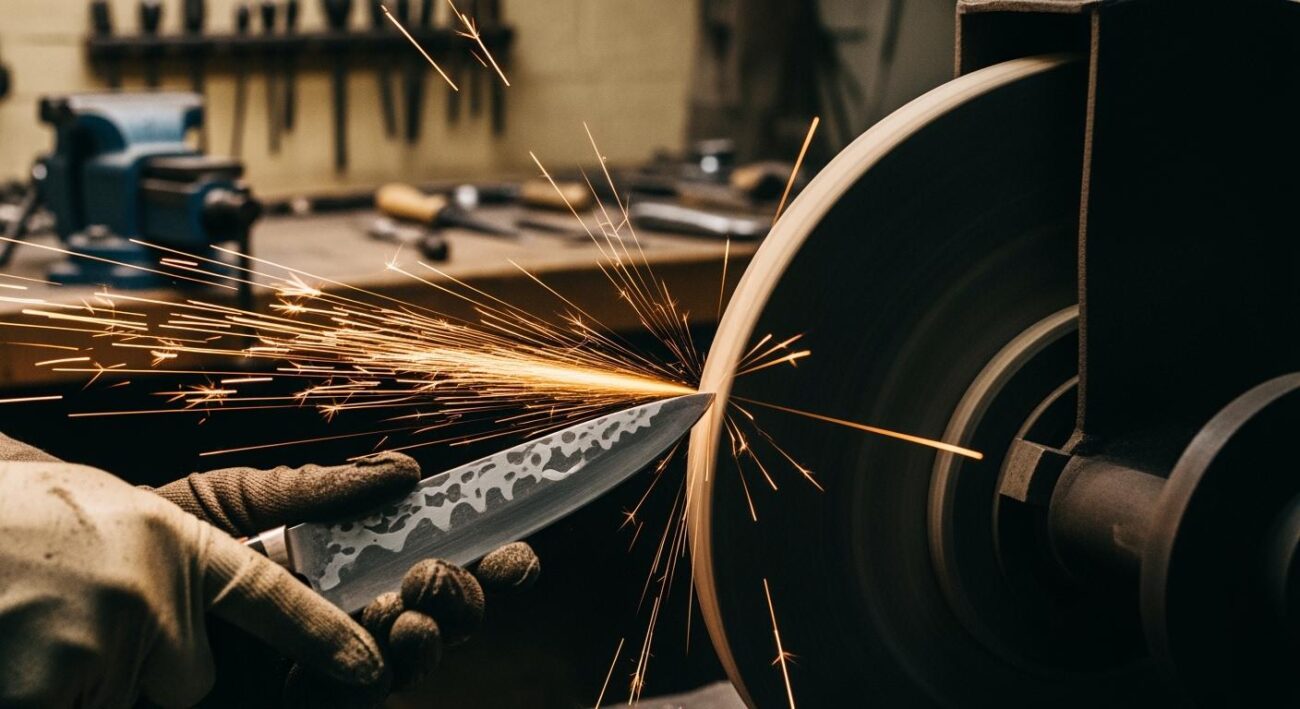
Pressure, Motion, and Cooling
You want to control pressure during the grinding process. Too much pressure creates heat and can damage the edge. Excessive heat causes heat tinting, which changes the microstructure of the blade. This makes the edge brittle and reduces sharpness. You want to use light, steady pressure for an even edge and perfect edge.
Try these tips for sharpening motion:
- Move the knife smoothly across the grinding wheel.
- Keep the bevel angle steady.
- Use long strokes for full flat grind and short strokes for hollow grind.
- For convex grind, rock the blade gently to shape the bevel.
You want to keep the blade cool during sharpening. Water cooling works best. Wet cutting reduces friction and keeps temperatures low. This protects the edge and maintains sharpness. You can dip the knife in water or use a water-cooled grinder. Air-cooled grinders help, but water cooling gives you optimal results. Cryogenic grinding works for heat-sensitive materials, but you usually don’t need it for chef knives.
| Cooling Method | Description |
|---|---|
| Water-cooled grinder | Helps maintain lower temperatures and prevents blade damage. |
| Air-cooled grinder | Uses air to cool the blade during operation. |
| Cryogenic grinding | Effective for heat-sensitive materials, maintaining properties during grinding. |
Tip: Always check the blade temperature during sharpening. If it feels hot, stop and cool it down.
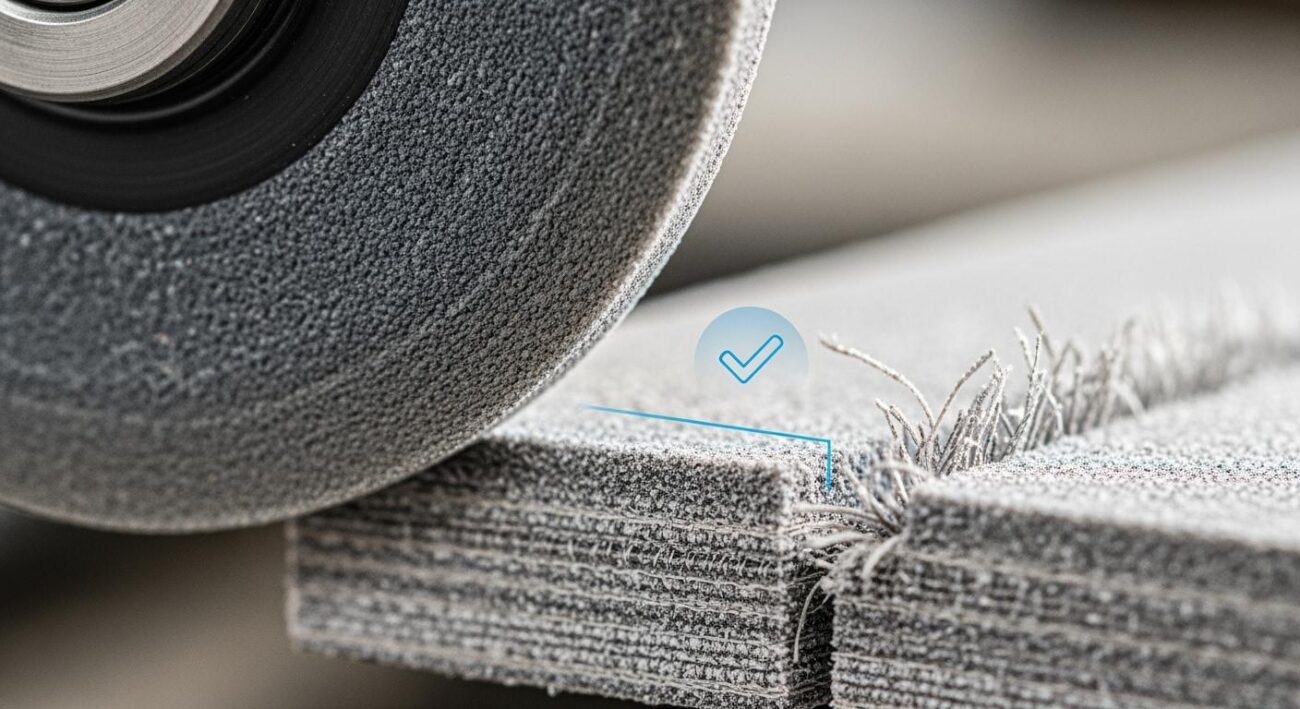
Testing for a Perfect Edge
You want to make sure you’ve achieved the perfect edge before finishing. Testing the sharpness helps you see if your sharpening technique worked. Try these simple tests:
- Hair Shaving Test: Shave a small patch of hair from your forearm. A sharp blade will cut easily.
- Tomato Slice Test: Slice through a ripe tomato. A perfect edge will cut smoothly without crushing.
- Fingertip Test: Run your fingertip along the edge. A sharp edge will catch slightly on your skin.
- Paper Cutting Test: Slice through a piece of paper. A perfect edge will cut with little resistance.
You want to check for burrs after sharpening. Burrs form on the bevel and can affect sharpness. Here’s how to spot and remove them:
| Type of Burr | Description | Detection and Removal Methods |
|---|---|---|
| Imaginary burrs | Loose steel particles that stick to the edge, visible at low magnification or bright light. | Wipe away with a fabric strop or felt, or cut into wood or cork. |
| Flexible/foil burrs | Burrs that can be folded or rolled, often not easily felt. | Remove by cutting into hard plastic or using smooth leather at a high angle. |
| Thicker fatigued burrs | Brittle metal burrs that can be partially broken away. | Cut into wood and strop, but may not fully remove with clean leather alone. |
| Thicker undamaged burrs | Burrs of aligned metal that resist removal. | May require specific sharpening angles to release. |
You want to finish with a convex grind for durability. The convex bevel supports the edge and keeps it sharp longer. This grind type works well for tough tasks and heavy use. You get better edge retention and less chipping. Hollow grind gives you razor sharpness but may chip more easily. Full flat grind improves slicing ability and cutting ability, but convex grind gives you the best balance for achieving the perfect edge.
Note: You want to match the grind type, bevel angle, and sharpening technique to your knife and cooking needs. This helps you achieve the perfect edge every time.
Safety and Maintenance Tips
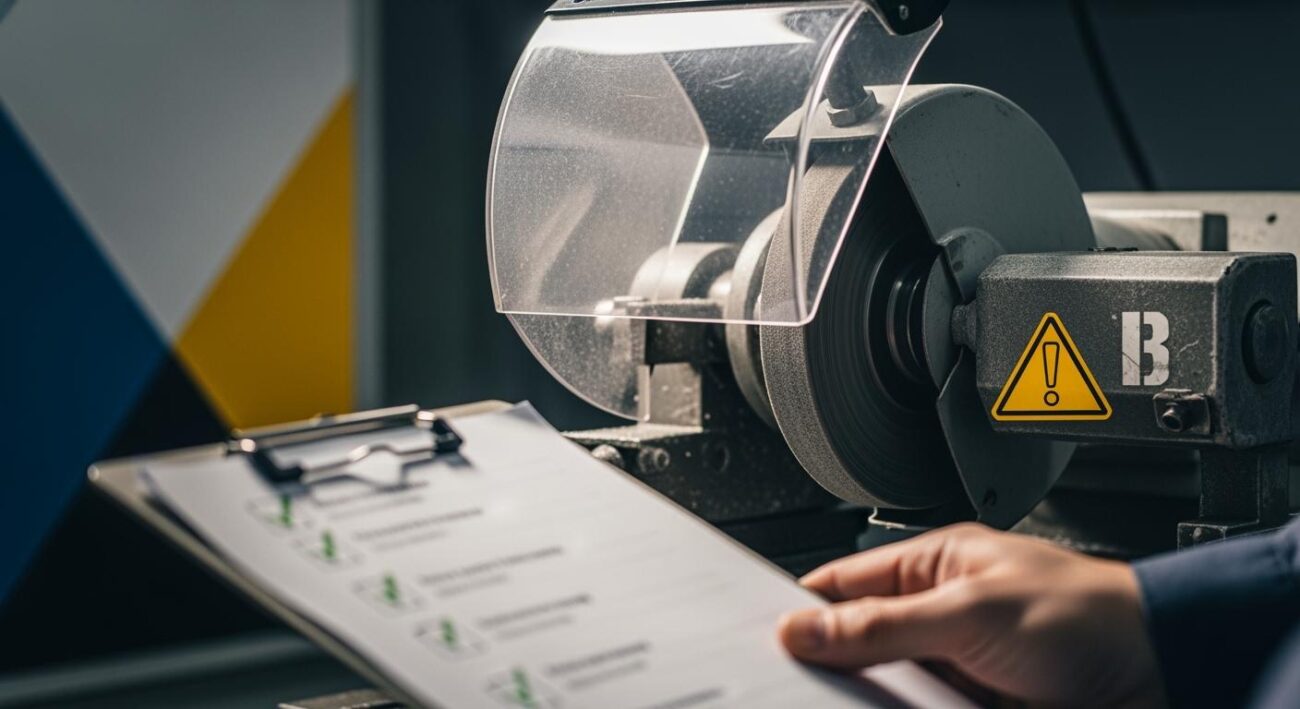
Essential Safety Precautions
You want to stay safe every time you grind a chef knife. Safety precautions help you protect yourself and your workspace. Always wear safety gear before you start. Here’s what you need:
- Safety goggles shield your eyes from sparks and flying debris.
- Gloves protect your hands from sharp edges and hot surfaces.
- Hearing protection, like earplugs or earmuffs, keeps your ears safe from loud grinding noise.
- Respirators help you avoid breathing in fine metal dust.
- Machine guarding ensures all wheel guards and enclosures are secure and working.
- Keep your workspace clean and well-ventilated.
Grinding wheels can cause eye injuries, respiratory issues, and hearing damage. You reduce these risks by using protective gear and checking your equipment. You want to inspect your grinder and wheel before each session. Make sure everything fits tightly and works smoothly.
Common Mistakes to Avoid
Sharpening chef knives with grinding wheels can be tricky. You want to avoid mistakes that affect the edge and your safety. Here are some common errors:
- Not understanding the knife’s angle leads to poor sharpening and weak edge performance.
- Applying inconsistent pressure creates uneven edges and makes fine-tuning and polishing harder.
- Failing to maintain the correct bevel angle can damage the blade and ruin the edge.
- Overheating the blade causes blue spots and loss of hardness.
You can avoid overheating and excessive pressure by following these techniques:
| Technique | Description |
|---|---|
| Use Light Pressure | Apply moderate pressure to avoid overheating the steel. |
| Cool the Steel Frequently | Periodically cool the steel to prevent overheating and damage. |
You want to dip the blade in water often during grinding. Water-cooled sharpening tools help keep the edge cool. Grinding by hand lets you control heat and pressure.
Always watch for blue spots on the blade. Blue means the blade got too hot and may have lost its hardness.
Honing and Edge Care
After you grind and finish fine-tuning and polishing, you want to keep your edge sharp. Honing helps you maintain the edge and keeps it ready for every task. Here’s how you hone your chef knife:
- Hold the honing rod vertically with the tip resting on a stable surface.
- Position the knife at about 15-20 degrees against the rod.
- Draw the knife downward while pulling it across the rod, keeping the angle steady.
- Alternate sides for even edge treatment, usually 5-10 strokes per side.
- Use light pressure. Honing aligns the edge, not removes material.
- Finish with a paper test to check the edge improvement.
You want to hone your knife before each cooking session or at least weekly. If you cook often, hone the edge once a week or whenever it feels dull. Regular honing helps with maintaining sharpness and ensures smooth cuts. After cutting acidic foods, hone the edge to keep it aligned. Fine-tuning and polishing after grinding gives you a perfect edge, but regular care keeps it lasting longer.
Tip: Keep your honing rod handy. A quick hone before prepping food makes your edge perform at its best.
You can achieve a perfect edge on your chef knife when you follow the right steps. Start with a clean workspace and choose the right Aimgrind diamond grinding wheel. Always check your setup before you grind. Use steady hands and keep your grind angle consistent. Remember to grind with light pressure and cool your blade often. Test your edge after each grind. Regular maintenance and proper grind technique keep your knife sharp and strong. Hone your knife after every grind. Trust Aimgrind to help you grind with passion and skill. Enjoy the satisfaction of a flawless grind every time you step into the kitchen.
FAQ
How often should you grind your chef knife?
You should grind your chef knife when it feels dull or struggles to cut. For home cooks, you might grind every few months. If you cook daily, check your edge more often. Regular grind sessions keep your knife sharp and ready.
Can you grind both sides of the knife?
Yes, you can grind both sides. You want to grind each side evenly for a balanced edge. Flip the knife after a few strokes. This helps you keep the grind even and prevents one side from wearing down faster.
What is the best way to cool your knife during a grind?
You should dip your knife in water often during a grind. Water cools the blade and stops overheating. If you use a water-cooled grinder, you get even better results. Always check the blade temperature with your hand during the grind.
How do you know when to stop grinding?
You stop the grind when you feel a burr along the edge. You can test the sharpness by slicing paper or a tomato. If the knife cuts smoothly, you can finish the grind and move to honing.
Can you use Aimgrind diamond wheels for other tools?
Yes, you can grind scissors, woodworking tools, and even garden blades with Aimgrind diamond wheels. These wheels work for many types of grind jobs. You get a strong, sharp edge on lots of tools, not just chef knives.
Tip: Always clean your grinding wheel after each grind. This keeps your grind smooth and your tools sharp.
Contact Us
For More Grinding Solution or Customized Abrasive Tools