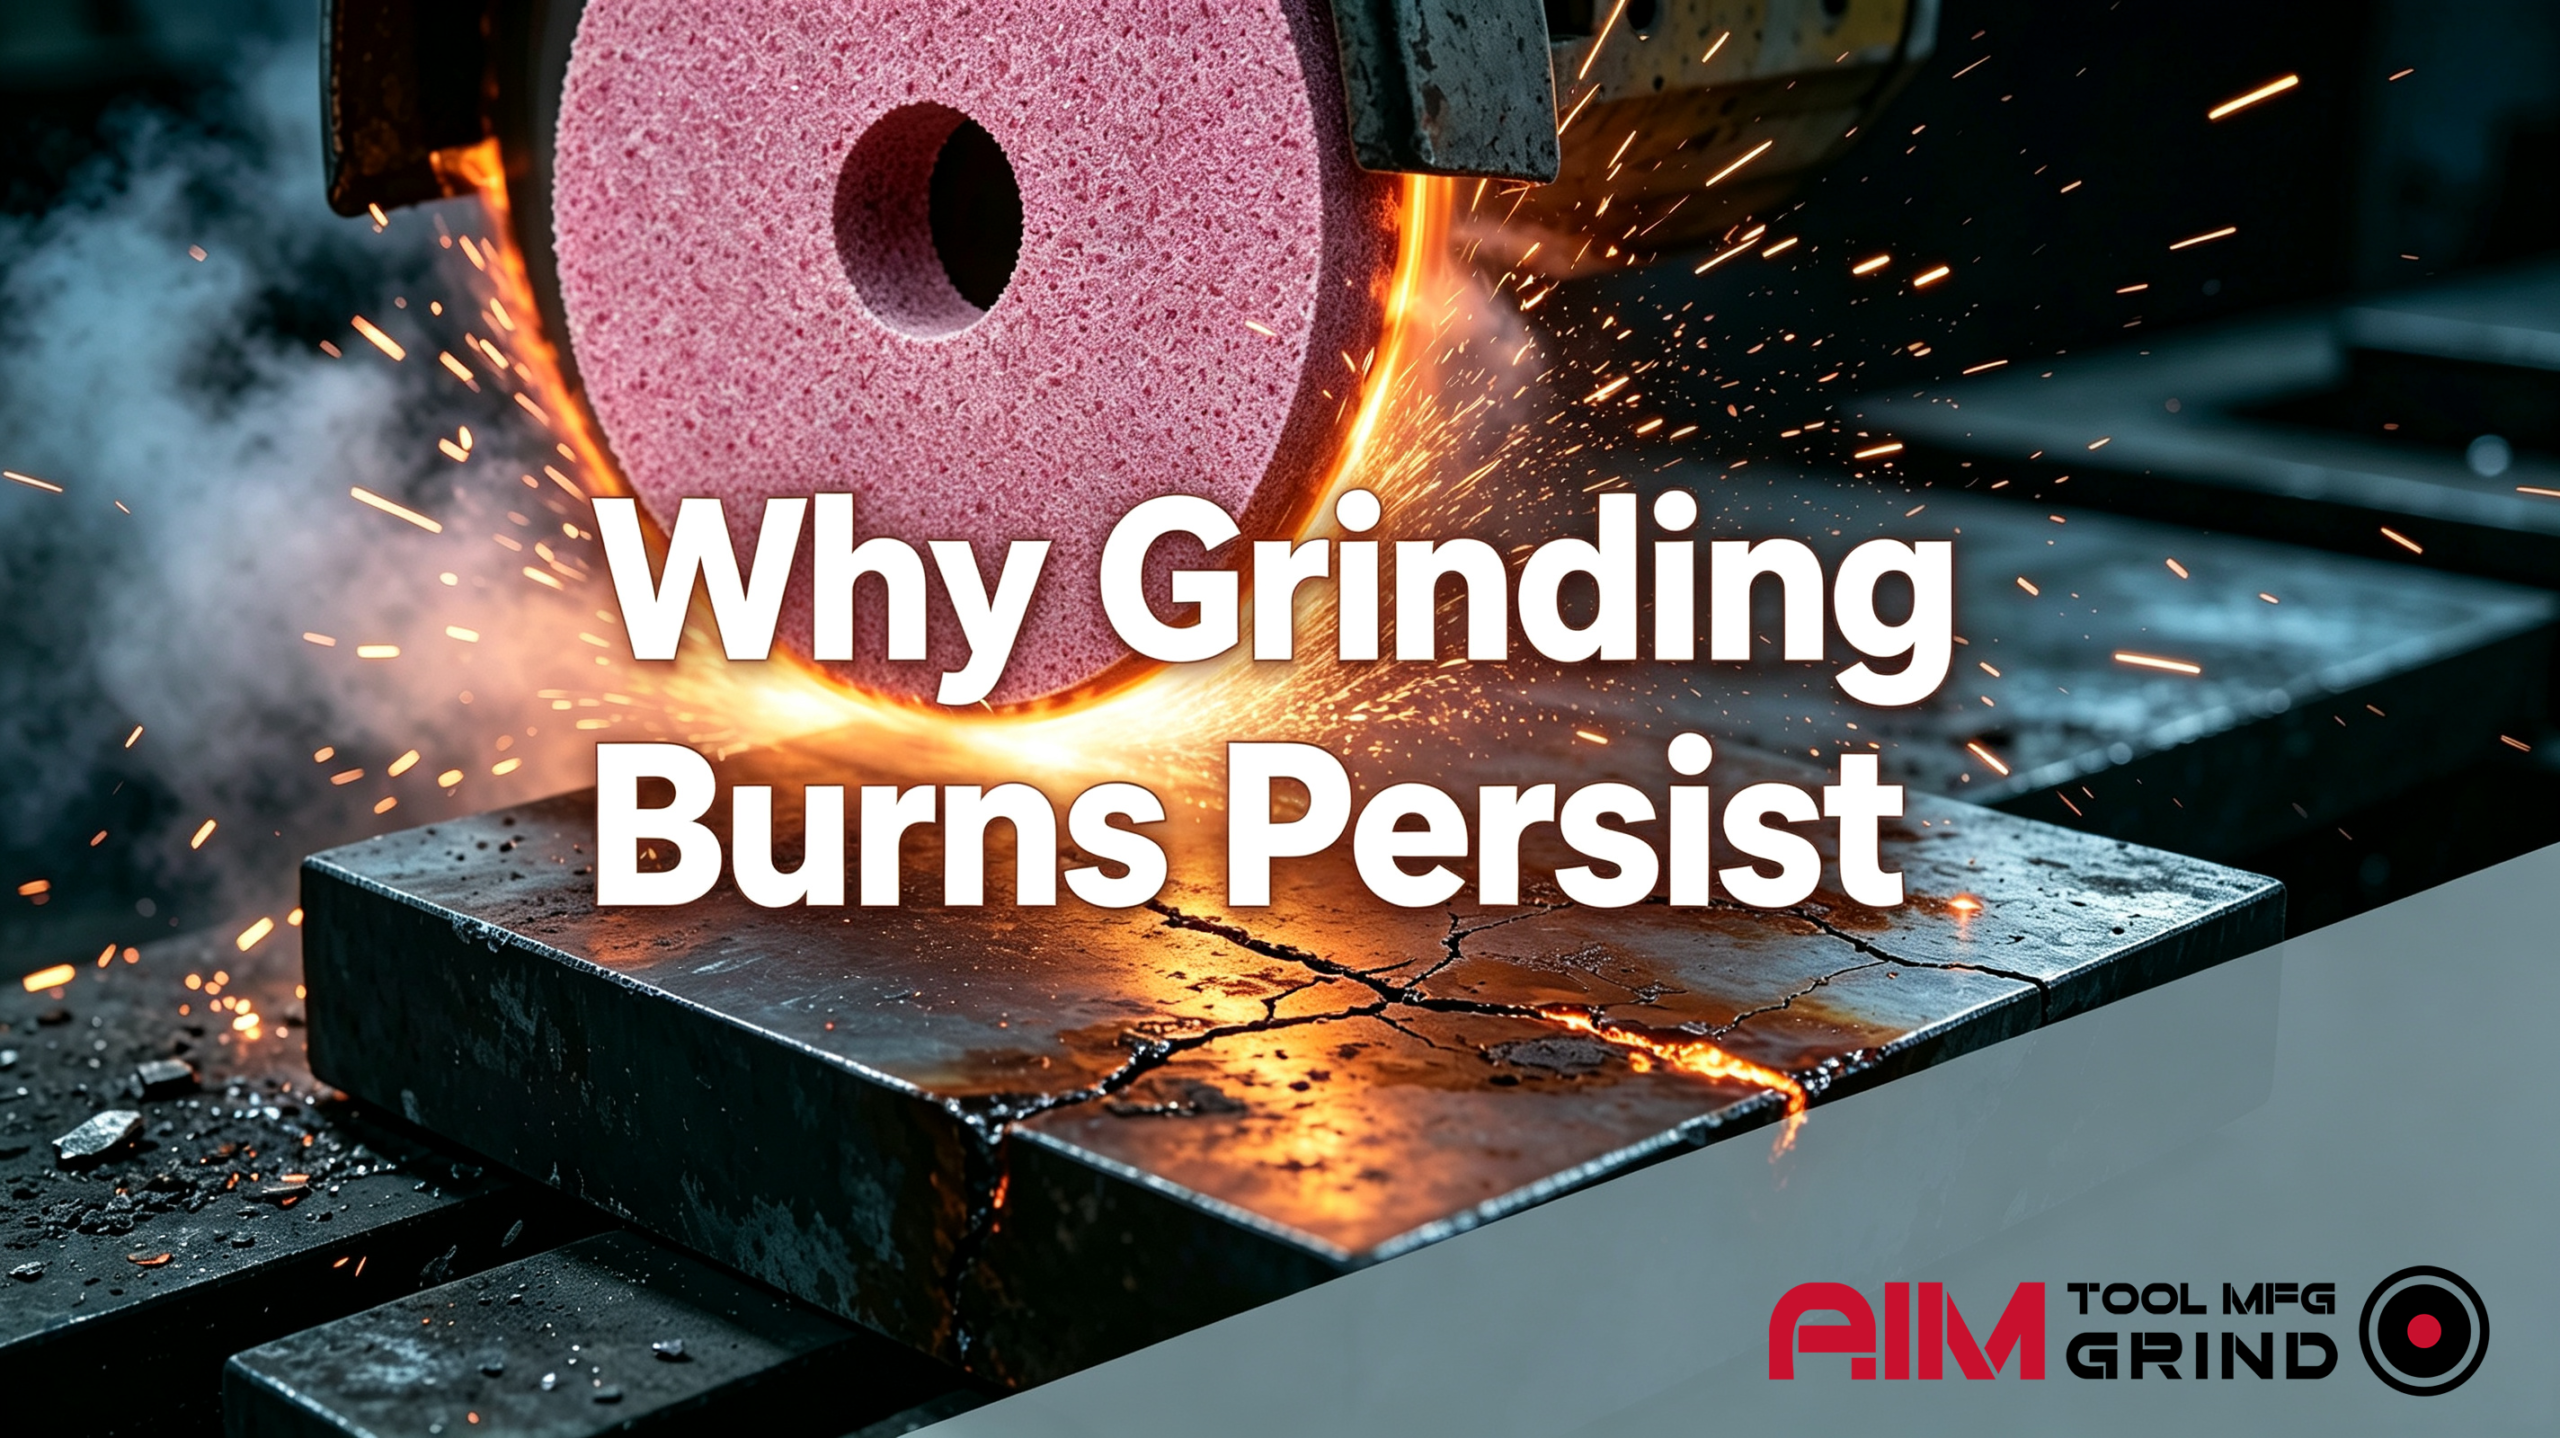
Why Grinding Burns Persist — Even After Changing Wheels
The part comes off the machine with yellow and blue temper colors on the surface. So you change the wheel — once, twice, three different specs — and the burn keeps coming back. Same machine, same hands, same steel. Where is the problem, really?
Here is a judgment you may not want to hear: with grinding burn, the real culprit is usually not the wheel. Grinding is the least energy-efficient of all cutting processes — most of the spindle power turns into heat concentrated in a layer just tens of microns deep, and grinding zone temperatures routinely hit 800–1000°C while hardened steel tempers at around 250°C. This guide separates the burns a wheel change can never fix from the ones that genuinely need a different spec.
Check 1: First, Identify Which Type of Burn You Have
Not all burns are the same. The type depends on how high the grinding zone temperature climbed and whether coolant reached the contact arc. The consequences differ sharply.
| Type | Temperature & Cooling | Structure Change | Hardness | Risk |
|---|---|---|---|---|
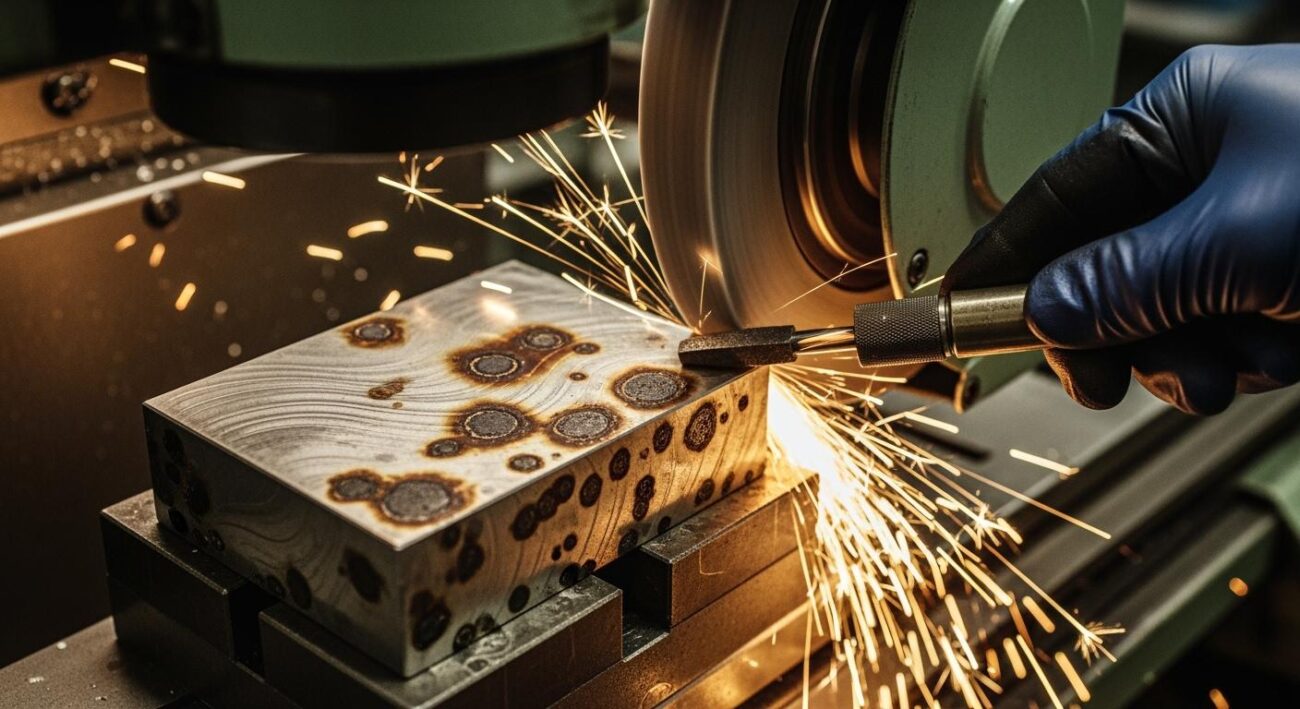
| Tempering burn | Above tempering line, below transformation point | Tempered martensite → softer troostite/sorbite | Decreases | Most common; softened layer + tensile stress reduce wear and fatigue strength |
| Rehardening burn | Above transformation point with coolant quenching | Secondary quench martensite (white layer) over softened sublayer | Surface rises, sublayer drops sharply | Most dangerous; hard, brittle, high tensile stress — cracks initiate easily |
| Annealing burn | Above transformation point, no coolant reaching the zone | Surface air-cools to annealed structure | Collapses outright | Severe hardness loss; common in crankshaft form grinding |
Tell these three apart and you know where to look. Tempering and annealing burns point to coolant and parameters first. A rehardening burn points straight at coolant delivery — if the coolant is not reaching the arc, the surface either air-cools or quenches unpredictably.
Important: Temper colors are just oxide film. A finishing pass can grind the color off, but not the burn layer. No visible color never means no burn. For critical parts, run the nital etch test.
Expert Tip: The rehardening burn is the one that fools inspectors. Surface hardness goes up, the microstructure looks bright and normal, and the softened layer plus tensile stresses underneath quietly eat fatigue life. If the part sees dynamic loading — bearings, crankshafts, gears, machine guideways — treat any suspected burn as a fatigue-life issue, not a cosmetic one.
Check 2: Is Coolant Actually Reaching the Grinding Zone?
This is the biggest trap on the system side, and the one a wheel change can never fix.
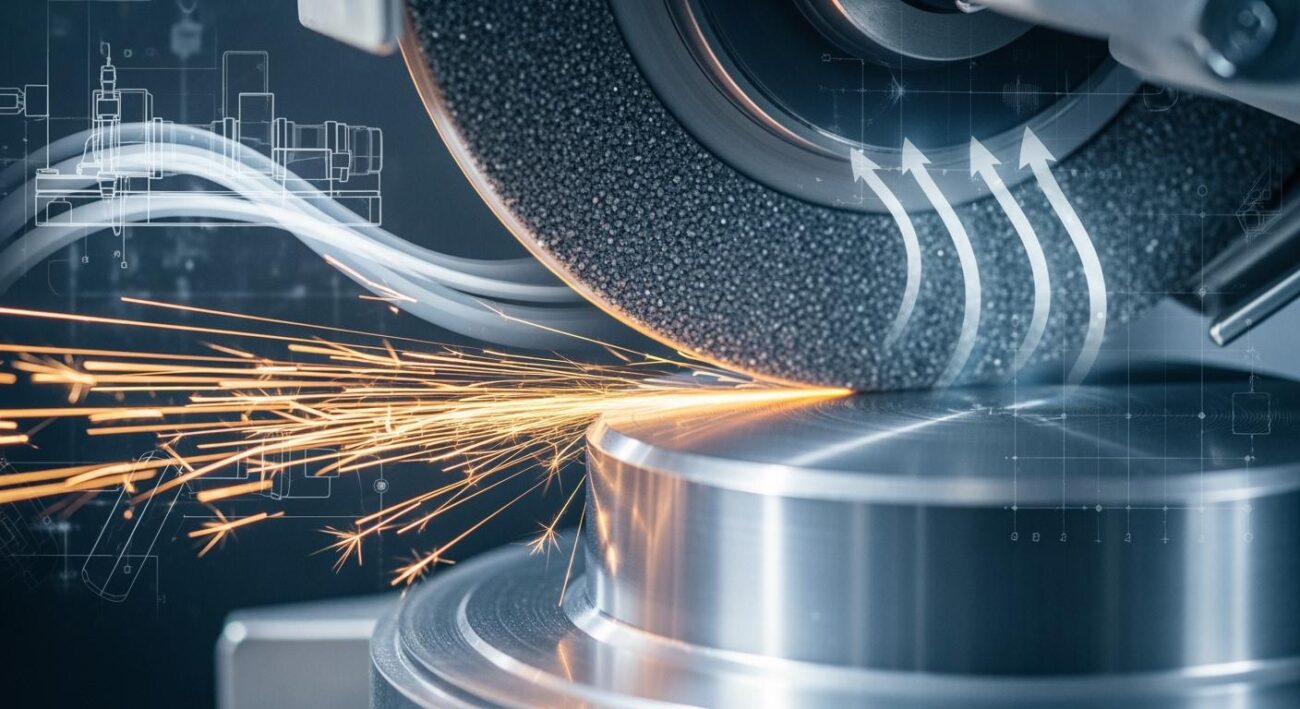
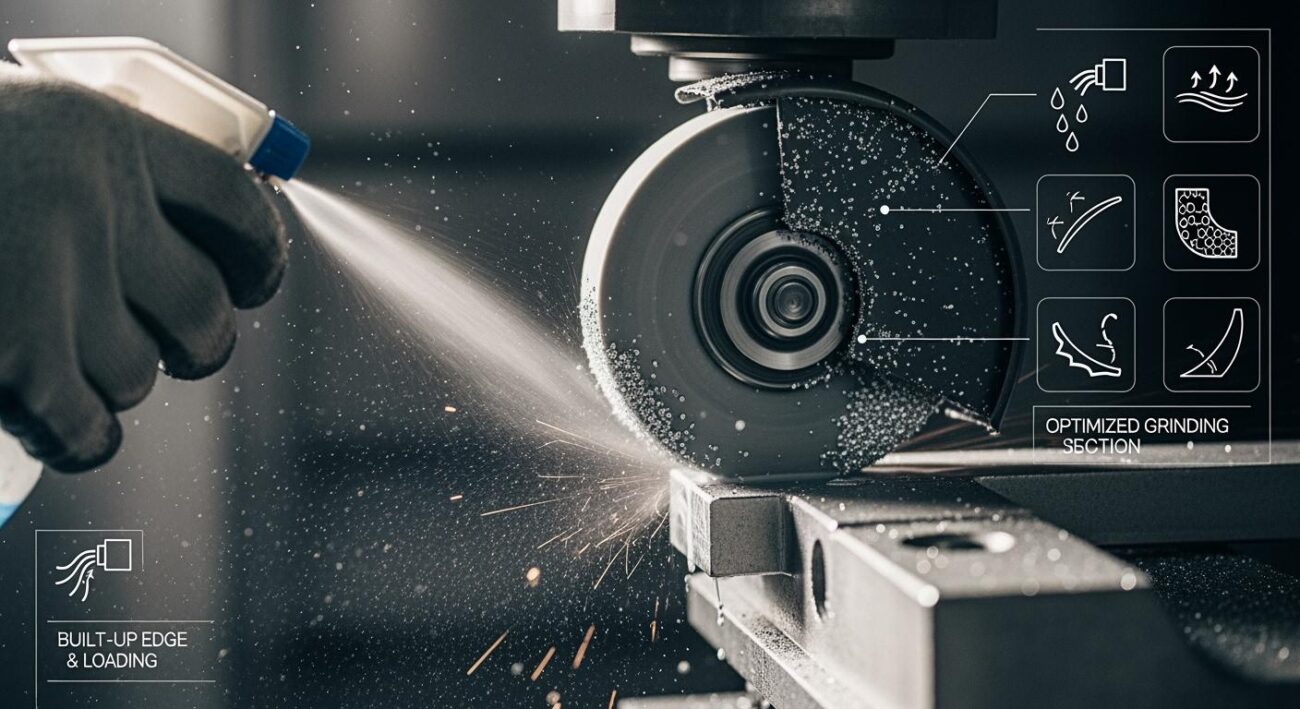
A wheel spinning at speed drags a fast-moving air film around its periphery. Ordinary flood coolant cannot break through that barrier — often less than 10 percent of the fluid actually reaches the grinding zone. It looks like you are flooding the part; in reality, the contact arc is nearly dry.
So before turning up the flow: there is an air barrier on the wheel surface that coolant cannot punch through — pouring more on is pouring it away. Nozzle position and jet velocity matter far more than flow rate.
What to Check
| Element | What to Verify | Reference |
|---|---|---|
| Nozzle position | Close to the contact arc, jet tangential to wheel periphery, inlet angle around 20° | Dents or drift ruin efficiency |
| Air deflector | A plate that blocks the air film before it reaches the nozzle | Low-cost, high-payoff upgrade |
| Jet velocity | Ideally matched to wheel surface speed (iso-velocity supply) | Too slow and the jet is blown apart |
| Flow & pressure | 1.5–5 L/min per mm of wheel width | High-pressure coolant at 0.3–0.5 MPa for burn-prone jobs |
| Emulsion concentration | 3–5% | Degraded fluid, high temperature, or failed filtration quietly cuts cooling capacity |
Expert Tip: Before adding pressure or flow, verify the nozzle is undamaged and correctly positioned. A dented or drifted nozzle can waste the entire coolant supply without any visible sign on the machine.
Check 3: Are Your Parameters Too Aggressive?
Depth of Cut: The Number-One Driver
Deeper cuts mean thicker chips per grain, higher grinding forces, deeper plastic deformation, and much more heat. For hardened steel finish grinding, keep the depth of cut at 0.005 to 0.015 mm. For rough grinding, generally do not exceed 0.03 mm at this magnitude. Always taper the last passes — burn loves to show up right at the sizing stage.
Workpiece Speed: The Counterintuitive Lever
Raising workpiece speed increases the heat generated per unit time, but each spot spends less time under heat, so the structure never has time to transform — burn actually decreases. When burn appears, raising workpiece speed — on a centerless machine, raising the regulating wheel speed and reducing the tilt angle — is often an effective move.
Wheel Surface Speed
If wheel speed is too high, the chip per grain becomes thinner, the rubbing and ploughing fraction rises, specific grinding energy climbs, and friction heat actually increases. Moderately lowering wheel speed is a standard option when burn appears. Note this is the opposite end of the same axis as the “won’t cut” problem: too slow causes poor cutting, too fast causes burn sensitivity.
Speed Ratio and Stock Distribution
The ratio of wheel speed to workpiece speed commonly runs 60 to 80, and is generally not recommended above 120. Too high means the part moves too slowly and heat soaks in.
Burn also often shows up at the “final sizing” stage: rough grinding leaves too much stock, finish grinding is forced to cut deep to catch up, and all the burn risk gets concentrated in the last few passes. Unbalanced stock distribution is a classic case where the bill does not belong to the wheel.
Two counterintuitive facts to verify first: excessive depth of cut is the first culprit of burn; raising workpiece speed actually relieves it.
Expert Tip: Watch for cumulative burn — the same spot passing under the wheel on consecutive strokes with no cooling gap. Each pass stays under the limit; together they burn through. This kind of burn is a process-sequencing issue, not a wheel issue.
Check 4: Is Dressing Keeping Up?
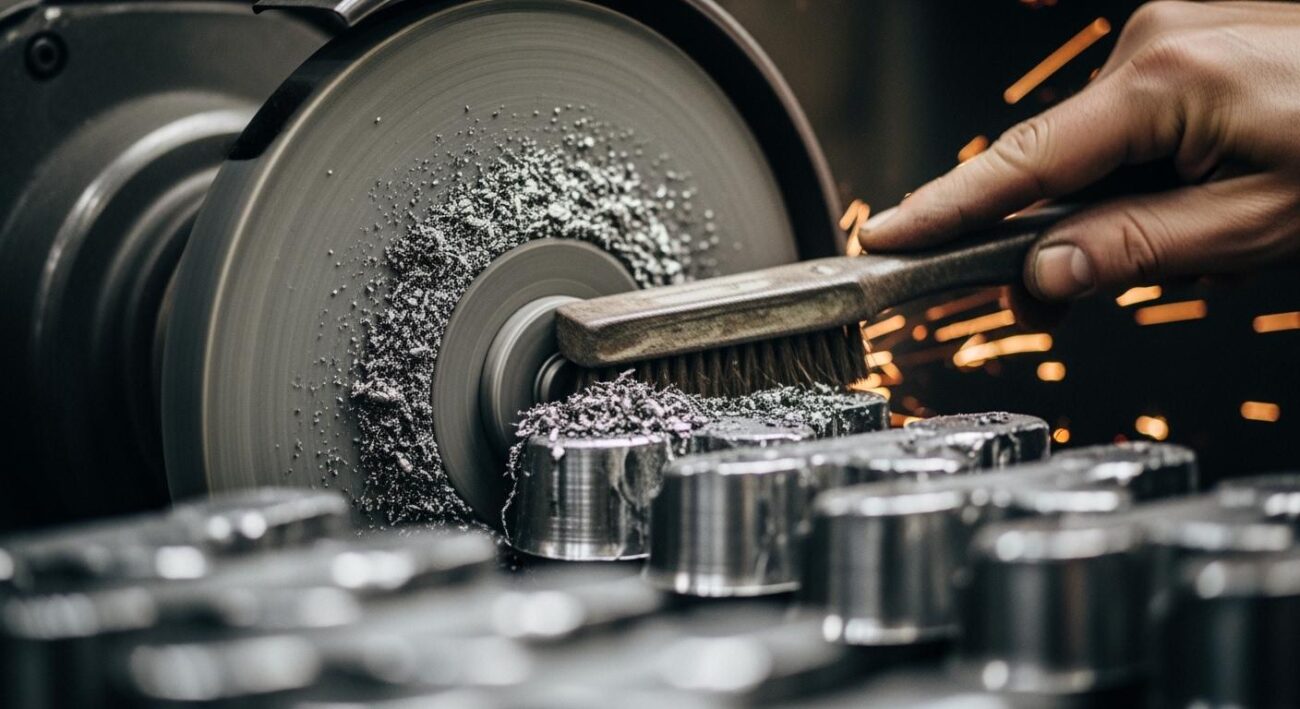
A glazed wheel stops cutting and starts rubbing — grains slide and plow instead of shearing, and the wheel becomes a pure friction heat source. Parts ground with a dull wheel almost always carry damage.
The classic script: a new wheel runs clean for a few dozen parts and then starts burning — that is not a bad wheel, that is dressing management falling behind; this kind of burn recurs no matter how many wheels you swap. Every wheel change just resets the dressing clock.
Do not schedule dressing by part count — watch the signals: spindle power climbing, sparks going weak and scattered, the sound turning dull, the workpiece surface turning shiny. These are the same signals that flag a worn-out wheel in the “won’t cut” case; here they carry the additional meaning that burn is next.
And do not over-dress either. Too fine a dress leaves grains with too little protrusion, cutting ability drops, friction rises, and burn risk goes up. To improve surface quality, increase the dressing feed rate and reduce depth of cut — do not make the wheel glassy.
Expert Tip: The dressing signal pattern is identical to the “won’t cut” pattern — power up, sparks weak, sound dull, surface shiny. If dressing restores cutting for a while and then burn returns, the dressing frequency or parameters are wrong, not the wheel.
Check 5: Does the Wheel Spec Match the Job?
Only now does the wheel itself come into question. But be clear about one thing: wheel-side problems are all spec-to-application mismatch, never bad wheel quality. The same spec can go from great wheel to burn culprit just by changing jobs.
Hardness: The First Suspect
On the wheel side, the first suspect for burn is always a wheel that is too hard. Too hard, and dull grains will not release; the face becomes a blunt cutter, friction replaces cutting, and temperature spikes. For stainless steel and die steel, K-grade and harder wheels carry significantly higher burn risk than H or J grades.
Verification is cheap: test with a wheel one to two grades softer. If the burn clearly drops, the wheel side is confirmed.
Grit Size, Structure, Abrasive, Bond
Grit size: finer grit means more cutting edges per unit area, smaller chip clearance, and more grains working in the contact arc — heat density goes up. Choose one grade coarser whenever the roughness spec allows.
Structure: too tight, and there are few pores for chip clearance and coolant entry. Burn-prone materials and creep-feed jobs need open structures or even high-porosity wheels. Pores are chip rooms and heat exits at the same time.
Abrasive: conventional alumina on titanium alloys has strong chemical affinity and dulls quickly — it burns by nature. For hardened steel and high-speed steel, CBN has thermal conductivity dozens of times higher than alumina, producing lower grinding force and less heat. More importantly, alumina sends 70–90% of grinding heat into the workpiece, while CBN conducts a significant share away through the wheel — the fraction entering the workpiece can be reduced to 20–30%. That is a fundamental change in mechanism.
Bond: from a heat-dissipation perspective, vitrified bond has high porosity and dissipates heat well; resin and rubber are denser and dissipate less. For burn-sensitive jobs, prioritize high-porosity vitrified bond.
Structural design: slotted wheels and segmental chip-clearance designs let the wheel leave the contact zone periodically, opening a larger cooling window. Segmental resin CBN wheels have been used successfully on C75 spring steel face grinding burn.
Adjustment order on the wheel side: structure first, then hardness, then grit size, and only last the abrasive. Starting with the abrasive is usually an expensive detour.
Expert Tip: For batch grinding of hardened steel and high-speed steel, switching to CBN often solves repeated burn in one step — but only after coolant and parameters pass. Otherwise CBN burns just the same, at a much higher price.
Check 6: Machine, Fixturing, and the Material Itself
Chatter together with burn? Check the machine first. Poor balance and spindle vibration intensify friction in the chatter zones, and burn and chatter often travel together. Fix the balance and spindle before touching the wheel.
Burn fixed at shoulders, corners, or the entry and exit of the workpiece? Check fixturing and path. On centerless machines, wrong regulating wheel and blade settings cause local over-grinding at the ends. On surface grinders, unstable magnetic holding does the same. Local burn is often a fixturing issue, not a wheel issue.
The most overlooked factor: the material itself. Carburized parts with excess retained austenite are extremely sensitive to grinding cracks. Low-conductivity materials — stainless steel, titanium, superalloys, high-alloy die steels — are natural burners. That kind of burn was planted before the part ever touched a grinder; the bill belongs to heat treatment, not to the wheel.
| Burn Timing & Pattern | Most Likely Cause | First Action |
|---|---|---|
| First parts after new wheel or fresh dress | Coolant or parameters | Check nozzle position, flow, and depth of cut |
| Creeps in after a few dozen parts; eases after dressing | Dressing management | Set dressing signals and frequency; check parameters |
| Burns from first part to last, any wheel | Coolant first, parameters second | Nozzle rebuild, high-pressure coolant, verify speed ratio |
| Fixed at shoulders, corners, entry or exit | Fixturing, path, or local cooling | Check regulating wheel and blade; add local coolant nozzles |
| Accompanied by chatter | Machine, dynamic balance | Balance the wheel; check the spindle |
| Burn eases with a wheel one grade softer | Wheel hardness (wheel side confirmed) | Adjust hardness grade formally |
| Repeated burn on batch hardened steel | Abrasive or process route | Evaluate CBN, but verify coolant first |
Beyond timing, the distribution of burn also points the direction: uniform burn across the whole grinding face points to too-hard wheel or excessive parameters; banded burn tracking chatter points to machine vibration and dynamic balance; fixed local burn points to fixturing and entry/exit path; cumulative burn that worsens over the run points to process sequencing and cooling intervals.
Expert Tip: When burn is accompanied by chatter, fix the machine first. No wheel spec will overcome a spindle that is shaking. Chatter and burn are often the same root cause showing two symptoms.
Detection Methods: How to Actually Confirm Burn
Visual inspection is fast but unreliable. The available methods, ranked by rigor:
| Method | Principle | Note |
|---|---|---|
| Visual color check | Oxide film color: yellow → straw → brown → purple → blue | Fast, unreliable; use as a first-pass clue only |
| Nital etch | Dilute nitric acid in alcohol; different microstructures react differently | Standard shop-floor screening for hardened steel; ISO 14104 covers gears, shafts, splines, bearings |
| Metallography | Direct cross-section inspection of the surface layer | Most accurate, but destructive; used in failure analysis |
| Microhardness traverse | Hardness profile vs depth | Quantifies the depth of the burn layer; requires specimen prep |
| Barkhausen noise (BN) | Electromagnetic detection of hardness and residual stress changes | Non-destructive, in-process capable; requires a reference-part calibration |
| X-ray diffraction (XRD) | Residual stress measurement | Used for non-ferromagnetic materials like nickel superalloys |
Important: No visible burn color does not mean no burn. Color is a clue, not a conclusion. For critical parts, run the nital etch or Barkhausen check.
Expert Tip: Keep a confirmed-good reference part for Barkhausen calibration. Without a baseline, the readings cannot distinguish normal from damaged.
Burns a Wheel Change Can Never Fix
These are the system-side cases. Changing wheels just resets the clock; the burn returns on schedule.
| System-Side Cause | Field Signature | Real Fix |
|---|---|---|
| Coolant not reaching the arc | Burns on any wheel, even freshly dressed | Nozzle position, air deflector, jet velocity |
| Parameters too aggressive | Rough grinding fine, sizing burns; or burn at a fixed stage | Taper the last passes; raise workpiece speed; rebalance stock distribution |
| Dressing management missing | Fine after dressing, burns after a few dozen parts, cycles back | Set dressing signals and frequency |
| Machine and fixturing | Burn with chatter; or fixed at shoulders, corners, entry/exit | Balance, spindle check, path correction |
| Material and heat treatment | Excess retained austenite; low-conductivity materials burn everywhere | Heat-treatment fix upstream; process design revision |
Expert Tip: The most expensive diagnosis is the wrong one. If the burn is a system-side issue, every wheel you mount is money spent on the wrong problem. Fix the system first, then consider the wheel.
When a Wheel Change Is Actually the Answer
These are the wheel-side cases. They are all spec-to-application mismatch, never quality issues.
Hardness too hard. Change to one to two grades softer. This is the most common wheel-side cause, and the cheapest to verify by test grinding.
Grit size too fine for the stock removal rate. Coarsen one grade.
Structure too tight. For burn-prone materials and creep-feed jobs, switch to open structure or high-porosity wheels.
Abrasive mismatch. Conventional alumina on titanium or superalloys cannot suppress chemical affinity and dulls quickly; switch to the correct abrasive. For batch hardened steel and high-speed steel, evaluate CBN.
Bond and structure not suited to the job. For burn-sensitive work, move from dense bonds to high-porosity vitrified. For face and form grinding, consider slotted or segmental chip-clearance designs.
Expert Tip: The same wheel spec can be perfect on one job and a burn culprit on another. This is why a wheel that works fine at another shop can burn on yours. Specs are always relative to the application.
Frequently Asked Questions
Why does grinding burn keep coming back even after changing wheels?
✅ Because in most cases the wheel is not the cause. Grinding burn comes from coolant that never reaches the arc, parameters that are too aggressive, dressing that is not keeping up, or machine and material issues. Each of these resets the problem when you change the wheel — the burn returns on schedule because the root cause never moved.
How can I tell which type of burn I am looking at?
✅ Tempering burn (above tempering line, below transformation point) softens the surface and leaves yellow-to-blue colors. Rehardening burn (above transformation point with coolant) raises surface hardness and forms a white layer, with a softened sublayer underneath. Annealing burn (above transformation point, no coolant) collapses hardness and shows a gray surface. Nital etch or metallography confirms the type.
Why does raising workpiece speed reduce burn?
✅ Higher workpiece speed increases total heat per unit time, but each spot spends less time under the heat, so the surface structure has less time to transform. On centerless machines, raising the regulating wheel speed and reducing tilt is often effective. It is one of the counterintuitive facts that resolves burn quickly.
Is CBN a guaranteed fix for hardened steel burn?
✅ No. CBN lowers grinding force and heat, and its higher thermal conductivity sends less heat into the workpiece — often a step-change improvement. But CBN still burns if the bond is too hard, the structure too tight, the coolant does not reach the arc, or the wheel speed is wrong. It is an upgrade after the system passes, not a substitute for fixing the system.
The burn is gone — did I fix it?
✅ Maybe, or you just removed the visible color. Temper colors are oxide film; a finishing pass can grind them off, but the burn layer underneath remains. For critical parts, run the nital etch test or a Barkhausen noise check to confirm the surface structure is intact, not just the color.
Key Takeaways
- With grinding burn, the culprit is usually not the wheel. Grinding zone temperatures hit 800–1000°C; hardened steel tempers around 250°C.
- Identify the burn type first: tempering (softens), rehardening (surface hardens, sublayer softens), annealing (hardness collapses).
- Temper colors are oxide film, not the burn layer. No visible color does not mean no burn.
- Coolant may not reach the arc. An air barrier deflects most flood coolant — nozzle position and jet velocity matter more than flow rate.
- Depth of cut is the first driver; raising workpiece speed relieves burn. Both are counterintuitive, both are true.
- A new wheel that runs clean and then burns is a dressing management problem, not a wheel problem.
- On the wheel side, the first suspect is always hardness. Adjust in order: structure → hardness → grit → abrasive.
- Burn with chatter, or burn at fixed locations, points to the machine and fixturing, not the wheel.
- Excess retained austenite and low-conductivity materials burn from the heat-treatment stage. That bill is not the wheel’s.
- Troubleshoot free items first, paid items last. Eight times out of ten, the answer is not on the wheel.
More grinding questions? Need a custom wheel solution?
Contact Us →