Grinding Size Stalled in the Final Microns? Causes and Fixes
You are on the last pass of a precision grind. The wheel is feeding, the spindle is turning, but the part size will not move. You compensate again. Nothing. You have now fed 0.01 mm total into a part that still reads 2 microns oversize.
Almost every precision grinder has hit this wall. The machine is not broken — the grind has entered a stalemate where commanded infeed stops converting into stock removal. This guide breaks down which jobs stall most often, the four real causes behind it, and the four moves that actually work — from a one-pass emergency fix to the long-term rigidity investment.
Which Jobs Stall Most Often
A size stall is not evenly distributed across the shop. It concentrates where the process system is soft, the material is hard, or the tolerance is tight.
| Job Type | Why It Stalls |
|---|---|
| Internal grinding, deep or small bores | Long, slender quill deflects under radial load |
| Thin-walled sleeves, rings, discs | Bend while being clamped, then spring back after grinding |
| Slender shafts, high length-to-diameter | Workpiece deflects under grinding force |
| Hard, brittle materials with diamond wheels | Ceramics, cemented carbides, glass, sapphire — grains wear fast, pores clog quickly |
| Fine-grit finish and super-finish passes | Infeed drops to the same order as system deflection |
| Interrupted surfaces (grooves, keyways) | Deflection changes as the wheel crosses the gap |
| Tolerances of a few microns or less | Without spark-out or in-process gauging, the last microns have nowhere to go |
If your part fits one of these groups, stop compensating blindly and work down the cause list below.
Expert Tip: The single biggest diagnostic clue is the ratio between compensation and result. If you have fed 0.01 mm and the part moved 0.002 mm, the feed is not the problem — the conversion of feed into material removal is. More infeed will not help; the cause has to be identified and fixed.
Cause 1: Elastic Deflection — The Core Culprit
Grinding generates a large normal force that pushes the wheel into the work. That force elastically compresses the whole process system: spindle, wheel arbor, fixture, and the workpiece itself.
In plain terms: command a 0.01 mm infeed, and the system may spring back 0.008 mm, leaving only 0.002 mm of real cutting. Near the finish, contact area grows, friction rises, and the normal force goes up instead of down — so deflection gets worse just when cuts get smaller. Feed in as much as you like; the system simply bounces away.
To get a feel for the numbers: on a thin part, a 100 N rise in normal force can deflect a 0.5 mm plate by roughly 0.02 to 0.04 mm, and the whole machine-tool-workpiece chain adds more on top. When your last infeed is 0.002 to 0.005 mm, the elastic deflection of the system can be larger than the cut itself. That is the mechanical definition of a stall.
The tell: repeated compensation does nothing, but grinding sound and spark pattern look normal. If so, elastic deflection is almost certainly the story — and the cure is not more infeed but a single larger stroke or a proper spark-out that lets the system relax.
Expert Tip: During spark-out, the wheel stops feeding but keeps traversing. The stored elastic deformation relaxes gradually, and the part settles toward the true dimension. Many stalled sizes come down during spark-out on their own — which is why experienced operators swear by it.
Cause 2: A Glazed or Loaded Wheel — It Is Rubbing, Not Cutting
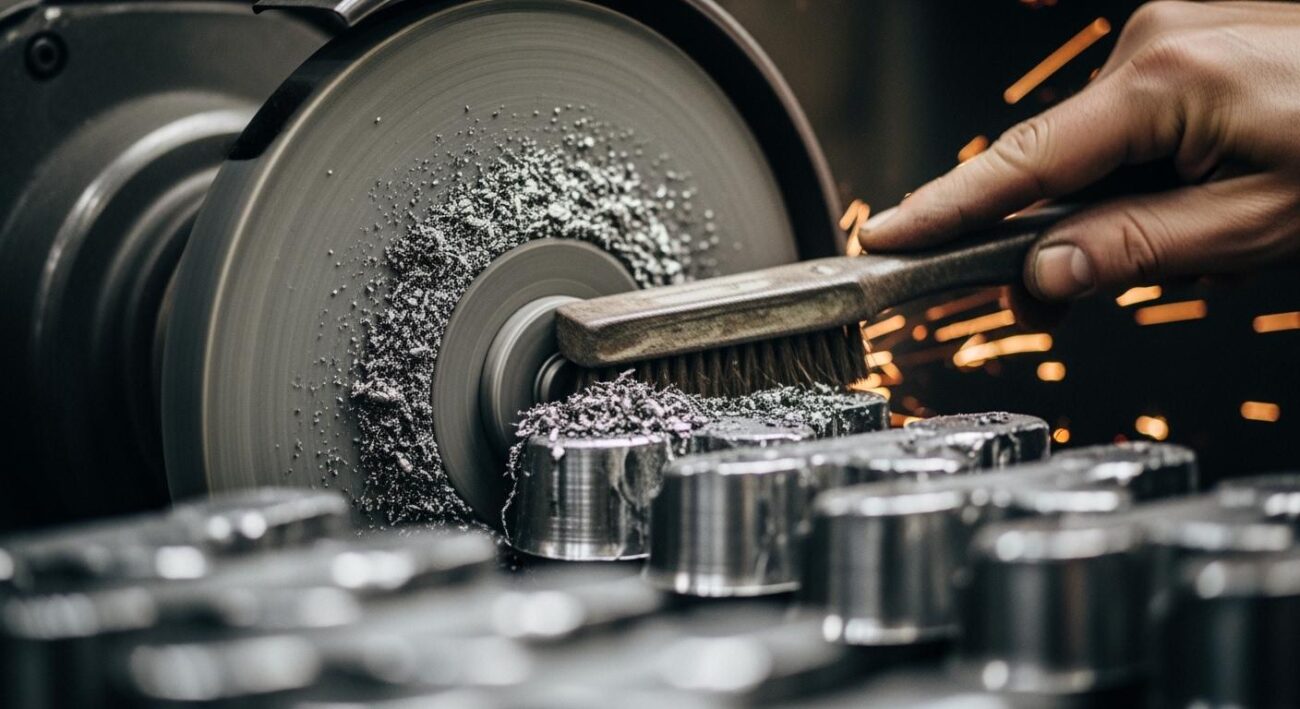
Wheels wear. When abrasive grains dull and do not shed fast enough, the wheel face turns from a cutting surface into a rubbing surface. Hard, brittle materials such as ceramics wear grains quickly. Fine-grit finish wheels have small pores, so swarf packs into the face and the wheel loads up. A loaded or glazed wheel has no cutting ability left; extra infeed just becomes friction heat.
| Condition | What It Means | Field Sign |
|---|---|---|
| Glazing | Grains are dull and rounded; the face turns shiny and mirror-like | Dull or squealing sound, hot workpiece, burn discoloration |
| Loading | Pores packed with workpiece swarf; no room for chips or coolant | Dark face with visible packed swarf; sparks shrink or disappear |
Both kill stock removal, and both are fixed the same way: dress the wheel. If the problem keeps coming back, question the wheel specification rather than just grinding harder.
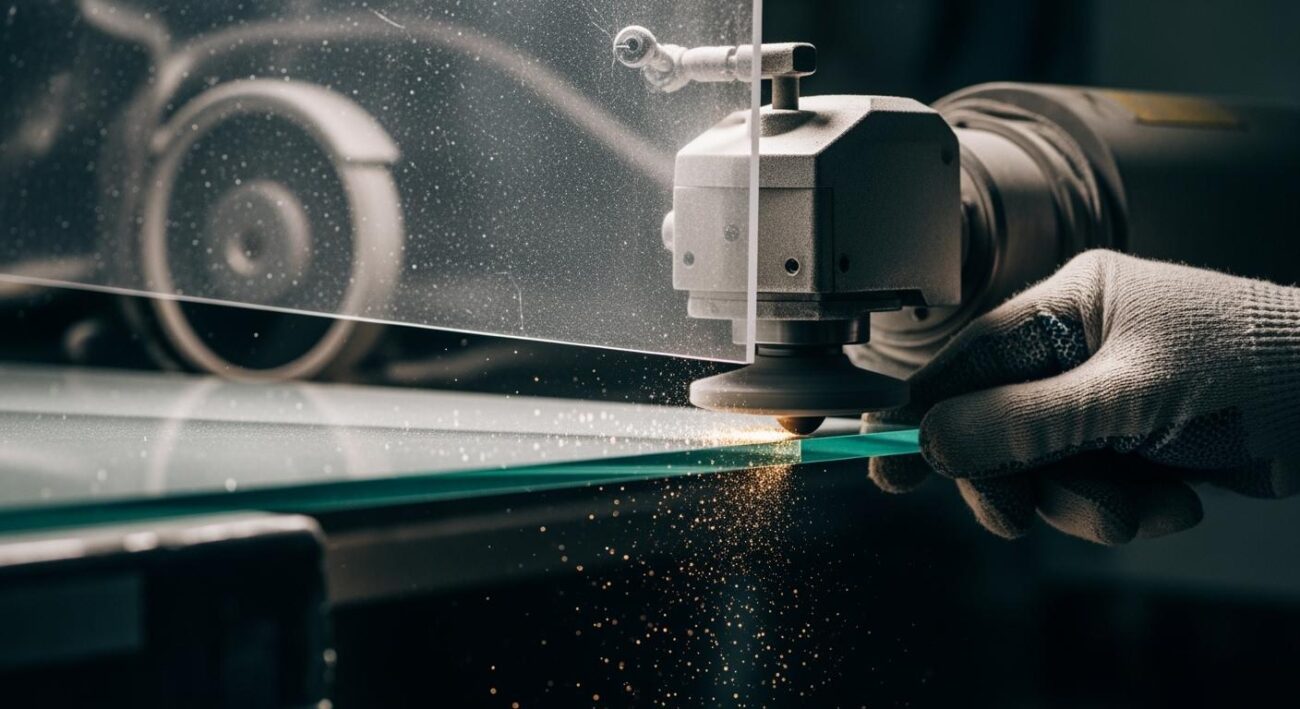
In the ceramic case above, glazing and loading usually arrive together, which makes the diamond wheel the first suspect.
Expert Tip: On diamond wheels grinding ceramics, dress more often rather than waiting until cutting stalls. A scheduled light dress every N parts beats a heroic recovery every shift. The cost of dressing is minutes; the cost of a stalled job is hours.
Cause 3: Weak System Rigidity
Machine stiffness, fixture stiffness, and arbor stiffness all matter. Internal grinding is the classic example: a long slender quill deflects under load. Thin workpieces are already elastically bent by clamping, so they give way even more during grinding.
Thin walls, deep bores, and slender shafts stall repeatedly when rigidity is the weak link — often with chatter and roundness or taper problems as extra clues.
There is a hidden form of this on internal grinding that is easy to miss: the dressing step itself deflects the quill. During dressing, the dresser’s radial force bends the slender quill. If the single-pass dressing infeed is too large, the wheel gets dressed while it is bent. When the quill springs back afterward, the wheel face is no longer perpendicular to the spindle centerline — and the following grinding cycle produces sizes that wander from part to part. The fix is the same as for grinding: light, repeated dressing passes, plus a shorter and stiffer quill.
Rigidity fixes are structural, not parametric: clamp axially instead of radially for thin rings, add a steady rest for deep bores and long shafts, switch to a shorter, stiffer carbide quill for internal work, and keep spindle bearing preload in spec. Every improvement in rigidity shrinks the deflection zone, which makes the final micron behave far better.
Expert Tip: If the workpiece is a thin ring or disc, clamping force alone can bend it before grinding even starts. Reducing clamp force to just enough to hold the part, or using a soft interface pad between the part and the chuck, often produces an immediate improvement in size stability.
Cause 4: Thermal Drift — The Size That Moves After You Measure It
Grinding is hot work. When cooling is weak, the workpiece expands and measures larger than it will at room temperature. Grind to size on a hot part and it may be undersized once cooled; or keep compensating because the hot reading looks short, and overshoot.
Ceramics conduct heat poorly, so heat stays in the contact zone and the effect shows up fast. Thin walls have short thermal paths, so heat concentrates even faster.
Thermal drift has a second face: the machine itself grows. Spindles and ballscrews warm up through the day, shifting the reference that every measurement is compared against. Batch parts that drift slowly with time of day are usually telling you about heat, not about the wheel.
The tell: the part measures fine during grinding but changes after cooling, or the workpiece is clearly hot in process, or sizes drift across a production run. Thermal drift often rides on top of elastic deflection, which is why the two are easy to confuse.
Expert Tip: Never measure a hot part and decide based on that number. If you are chasing a couple of microns, the thermal expansion of a warm part is larger than the tolerance. Let it cool, or use in-process gauging that accounts for temperature.
Cause 5: Residual Stress — The Hidden Variable
After quenching, tempering, and earlier machining, a workpiece often carries an internal stress field. Removing the surface layer during finish grinding breaks the existing balance, and the stress redistributes, changing the geometry.
Long, thin structures have low bending stiffness and are especially sensitive to stress release. Thin discs that “warp overnight after grinding” and batch parts with no repeatable pattern are usually stress revealing itself slowly.
The tell: the part is in spec when the grind finishes, then bends or drifts after a few hours or overnight; batch parts vary with no discernible pattern; wheel condition and parameters look correct but the size still moves. This kind of delayed distortion is often blamed on the machine, when the real cause is residual stress.
Prevention: ensure the workpiece is in a low-stress state before finish grinding. Fully temper quenched parts (two cycles or more). Add a low-temperature stress-relief anneal after rough or semi-finish machining — typically 30–50°C below the previous tempering temperature with sufficient soak time, using the lower end for thin-wall parts. Alternate sides and use symmetric layered removal in finish grinding, so that no single face is over-cut and induces warping.
Expert Tip: If you can eliminate a size problem by letting the part sit overnight, you are dealing with residual stress, not with a grinding problem. The fix is upstream, in the heat treatment and stress-relief plan — not on the wheel.
What to Do: Four Moves, From Quick Fix to Long Term
Move 1: Oversized Compensation, One Pass Only
If deflection is the cause, do not creep up with tiny corrections equal to the residual gap — the elastic system swallows them. Give one clearly larger infeed, for example 0.02 mm, to push through the deflection zone in a single stroke, then measure immediately.
One pass only. Repeat passes overshoot. Treat this as an emergency move, not a habit.
Move 2: Dress the Wheel
If the wheel is glazed or loaded, dress it with a sharp tool using light passes to expose fresh grains. On superabrasive wheels, dressing is a two-step idea: true the geometry, then open the bond so the grains cut freely.
After dressing, rebalance the wheel. On a CNC machine, update the wheel radius compensation — a dressed wheel is smaller than the control thinks it is. Skip that update and the first part after dressing will be off by exactly the dressing amount.
Dressing gives the wheel new teeth. If the problem disappears afterward, the wheel was the culprit.
Move 3: Do Less, and Spark Out
In finish grinding, cut infeed down — for example from 0.02 mm toward 0.005 mm or less — slow the traverse, and keep wheel speed appropriate. Then leave several spark-out passes: no infeed, the wheel just traverses while the stored elastic deformation relaxes.
Engineering practice usually calls for three to five spark-out passes after the last infeed. Research on spark-out confirms that smaller depths of cut combined with coolant give the best flatness and size stability. Plenty of stuck sizes simply come down during spark-out, which is why skilled operators swear by it.
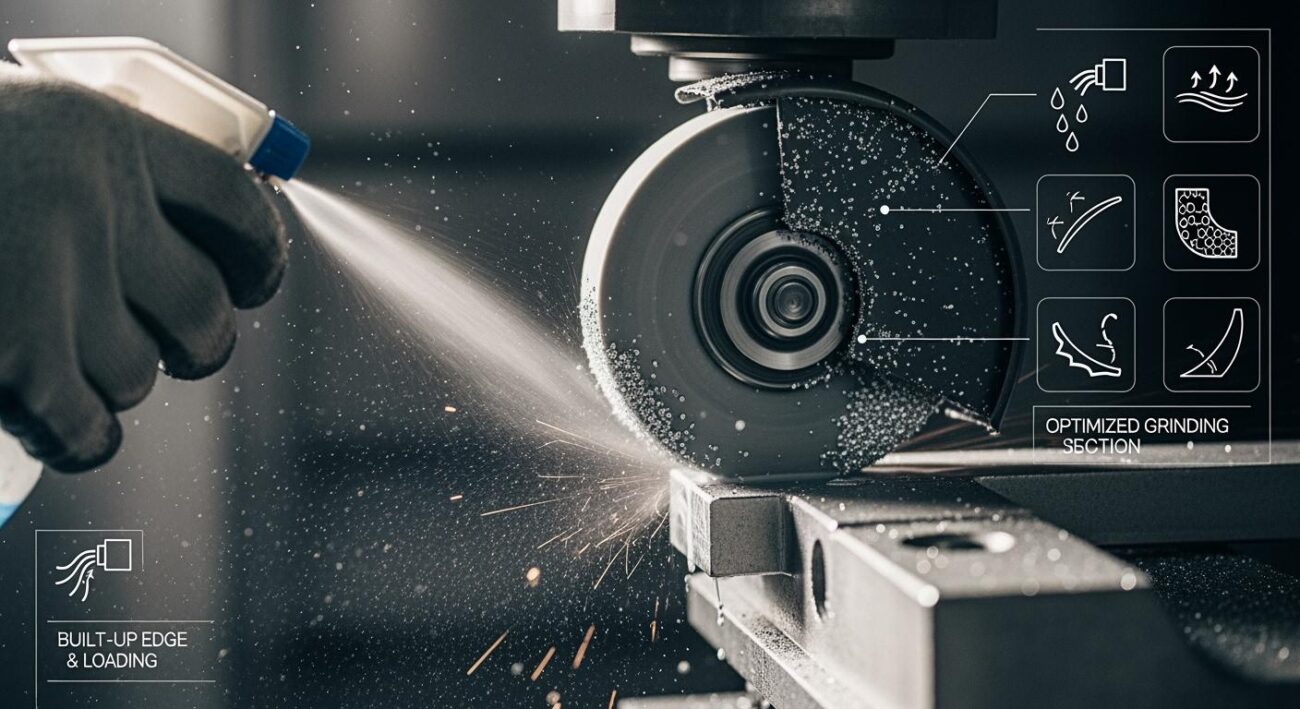
Keep coolant pressure up and aim the nozzle at the contact zone. A tangential stream both cools and flushes swarf away before it can re-embed in the wheel. Cooling manages thermal drift and wheel loading at the same time.
Move 4: Add Rigidity
For steady work on thin walls, deep bores, and slender shafts, invest in stiffness: better clamping, shorter and stiffer quills for internal grinding, steady rests, dedicated fixtures. The stiffer the system, the less it gives, and the easier size control becomes.
| Stage | Diamond Wheel for Ceramics | Wheel Speed | Depth per Pass |
|---|---|---|---|
| Rough | D200–D400 metal bond | 15–25 m/s | 0.01–0.03 mm |
| Finish | D800–D1200 resin bond | 20–30 m/s | 0.002–0.005 mm |
| Super-finish | D2000–D3000 resin bond | 25–35 m/s | 0.001–0.002 mm |
| Spark-out | Same as finish | Same as finish | No infeed, 3–5 passes |
Expert Tip: Bond type affects stall risk on ceramics. Metal bond is the most wear-resistant but has the least self-sharpening and the smallest chip clearance — once dull, the face quickly becomes a friction surface. Resin and vitrified bonds self-sharpen better and clear chips more freely. If a metal-bond diamond wheel keeps stalling on ceramics, consider switching bond type before changing anything else.
Quick Reference: Match the Symptom to the Fix
| Symptom | Likely Cause | First Move |
|---|---|---|
| Compensation does nothing; sound and sparks normal | Elastic deflection | One oversized infeed, then measure; or add spark-out |
| Dull or squealing sound; hot part; shiny wheel face | Glazed or loaded wheel | Dress the wheel and rebalance |
| Thin wall, deep bore, slender shaft; vibration | Weak rigidity | Improve fixturing and quill stiffness |
| OK while grinding, changes after cooling | Thermal drift | Improve cooling; measure at stable temperature |
| Size moves hours or overnight after the grind | Residual stress release | Add stress-relief anneal upstream; grind symmetrically |
| Sizes drift across a long batch | Machine thermal growth + wheel wear | In-process gauging, scheduled dressing, stable ambient temperature |
Preventing the Stall: Habits That Keep the Last Microns Moving
The cheapest fix is to never reach the stall in the first place. These habits consistently show up in shops that hold tight tolerances without drama.
Always finish with three to five spark-out passes. Watch the sparks die out before you measure. The wheel is telling you when the system has finished relaxing.
Dress on a schedule. Tie it to parts or hours, not to the moment cutting stops. Scheduled dressing removes the guesswork and keeps the wheel’s cutting behavior stable.
Update radius compensation after every dressing. Verify with a test part before running the batch. A CNC control has no idea the wheel got smaller until you tell it.
Measure at a stable temperature. If the part is warm, the reading is a lie. Wait, or use in-process gauging that accounts for thermal state.
Use in-process gauging on the tightest jobs. Re-check every five to ten parts so thermal drift never accumulates into a scrap pile.
Treat wheel specification as part of the diagnosis. On loading-prone materials, a coarser grit and a more open bond clear chips better than a hard, fine wheel.
Control coolant concentration and filtration. Use a refractometer to verify concentration, and keep filtration fine enough to prevent swarf from recirculating back into the wheel face. This is especially important for fine-grit diamond wheels on ceramics.
Expert Tip: A refractometer check on coolant takes thirty seconds. A stalled batch takes hours to recover. On ceramic precision grinding, coolant concentration and filtration is not maintenance trivia — it is a size-control tool.
Back to the Ceramic Job: Working Through the Case
A ceramic part, a diamond wheel, 2 microns to go, and a whole 0.01 mm of compensation that did nothing. That ratio is the biggest clue: feed is not the problem, conversion of feed into stock removal is.
The practical order:
First, dress the wheel. Glazing and loading are the most likely story on ceramic with a diamond wheel, and the repair is immediate and inexpensive.
Second, test elastic deflection with the oversized one-pass move if dressing does not resolve it. Give 0.02 mm in a single pass, measure immediately, do not repeat.
Third, check cooling and measure at a stable temperature. Ceramic conducts heat poorly and the reading on a warm part is not reliable. If the part is still warm from grinding, wait before measuring.
Fourth, look at rigidity and wheel specification if the stall keeps returning. Check the quill stiffness, the fixture, and whether the bond type and grit are right for the operation.
A size stall is not a machine failure. It is the physics of the last few microns showing up all at once: force causes deflection, wear kills cutting ability, and heat moves the dimension. Identify which one you are fighting, apply the matching fix, and that last 2 microns is far less stubborn than it looks.
Expert Tip: When you see a size stall on a hard, brittle material with a diamond wheel, resist the instinct to keep compensating. Each additional pass adds heat without adding removal, and the wheel gets closer to real damage. Stop, dress, then re-approach the dimension.
Frequently Asked Questions
Why does the part stop shrinking even when I keep compensating?
✅ Because commanded infeed is being consumed by something other than material removal — elastic deflection of the process system, a glazed or loaded wheel that has lost cutting ability, thermal expansion, or a combination. The infeed value on the dial is not the depth of cut that reaches the workpiece. Diagnose the cause before adding more compensation.
What is the oversized compensation move, and when should I use it?
✅ It means giving one clearly larger infeed — for example 0.02 mm — to push the system through the elastic deflection zone in a single stroke, then measuring immediately. Use it only after confirming that deflection is the cause: compensation does nothing, but the sound and sparks look normal. One pass only. Repeating overshoots.
How do I know if the wheel is glazed or loaded?
✅ Look at the wheel face. Glazing leaves it shiny and mirror-like — the grains are dull and rounded. Loading leaves it dark with swarf packed into the pores. Both produce dull or squealing sounds, a hot workpiece, and reduced or eliminated sparks. Both are fixed by dressing; if the problem returns quickly, review the wheel specification.
How many spark-out passes should I use?
✅ Three to five passes after the last infeed is standard practice. The wheel stops feeding but keeps traversing, letting the stored elastic deformation relax and the part settle to its true dimension. Many stalls come down during spark-out on their own. Watch the sparks die out before you measure.
Why does the part measure fine during grinding but change after cooling?
✅ That is thermal drift. Grinding heat expands the workpiece, so the reading on a hot part is larger than the reading at room temperature. If you stop when the hot reading is on target, the cooled part will be undersized. Improve cooling, wait for the part to reach a stable temperature, and use in-process gauging on the tightest jobs.
Key Takeaways
- A size stall is not a machine failure — it is the physics of the last few microns.
- Elastic deflection is the core culprit. Commanded infeed is partly consumed by the system springing back.
- Normal sound and sparks with no size change points to elastic deflection. Dull or squealing sound points to a glazed or loaded wheel.
- Three to five spark-out passes after the last infeed is standard practice — many stalls come down on their own.
- Dress the wheel, then update the CNC radius compensation. A dressed wheel is smaller than the control thinks.
- Metal-bond diamond wheels have the smallest chip clearance — consider resin or vitrified bond on ceramics with a stall problem.
- Never measure a hot part. Thermal expansion is larger than the tolerance you are chasing.
- Thin walls and slender quills deflect before you even start. Fix rigidity, not parameters.
- Sizes that change hours after the grind are residual stress, not a grinding problem. Fix it upstream.
- Dress on a schedule, update compensation, measure at stable temperature, and use in-process gauging on tight jobs.
More grinding questions? Need a custom wheel solution?
Contact Us →