Why Surface Roughness Suddenly Gets Worse: Root Causes
The scariest quality problem in precision machining is not a finish you have never achieved — it is one that was stable for months and then jumped overnight. Same machine, same program, same operator, and Rz goes from a steady 0.7 µm to 1.4 µm, almost exactly double.
Sudden degradation and gradual degradation are two completely different problems. Gradual drift follows the normal wear curve and can be predicted with life management. A sudden jump means something in the process system actually changed at a specific point in time — even if that change is invisible on the surface. This guide walks the full investigation, cheapest check first.
First, Understand What “Suddenly” Really Means
Before anything else, Rz is a peculiar parameter. It measures the maximum peak-to-valley height within a sampling length, so it is extremely sensitive to isolated defects. One deep scratch, one burr, one lodged particle — and Rz can double while Ra barely moves.
That single fact narrows down half of your investigation. Split the situation into two cases:
| Case | What It Points To |
|---|---|
| Rz doubles, Ra basically unchanged | Isolated surface defects (scratches, deep grooves, loose-grain scoring) or a measurement system change |
| Rz and Ra rise together | Uniform texture degradation (feed or actual depth of cut increased, tool dulling, wheel glazing, vibration overlay) |
Expert Tip: Make this two-way call before touching anything. If Rz doubled and Ra did not, do not start tearing apart the machine. Look for an isolated defect or a measurement change first — the surface is telling you the change is localized, not systemic.
Step 1: Rule Out the “Fake” Problem
The first thing to check is not the machine. It is the roughness tester.
Rz Definition Changed
Rz has been defined differently across standards generations. The old definition used the ten-point height — the average of the five highest peaks minus the average of the five deepest valleys. The current ISO 4287 definition is the maximum profile height in a single sampling length, which typically reads higher. If someone updated the instrument software, switched the standard option, or changed the report template, the Rz number can jump while the surface itself has not changed at all.
Filter Setting Changed
The cutoff wavelength — commonly 0.8 mm or 2.5 mm — decides where waviness ends and roughness begins. Change the cutoff from 0.8 mm to 2.5 mm, and more mid-to-long-wave waviness gets counted as roughness. The same surface produces a different Rz.
Stylus and Cleanliness
A worn or contaminated stylus cannot track the true profile. A worn tip acts as a mechanical low-pass filter, reading fine surfaces systematically low. A dirty tip scratches soft materials and creates false peaks. And a workpiece that is not properly cleaned hands you false data — one grain of grinding swarf under the stylus reads as an artificial peak.
The Verification Is Beautifully Simple
Take a known-good part from before the problem started and re-measure it with today’s instrument and today’s settings.
| Old Part Reading Today | Conclusion |
|---|---|
| Also reads 1.4 µm | Problem is in the measurement system |
| Still reads 0.7 µm | Parts really did get worse — proceed to process checks |
Expert Tip: This one test can save you from replacing eight tools for no reason. Keep a known-good reference part labeled and stored alongside the roughness tester. It is the cheapest diagnostic tool in the shop.
Step 2: Check the Tool or the Grinding Wheel
Turning: Corner Radius Matters as Much as Feed
The theoretical peak-to-valley height follows Rz ≈ f² / (8·rε), where f is feed per revolution and rε is the corner radius. The uncomfortable implication: if the feed did not change but the corner radius did, the roughness still changes.
| Feed f (mm/rev) | Corner Radius rε (mm) | Theoretical Rz (µm) |
|---|---|---|
| 0.05 | 0.4 | ≈ 0.78 |
| 0.05 | 0.2 (worn) | ≈ 1.56 |
| 0.10 | 0.4 | ≈ 3.1 |
| 0.10 | 0.2 (worn) | ≈ 6.3 |
A corner wearing from 0.4 mm down to 0.2 mm nearly doubles the theoretical Rz all by itself — enough to explain the whole 0.7-to-1.4 jump. Corner radius shrinks from normal wear or improper regrinding. Inserts from different batches can be marked the same but have different actual edge sharpness, causing a jump when the batch changes.
Built-Up Edge: The Classic Villain
Built-up edge (BUE) is what happens when cutting ductile materials like low-carbon steel, stainless, or aluminum. In the medium-to-low speed range — roughly 20 to 80 m/min — chip material cold-welds onto the rake face, grows, breaks off, and grows again. Every fragment that breaks away scratches the finished surface.
BUE is also why a softer material batch can suddenly ruin a process that was previously stable. Softer, more plastic stock slides the cutting point straight into the BUE-active zone, even though the parameters never changed.
Grinding: Three Wear Modes, Three Different Signals
| Wear Mode | Surface Signal | Accompanying Sign |
|---|---|---|
| Glazing (attritious wear) | Surface turns shiny and wrinkled; Ra may drop temporarily, then burn appears | Spindle power climbing, size drifting |
| Grain fracture / pullout | Ra and Rz rise sharply; visible scratches and torn texture | Wheel diameter drops fast, power falls |
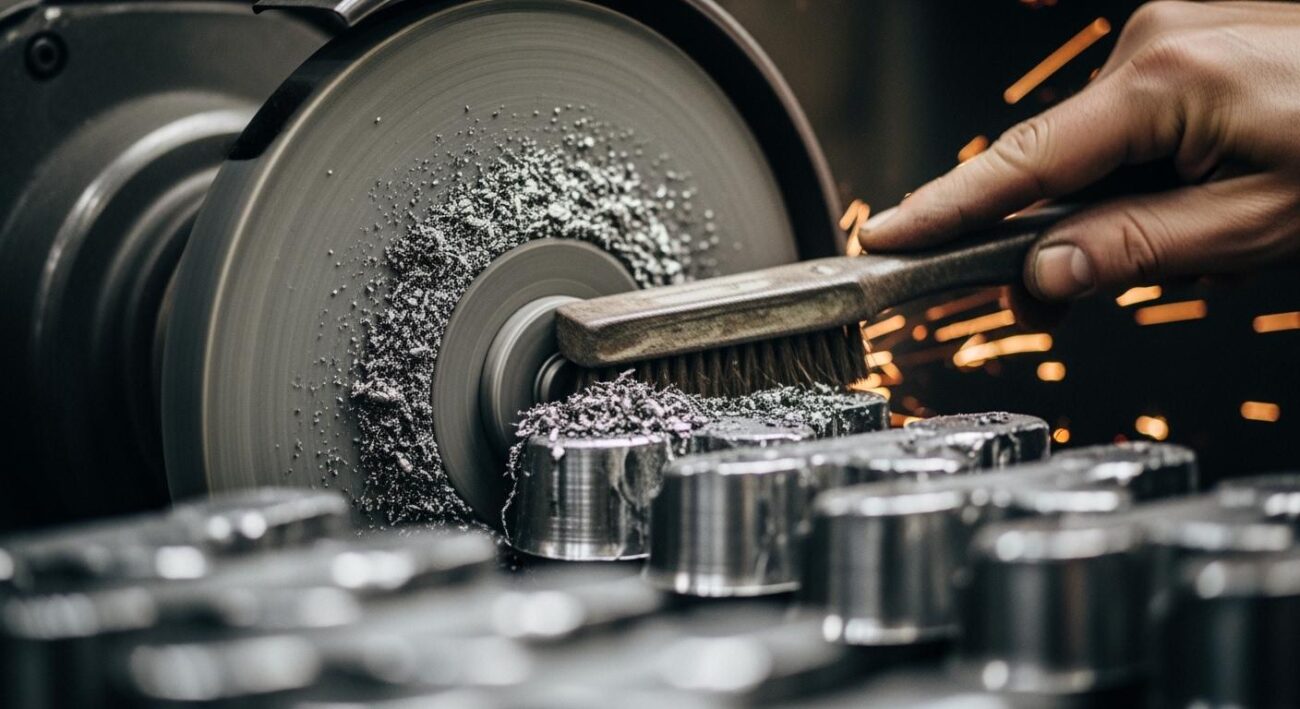
| Loading | Spot burns, matte or orange-peel texture; roughness degrades progressively | Intermittent power spikes, unusual noise in the contact zone |
The counterintuitive signal: In the early stage of glazing, the surface can actually look better — the dulled grains shift from cutting to squeezing, which adds a polishing effect. But spindle power is quietly climbing and size is drifting. When it climbs too far, burn and roughness deterioration arrive together.
Expert Tip: Read the surface and the power together. Surface bright plus power climbing equals glazing. Surface coarse plus wheel diameter dropping fast equals pullout. Roughness climbing part after part with local burns equals loading. Three different fixes: re-dress, reduce load or use harder wheel, change coolant and flushing.
The Dressing Tool Is a Consumable Too
Dressing is the most powerful lever over wheel topography — and the most commonly overlooked root cause.
There is a crankshaft cylindrical grinding case worth remembering. A 60-grit wheel that should deliver Ra below 0.8 µm produced a first-article reading of Ra 1.53 µm with fixed grinding marks. The shop changed wheel hardness, raised wheel speed by 5 and then 10 m/s, and reduced feed — no improvement. Slowing the dressing traverse to 50 mm/min helped only marginally, to Ra 1.39, with the marks still present.
The real culprit was a chipped diamond dresser creating periodic high spots on the wheel face, which printed directly onto every part. Replacing the dresser with a higher-grade diamond solved it completely.
The lesson: when the first part after dressing is dramatically out of spec and parameter changes barely help, suspect the dresser itself.
Dressing Parameters and Post-Dressing Details
Dressing lead (overlap ratio) too large effectively dresses the wheel “coarse.” Dressing depth too large damages grain edges and bond posts. After dressing, run 3 to 5 no-feed dressing-out passes to remove any overly protruding grains — this is what stabilizes the initial roughness.
At the end of fine grinding, keep 4 to 8 spark-out passes with no infeed. The wheel’s elastic spring-back removes the residual peaks. Skip them or compress them, and Rz climbs directly.
Expert Tip: “First part bad, subsequent parts improve” is the signature of a dressing-stage problem — usually missing dressing-out passes or a worn dresser. If you see this pattern, fix the dressing step before changing anything on the wheel or parameters.
Step 3: Vibration Leaves Fingerprints
Spindle bearing wear, lost wheel balance, unstable clamping, an overhanging boring bar, a press machine thumping away through the foundation — all of these superimpose periodic texture on the surface.
The good news: the defect pattern itself is the diagnosis.
| Surface Pattern | Most Likely Direction | Check First |
|---|---|---|
| Evenly spaced diagonal waves | Forced vibration or regenerative chatter | Wheel balance, spindle runout, external vibration sources |
| Random scratches, no fixed direction | Contaminated coolant, loose grains | Filter condition, coolant cleanliness, wheel grade too soft |
| Local blue, yellow, or bright patches | Burn: loading or poor coolant delivery | Wheel loading state, nozzle position, grinding fluid flow |
| Identical fixed marks on every part | High spot on the wheel | Dresser wear or chipping, dressing parameters |
| Uniformly rough overall | Parameters or wheel selection | Actual feed and depth of cut, grit size and grade match |
| First part bad, later parts improve | Dressing-stage problem | Post-dressing dressing-out passes, dresser condition |
Spark shape also helps during grinding. Uniform, continuous sparks mean normal cutting. Intermittent sparks mean uneven depth of cut. Reddish sparks indicate local overheating.
Expert Tip: Wipe the part clean, tilt it under good light, and read the pattern before you reach for a tool. The shape of the defect tells you which family of causes you are dealing with. Texture tells the story.
Step 4: The Changes You Cannot See on the Program Screen
An unchanged program does not guarantee unchanged parameters. Belt slip, transmission backlash, and servo drift all push actual feed and speed away from nominal values — and can quietly move the cutting point into the BUE-active zone. Verify actual values, not program values: servo load, actual RPM display, first-part versus last-part comparison.
Coolant: The Quiet Degradation
Coolant degrades the same way. Concentration drifts down, bacteria take over the tank, filters clog. Reference values worth keeping:
| Item | Reference Value |
|---|---|
| Concentration (steel) | 4%–6% |
| Concentration (stainless / tough materials) | 6%–8% |
| Concentration (cast iron) | 3%–5% |
| Flow rate | ≥ 2 L/min per mm of wheel width |
| Filtration (fine grinding) | ≤ 20 µm |
| Filtration (superfinishing) | ≤ 10 µm |
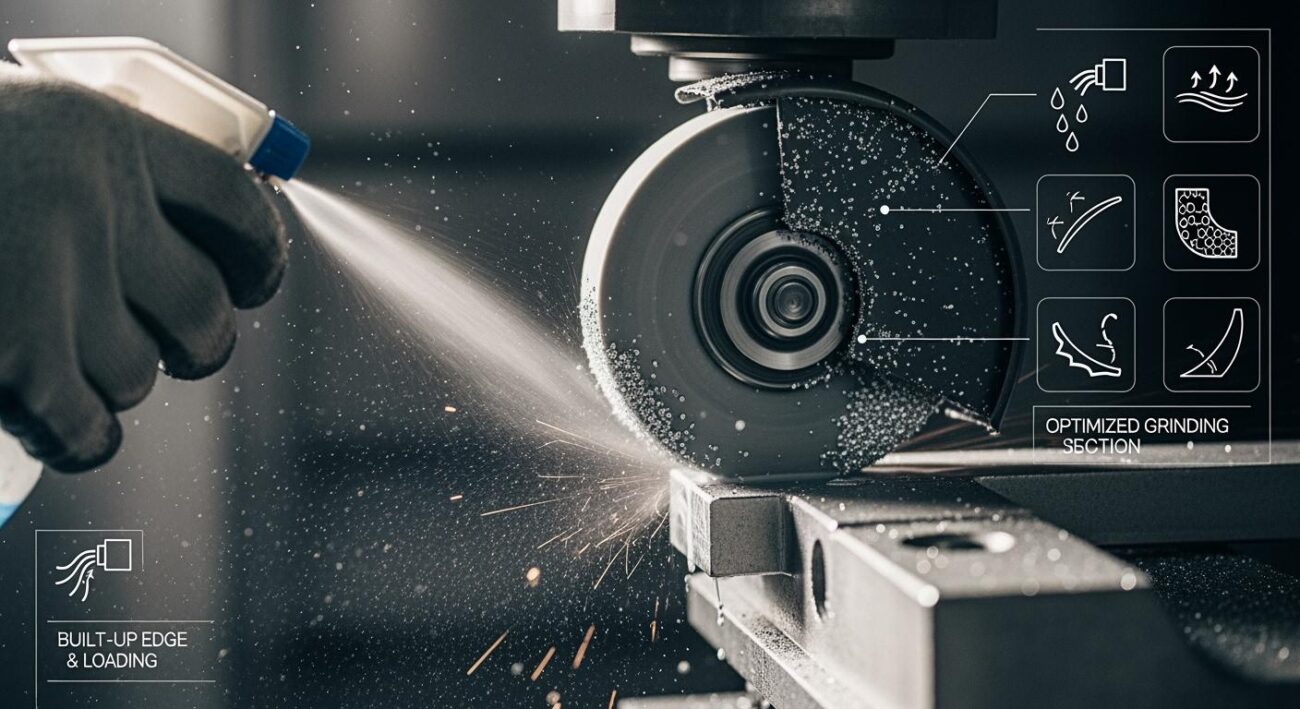
Once filtration fails, circulating grains carve isolated deep scratches — and that is exactly how an Rz doubling happens with Ra looking almost innocent. For loading-prone operations, consider a high-pressure flushing nozzle, aimed at 30% to 50% of wheel surface speed, to knock chips off before they weld to the wheel face.
Material Batch Variation
The same steel grade, tempered a few degrees too warm, loses a couple of HRC and suddenly becomes sticky, prone to BUE and scale-like burrs. Conversely, a harder batch increases grinding force and dulls the wheel faster. When a batch’s machinability shifts, the original wheel selection may no longer match — abrasive type, grit size, and grade all deserve re-evaluation.
Excess stock from an upstream operation overloads the finish pass the same way. A sudden increase in finishing allowance is a common trigger that has nothing to do with the wheel.
Expert Tip: Check concentration with a refractometer weekly and log the trend. A slow drift in concentration is almost invisible day to day but produces exactly the kind of gradual process degradation that looks “sudden” when it crosses a threshold.
Do Not Forget the Machine Itself
Spindle Precision
Spindle bearings are where precision quietly dies. As bearings wear or lose preload, the spindle develops periodic radial runout — and the numbers involved are uncomfortably close to surface roughness values. Reference limits: grinding machine spindle radial runout ≤ 0.002 mm, axial float ≤ 0.001 mm. On lathes, anything beyond 0.005 mm at the spindle nose calls for adjustment or replacement.
Runout of just a few microns is invisible to the eye but prints itself onto the surface as alternating light and dark bands around the circumference.
Feed System and Table Crawl
Poor guideway lubrication, loose gib strips, or a lost ball-screw preload causes stick-slip — known in the shop as table crawl. The tool alternates between cutting and rubbing, laying down crossways ripples that hurt Rz far more than they hurt Ra. This is exactly why Rz can fail alone.
Workholding
Worn chuck jaws clamp unevenly. Thin-walled parts deflect under excessive clamping force. A single chip trapped on a locating face changes the force state of every part after it. Even with an unchanged program, the difference between two tool changes — contaminated taper, loose retention stud, longer overhang — can drop the natural frequency of the tool assembly enough to invite chatter.
External Vibration
Presses, compressors, hydraulic power units, overhead cranes, even road construction feed low-frequency vibration through the foundation. The tell-tale sign is that surface quality comes and goes in sync with the start and stop of neighboring equipment rather than with part count.
Frequency attribution matters: low-frequency vibration from the process system shows up as waviness, while high-frequency vibration shows up as roughness. Distinguishing them prevents chasing the wrong source.
Expert Tip: A single chip trapped on a locating face is one of the most common causes of “sometimes good, sometimes bad.” Wipe the locating surfaces before every setup — it takes seconds and eliminates an entire class of intermittent roughness problems.
A Troubleshooting Order That Works
Work from cheap to expensive. Change one variable at a time, write down what happened, then change the next.
| Step | Action | Cost |
|---|---|---|
| 1 | Re-measure a known-good old part to clear the measurement system | Free |
| 2 | Inspect the tool, wheel, and dresser — glazing, loading, pullout, dresser condition | Near zero |
| 3 | Verify coolant condition and actual (not programmed) parameters; check spark-out passes | Low |
| 4 | Machine vibration, spindle runout, table crawl, workholding | Medium |
| 5 | Material batch and environmental factors — heat number traceability, hardness check, metallography if needed | Higher |
Prevention: Turn “Suddenly Worse” Into “Gradually Predictable”
Inspect the wheel or tool state every 20 to 30 parts instead of waiting for the roughness number to complain. Schedule preventive dressing by parts or accumulated removal, not by alarm. Check coolant concentration weekly with a refractometer and log the trend. Record mounting time and dressing count for every wheel.
Done consistently, these habits turn “suddenly worse” into “gradually predictable” — which is a much better problem to have.
Expert Tip: Sudden roughness degradation is almost never a mystery. It is a change you have not found yet. The discipline of changing one variable at a time and recording results is what turns diagnosis from guesswork into engineering.
Frequently Asked Questions
Why does Rz double while Ra barely changes?
✅ Rz measures the maximum peak-to-valley height in a sampling length, so it is extremely sensitive to isolated defects. One deep scratch, one burr, or one lodged particle can double Rz while Ra stays nearly flat. When this happens, look for isolated surface defects or a measurement system change — not overall texture degradation.
How do I check if the roughness tester itself is the problem?
✅ Take a known-good part from before the problem started and re-measure it with today’s instrument and settings. If the old part also reads high, the problem is in the measurement system — software update, standard change, filter setting, or stylus condition. If the old part reads normal, the parts really did get worse.
What is the most overlooked cause of sudden roughness degradation?
✅ The dresser. A worn or chipped diamond nib leaves periodic high spots on the wheel face, which print directly onto every workpiece. If the first part after dressing is dramatically out of spec and parameter changes barely help, suspect the dresser before changing anything else.
How do I know if the problem is vibration?
✅ Read the defect pattern. Evenly spaced diagonal waves indicate forced vibration or chatter — check wheel balance and spindle runout. Random, directionless scratches indicate contaminated coolant or loose grains. Fixed identical marks on every part indicate a high spot on the wheel — check the dresser. Local burn discoloration indicates loading or poor coolant delivery.
What is a good preventive routine against sudden roughness changes?
✅ Inspect the wheel or tool state every 20 to 30 parts, schedule preventive dressing by parts or accumulated removal rather than by alarm, check coolant concentration weekly with a refractometer, and record mounting time and dressing count for every wheel. Done consistently, these habits turn sudden problems into gradual, predictable ones.
Key Takeaways
- Sudden degradation and gradual degradation are different problems. A sudden jump means something actually changed.
- Rz is extremely sensitive to isolated defects. One scratch can double Rz while Ra barely moves.
- Rule out the measurement system first. Re-measure a known-good old part — it costs nothing and eliminates half the possibilities.
- For turning, corner radius wear from 0.4 mm to 0.2 mm can double theoretical Rz on its own.
- Built-up edge is why a softer material batch ruins a previously stable process. Watch the 20 to 80 m/min zone.
- The dresser is a consumable. A chipped diamond nib leaves fixed marks on every part.
- Keep 4 to 8 spark-out passes at the end of fine grinding. Skipping them pushes Rz up directly.
- Read the surface pattern before reaching for a tool: waves mean vibration, random scratches mean coolant, fixed marks mean the dresser.
- Filter fine-grinding coolant to 20 µm or finer; circulating grains cause the Rz-doubling scratches.
- Check actual parameters, not programmed values — belt slip, servo drift, and coolant drift all change the real process.
- Change one variable at a time and write down what happened. Sudden roughness degradation is a change you have not found yet.
More grinding questions? Need a custom wheel solution?
Contact Us →