Grinding Scratches That Survive a Wheel Change: A System Check
You change the wheel again. Different brand, different abrasive, different grit — and the scratches are still on the part. Here is the judgment to start with: if a scratch pattern survives every wheel you mount, the problem is rarely the abrasive. It is either how the wheel is being used, or one of the several links around the wheel that nobody checked.
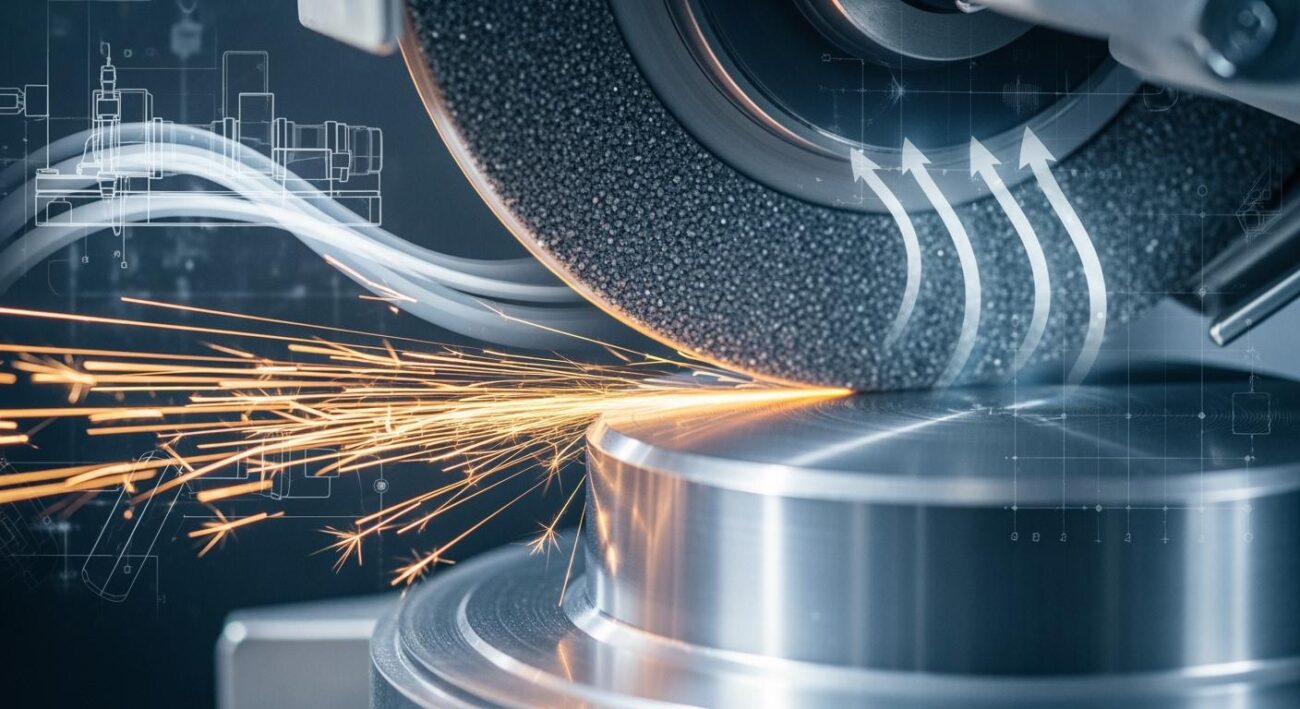
A wheel is one variable in a grinding system. Wheel, dressing, coolant, machine, parameters, workpiece condition, and fixturing together decide the result. Change only the wheel and you have moved one of seven variables. This guide separates the two kinds of scratches, explains why grains leave the wheel whole, and gives a check order that starts with the items that cost nothing.
First, Sort Out What Is Doing the Scratching
Grinding scratches fall into two families, and the two have opposite fixes. The first step is to classify by appearance.
| Feature | A. Direct Wheel-Face Scratching | B. Loose-Grain Rolling Damage |
|---|---|---|
| Cause | Grains protruding too far or locally high, cutting the workpiece as the wheel turns | Grains or bond clusters released from the wheel, rolling and being pressed through the contact zone |
| Appearance | Regular direction, continuous, often full circumference or full stroke, fairly uniform depth | Random, short, varying depth, sometimes with pits or comet-tail marks; direction not aligned with the grinding motion |
| Occurrence | Every part, relatively fixed position | Mainly intermittent; can also be periodic if tied to a contamination source or speed |
| Related areas | Dressing, wheel runout, grit versus roughness requirement | Grain-release mechanism, coolant filtration, chip evacuation from the contact zone |
There is a third case worth naming: scratches that appear in segments, repeating with the rotation rhythm. That is usually not a particle issue at all — the wheel is vibrating, either from poor balance or spindle runout, and grains are being shaken off the wheel to leave a rhythmic trail on the part. Look at the scratch pattern before asking why the wheel is scratching. If it is the second type, the question is not why the wheel scratches — it is why grains are leaving the wheel.
Self-Sharpening vs. Grain Pullout
In normal grinding, a dulled grain fractures in a small way and exposes a new cutting edge — that is self-sharpening, and it is by design. Bond posts also wear down gradually, releasing dull grains at a slow, even rate.
Grain pullout is different. A still-sharp grain is pulled out of the bond whole. That can happen for two reasons: the load on the grain is too high, or the bond is not holding it firmly enough. Almost every check below traces back to one of those two statements.
Expert Tip: If the same scratch pattern survives white alumina, single-crystal alumina, and microcrystalline alumina, the abrasive type has already been eliminated as the variable. All three are alumina. The problem is upstream of abrasive choice.
Check 1: Is the Wheel Speed Over the Limit?
Many operators track RPM and never calculate surface speed. What actually determines whether the wheel can survive is how many meters per second the wheel’s periphery travels — and that depends directly on wheel diameter.
Surface speed (m/s) = π × Wheel diameter (mm) × RPM ÷ 60,000
At 2,800 rpm:
| Wheel Diameter (mm) | 350 | 400 | 450 | 500 |
|---|---|---|---|---|
| Surface speed (m/s) | 51.3 | 58.6 | 66.0 | 73.3 |
Conventional vitrified alumina wheels are typically rated for 35–50 m/s. High-speed versions may be marked 60 or even 80 m/s. Above 400 mm diameter at 2,800 rpm, the surface speed reaches 59–73 m/s — significantly beyond what an ordinary bond can carry. The result is that the wheel sheds grains no matter what abrasive is on it.
Verification: read the maximum operating speed on the wheel blotter, then calculate the actual surface speed. If it is over, switch to a wheel rated for that speed, or reduce RPM, or reduce wheel diameter. If it is not over, move on to hardness and structure.
On hardness and structure for this case: GCr15 hardened to around HRC 60, 180 grit doing a finishing-class operation, K grade is medium-soft and reasonable. If overspeed is eliminated and pullout continues, try L or M. For structure, a more open number means fewer bond posts and weaker grip — select a relatively dense structure, around 5–7.
Expert Tip: Overspeed pullout has a signature: every abrasive sheds grains. That is because the failure is not in the grain — it is in whether the bond can hold at that surface speed. Check the wheel blotter before ordering another wheel.
Check 2: Has Dressing Loosened the Wheel?
Grain pullout is sometimes not the wheel’s fault — it is the dressing that loosened it.
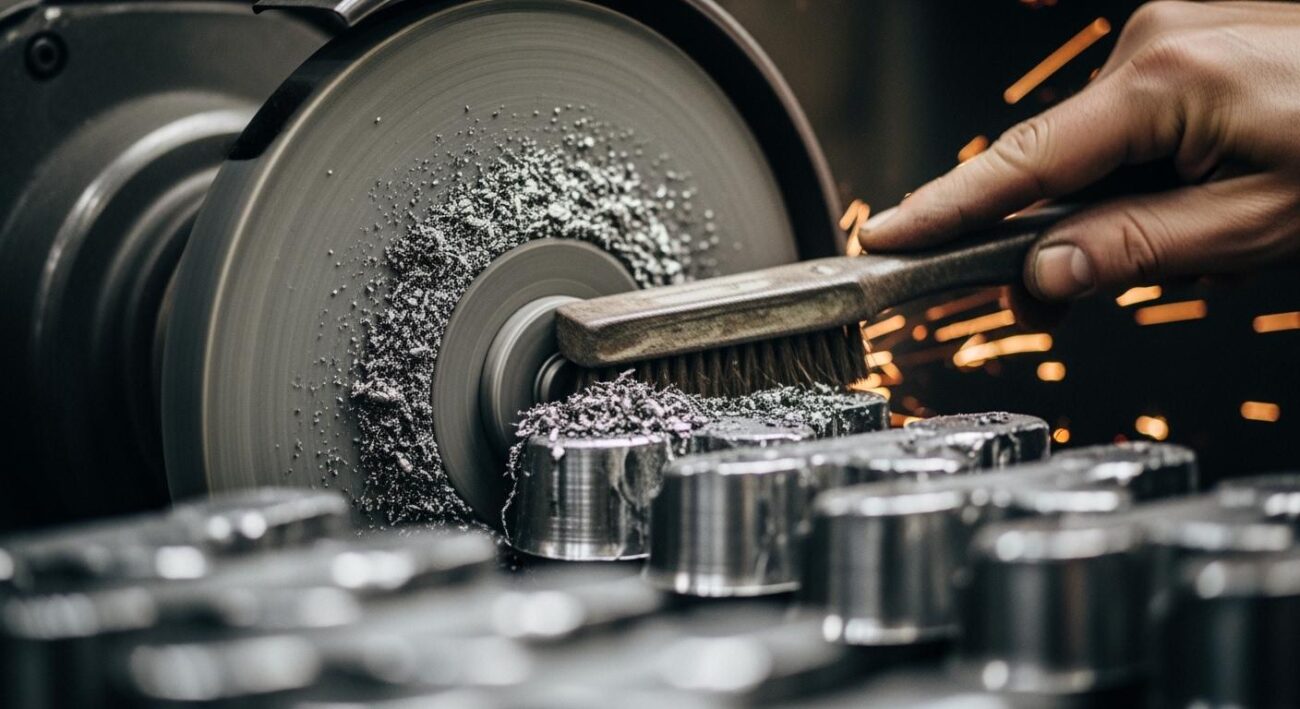
A dulled diamond nib no longer cuts the wheel face cleanly. It presses instead, crushing the surface grains and bond posts together and leaving them loose. Excessive dressing depth and fast traverse do the same thing mechanically. And a dressing that is not followed by a flush leaves a layer of floating grains and debris on the wheel face — the first pass presses all of it into the workpiece.
Industry troubleshooting guides routinely rank “deep, isolated scratches” as a dressing problem first priority. The standard actions:
| Action | Purpose |
|---|---|
| Replace the diamond nib | Ensure the dresser cuts rather than presses |
| Reduce dressing depth and traverse | Avoid mechanically breaking bond posts |
| Flush the wheel after dressing | Remove loose grains before the first cut |
| Light pass with a dressing stick | Dislodge grains embedded in the surface layer |
None of this costs money. Many shops simply never do it.
Expert Tip: If the scratches are deep and isolated rather than uniform, check dressing before checking the wheel. A dull dresser nib can loosen the whole surface layer of the wheel and generate a fresh supply of loose grains at every dressing cycle.
Check 3: Is the Coolant Filter Actually Removing Grains?
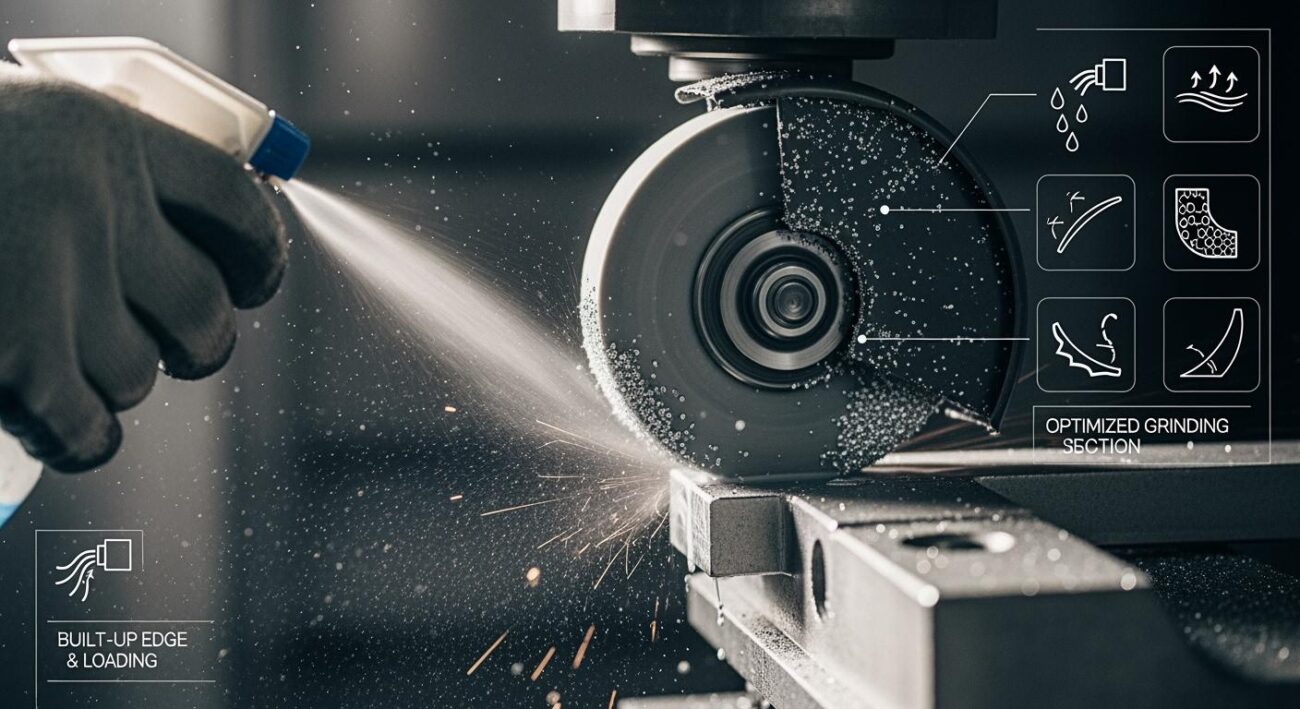
Some grain loss is normal in every grinding operation. What matters is whether the released grains are carried away and filtered out, or whether they keep circulating in the system.
Two common blind spots:
Magnetic Separators Do Not Catch Alumina
Alumina (Al₂O₃) is not ferromagnetic. A magnetic separator only catches ferrous swarf from the workpiece. Grains shed from the wheel pass straight through the separator and return to the grinding zone. In a GCr15 shop, the workpiece swarf is magnetic and the alumina grains are not — the filtration looks like it is working, while the actual contamination source passes right through.
Filtration Rating vs. Actual Grain Size
Industry reference: for bearing steel, rough grinding filtration is around 30–40 µm, finishing around 20–30 µm, and superfinishing around 10–20 µm. A 180-grit grain is roughly 80 µm across. A whole released grain will pass through a filter that is rated coarser than 80 µm without any obstruction.
Even fine filtration can fail in three ways: high flow punching through the filter layer, torn filter media or an overloaded filter unit, and sludge accumulated at the bottom of the tank that gets stirred up every time fresh fluid is added.
| Check Item | Target |
|---|---|
| Filtration method | Verify the separator type actually removes non-magnetic particles |
| Filtration rating | 10–15 µm or finer for finishing; coarser ratings let whole grains through |
| Filter media condition | No tears, no overload, no bypass |
| Tank sludge | Clean the tank bottom; fresh fluid stirs up old sediment |
| Nozzle aim | Direct flow into the contact zone; wash chips away before they re-enter |
| Concentration | Verify with a refractometer; low concentration weakens both cooling and lubrication |
Coolant concentration also matters: industry data shows dropping from 5% to 3% cuts cooling capacity by about 15% and lubrication by about 40%, which raises both the load and the heat on each grain.
Expert Tip: The question to ask is not “is the coolant filtered?” It is “is the filtration removing the grains that are actually causing the scratches?” For alumina wheels, a magnetic separator does not answer that question.
Check 4: Why Superfinishing Cannot Remove the Scratches
This is the piece of the puzzle that most confuses the operator: if 0.01 mm of superfinishing allowance is left, why does the scratch still not come out?
Because superfinishing was never designed to remove deep scratches. Superfinishing uses an oilstone for micro-cutting and polishing. Actual removal per stroke is in the micron range — around 0.001 to 0.003 mm per stroke — and total removal capacity is typically a few microns to a few tens of microns. It is good at removing waviness, burrs, and very shallow damage. Its purpose is to improve roughness and waviness, not to repair deep grooves.
When a loose grain rolls through the contact zone, the groove it leaves can be tens of microns deep. The oilstone makes face contact with the workpiece, contact pressure is carried by the high points, and the stone never reaches the bottom of the groove. It can only flatten the raised edges on either side, leaving the groove itself intact.
That is why the 0.01 mm allowance does not remove the scratch: it is not that superfinishing is underperforming — it is that the damage entering the superfinishing step already exceeds the step’s capability.
What to Do Instead
After grinding and before superfinishing, pull one part and measure the scratch depth with a profilometer or microscope. If the depth exceeds the superfinishing capability, the scratch must be removed or reduced in the grinding step — not pushed downstream. If the depth is only a few microns and superfinishing still cannot remove it, then the oilstone itself is the suspect: loaded, too hard, or the pressure and oscillation parameters are wrong.
If the scratch is far deeper than a normal grain release could produce, look one step further upstream. Damage left by rough grinding and carried through the entire process is not unusual.
Expert Tip: Do not assume superfinishing will absorb an upstream problem. It is a finishing step, not a repair step. Measure the depth before the operation and decide based on the number, not on the available allowance.
The Troubleshooting Order: Start With What Costs Nothing
The order that works is by cost, from low to high. Change one variable at a time and grind a batch for comparison — otherwise the cause cannot be attributed.
| Order | Check | Action | Cost |
|---|---|---|---|
| 1 | Wheel surface speed | Measure diameter, read the blotter, calculate m/s; correct if over the limit | Free |
| 2 | Dressing | Sharp nib, small depth, slow traverse, flush after dressing | Near zero |
| 3 | Coolant | Verify concentration, tank cleanliness, filter media, nozzle aim | Low |
| 4 | Grinding parameters | Reduce finishing stock, lower feed, add spark-out passes | Low |
| 5 | Machine condition | Wheel balance, spindle runout, guideway creep check | Medium |
| 6 | Wheel specification | Speed rating match, hardness L/M, structure 5–7 | Medium-high |
Reading the Scratch Pattern
| Pattern | Most Likely Cause |
|---|---|
| Consistent across the batch | A stable system factor: wheel, dressing, machine, or parameters |
| Intermittent, varying depth | Loose grain: dirty coolant, foreign material, or residue from an upstream operation |
| Periodic, synchronized with rotation | Dynamic balance, spindle bearing, guideway creep, or resonance |
Expert Tip: Change one variable at a time. If you change the dresser, the coolant, and the parameters in one go, the scratches may disappear — but you will not know which change did it, and the next recurrence will be just as confusing.
When a Wheel Change Is Actually the Right Move
Replacing the wheel is the last step, not the first. It is reasonable under any of these conditions:
1. Surface speed confirmed over the limit and the current wheel is not rated for it. Switch to a high-speed wheel or reduce RPM.
2. Hardness or structure clearly mismatched to the workpiece and operation — for example, a fine-grit finishing wheel being asked to remove roughing stock.
3. All other links have been verified against the checklist above and none produced a change in the scratch pattern.
When ordering a wheel under those conditions, give the supplier the full picture: workpiece material and hardness, operation type, wheel surface speed, stock per side, feed and spark-out parameters, and the links already eliminated. That lets them match bond strength, hardness, and structure to the actual job instead of guessing.
Expert Tip: Changing wheels when the problem is upstream is money spent on the wrong variable. Diagnose first, then buy. The wheel shelf can wait.
Frequently Asked Questions
Why do scratches persist after changing to a different abrasive?
✅ Because if you changed only the abrasive, you changed one variable out of seven. Wheel, dressing, coolant, machine, parameters, workpiece condition, and fixturing together decide the result. If white alumina, single-crystal alumina, and microcrystalline alumina all show the same scratch pattern, the abrasive type has been ruled out — the problem is upstream.
How do I check if the wheel is over its rated surface speed?
✅ Read the maximum operating speed on the wheel blotter, then calculate: surface speed (m/s) = π × diameter (mm) × RPM ÷ 60,000. At 2,800 rpm, a 400 mm wheel is at 58.6 m/s and a 450 mm wheel at 66 m/s — both above the typical 35–50 m/s range for conventional vitrified alumina wheels. If you are over the rating, either switch to a high-speed wheel or reduce RPM.
Why doesn’t my magnetic separator catch the grains causing scratches?
✅ Alumina (Al₂O₃) is not ferromagnetic. A magnetic separator only catches ferrous workpiece swarf. Grains shed from the wheel pass through unaffected and return to the grinding zone. For grinding with alumina wheels, filtration must include mechanical separation fine enough to catch whole grains — 10–15 µm or finer for finishing operations.
Why does superfinishing not remove the scratch even with 0.01 mm allowance?
✅ Superfinishing removes only a few microns per pass, and the oilstone makes face contact with the workpiece — it cannot reach the bottom of a deep groove. A grain-rolled groove can be tens of microns deep. Measure the scratch depth after grinding and before superfinishing. If the depth exceeds the operation’s capability, it must be removed in the grinding step, not pushed downstream.
What should I check first if I suspect scratches are from loose grains?
✅ Check dressing first: a dull diamond nib presses instead of cuts and loosens the surface layer. Then check coolant filtration and cleanliness. Both cost little or nothing and are common sources of loose-grain contamination. Only after those come parameter and machine checks.
Key Takeaways
- If the scratch pattern survives every wheel you mount, the abrasive type is already eliminated as a variable.
- Separate the two families: direct wheel-face scratching is regular and continuous; loose-grain rolling damage is random and varying depth.
- Check surface speed first. Read the wheel blotter, calculate m/s, and compare. Overspeed causes pullout regardless of abrasive.
- A dull diamond nib presses instead of cuts. It loosens the surface layer and creates a fresh supply of loose grains at every dressing.
- Flush the wheel after dressing — leftover floating grains go straight into the first workpiece.
- Magnetic separators do not catch alumina. They only remove ferrous workpiece swarf, not wheel grains.
- Match filtration to actual grain size. 180-grit grains are roughly 80 µm; filter to 10–15 µm for finishing.
- Superfinishing removes a few microns per pass and cannot reach the bottom of a deep groove. Measure the scratch depth before deciding.
- If scratches appear in segments synchronized with rotation, check balance and spindle runout before touching the wheel.
- Troubleshoot by cost, not by convenience. Free and near-free checks come first; the wheel shelf comes last.
- Change one variable at a time. Otherwise you will never know which change actually helped.
More grinding questions? Need a custom wheel solution?
Contact Us →