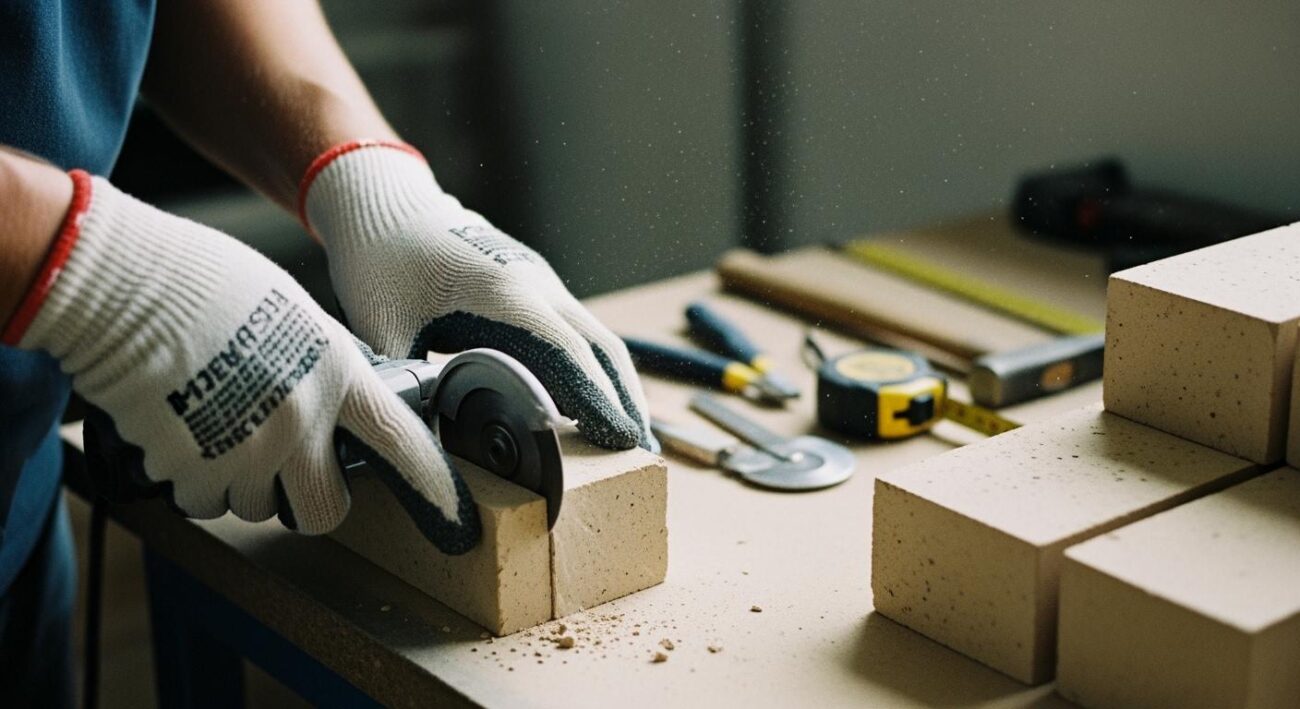
You must focus on the crucial part of the grinding process if you want a true mirror finish. Every step in the process matters, but the crucial part is removing all scratches from the previous process before you move to the next grit. This process takes patience and attention to detail. The mirror finish depends on your discipline in the process. Choose the right tools for the process. Aimgrind Polishing Wheels help you control the process and get the mirror finish you want. The process rewards careful work at every stage. The crucial part is never skipping the process of scratch removal. The crucial part is checking the process before you move forward. The process ends with a final polishing step. The crucial part is always staying focused on the process to achieve a perfect mirror finish.
Key Takeaways
- Always remove all scratches before moving to the next grit. This step is essential for a smooth surface and a true mirror finish.
- Follow the correct grit sequence to avoid leaving deep scratches. Each grit serves a specific purpose in achieving a flawless shine.
- Inspect the surface after each grinding step. Use bright lighting to catch any remaining scratches or pits.
- Choose high-quality tools like Aimgrind Polishing Wheels. These tools help you achieve precision and consistency in your grinding process.
- Take your time and avoid rushing. Patience in the grinding process leads to a better, more reflective mirror finish.
Crucial Part of Grinding for Mirror Finish
Why Scratch Removal Matters
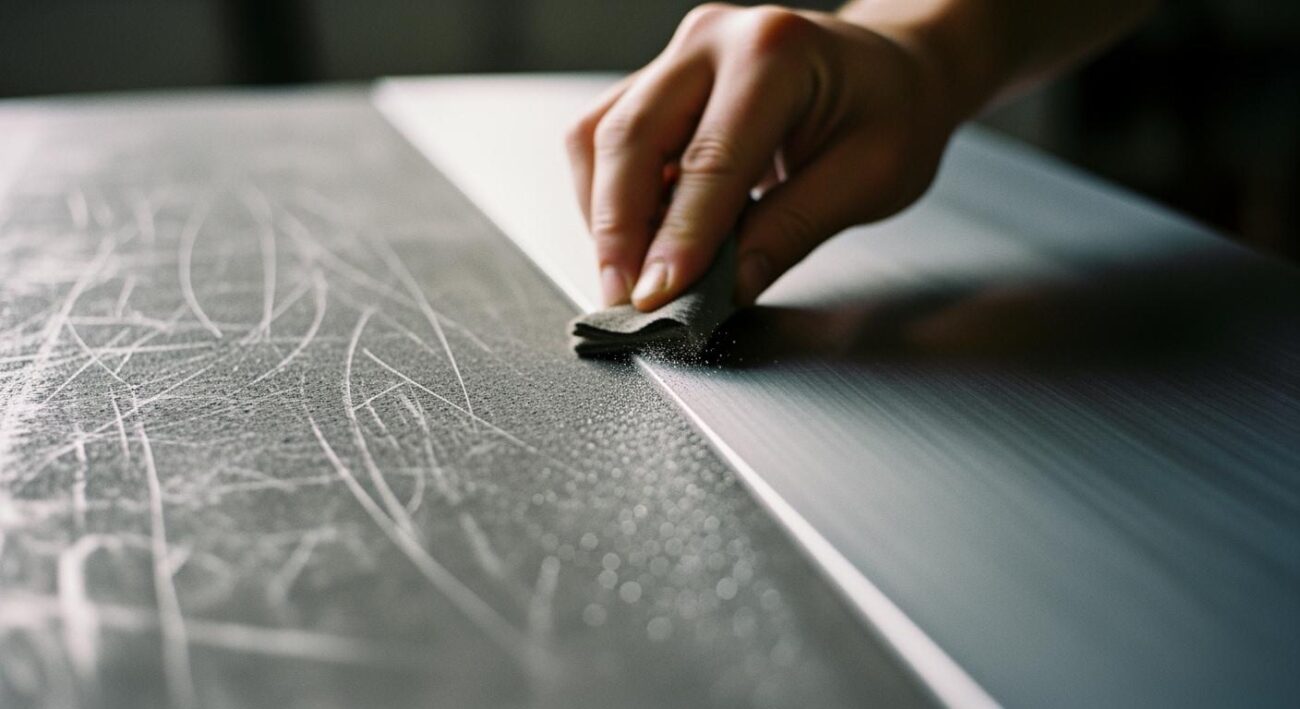
You need to understand why removing scratches is the most important step in the grinding process. Every scratch left behind on the surface can ruin the mirror face. When you move to a finer grit, you must make sure the surface is free from scratches caused by the previous grit. If you skip this step, the mirror face will show lines and marks. These marks will stay on the face even after you polish it.
Grinding works by cutting away tiny bits from the surface. Each grit size leaves its own pattern of scratches. You must remove all scratches from the last grit before you move to the next. If you do not, the surface will have pits and lines that affect the mirror face. The mirror face needs to be smooth and free from pits. You must check the surface after each grinding step. Use good lighting to see the face clearly. Take your time and do not rush the process.
- Incomplete removal of scratches leads to poor surface quality.
- Choosing the right abrasive helps you remove scratches from the face.
- Not spending enough time on polishing leaves scratches and pits on the surface.
Grinding is not just about making the face flat. You must make the surface smooth and clean. The mirror face depends on how well you remove scratches. If you leave pits or lines, the mirror face will not shine. You must use patience and careful inspection. The grinding stage is where you build the foundation for the mirror face.
Impact on Mirror Quality
The mirror face must reflect light perfectly. Scratches and pits on the surface change how light bounces off the face. If you do not remove all scratches, the mirror face will have optical flaws. These flaws make the mirror face look dull or cloudy. You want the mirror face to be bright and clear.
Grinding shapes the surface and removes pits. Each step makes the face smoother. If you skip scratch removal, the surface will keep pits and lines. These pits scatter light and ruin the mirror face. You must check the face after each grinding step. Look for pits and scratches. Use a flashlight or a bright lamp to see the surface. Move the light across the face and watch for lines or pits.
- Scratches can come from particles stuck in pits on the surface.
- Not removing scratches causes optical imperfections in the mirror face.
You must keep the surface clean during grinding. Dust and grit can cause new pits on the face. Wipe the surface often. Inspect the face after every step. The mirror face needs a smooth surface with no pits. The grinding stage is where you control the quality of the mirror face. If you do not remove scratches, the mirror face will never reach a true mirror finish.
Grinding is a careful process. You must pay attention to every detail. The mirror face depends on your discipline. Remove all scratches and pits before moving to the next step. The mirror face will reward your patience with a bright, clear reflection.
Grit Progression Steps in Mirror Making
Proper Grit Sequence
You need to follow the right grit sequence to get a true mirror. Each step in the grinding process uses a different grit. You start with coarse grit and move to fine grit. This order helps you remove deep scratches and slowly make the surface smoother. If you skip a grit, you leave marks that will show up later. The table below shows a common grit sequence for mirror making:
| Stage | Grit Size Range |
|---|---|
| Pre-Polishing | 40 to 320 |
| Intermediate Polishing | 400 to 600 |
| Final Polishing | 800 to 1200+ |
You begin with coarse grit for heavy grinding. You move to medium grit for fine grinding. You finish with very fine grit for the final polish. This grit sequence helps you control the grinding and get the best mirror.
Checking for Complete Scratch Removal
After each grit, you must check the surface. Use a bright light and look at the mirror from different angles. You want to see if any scratches from the last grit remain. If you see lines or pits, keep grinding with the same grit. Only move to the next grit when the surface is free of old scratches. This careful check is key in every fine grinding session. You can use a marker to draw lines on the surface before grinding. When the lines are gone, you know you have worked the whole area.
Tip: Always clean the mirror between each grit. Leftover grit can scratch the surface during fine grinding.
Avoiding Grit Skipping
Never skip a grit in the grinding process. Skipping grits leaves deep scratches that fine grinding cannot remove. Each grit has a job. The first grit removes big marks. The next grit smooths the surface. The last grit gives the mirror its shine. The table below shows how each grit stage helps you reach a smooth finish:
| Grit Stage | Purpose | Typical Range |
|---|---|---|
| Initial Cut | Remove welding marks and deep scratches | 180-240 grit |
| Surface Smoothing | Eliminate coarse scratches | 320-400 grit |
| Pre-Polish | Create uniform surface | 600 grit |
| Final Polish | Achieve mirror reflection | 800-1200+ grit |
You must use every grit in order. This step-by-step grinding makes sure you get a perfect mirror. Fine grinding at each stage builds the base for the next. If you rush or skip, you will not get the finish you want in mirror making.
Common Grinding Mistakes to Avoid
Skipping Grits
You might think skipping a grit will save time, but it often leads to problems. Each grit in the grinding process has a purpose. If you skip a step, you leave scratches or missed pits that show up in the final mirror. These marks can ruin the finish and make the surface look uneven. The table below shows what happens when you skip grits during each stage:
| Step | Grit Size Range | Purpose | Consequences of Skipping Grit |
|---|---|---|---|
| Grinding | 50-200 grit | Removes saw marks and creates a flat surface. | Incomplete surface preparation. |
| Honing | 400-800 grit | Smooths the surface and eliminates scratches. | Visible scratches remain. |
| Polishing | 1500-3000 grit | Develops reflection and gloss. | Dull spots and inconsistent shine. |
| Buffing | 5000+ grit | Creates a deep, mirror-like shine. | Poor final appearance. |
You need to follow every step to achieve a true mirror. Skipping grits makes it hard to remove missed pits and can lead to defects in the final result.
Rushing the Process
You may want to finish quickly, but rushing the grinding process can hurt your results. When you move too fast, you leave lines or scratches on the surface. These marks make the finish rough and dull. You want a smooth and shiny mirror, so take your time with each step. Careful grinding helps you avoid defects and gives you a better finish.
Tip: Slow and steady work leads to a flawless mirror. Patience is your best tool.
Poor Inspection Techniques
You must inspect the surface after each step. Poor inspection lets scratches and pits go unnoticed. Use a bright light and look at the surface from different angles. Clean the workpiece before checking. If you miss a scratch now, it will show up in the final mirror. Good inspection helps you catch problems early and fix them before they become bigger issues.
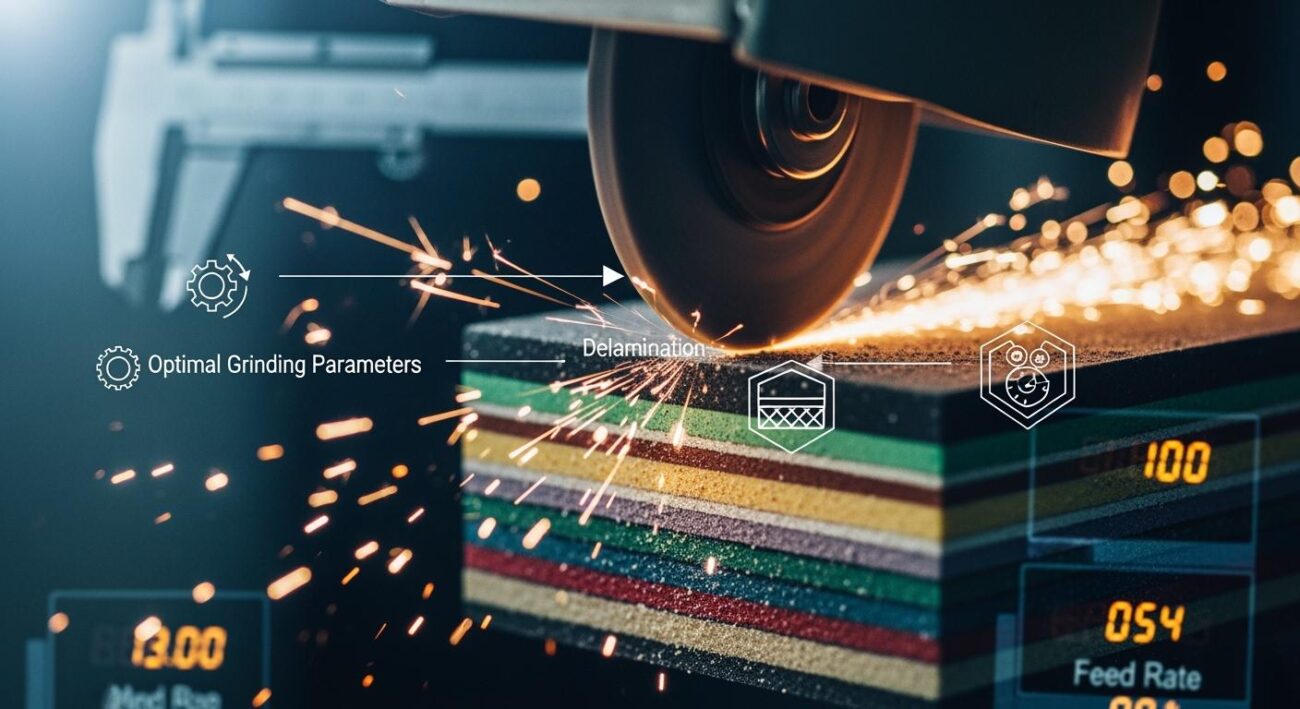
Other common mistakes include using the wrong grinding wheel, not keeping coolant clean, and working in an unstable environment. You should always choose the right wheel for your material. Make sure your coolant is filtered, because even tiny particles can scratch the surface. Keep your workspace stable to avoid unwanted movement during grinding.
- Improper grinding wheel selection can lead to a poor finish.
- Inadequate coolant filtration allows particles to scratch the surface.
- Environmental instability can cause defects in the mirror.
By avoiding these mistakes, you set yourself up for a perfect mirror finish.
Tools and Techniques for Mirror Finish
Aimgrind Polishing Wheels for Precision
You need a grinding tool that delivers precision and consistency. Aimgrind Polishing Wheels help you achieve a mirror edge with high performance. These wheels adapt to different materials and provide a focal point for your grinding process. You can use a fine-grit wheel to reach the level of precision needed for a flawless mirror. Aimgrind wheels offer durability and easy installation. You get a grinding tool that matches your equipment and process. The wheel design allows for efficient heat dissipation, which protects the mirror edge and improves performance. You can rely on Aimgrind wheels for precision in every step.
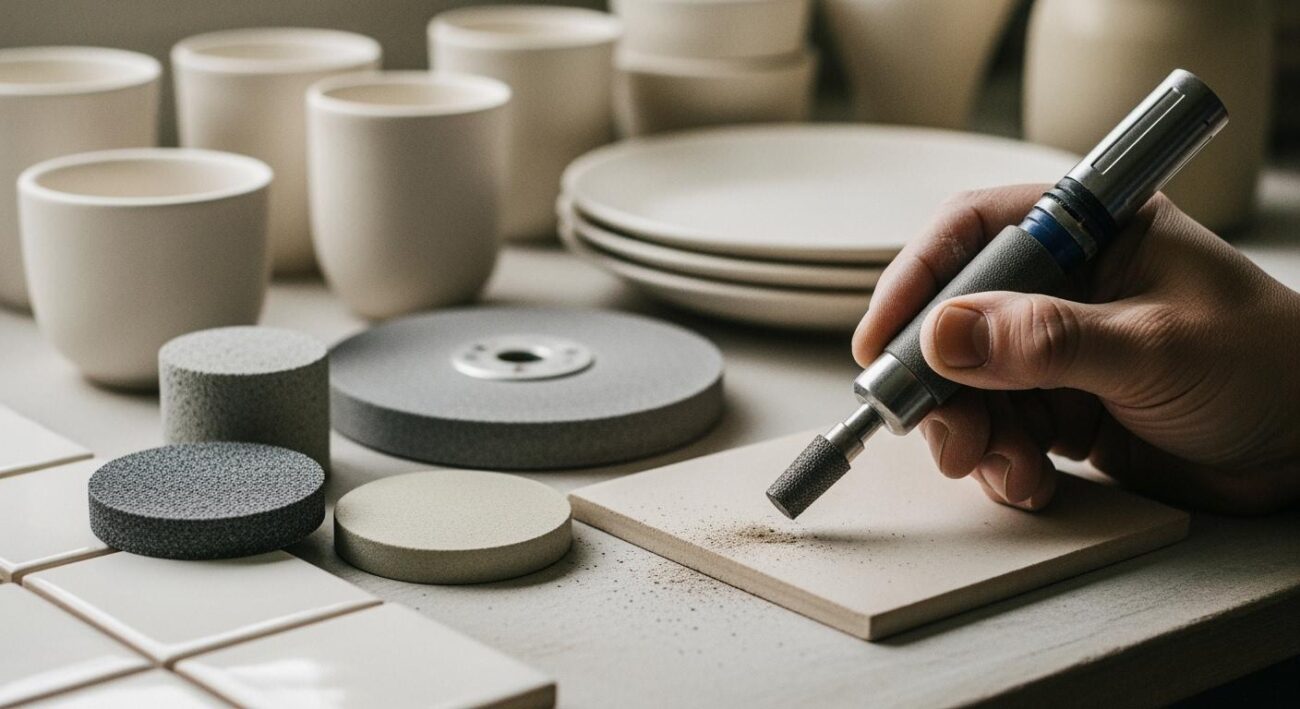
Choosing the Right Abrasives
Selecting the right grinding tool is a focal part of mirror making. You must consider the abrasive type for each stage. The table below shows common abrasives and their uses:
| Abrasive Type | Characteristics and Usage |
|---|---|
| Aluminum Oxide | Highly recommended for fine grinding; effective in achieving a smooth surface. |
| Carborundum (Carbo) | Used for initial grinding; different characteristics compared to aluminum oxide. |
You use silicon carbide grit for both coarse and fine stages. This grit helps you remove scratches and shape the mirror edge. Grinding wheel selection affects the precision and performance of your process. You must choose a wheel that fits your material and desired finish.
Directional Polishing Methods
Directional polishing methods improve the consistency of your mirror edge. You change the direction of polishing by 90 degrees at each step. This technique ensures you remove all scratches from the previous stage. Automated systems help you maintain precision and performance across batches. You get a uniform mirror edge with these techniques. You must advance through finer abrasives and use silicon carbide grit for each focal step. Directional polishing gives you a high-quality mirror with repeatable results.
Inspection and Lighting Tips
Inspection is a focal part of achieving precision. You must check the mirror edge after each grinding tool step. Use specialized lighting to reveal tiny imperfections. Magnification helps you spot defects that are not visible to the naked eye. Follow these inspection techniques:
- Inspect each piece under specialized lighting.
- Use fluorescent lighting to spot image distortions.
- Apply magnification for detailed checks.
Tip: Always inspect the mirror edge before moving to the next grinding tool. Careful inspection ensures you maintain precision and performance.
You must use silicon carbide grit for every focal grinding step. This grit helps you achieve a flawless mirror edge and consistent performance.
Final Polishing Step in Mirror Making
Importance of the Last Polishing Stage
You reach the most important part of the process when you begin the final polishing step. This stage gives your workpiece its true shine. You use this step to remove the last microscopic marks left by grinding. The goal is to reach a surface smoothness of ra 0.1μm. You want the surface to reflect light like a perfect mirror.
- The final polishing step creates a high-gloss, reflective finish.
- You buff the surface to remove tiny imperfections.
- You measure the effectiveness by checking for ra 0.1μm smoothness and strong reflectivity.
- Specialized buffing wheels and ultra-fine compounds help you reach ra 0.1μm.
Grinding removes material and shapes the surface. Polishing refines it. You use finer abrasives and softer tools in this stage. The outcome changes from functional to beautiful. You want a surface that meets the ra 0.1μm standard. This level of smoothness is key for a true mirror.
Tip: Always check your surface for ra 0.1μm after each polishing step. This helps you catch any missed spots early.
Using Aimgrind Polishing Wheels for Best Results
You need the right tools to reach ra 0.1μm. Aimgrind Polishing Wheels give you the control and precision you need. These wheels use soft, elastic materials that adapt to your workpiece. You can use them with ultra-fine polishing compounds to reach ra 0.1μm. The wheels fit standard machines and work on many materials.
- Aimgrind Polishing Wheels help you achieve ra 0.1μm quickly and efficiently.
- The design allows for even pressure and heat control, which protects your surface.
- You get a consistent finish that meets the ra 0.1μm requirement every time.
You should always match your polishing wheel and compound to your material. This helps you reach ra 0.1μm without extra steps. Aimgrind offers different wheels for different needs. You can trust these wheels to help you finish your mirror project with a flawless ra 0.1μm surface.
Note: Using Aimgrind Polishing Wheels makes it easier to reach the ra 0.1μm standard. This gives your mirror a professional look and feel.
You can achieve a true mirror finish by focusing on each step of grinding. Always remove every scratch before moving to the next grit. Use careful inspection and precise strokes for the best results. Choose high-quality tools like Aimgrind Polishing Wheels to help you work with confidence.
- Clean and check your surface often.
- Match your tools and materials for the best shine.
- Use controlled methods for a smooth, even finish.
Attention to detail and smart product choices make your mirror project a success.
FAQ
What is the most important step for a mirror finish?
You must remove every scratch from the previous grit before moving to the next. This step gives you a smooth surface and sets the foundation for a true mirror finish.
How do you check for leftover scratches?
Use a bright light and look at the surface from different angles. You can also use a marker to highlight areas. If you see lines or marks, keep grinding with the same grit.
Why should you avoid skipping grits?
Skipping grits leaves deep scratches that finer abrasives cannot remove. You need to follow each step in order to get a flawless, shiny surface.
What tools help you achieve a mirror finish?
You can use Aimgrind Polishing Wheels for precise and consistent results. These wheels fit many machines and work on glass, metal, and gemstones.
Contact Us
For More Grinding Solution or Customized Abrasive Tools