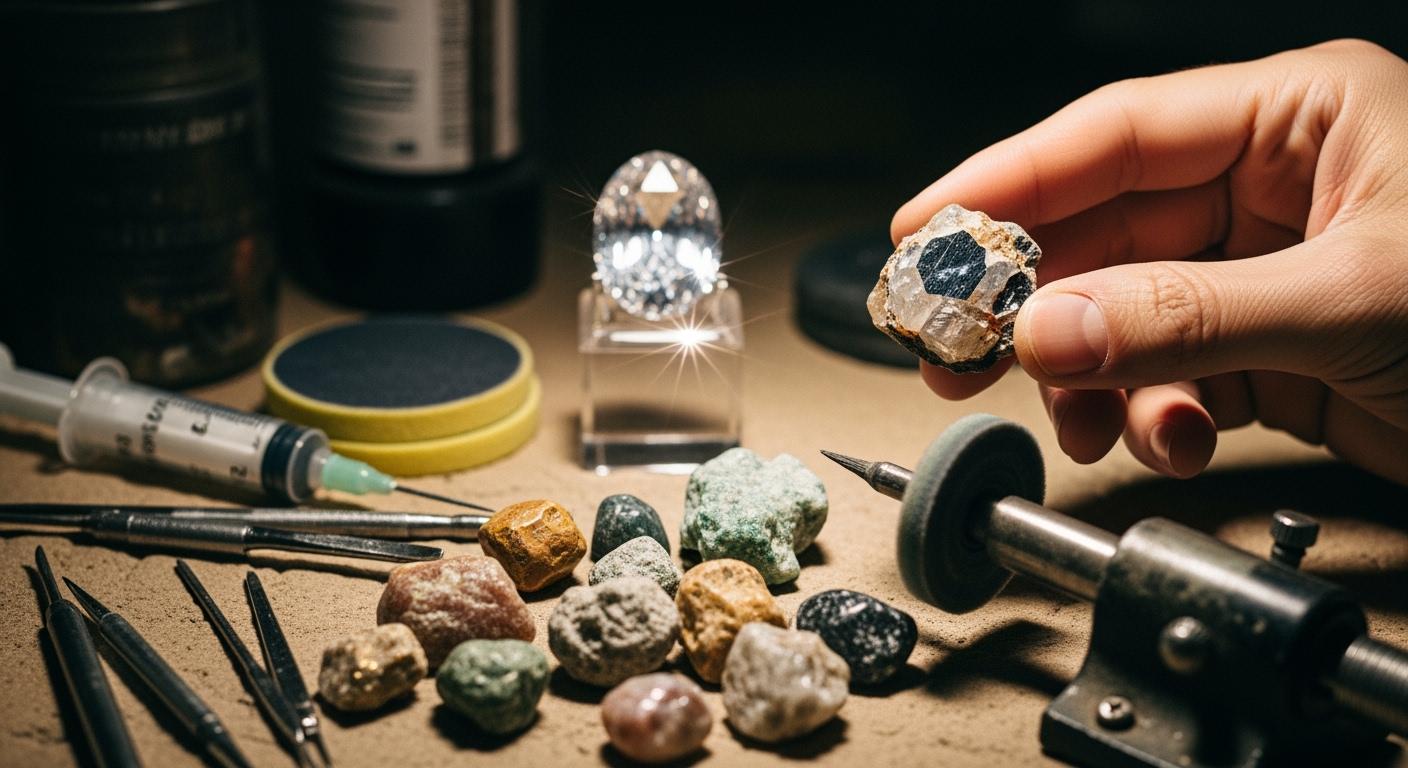
Picture a rough stone, dull and hidden in earth, slowly turning into a sparkling jewel that catches every eye. You might wonder how this magic happens. Only a small number of mined stones—about 15%—are good enough for jewelry, and even fewer make it through the cutting process. Gem Polishing brings out the hidden beauty, but your choice of tools matters. With the right tools, like Aimgrind Polishing Wheels, you can achieve a flawless, radiant finish.
Key Takeaways
- Gem polishing transforms rough stones into sparkling jewels. The right tools, like Aimgrind Polishing Wheels, are essential for achieving a flawless finish.
- Each step in gem polishing, from evaluation to final inspection, plays a crucial role in enhancing the gem’s beauty. Take your time to ensure quality at every stage.
- Choosing the right polishing wheel is vital. Match the wheel to the stone’s hardness to avoid scratches and achieve the best results.
- Heat management is key during polishing. Use water and moderate pressure to prevent damage and ensure a smooth, shiny surface.
- Inspect your gem carefully after polishing. Good lighting and optical tools help you catch any flaws before setting the gem in jewelry.
The Journey of a Gem: From Rough to Radiant
What Sets Gem Polishing Apart
You might think polishing a gem is just like finishing any other mineral, but it’s actually a unique process. When you polish a gemstone, you use finer and finer abrasives—like diamond paste, cerium oxide, or aluminum oxide. You work with special tools, such as polishing wheels or felt pads. This careful process removes scratches and brings out a mirror-like shine. The color and clarity of the gem become brighter and more beautiful. That’s what makes gem polishing stand out from other finishing methods.
Step-by-Step Overview
Let’s break down the journey of a gem from rough stone to sparkling jewel. Each step has a special purpose and helps the gem reach its full potential.
- Evaluation: You start by examining the rough stone. You look for the best color, shape, and clarity.
- Cleaving or Sawing: Next, you split the stone into pieces that are easier to work with.
- Preforming: You shape the stone into a basic outline.
- Faceting: Here, you cut small flat surfaces, called facets, to make the gem sparkle.
- Polishing: You use polishing wheels and fine abrasives to remove scratches and create a shiny surface.
- Final Inspection: You check the gem for any flaws and make sure it looks perfect before it becomes jewelry.
Tip: Each stage can take anywhere from a few hours to several days, depending on the size and type of gemstone.
Here’s a quick look at the main steps and their purposes:
| Step | Purpose |
|---|---|
| Rough Crystal Examination | Find the best way to cut the stone |
| Preshaping | Create the basic shape |
| Dopping | Attach the stone to a rod for easier handling |
| Faceting | Add facets to boost brilliance |
| Polishing | Make the surface smooth and shiny |
| Final Inspection | Ensure quality before setting in jewelry |
This journey of a gem shows how much care and skill go into every sparkling stone you see.
Initial Assessment in Gem Cutting
Evaluating the Rough Stone
When you start gem cutting, you need to look closely at the rough stone. This first step helps you decide if the stone is worth working on. You want to find the best way to bring out its beauty. Here are some things you check:
- Clarity: You look for how clear the stone is. Stones with fewer marks or spots shine brighter.
- Inclusions: These are things inside the stone, like tiny minerals or cracks. They can change how the stone looks.
- Blemishes: These are marks on the outside, like scratches or chips. They can happen during mining or handling.
- Color: You check if the color is even or if there are bands of different shades.
- Shape: The shape of the rough stone can help you decide what kind of gem you can make.
You need to learn how to spot inclusions and blemishes. This skill helps you make good choices in gem cutting. Sometimes, you have to accept small flaws, but you always try to remove the worst ones.
The cutter will consider the shape of the rough and the inclusions within it. Once you figure out the “lie of the land,” you must decide how to orient the cut—where the table will sit and where the pavilion will be. You think about bad inclusions, color banding, and the shape of the piece. All these things affect your plan for gem cutting.
Marking and Preparation
After you finish checking the stone, you get ready for the next step in gem cutting. You use special tools to mark and prepare the stone. These tools help you make accurate cuts and keep the stone safe.
| Tool/Technique | Purpose/Function |
|---|---|
| Calipers | Ensure accurate measurements for cuts and shapes |
| Rulers | Assist in measuring lengths and angles |
| Wax Pencils | Used for marking on stones without damaging them |
| Template Stencils | Help create uniform designs |
| Dop Sticks with Wax | Secure stones for better control during cutting |
| Bench Vises and Clamps | Hold stones securely in place for shaping and polishing |
| Soft Brushes | Remove dust and debris from workspace |
| Cloths | Clean stones and tools to maintain quality |
| Stone Cleaners | Ensure stones are free from contaminants before cutting |
You use calipers and rulers to measure the stone. Wax pencils let you draw lines without scratching the surface. Dop sticks with wax help you hold the stone steady. You clean the stone and your tools before you start. Good preparation makes gem cutting easier and helps you get the best results.
Gem Cutting Styles and Shaping
Faceting vs. Cabochon
When you explore gem cutting styles, you’ll notice two main approaches: faceting and cabochon. Faceting means you cut many small, flat surfaces called facets on the gem. These facets catch and reflect light, making the stone sparkle. Cabochon cutting shapes the gem into a smooth, rounded dome without facets. This style works best for stones with rich color or special effects, like opals.
Here’s a quick comparison to help you see the difference:
| Cutting Technique | Brilliance | Value | Durability |
|---|---|---|---|
| Faceted | High | Higher | Generally more durable |
| Cabochon | Lower | Lower | Varies based on stone |
Faceting gives you more brilliance and usually a higher value. Cabochon gems feel softer and show off color or patterns instead of sparkle. When you choose between these gem cutting styles, think about what you want the gem to show—fire and shine, or color and smoothness.
You’ll also find other gem cutting styles that create unique looks. Take a look at this table:
| Cutting Style | Description | Effect on Appearance |
|---|---|---|
| Faceting | Maximizes sparkle through intricate light reflection. | Enhances brilliance and overall visual appeal. |
| Rose Cut | Features a revival of historical charm, providing antique elegance. | Conveys a timeless aesthetic to contemporary pieces. |
| Step Cut | Characterized by long, narrow facets, enhancing color and clarity. | Offers a clear view into the stone’s depths. |
| Mixed Cuts | Combines faceted and cabochon methods for visual allure. | Balances brilliance with the stone’s color and inclusions. |
| Bead Cutting | Transforms stones into uniform spheres for jewelry. | Ensures harmony in size and shape across pieces. |
| Briolette | Elongated teardrop shape with extensive faceting. | Creates multifaceted sparkle capturing light from all angles. |
| Fantasy Cut | Uses asymmetrical shapes and intricate facets for unique designs. | Transforms gemstones into imaginative works of art. |
| Opal Cutting | Focuses on enhancing opalescence through specialized techniques. | Maximizes the display of vibrant hues in opals. |
Tip: If you want a gem that shines with every turn, faceting is your best choice. If you love bold color or special effects, cabochon might be perfect for you.
Tools and Techniques
You need the right tools to master gem cutting styles. Flat laps help you create flat surfaces and precise facets. Wheel grinders shape curved surfaces and smooth out rough edges. Gem faceting machines let you cut symmetrical facets that boost the gem’s sparkle. Slab saws slice rough stones into workable pieces. Lapidary band saws help you cut intricate shapes for creative gem cutting styles.
Each tool changes how your gem looks and feels. When you use a faceting machine, you can control the angle and size of each facet. This control lets you bring out the best brilliance in your gem. If you use a wheel grinder, you can shape a cabochon with a smooth, rounded surface. The tools you pick decide how many facets you can add and how much light your gem will reflect.
Note: Practice makes perfect. Try different gem cutting styles and tools to see what works best for your favorite stones.
Gem Polishing with Aimgrind Polishing Wheels
Choosing the Right Polishing Wheel
When you start gem polishing, your choice of polishing wheel matters a lot. Aimgrind Polishing Wheels help you get a flawless finish on gemstones. You need to match the wheel to the stone and the result you want. Some wheels work best for hard stones, while others suit softer gems.
Take a look at this table. It shows how different wheels affect the surface finish and brilliance of various materials:
| Polishing Wheel Type | Characteristics | Ideal Use Cases |
|---|---|---|
| Sisal Buffing Wheels | Highly abrasive, robust fibers | Polishing hard metals like iron and gold |
| Classic Buffing Wheels | Non-abrasive, available in loose cotton muslin and spiral-sewn muslin | Polishing gemstones like Shattuckite |
| Muslin Buffing Wheel | Soft nature, ideal for delicate pieces | Polishing delicate jewelry stones |
| Loose Cotton Muslin | Softer, stitched around the arbor hole, ideal for light tasks | Finishing touches on delicate items |
You can also use felt wheels for softer stones. Leather pads give you a high-gloss finish. Diamond pastes are perfect for hard stones like agate. Tin or aluminum oxide works well for softer stones such as opal. The right polishing wheel brings out the shine and color in your gem.
Tip: Always check the compatibility of your polishing wheel with the stone you are working on. This helps you avoid scratches and get the best results.
Aimgrind offers many types of polishing wheels. You can find BD wheels, BK wheels, wool felt wheels, and 10S wheels. Each wheel has a special design for different materials and finishes. You get versatility and durability with Aimgrind wheels. They fit most polishing machines and make gem polishing easier for both beginners and experts.
Polishing Methods and Finishes
You want your gemstone to look like a mirror. The polishing method you choose makes a big difference. Hard-back polishing uses firm surfaces to create an even polish. This method works well for stones with mixed hardness. Diamond compounds polish quickly and handle tough stones without damaging softer areas. Oxide polishes, like cerium, tin, and aluminum oxide, are great for specific materials. Cerium oxide is the standard for quartz and glass. Tin oxide is best for jade.
Here are some common polishing methods:
- Hard-back polishing for even finishes
- Diamond compounds for aggressive polishing
- Oxide polishes for special materials
You can use Aimgrind Polishing Wheels with these methods. The wheels help you achieve a smooth, shiny surface. You see the brilliance and fire in your gem after polishing. The right method and wheel make gem polishing simple and effective.
Note: The selection of polishing compounds depends on the type of stone and the finish you want. Hard stones need diamond pastes. Softer stones require gentle polishing.
If you combine the right wheel and method, you get a gemstone that sparkles. You can see the transformation from rough stone to radiant jewel. Cutting and polishing go hand in hand. You shape the gem, then polish it to reveal its beauty.
Heat Management and Surface Quality
Heat can ruin your gemstone during polishing. You need to manage heat to protect the stone and get a perfect surface. Aimgrind Polishing Wheels have designs that help with heat dissipation. You can polish longer without worrying about damage.
Here are some ways to control heat:
- Adjust machine speed and use moderate pressure
- Use water-cooled pads or apply water often
- Work in small sections to keep heat low
- Pick pads that dissipate heat well
- Keep airflow around your machine
- Monitor temperature with a thermometer
- Choose polishing compounds that reduce friction
- Maintain your tools regularly
If you follow these steps, you avoid cracks and surface imperfections. Your gemstone stays safe, and you get a smooth, shiny finish. Gem polishing is not just about making the stone look good. It is about protecting the gem and showing its true brilliance.
Callout: Always pay attention to heat when polishing. Too much heat can cause chips, cracks, or dull spots.
Aimgrind Polishing Wheels help you manage heat and achieve high-quality finishes. You can polish different materials with confidence. The wheels give you control and consistency. You see the sparkle and shine in every gem you polish.
Gem polishing is a journey. You start with cutting and polishing, then finish with a radiant stone. The right tools, methods, and care make all the difference. Aimgrind Polishing Wheels guide you through each step, helping you reveal the hidden beauty in every gemstone.
Quality Control and Final Touches
Inspecting for Flaws
You have finished polishing your gemstone, but your work is not done yet. Now, you need to check every detail with precision. This step makes sure your gem looks perfect before you set it in jewelry. You want to catch any small flaw that could ruin the final sparkle. Good lighting helps you see every surface. You can use both soft daylight and a bright point-source lamp to spot scratches or chips. A 10x triplet loupe lets you zoom in and check for tiny marks. You also want to make sure the polish covers the whole gem, right up to the edge.
Here’s a table that shows some common quality control steps:
| Quality Control Measure | Description |
|---|---|
| Lighting Conditions | Use diffused daylight and point-source lighting to spot imperfections. |
| Optical Tools | Inspect with a 10x triplet loupe for detailed checks. |
| Visual Inspection | Look for undercutting and make sure polish reaches the girdle or edge. |
| Cleaning Protocols | Remove polishing compounds right away to avoid stains or residue. |
| Ultrasonic Cleaning | Use ultrasonic units carefully, especially for sensitive stones. |
You need precision at every step. If you miss a flaw now, it will show up later. Careful inspection helps you deliver a gemstone that shines with confidence.
Cleaning and Setting
After you finish inspecting, you need to clean your gemstone. This step keeps the polished surface bright and free from stains. You want to remove all polishing compounds right away. If you leave them, they can leave marks or dull the shine. Ultrasonic cleaners work well for most stones, but you should use them with care on softer gems. For delicate stones like emerald or quartz with many inclusions, try gentle scrubbing with a soft brush or use high-pressure steam.
Here are some cleaning tips:
- Clean your gem right after polishing to keep the surface clear.
- Use ultrasonic cleaners for tough stones, but be gentle with sensitive ones.
- For fragile gems, use a soft brush or steam to avoid scratches.
Once your gem is clean, you can set it in jewelry. This final step also needs precision. You want the gem to fit snugly and stay secure. A clean, flawless gem with a perfect setting shows off all your hard work. When you use precision in every stage, from inspection to cleaning and setting, your gemstone will truly sparkle.
The Sparkle Unveiled: What Makes Gems Shine
Brilliance and Fire Explained
You might wonder why some gems catch your eye from across the room. The answer lies in two things: brilliance and fire. Brilliance means how much white light bounces back to your eyes from the gem’s surface. Fire is the rainbow of colors you see when light splits inside the stone. Both make the sparkle of gemstones so magical.
Let’s look at how these two work together:
| Concept | Description |
|---|---|
| Brilliance | The reflection of white light from the surface, showing off the quality of the cut and polish. |
| Fire | The burst of colors created when light bends and spreads inside the gem, making it look like a rainbow. |
When you polish a gem, you use a special technique to make the surface smooth. This helps light reflect better, boosting brilliance. The way you cut and shape the gem also matters. A good technique can make the gem bend light in just the right way, creating fire. Gems like diamonds have a high refractive index. This means they bend light a lot, so you see more colors and sparkle.
Tip: The fewer impurities inside your gem, the more light can travel and bounce around. This makes the stone shine even brighter.
Impact of Each Step
Every step you take from rough to radiant matters. Each technique adds something special to the final look. Here’s how each stage helps your gem shine:
- Rough Crystal Examination: You check the stone and plan your technique. This step helps you find the best way to show off brilliance.
- Preshaping: You grind the stone into a basic shape. This technique sets the stage for good light reflection.
- Dopping: You attach the stone to a stick. This technique gives you control for the next steps.
- Faceting: You cut flat surfaces, or facets, with careful technique. This is where you boost brilliance and fire.
- Polishing: You use a fine technique to smooth each facet. This step gives the gem a mirror-like finish and brings out the sparkle.
You need accuracy at every stage. If you use the right technique, you get perfect angles and smooth surfaces. This lets light bounce and bend inside the gem, making it shine. The final polish is the last technique, but it’s the one that makes the gem go from dull to dazzling. When you follow each technique with care, you turn a simple stone into a work of art.
Remember: The journey from rough to radiant is all about using the right technique at every step. That’s how you unlock the true brilliance of every gemstone.
You’ve seen how a gem cutter uses skill and the right tools to turn a rough stone into gemstone jewelry that shines with natural luster. The journey from rocks to rings takes patience, practice, and a sharp eye for luster. Over the years, polishing wheels have changed a lot:
| Year | Advancement Description |
|---|---|
| 2005-2011 | Development of rough scanning and gem-cutting software for CNC machines, improving speed and accuracy. |
| 21st Century | Introduction of AI for grading rough gemstones, enabling better analysis and optimal cutting strategies. |
| Recent | Shift from traditional methods to automated processes, including high-tech sintered steel-and-diamond wheels. |
Today, you can use Aimgrind Polishing Wheels to get that perfect finish and bring out the natural luster in every stone. The future looks bright, with AI making polishing smarter and even waste from rocks to rings helping the planet. Next time you see gemstone jewelry, remember the skill and science that make each piece shine.
FAQ
What is the best way to choose a polishing wheel for gemstones?
You should match the wheel to your stone’s hardness and the finish you want. Check the manufacturer’s guide. If you’re unsure, start with a softer wheel and test on a small area.
Can I use Aimgrind Polishing Wheels on any polishing machine?
Yes! Aimgrind Polishing Wheels fit most standard polishing machines. You just need to check the size and mounting style. This makes them easy to use for both beginners and pros.
How do I keep my gemstone from overheating during polishing?
Tip: Use water or a coolant while you polish. Work in short bursts and let the stone cool between passes. Aimgrind Polishing Wheels help with heat control, so you get a smooth finish without cracks.
How long does a polishing wheel last?
The lifespan depends on how often you use it and the material you polish. Most Aimgrind Polishing Wheels last a long time because they are made for durability. Replace the wheel when you see it getting thin or uneven.
Can I polish both rough and fine surfaces with the same wheel?
You can, but you’ll get better results if you use different wheels for each stage. Start with a coarser wheel for rough shaping. Switch to a finer wheel for the final polish and shine.
Contact Us
For More Grinding Solution or Customized Abrasive Tools