You usually need three to five steps to move from rough grinding to fine grinding. You start with a coarse grit, like P120 or P180, and then switch to finer grits, such as P240, P320, P400, and P600. Aimgrind diamond grinding wheels help you achieve a smooth finish and precise results. Many people make mistakes during grinding. For example, they might not inspect the workpiece or use the wrong bond. Here are common mistakes:
| Mistake | Description |
|---|---|
| Not inspecting your floor before starting | Raised materials can damage your machine. |
| Selecting the incorrect bond | The wrong diamond bond wears out quickly. |
| Applying unnecessary speed | Too much speed overheats the grinder. |
| Not understanding the process | You get unsatisfactory results. |
Key Takeaways
- Follow a sequence of grits from coarse to fine to achieve a smooth finish. Skipping grits can lead to surface imperfections.
- Inspect your workpiece and grinding equipment before starting. Proper preparation prevents damage and improves results.
- Use light pressure during fine grinding to avoid overheating and surface damage. Adjust grit size carefully for the best finish.
- Regularly check dimensional accuracy and calibrate your equipment. This ensures consistent results and maintains quality.
- Choose the right grinding wheel for each material type. Matching the wheel to the material improves performance and extends tool life.
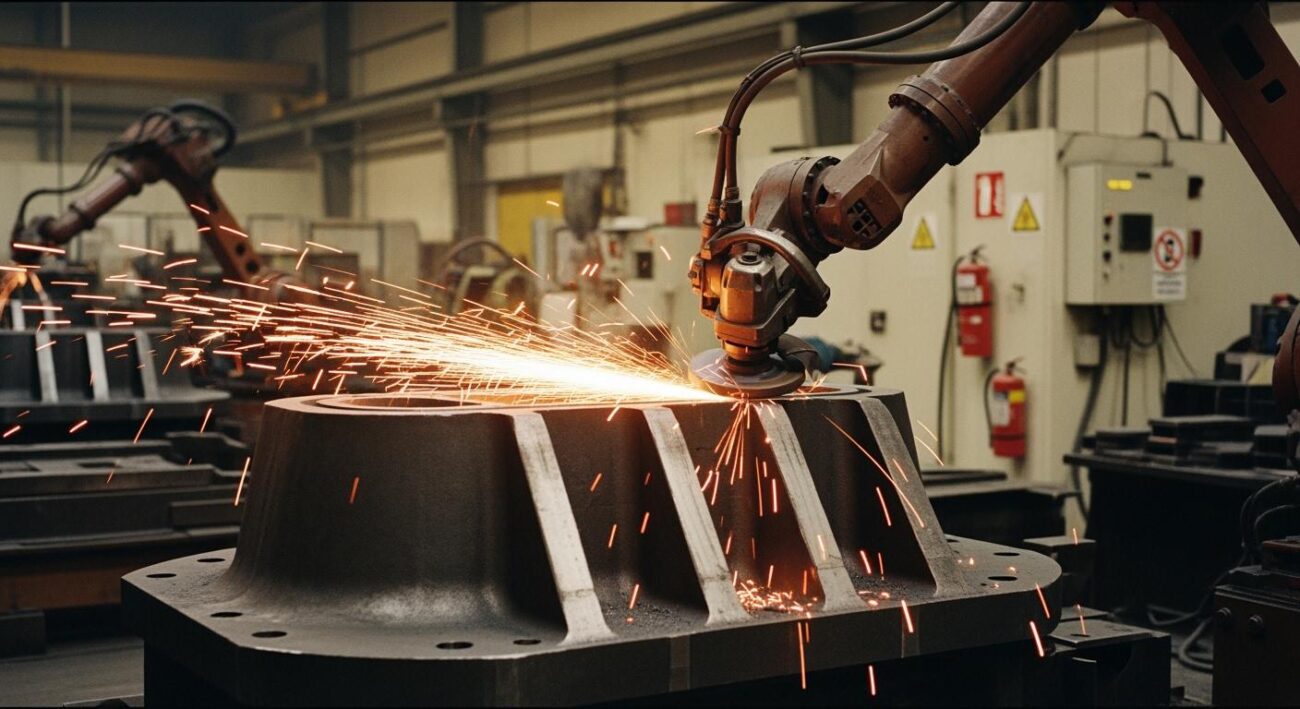
Essential Steps in Rough Grinding
Preparatory Work
You need to follow several important steps before you begin rough grinding. These steps help you get the best results and protect your equipment. Start by cleaning the work area and the workpiece. Use a professional cleaning agent to remove any oil or dirt from the surface. Check the workpiece for cracks or other defects. You can use a coloring method or a red marker to spot tiny cracks. If you see any marks after rotating the disc, you should test the surface with a standard plate.
Next, turn off your grinding machine and unplug it. Remove the grinding wheel and inspect it for wear or damage. Make sure the grinding wheel is aligned and balanced. Check the mounting flanges for any signs of wear. These steps help you avoid problems during rough grinding.
Aimgrind diamond grinding wheels work well for rough grinding of hard and brittle materials. They cut cleanly and prevent work hardening. The diamond layer gives you high efficiency and a smooth start to your grinding process. Always use proper cooling to manage heat and protect both the wheel and the workpiece.
Tip: Careful preparation saves time and improves the quality of your rough grinding.
Workpiece Clamping
You must secure the workpiece before you start rough grinding. Proper clamping keeps the workpiece steady and improves accuracy. Choose the right clamping method for the shape and size of your workpiece. The way you position and clamp the workpiece affects the surface roughness. If you use the correct method, you get a better finish and avoid mistakes.
- Proper clamping methods increase accuracy during rough grinding.
- The choice of positioning reference and clamping method changes the final surface quality.
Take your time with these steps. Good preparation and clamping set the stage for successful rough grinding.
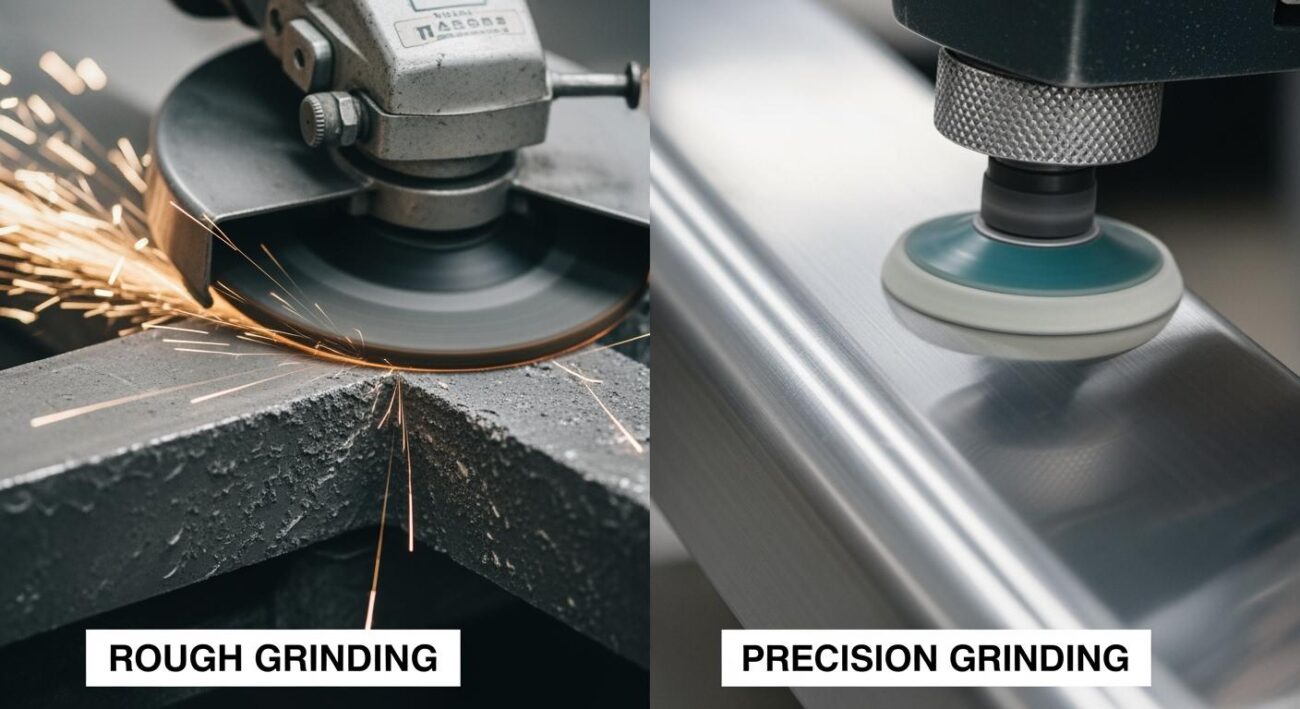
Rough Grind Process
Grit Selection and Progression
You need to follow the correct sequence of grits during the rough grind. Each grit size removes the scratches left by the previous one. If you skip a grit, you may leave deep scratches that a fine grit cannot remove. This can lead to surface imperfections and a lower quality finish. Each step prepares the surface for the next, so you get the best results.
Tip: Always use each grit size in order. Skipping grits can waste time and make it harder to achieve a smooth finish.
Here is a table that shows the recommended grit progression for different materials:
| Material | Grit Progression |
|---|---|
| Wood | 80 → 120 → 150 → 180 → 220 |
| Metal | 60 → 120 → 220 → 320 |
You should start with a coarse grit for the rough grind. Move to medium grits, then finish with a fine grit. This method helps you remove material quickly and prepares the surface for the next stage.
Aimgrind diamond grinding wheels give you consistent grit sizes. They help you avoid surface imperfections and make each step more effective.
Grinding Parameters
You must set the right grinding parameters to get a good result. Dressing the wheel removes blunt abrasive grains and keeps the cutting edges sharp. This reduces surface roughness and helps you get a better finish with a fine grit.
The table below explains important factors for the rough grind:
| Factor | Description |
|---|---|
| Dressing Techniques | Removes dull grains for sharp cutting edges and smoother surfaces. |
| Grinding Speeds | Correct speed prevents damage and improves metal removal. |
| Feed Rates | Smaller feed rates create more cutting edges and lower surface roughness. |
| Cooling Importance | Good cooling stops overheating, vibration, and surface burns. |
Aimgrind diamond grinding wheels work well with these parameters. They remove material quickly and leave a surface that is ready for fine grit steps. You get a smooth finish and save time in the process.
Fine Grinding Steps
Adjusting for Finer Grits
You move from rough grinding to fine grinding by making careful adjustments. You need to reduce the pressure on the grinding wheel. Light pressure lets the tool glide over the surface and prevents heat buildup. Heavy pressure can cause warping and wear out the abrasive grain too quickly. You must select the right grit size for the fine grinding process. If you start with a grit that is too fine, you will not remove scratches from earlier steps. If you finish with a grit that is too coarse, you will see visible marks.
You can follow these key adjustments for the best results:
- Uniform grind size gives you a balanced and smooth finish.
- Stepped adjustment dial helps you track and repeat your grind settings.
- Micron-level precision lets you fine-tune for different materials and shapes.
- External adjustment system allows you to switch quickly between grinding methods.
- Solid build quality and burr alignment keep your grinding performance consistent.
Aimgrind diamond grinding wheels help you make these adjustments easily. You get precise control over grit size and pressure. The wheels keep their shape and sharpness, so you achieve a high-quality finish every time.
Tip: Always check your settings before you start the fine grinding process. Small changes can make a big difference in surface quality.
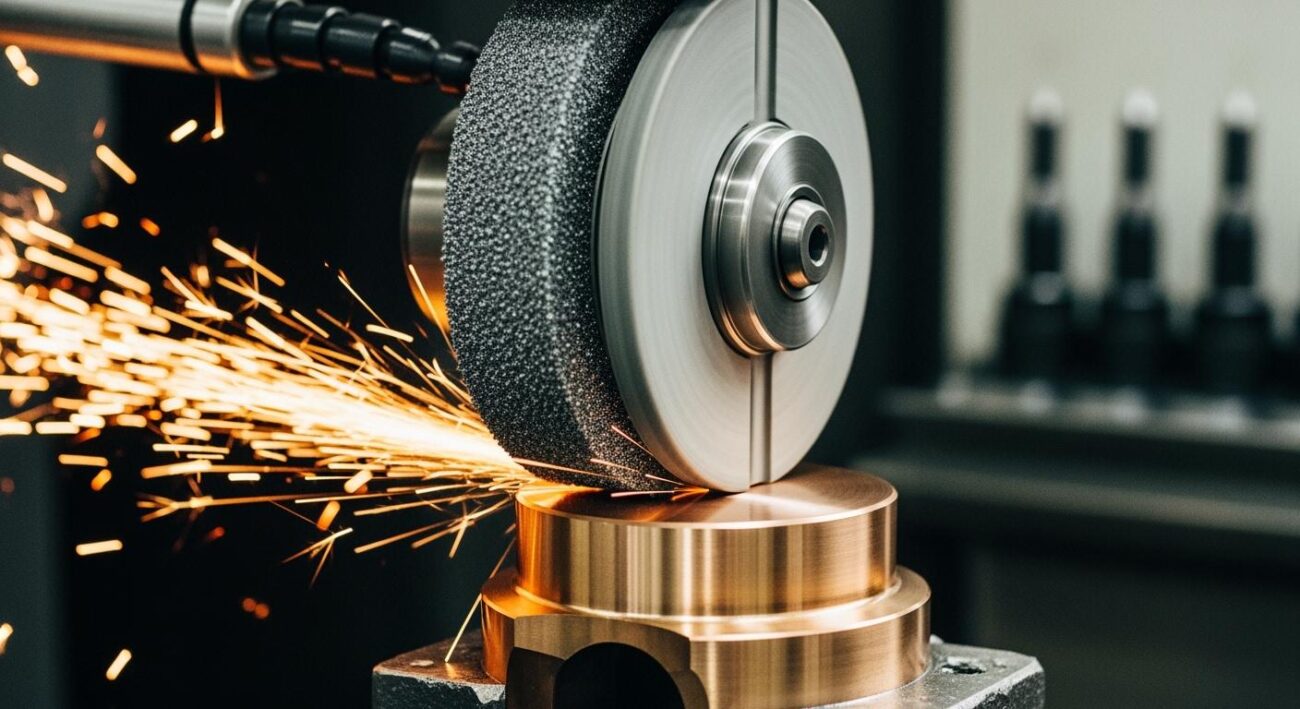
Achieving Smooth Finish
You want a smooth finish when you complete the fine grinding steps. You must use light pressure and the correct grit progression. The fine grinding process removes tiny scratches and blends the surface. Aimgrind diamond grinding wheels give you micron-level precision. You can adjust the wheel for different materials, such as metals, ceramics, or composites.
You should follow these steps to achieve a smooth finish:
- Use light pressure to avoid heat and surface damage.
- Select the right grit size for each stage.
- Check the surface after each pass for uniformity.
- Make small adjustments to the wheel and machine settings.
- Clean the workpiece between steps to remove debris.
Aimgrind diamond grinding wheels help you reach the desired finish. The wheels provide consistent performance and long service life. You get a smooth, polished surface that meets your quality standards.
Note: Aimgrind wheels work well for both wet and dry fine grinding. You can use them for many materials and shapes.
Final Polish and Inspection
Surface Quality Check
You reach the final polish step after completing the fine grinding process. This step gives your workpiece a smooth and flawless surface. You must use the right grinding technique to remove scratches without causing new damage. You follow a sequence of finer grits, making sure each pass removes marks from the previous stage. You control the pressure based on the grit type. Too much force can deform the surface and reduce accuracy. You use lubricants to lower heat and wash away debris. These actions help you avoid abrasive loading and keep the surface clean.
Here are best practices for the final polish:
- Use proper grinding technique to remove scratches.
- Select finer grits in order and check for leftover marks.
- Control pressure to protect the surface and maintain accuracy.
- Apply lubricants to reduce heat and flush debris.
Aimgrind diamond grinding wheels help you achieve a perfect finish. They keep their shape and deliver consistent results. You get high accuracy and a polished surface that meets your standards.
Tip: Always inspect the surface after each polishing step. Look for uniformity and shine. Small flaws can affect accuracy and performance.
Dimensional Accuracy
You must check dimensional accuracy after polishing. Regular inspections help you maintain operational accuracy. You use tools like micrometers and calipers to measure thickness and flatness. You perform calibration cycles to prevent drift in polishing thickness or grinding speeds. The frequency of calibration depends on how often you use your machine. Aimgrind wheels support precise measurements and stable results.
- Inspect your workpiece often to ensure accuracy.
- Calibrate your equipment to keep grinding speeds and thickness consistent.
- Adjust calibration cycles based on machine usage.
You achieve high accuracy by combining careful polishing and thorough inspection. Aimgrind diamond grinding wheels make this process easier. You get reliable accuracy and a surface that meets strict requirements.
Note: Consistent inspection and calibration protect your workpiece and improve accuracy. Aimgrind products help you reach your goals in every grinding project.
Variations for Different Workpieces
Large or Irregular Shapes
You may face challenges when you grind large or irregularly shaped workpieces. These pieces often need special handling during the processing steps. You should use specialized fixtures to hold unique shapes. These fixtures help you keep the workpiece in the right position and improve machining efficiency. Hydraulic cylinders in clamping systems can reduce wear and keep accuracy high, especially for horn-shaped parts. Rapid clamping vises work well for odd shapes and make the fixture process faster and more reliable.
You can also use independent chucks for uneven surfaces. These chucks let you adjust each jaw separately. This helps you grip non-cylindrical profiles like castings and forgings. Strong clamping is important for large components because it keeps the workpiece steady during heavy grinding.
Tip: If you have a unique workpiece, Aimgrind offers customization services. You can get grinding wheels and fixtures designed for your specific needs.
Material-Specific Adjustments
Different materials need different processing steps. You must match your grinding wheel to the material for the best results. For example, ceramics have high hardness and wear resistance, while steel offers durability and cost-effectiveness. The table below shows some key differences:
| Material Type | Hardness | Density | Key Benefits |
|---|---|---|---|
| Ceramic | 8.5–9.5 | 3.2–6.0 | High purity, wear resistance |
| Steel | 55–90 HRC | 7.8–14.5 | Durability, cost-effectiveness |
You should select the right grinding wheel for each material. This choice improves performance and extends tool life. When you process composites, you may need shorter processing steps and special abrasives like silicon carbide or alumina. These choices help prevent damage and improve the finish.
- Match the hardness and density of your grinding media to the material.
- Use alternative abrasives for composites with small reinforcing parts.
- Adjust your processing steps to fit the material’s needs.
Aimgrind can help you select or design the right grinding wheel for any material or shape. You get better results and save time with the right tools.
You can achieve high quality with your surface grinder by following these steps:
- Start with rough grinding to remove material and avoid skipping steps.
- Choose the right abrasive for your surface grinder and material.
- Move through each grit size on your surface grinder to improve quality.
- Clean your workpiece between each stage for better quality.
- Use smooth motions and steady pressure on your surface grinder for a polished finish.
You get the best quality when you use Aimgrind diamond grinding wheels. Trust your surface grinder to deliver precise results every time.
FAQ
What is the purpose of the pre-polish step?
You use the pre-polish step to prepare the surface for the final polish. The pre-polish removes small scratches left from the rough grinding stage. This step helps you achieve a smoother pre-polish finish before you polish the workpiece.
How do you know when you have reached a proper pre-polish finish?
You check the surface for uniformity and shine. The pre-polish finish should look smooth and free of deep marks. If you see only faint lines, you can move to the polish step. You inspect the surface after each pre-polish pass.
Why is polish important after the pre-polish finish?
You need to polish after the pre-polish finish to get a flawless surface. The polish step removes any remaining imperfections. You achieve high accuracy and shine. The polish makes your workpiece look professional and ready for use.
Can you skip the pre-polish step and go straight to polish?
You should not skip the pre-polish step. If you skip it, you may leave scratches that the polish cannot remove. The pre-polish prepares the surface for the polish. You get better results when you follow each step.
What tools help you achieve a perfect polish?
You use Aimgrind diamond grinding wheels for both pre-polish and polish steps. These wheels give you consistent results. You get a smooth pre-polish finish and a flawless polish. You can use these tools for metals, ceramics, and composites.
Tip: Always clean your workpiece between pre-polish and polish steps. This helps you get the best polish and prevents debris from affecting the polish quality.
Contact Us
For More Grinding Solution or Customized Abrasive Tools