

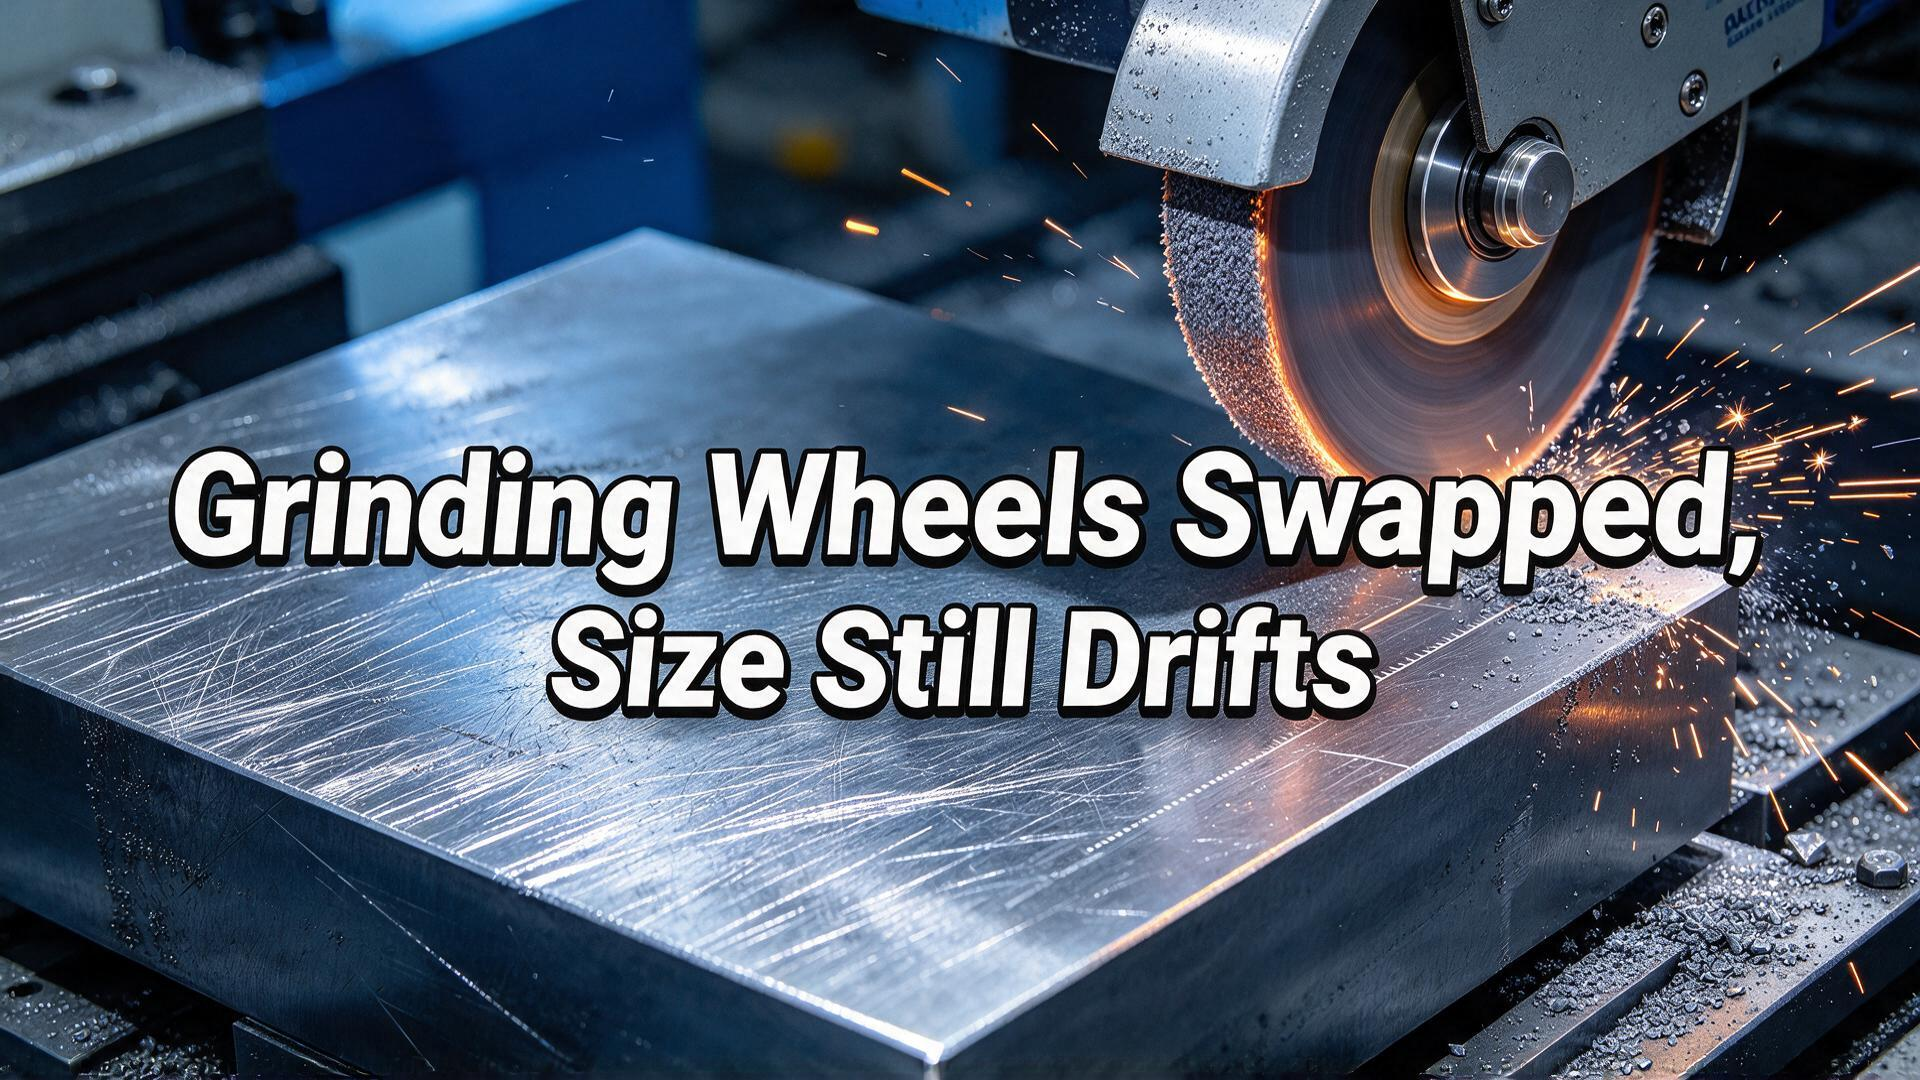
Why Wheel Changes Won’t Fix Dimensional Variation
A shop owner called last month: cylindrical grinding, ±0.01 mm tolerance on the drawing, batch variation hitting 0.008 mm. Three wheels tried — soft, hard, different brands — and the size still drifted all over the place.
The fix was not a fourth wheel. It was a center hole, a worn live center, and a hot part being measured before it had cooled. When the wheel cannot explain the variation, the wheel is rarely the answer. This five-step diagnosis walks from triage, through measurement, to the system side, and only then to the wheel itself.
Step 1: Triage the Kind of Dimensional Problem You Have
Four distinct patterns show up in cylindrical, surface, centerless, and ID grinding. They have completely different root causes — and treating the wrong one wastes the investigation.
| Pattern | Characteristics | Search First |
|---|---|---|
| Monotonic drift | Size walks one direction — larger or smaller — as the batch runs; pattern is regular | Wheel wear + missing compensation; thermal accumulation |
| Random scatter | No pattern; parts jump up and down within a batch | Locating datum repeatability (center holes, live centers); clamping force drift |
| In-part geometry (barrel / hourglass) | Slender shafts: ends in spec, middle out of spec | System stiffness — elastic deflection and follow rest condition |
| Hot-true, cold-false | Part measures good right off the machine, fails inspection after cooling | Thermal sequence — centers locked with no axial freedom, or measurement too soon |
Monotonic drift is where wheel changes seem to help for a few parts, then the drift returns. Random scatter is the datum problem — center hole burrs, live center wear, clamping force drift, or a center hole that was never reground after heat treatment. In-part geometry is the stiffness story: grinding force deflects the workpiece at mid-span, less stock is removed there, and the middle comes out oversize. Hot-true cold-false is the stealthiest: a hot part measures oversize, cools, and fails inspection.
Different problems, different fixes. Triage first, change parts second.
Expert Tip: A simple rule of thumb: monotonic drift points to wear and compensation; random scatter points to the datum and clamping; in-part shape points to stiffness and deflection; hot-true cold-false points to measurement timing and thermal expansion. Naming the pattern narrows the search by more than half.
Step 2: Make Sure You Are Measuring the Right Thing
Before changing wheels, fix the measurement. Three traps show up everywhere.
Trap 1: Measurement Timing
A hot steel part is oversize. As it cools it shrinks. Whether you wait long enough for it to cool decides whether you read the true size or the hot size. Skip that wait and you are tuning the grinder against the wrong number — the drift gets worse, not better.
The shop-floor line every machinist has heard — “the part was fine this morning and off by noon” — usually comes from this timing gap.
Trap 2: First Part After Dressing
Watch what happens to the very first part after a wheel dress.
| Observation | Conclusion |
|---|---|
| First part good, next ten drift away | Normal wheel wear — needs more frequent dressing or wear compensation |
| First part after dressing already out of spec | Dressing quality, datum, or setup problem — not wear |
Do not chase wheel wear when the wear is not what you are seeing.
Trap 3: Roundness Lobe Count
Count the lobes on a roundness trace. Two lobes per revolution usually means eccentric mounting or spindle runout — check headstock-tailstock alignment and spindle bearings. Three or five lobes usually means forced vibration. You need a roundness meter for this; eyeballing is not enough.
Expert Tip: Establish a fixed measurement protocol — same cooling time, same instrument, same orientation, same reference part. Without a stable measurement, every downstream conclusion is built on sand.
Step 3: System-Side Causes (Where the Wheel Cannot Help)
This is where most dimensional variation actually lives.
3.1 Locating Datum
The center hole is the foundation of cylindrical grinding accuracy. If it is out of round, burred, or dirty, the workpiece axis wanders as it rotates, and the size follows.
| Check Item | Reference | Action |
|---|---|---|
| Center hole roundness | ≤ 0.005 mm | Re-lap or re-machine (must be reground after heat treatment) |
| Center hole surface finish | Ra ≤ 0.8 µm | Fine grind or lap |
| Live center wear | Visible shiny band or chipping on the 60° cone | Replace or re-grind the cone |
| Headstock-tailstock alignment | ≤ 0.003 mm precision; ≤ 0.001 mm high precision | Adjust or re-mount |
| Tailstock pressure | Stable, no looseness | Re-tighten and verify each shift |
If parts drift within a batch, start here.
3.2 System Stiffness
Stiffness is a chain: workpiece, center, follow rest, chuck. When any link in the chain is weak, grinding force deflects the whole stack — the wheel appears to advance several microns but less than half of that actually removes stock, so the size comes out oversize.
Slender shafts are the extreme case: as the length-to-diameter ratio grows, elastic deflection shows up as barrel or hourglass in the middle. Barrel (mid-section oversize) is the classic deflection signature — the middle gets pushed away and ground less. Hourglass (mid-section undersize) usually points the other way: excessive follow rest or center rest pressure, or unevenly worn support pads pressing into the workpiece.
The mitigation is follow rest pressure standardized (not set by feel), support pads reground periodically, and a center rest for the most slender parts — never a harder wheel. Reducing grinding force by keeping the wheel sharp and dressing on time also shrinks deflection, and the two measures compound.
3.3 Thermal Sequence
Grinding heat makes the part grow — steel expands on the order of 0.001 m per 100°C. If the two centers are locked tight with no axial freedom, the part cannot grow along its length and bows into an arch. The shape error blows up.
Add the hot-measurement trap and you get the hot-true cold-false pattern: oversize when measured hot, shrinkage-induced reject after cooldown. This is one of the stealthiest sources of batch scatter.
| Precision Tier | Coolant Temperature | Pre-Cooling | Cool Before Measure |
|---|---|---|---|
| Standard grinding | Room ±5°C | Not required | 1–2 minutes |
| Precision (IT5–IT6) | 21 ±1°C | Stabilize 10 minutes | 3–5 minutes |
| Ultra-precision (IT4+) | 20 ±0.5°C | Constant-temperature storage 2 hours | 10–15 minutes |
Three actions to take: ensure adequate coolant flow (40–80 L/min for precision, 80–150 L/min for ultra-precision); leave axial room in the centers so thermal expansion has somewhere to go; and never judge a hot part as in-spec — cool it first.
3.4 Machine Mechanics
Spindle bearing wear, slideway wear, leadscrew backlash, loose machine feet — all of these drift size. The tell is that variation has no clear pattern, has nothing to do with wheel wear, and survives a datum check. Suspect mechanics, not the wheel.
3.5 Stock Distribution
Rough and finish grinding should not be done in one pass. Rough grinding removes 0.05–0.1 mm per side and takes out incoming distortion and most of the stock. Finish grinding removes 0.005–0.01 mm per side for dimensional accuracy and surface integrity. Then add 4–8 spark-out passes with no infeed to let the elastic deformation release. Skipping the split overloads the finish pass and destabilizes size.
Expert Tip: If batch variation is 0.008 mm on a ±0.01 mm tolerance, the datum is a strong suspect. Wipe the center holes and check the live centers before anything else — the fix usually takes minutes and costs nothing.
Step 4: Wheel-Side Causes (Where the Wheel Actually Matters)
After the system side is clean, three things on the wheel side are real.
4.1 Wear and Compensation
Wheels wear continuously — diameter shrinks, profile distorts. On machines without automatic compensation, size drifts in one direction: initially in spec, then larger or smaller after a few parts, then out of spec. Modern CNC grinders use in-process dressing combined with probe feedback to close the loop, often holding ±0.002 mm across 500 parts. On manual machines, sample every 20 parts and plot a trend; dress when the trend line turns up, not when the spec is violated.
4.2 Dressing Cycle and Quality
Do not set the dressing interval by clock or by a fixed part count — run trend management. Sample every few parts, watch the roundness and size curve, and dress when the trend line turns up before the spec is violated. This fits the real shop far better than a fixed “every shift” or “every N parts” rule.
| Dressing Parameter | Typical Range | Deviation Consequence |
|---|---|---|
| Dressing infeed | 0.005–0.02 mm per pass | Too large: wheel too fine, loads. Too small: insufficient opening |
| Speed ratio (dresser to wheel) | 0.6–0.8 | Too low: fast dresser wear. Too high: rough wheel surface |
| Dresser condition | Visual + periodic calibration | Profile distortion → size drift |
The dressing tool itself wears — a dull diamond point produces an inconsistent wheel surface and the size drifts downstream. Diamond form rollers are more stable than single-point nibs, but cost more and demand higher machine rigidity. Copying someone else’s dressing numbers without checking rarely works; your specific window is worth measuring on the actual setup.
4.3 Wheel Self-Sharpening Behavior
Wrong hardness makes size “walk” strangely. Too soft: the wheel profile distorts fast, size drifts. Too hard: dull grains stay put, grinding force climbs, deflection grows, size gets pushed back.
This is one force balance seen from both ends — when the bond lets go, grains are lost; when it holds on too hard, size drifts. Two symptoms, one line.
Expert Tip: If the first part after dressing is already out of spec, do not add dressing frequency — check the dresser condition and the datum. Adding dressing frequency when the problem is elsewhere makes the wheel too fine and introduces a fresh source of scatter.
Step 5: How to Make Changes — One Variable at a Time
Once the diagnosis is in hand, change one variable at a time — process before mechanics, simple before complex.
| Order | Action | Verification |
|---|---|---|
| 1 | Verify coolant flow and temperature | Flow meter + thermometer |
| 2 | Re-lap or re-grind center holes; nothing with burrs goes on the machine | Roundness meter on center hole |
| 3 | Inspect live centers and re-tension properly | Feel + torque wrench |
| 4 | Realign headstock and tailstock with indicators | Dial indicator |
| 5 | Replace worn dresser and verify dressing parameters | First-part roundness + size |
| 6 | Switch dressing cycle from fixed intervals to trend management | Sampling data + control chart |
| 7 | Add wheel wear compensation (manual offset or in-process gauging) | In-process measurement |
| 8 | Redistribute rough and finish stock | First-part vs fifth-part comparison |
| 9 | Machine mechanical overhaul (spindle, guideways, leadscrew) | Full geometric accuracy check |
Run a few parts of data per change before touching the next variable. If you change three things at once, you will never know which one fixed the problem — and the next time the same drift shows up, you are guessing again.
Expert Tip: The working order goes cheapest first. Coolant check, center hole cleaning, and center inspection are nearly free. Wheel changes and machine overhauls are expensive. Save the expensive items for last — by then, the cheaper checks may have already solved the problem.
Quick Reference: Match the Pattern to the Cause
| Symptom | Likely Cause | Check First |
|---|---|---|
| First part after dressing good, then drift | Wheel wear + missing compensation | Increase dressing frequency; add wear compensation |
| First part after dressing already out of spec | Dressing quality / datum / setup | Check center holes, live centers, dresser |
| Random batch scatter, no pattern | Datum repeatability / clamping force | Verify centers + clamping force each shift |
| Barrel or hourglass within a single part | System stiffness / deflection | Follow rest pressure, segmented grinding |
| Taper — one end larger than the other | Machine taper / wheel profile distortion | Dress the wheel; realign headstock-tailstock |
| Morning fine, afternoon out of spec | Thermal accumulation / center drift | Coolant temperature control; verify centers each shift |
| Hot-true, cold-false | Measurement timing too early | Cool 3–5 minutes before measuring |
| Two-lobe roundness | Eccentric mounting / spindle runout | Align headstock-tailstock; check spindle bearings |
| Three- or five-lobe roundness | Forced vibration | Check chatter sources (balance, external vibration) |
When the Wheel Is Actually the Answer
In a few specific situations, the wheel really is the cause. These are the exceptions worth knowing.
| Situation | How to Confirm | Fix |
|---|---|---|
| Brand-new wheel shows size deviation from the first part | Diameter or grade does not match the drawing spec | Re-verify the specification |
| Size drifts at the end of a wheel’s life | Diameter has worn close to the minimum usable size | Replace the wheel |
| Abrasive type mismatched with the workpiece | Diamond on steel above HRC 55; CBN on carbide | Change the abrasive to match the material |
| Wheel not balanced or not opened up after dressing | Unusual noise + size drift | Rebalance and condition the wheel face |
Expert Tip: If the wheel is genuinely the cause, one of these four conditions will be true. If none of them is true, changing the wheel again is throwing money downstream of the problem.
Four Common Misjudgments About Wheel Changes
1. “The new wheel works — problem solved.” A new wheel has larger diameter and higher stiffness, so it holds size for a few parts. Then the drift returns. The new wheel masked the symptom, not the cause.
2. “Try a different brand.” Frequent supplier changes ignore the datum, stiffness, and thermal problems that actually drive the drift. The brand is not the variable that matters.
3. “Dress more often.” Shortening the dressing interval from every 50 parts to every 10 does not fix anything if the cause is elsewhere. Over-dressing makes the wheel too fine and introduces fresh scatter.
4. “Install an in-process gauge.” Adding measurement without fixing the datum records the error automatically but does not reduce it. Fix the cause first; the gauge confirms the fix.
Expert Tip: The pattern of “wheel change works briefly, then fails” is the strongest sign that the wheel is not the root cause. Take that pattern seriously and shift the investigation to the system side.
Frequently Asked Questions
Why does dimensional variation survive every wheel change?
✅ Because the wheel is rarely the actual cause of dimensional variation. The real drivers are the locating datum (center holes and live centers), system stiffness, thermal sequence, and machine mechanics. A new wheel sometimes masks the symptom for a few parts because it starts larger and stiffer, but the drift returns once that advantage is used up.
How do I tell drift from random scatter from a shape problem?
✅ Drift means the size walks one direction as the batch runs — check wheel wear and compensation, then thermal accumulation. Random scatter means parts jump up and down within a batch — check the datum and clamping force. Shape problems (barrel or hourglass within a single part) point to system stiffness and elastic deflection. Hot-true cold-false points to measurement timing. The pattern names the cause.
Why is the first part after dressing the most important one to check?
✅ The first part after dressing reveals which problem you have. If it is good and later parts drift, the problem is normal wheel wear and you need more frequent dressing or wear compensation. If the first part is already out of spec, the problem is dressing quality, the datum, or the setup — not wear. Different problems, different fixes.
How should I set the dressing interval?
✅ Run trend management, not a fixed part count. Sample every 20 parts, plot size and roundness, and dress when the trend line turns up — before the spec is violated. Fixed intervals like “every shift” or “every 100 parts” are either too late (size already drifting) or too early (wasting wheel life). Trend management fits the real variation of the process.
Why does the part measure fine on the machine and fail after cooling?
✅ Grinding heat expands the workpiece, so it measures oversize when hot. If you judge the size while the part is still warm, you are measuring the wrong number. Cool the part to a stable temperature — 1 to 2 minutes for standard grinding, 3 to 5 minutes for precision, 10 to 15 minutes for ultra-precision — before deciding whether the size is in spec.
Key Takeaways
- Dimensional variation is rarely a wheel problem. Save the wheel change for step five.
- Triage first: monotonic drift, random scatter, in-part shape, hot-true cold-false. Each has a different cause.
- Fix the measurement before changing wheels — timing, cooling, and lobe count all matter.
- The datum is the most common hidden cause. Center hole roundness ≤ 0.005 mm, live center cone in good condition, headstock-tailstock alignment ≤ 0.003 mm.
- System stiffness is a chain: workpiece, center, follow rest, chuck. The weakest link sets the deflection.
- Thermal sequence: hot parts measure oversize and cool to fail. Cool to a stable temperature before judging size.
- Dress by trend, not by clock. Sample every 20 parts and dress when the trend line turns up.
- Wrong wheel hardness walks the size in both directions. Too soft distorts the profile; too hard increases deflection.
- Change one variable at a time. Change three and you never know which one helped.
- Save the expensive moves — wheel replacement and machine overhaul — for after the cheap checks are done.
More grinding questions? Need a custom wheel solution?
Contact Us →