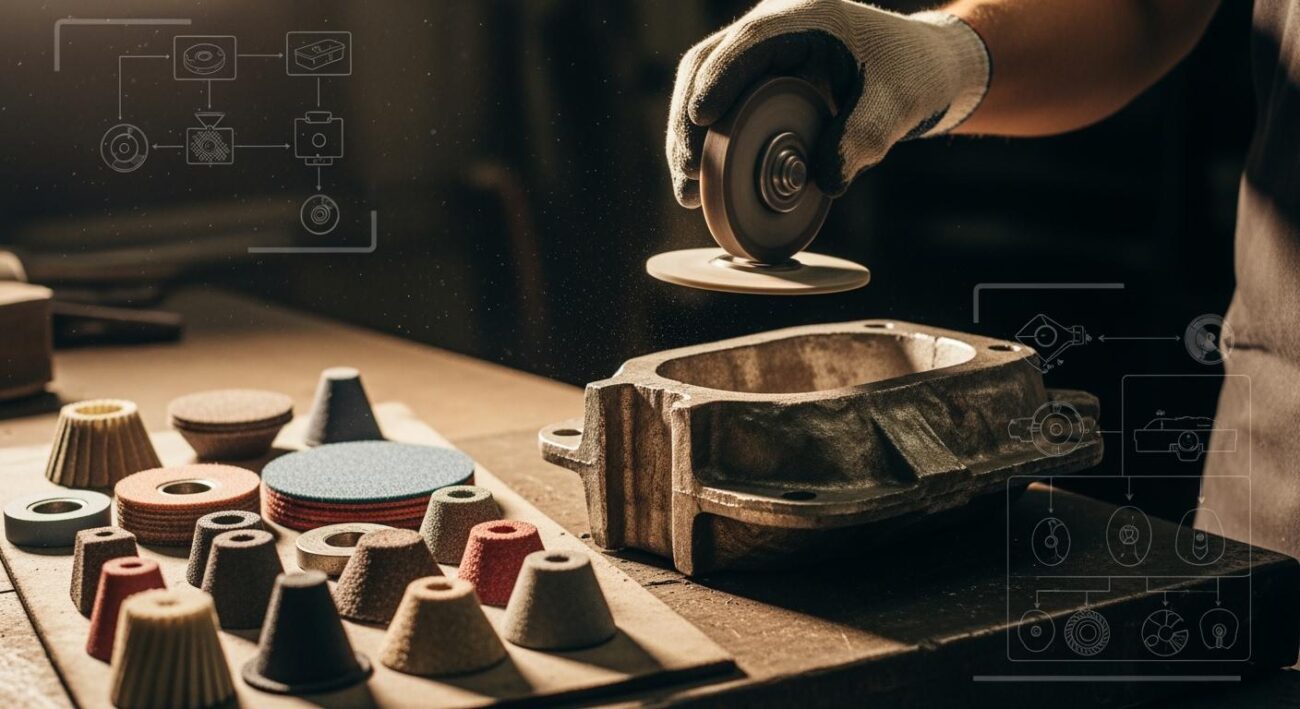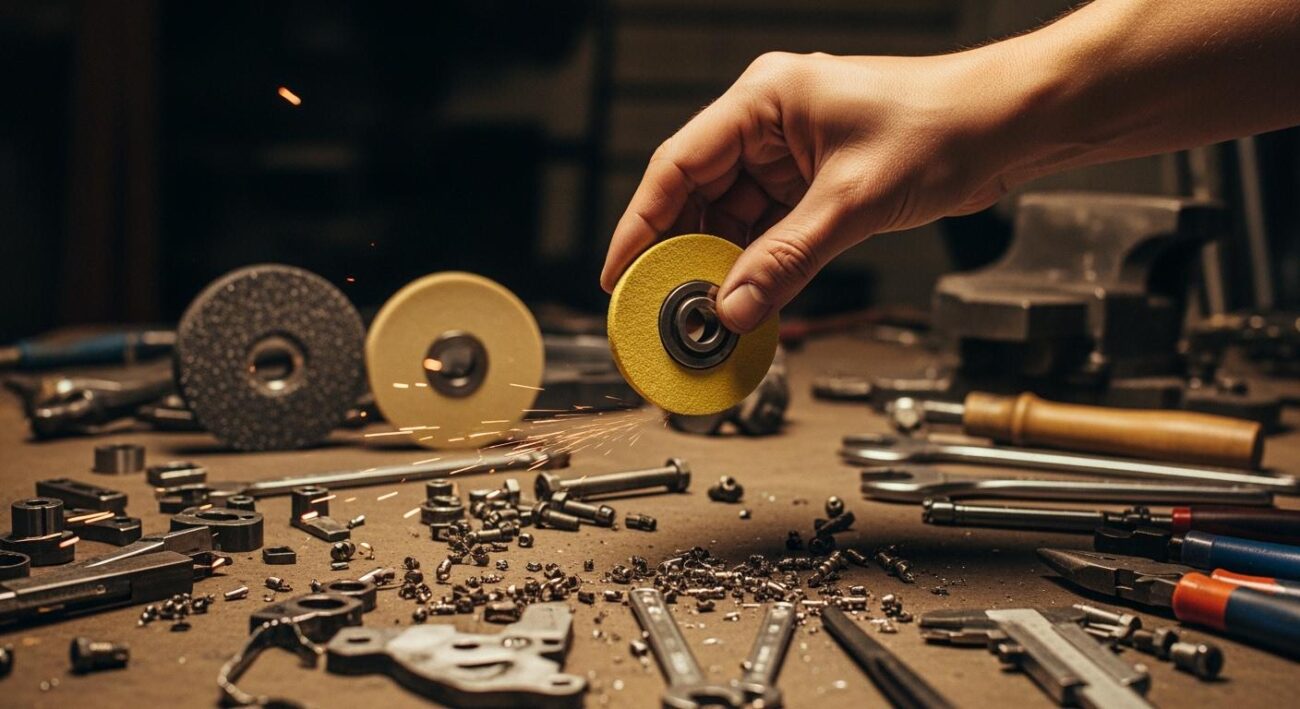
You’ll know your grinding wheel worn out and needs replacement when you observe damage, notice a decline in performance, or it reaches its minimum usable size. Replacing a worn grinding wheel is crucial to prevent serious accidents, as a compromised tool poses significant risks. In fact, timely replacement is essential for maintaining safety in the workplace.
- Angle grinders are associated with over 5,400 injuries annually.
- A majority of these incidents occur when the abrasive wheel shatters.
Recognizing when a grinding wheel is worn out not only protects you but also ensures the consistent quality of your work.
Key Takeaways
- Replace a grinding wheel when it shows damage, performs poorly, or reaches its smallest size. This prevents accidents and keeps your work good.
- Look for cracks, chips, or deep cuts on the wheel. These mean the wheel is unsafe and can break apart. Always throw away a damaged wheel.
- If the wheel surface looks smooth (glazed) or clogged (loaded), it is not cutting well. You can often fix this by ‘dressing’ the wheel, but sometimes you need a new one.
- A wheel that grinds slowly, vibrates a lot, or makes strange noises is worn out. These are signs it is unsafe and needs replacement.
- Every grinding wheel has a minimum size. Stop using it when it gets too small or too close to the mounting parts. This keeps you safe.
Key Signs Your Grinding Wheel is Worn Out
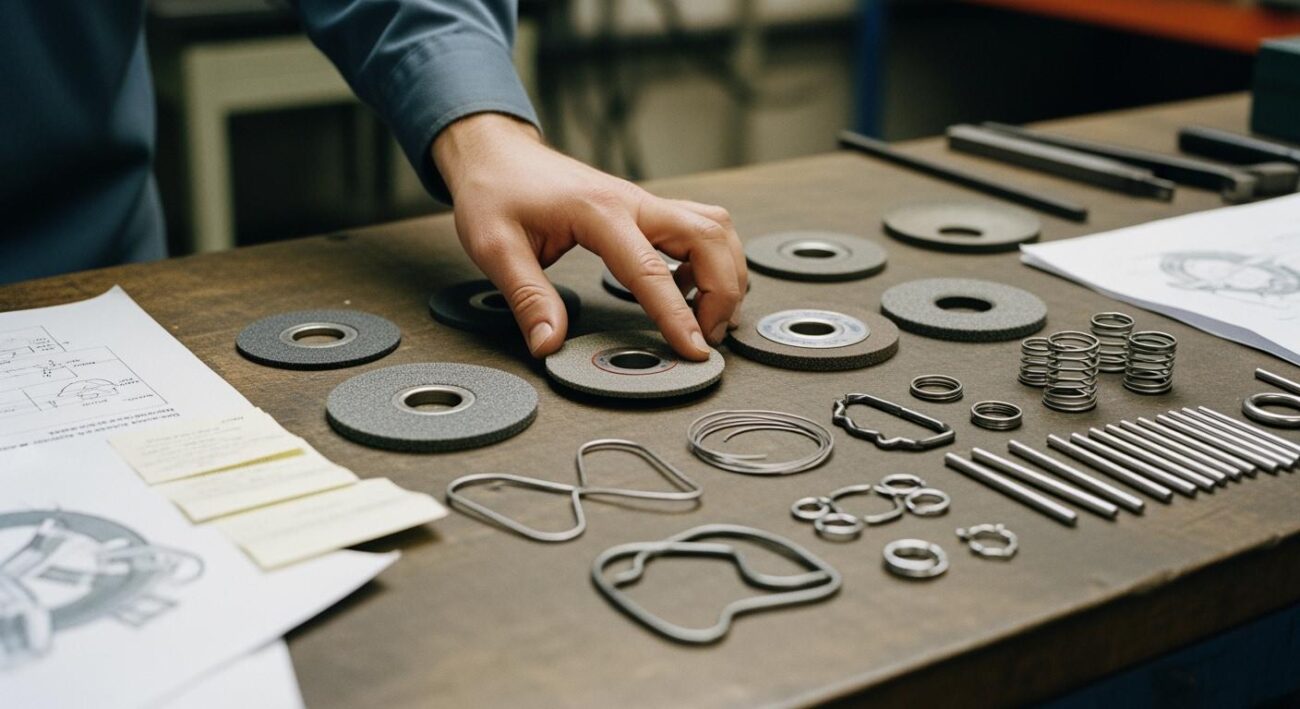
You can identify a worn grinding wheel by looking for physical damage, performance issues, and dimensional limits. A visual inspection is your first line of defense. It helps you spot problems before they cause accidents or ruin your project. Let’s explore the most common visual signs that tell you a grinding wheel is worn out.
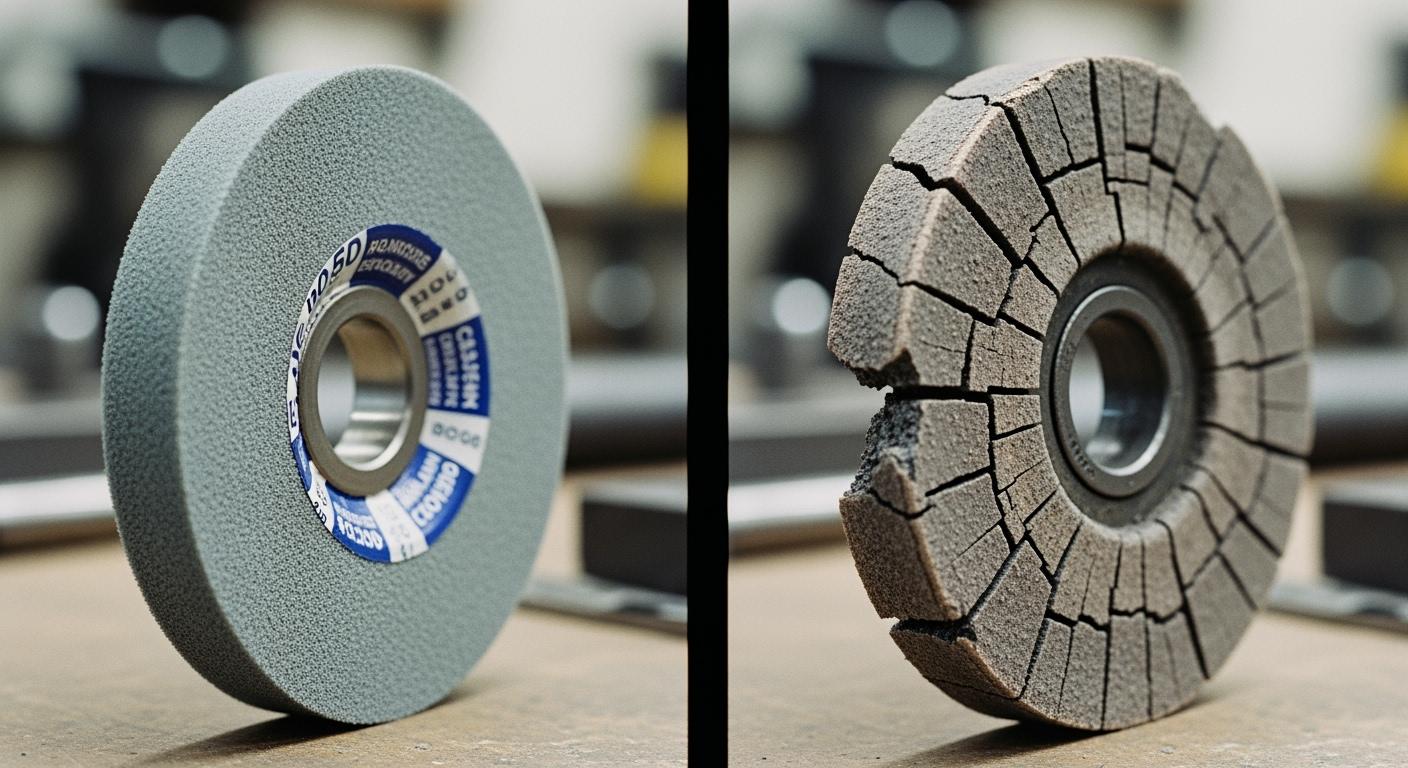
Cracks, Chips, and Gouges
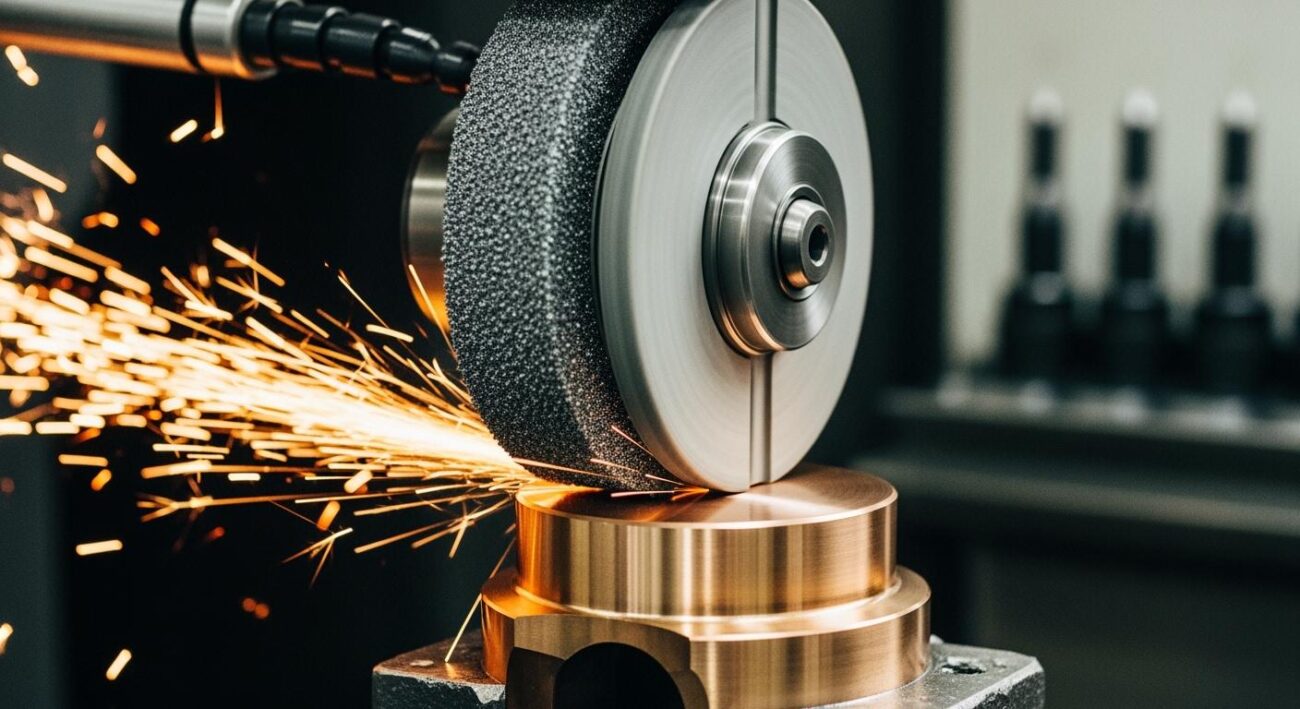
The most dangerous sign of a compromised wheel is visible physical damage. You should immediately stop using and discard any wheel with cracks, chips, or deep gouges. These flaws weaken the wheel’s structure. The immense rotational force of a grinder can cause a worn or damaged wheel to shatter, sending sharp fragments flying at high speeds.
Several factors can cause this type of damage:
- Overspeeding: Running the wheel faster than its rated maximum RPM.
- Improper Mounting: Using wrong-sized flanges or overtightening the nut, which creates stress points.
- Physical Impacts: Dropping the wheel or hitting it against a hard surface.
- Incorrect Wheel Choice: Using a wheel not designed for the material or application.
- Machine Issues: A loose spindle or excessive machine vibration.
- Uneven Coolant Flow: Causing thermal shock and stress cracks.
Safety First! ⚠️
Never use a wheel that has been dropped, even if you don’t see any visible damage. Micro-cracks can be invisible to the naked eye but can lead to catastrophic failure under load.
Surface Glazing and Loading
Sometimes, the wheel’s surface tells you it’s time for maintenance or replacement. Two common issues are glazing and loading. Glazing happens when the abrasive grains on the wheel’s surface become dull. This creates a smooth, shiny finish that polishes the workpiece instead of cutting it. Loading occurs when material chips clog the pores of the wheel. Both problems reduce cutting efficiency and generate excessive heat.
Here is a simple breakdown of the differences:
| Feature | Loading | Glazing |
|---|---|---|
| Appearance | The wheel surface looks clogged with metal particles. | The wheel surface appears smooth, shiny, and glass-like. |
| Primary Cause | Grinding soft materials; using a wheel that is too hard. | Grinding hard materials; using a wheel that is too soft. |
| Effect | Reduced cutting, high heat, and a poor surface finish. | Very poor cutting, extreme heat, and burn marks on the workpiece. |
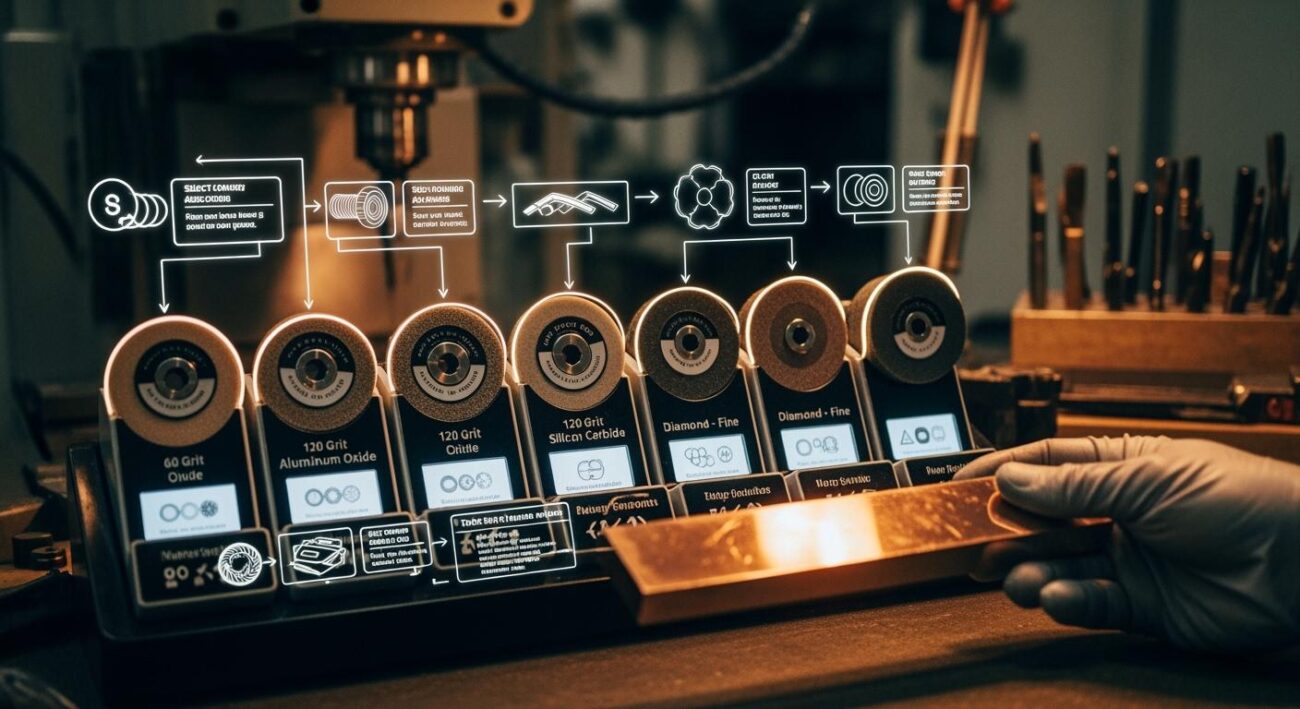
You can often fix a glazed or loaded wheel with a process called dressing. Dressing removes the clogged or dull layer to expose fresh, sharp abrasive grains underneath. You can use a dressing stick made of silicon carbide or aluminum oxide for this.
Simple Dressing Steps with a Stick:
- Put on your safety glasses and ensure all machine guards are in place.
- Securely mount the wheel and adjust the tool rest close to it.
- Start the grinder and let it reach full speed.
- Hold the dressing stick firmly on the tool rest.
- Gently touch the stick to the rotating wheel.
- Move the stick smoothly back and forth across the wheel’s face until the surface looks clean and new.
If dressing does not restore the wheel’s cutting ability, the wheel wear and depletion may be too severe, and you should replace it.
Discoloration and Burn Marks
Have you noticed blue, brown, or black spots on your grinding wheel? These are burn marks. They indicate that the wheel has been exposed to extreme heat during operation. This overheating is a serious problem. It not only signals that your wheel is worn but also warns you of potential damage to your workpiece.
Excessive heat can alter the metallurgical properties of the material you are grinding.
- Tempering: The heat can soften the metal, creating weak spots.
- Re-hardening: Extreme heat followed by rapid cooling can make the metal brittle and prone to cracking.
These changes create residual stress in the material, which can lead to premature failure of the part you are working on. Burn marks are often caused by a dull or glazed wheel, insufficient coolant, or applying too much pressure. If you see discoloration, inspect the wheel immediately. It is likely worn and needs dressing or replacement to prevent further damage.
Performance Decline and Increased Risk
Beyond visible damage, a grinding wheel’s performance is a key indicator of its health. When a wheel stops cutting efficiently, it not only slows down your work but also introduces serious safety risks. Ignoring these performance issues can lead to accidents and damaged projects.
Slower Grinding and More Pressure
Do you find yourself pushing harder just to get the wheel to cut? This is a classic sign of a worn wheel. As the abrasive grains on the surface become dull, their contact area with the workpiece increases. This change leads to higher friction and grinding forces. Instead of cutting, the wheel starts to rub, generating excess heat and slowing you down.
This inefficiency has several negative effects:
- Increased Costs: A dull wheel works slower, which increases production time and costs.
- Workpiece Damage: The extra force and heat can ruin your workpiece.
- Operator Fatigue: Applying more pressure is tiring and can lead to mistakes.
If you notice these performance issues, the wheel is likely past its prime.
Excessive Vibration or Wobble
A smooth operation is essential for precision and safety. If your grinder starts to vibrate or the wheel wobbles, stop immediately. A grinding wheel worn out unevenly is a primary cause of imbalance. This imbalance creates dangerous vibrations that can lead to a loss of control or kickback.
Warning: Vibration is a Major Red Flag! 🚩
Excessive vibration can be caused by several problems, including an imbalanced wheel, improper mounting, or worn machine bearings. Never use a damaged or worn grinding disc, as it can shatter under these conditions.
These vibrations also cause “chatter” on the workpiece, leaving an unacceptable finish and potentially damaging the machine’s spindle over time.
When to Replace a Grinding Wheel Due to Noise
Your ears can be a valuable safety tool. A healthy grinding wheel makes a consistent sound during operation. If you hear a sudden change, like a rattling or a dull thudding noise, it could signal a serious problem. A cracked wheel, for example, will sound different from a healthy one.
You can perform a simple “ring test” on a dismounted wheel:
- Make sure the wheel is dry and clean.
- Tap it gently with a light, non-metallic object, like the plastic handle of a screwdriver.
- A good wheel will produce a clear, ringing tone. A worn or cracked wheel will make a dull “thud” sound.
A dull sound means you must replace a grinding wheel immediately. Timely replacement is non-negotiable for preventing catastrophic failure.
Reaching Dimensional and Usable Limits
Every grinding wheel has a built-in expiration date based on its size. The usable portion of an abrasive wheel is finite. You must stop using it once it reaches its minimum usable diameter. This limit is not a suggestion; it is a critical safety rule set by the manufacturer and safety standards like ANSI B7.1. Ignoring this limit can lead to catastrophic wheel failure.
Reaching Minimum Diameter
As you use a grinding wheel, its diameter shrinks. This reduction changes its surface speed, which can affect performance. More importantly, a smaller wheel is structurally weaker. Manufacturers specify a discard size for each wheel. You must discard the wheel once it reaches this minimum diameter. Continuing to use a worn wheel beyond this point dramatically increases the risk of it breaking apart during operation. This is a key indicator of wheel wear and depletion.
Approaching the Mounting Flanges
You must never let the wheel wear down to the mounting flanges. The flanges are the metal discs that clamp the wheel to the grinder’s spindle. They are not a grinding surface. Grinding into the flanges can damage the machine, the workpiece, and the wheel itself, likely causing it to shatter.
Safety Regulation Alert! 📏
Safety rules are very specific about clearance. For example, regulation §3579(f)(2) requires some flanges to be undercut. This design ensures they do not touch the sides of the wheel within one-eighth inch of the center hole. This prevents stress that could crack the wheel.
Always maintain a safe distance between the grinding surface and the mounting hardware. If the wheel gets too close, it is time to discard it.
Rules for Different Wheel Shapes
Different wheel shapes have different rules for when they are considered a grinding wheel worn out. Understanding these rules is essential for safety and performance.
- Type 1 (Straight Wheels): You should discard these wheels when they reach the diameter specified by the manufacturer.
- Type 27 (Depressed Center Wheels): You must discard these wheels when you have worn them down to the depressed center. The raised hub is not meant for grinding.
- Type 6 & 11 (Cup Wheels): For these wheels, you must maintain a minimum rim thickness. Once the rim becomes too thin, the wheel loses its structural integrity.
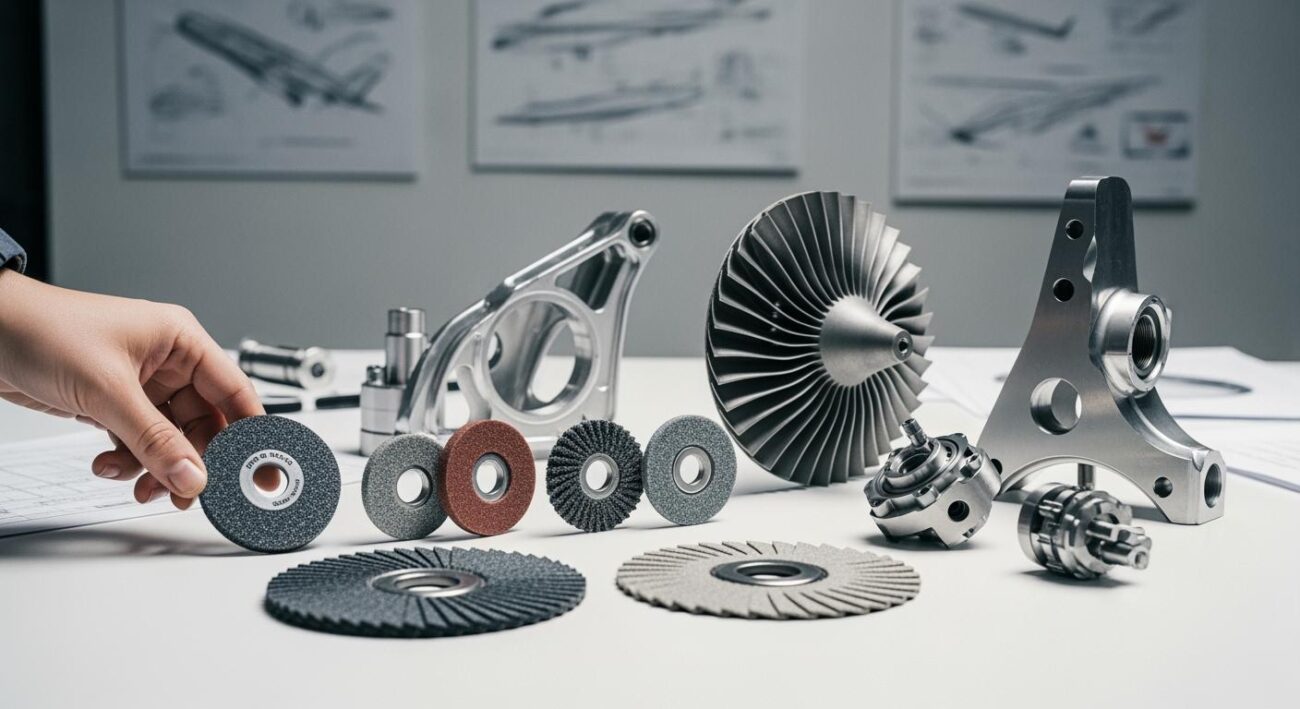
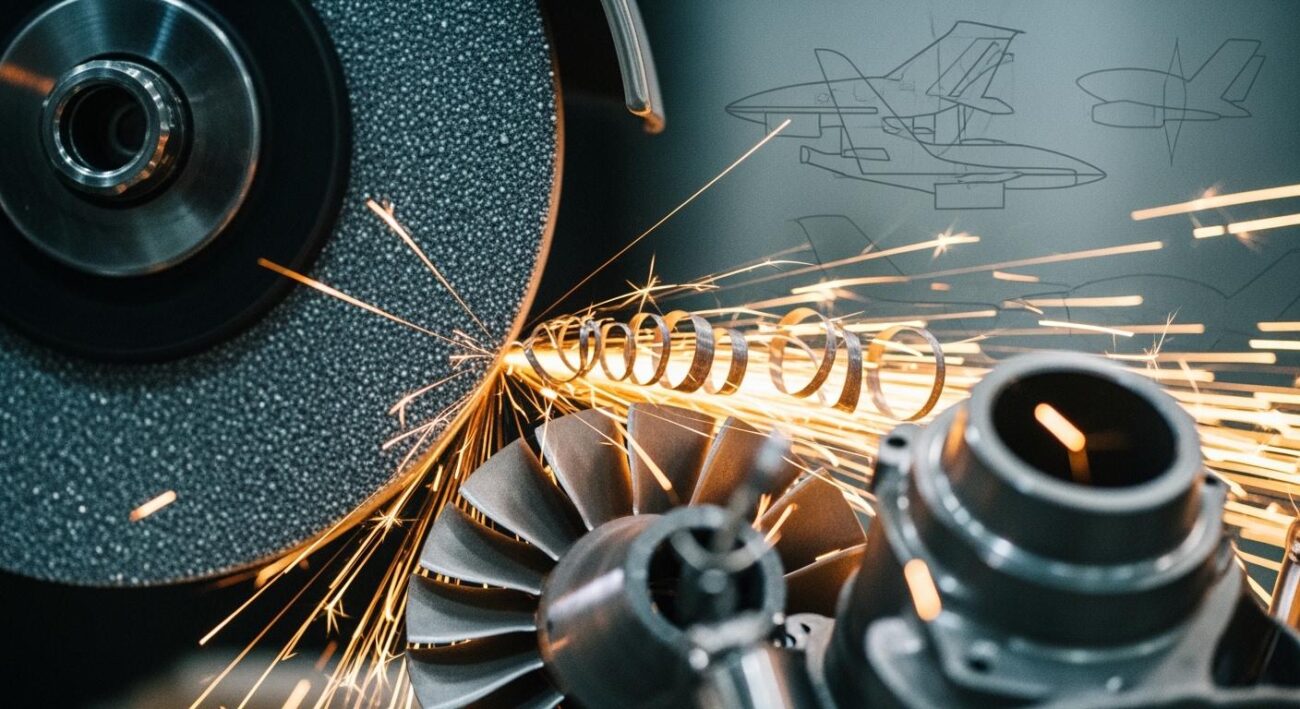
High-performance tools, such as Aimgrind‘s diamond grinding wheels, are engineered for precision on hard materials. These advanced wheels experience wheel wear and depletion differently, often through grain flattening rather than rapid shedding. Adhering to the manufacturer’s specified dimensional limits for these tools is critical to maintain their superior performance and ensure safety in demanding industries.
Remember the three key signs a grinding wheel is worn out: visible damage, poor performance, and reaching its size limit. A worn wheel is a serious safety risk, making timely replacement essential. You must replace a grinding wheel to protect yourself and ensure quality results. Make regular inspection a core part of your workshop routine. A quick regular inspection before each use prevents accidents. The timely replacement of a damaged wheel is non-negotiable, so always replace a grinding wheel when in doubt.
FAQ
What is the “ring test” for a grinding wheel?
The ring test helps you find hidden cracks. You gently tap a clean, dismounted wheel with a non-metallic handle. A healthy wheel produces a clear ringing sound. A dull thud indicates damage, so you must discard the wheel immediately.
Can I repair a small chip on my grinding wheel?
No, you must never use a chipped wheel. A chip creates a weak point that can cause the wheel to shatter under force. For your safety, you should always replace any wheel with visible damage like chips, cracks, or gouges.
How often should I inspect my grinding wheel?
You should perform a quick visual inspection before every single use. Look for any signs of damage, glazing, or loading. This simple habit is your best defense against accidents and ensures your grinder operates safely and effectively.
Quick Tip 💡
Always check the expiration date printed on the wheel’s blotter or hub. Abrasive wheels have a shelf life, and using an expired wheel is a safety risk.
Why is my brand-new wheel vibrating?
A new wheel can vibrate if it is not mounted correctly or if it has a manufacturing imbalance. First, check that you have mounted it properly with the correct flanges. If it still vibrates, do not use it. Contact the manufacturer for a replacement.
See Also
Selecting the Optimal Grinding Wheel Dresser for Your Specific Requirements
Exploring Various Grinding Wheel Types and Their Real-World Uses
Picking the Perfect Bench Grinding Wheel Material for Your Project
Selecting the Ideal Grinding Wheel for Your Circular Saw Blade
Understanding CBN Grinding Wheels: Their Functionality and Benefits Explained