You can solve most common grinding problems with the right knowledge. This troubleshooting guide helps you diagnose issues for better grinding performance. Your grinding operations will see improved quality and efficiency.
The importance of addressing grinding wheel issues promptly is critical. Quick action prevents costly scrap, reduces operational expenses, and ensures operator safety. Understanding the importance of addressing grinding wheel issues directly impacts your wheel’s performance and longevity.
Key Takeaways
- Identify grinding problems like glazing, uneven wear, vibration, or burn by looking for specific signs.
- Fix wheel glazing by dressing the wheel and adjusting grinding settings.
- Correct uneven wear by dressing the full wheel face and checking machine alignment.
- Stop vibration by balancing the grinding wheel and making the machine more stable.
- Prevent workpiece burn by using more coolant and a sharper, softer grinding wheel.
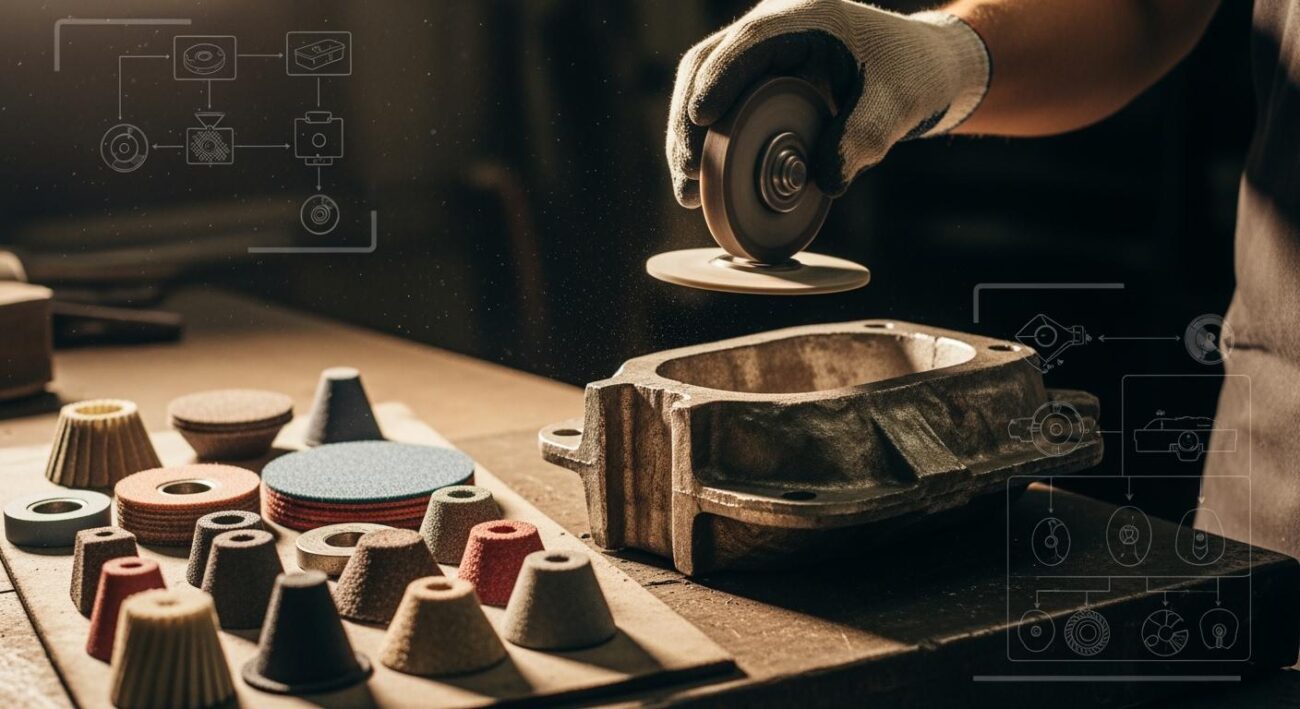
Identifying Common Grinding Problems

The first step in solving grinding wheel issues is accurate diagnosis. You can improve your grinding performance by learning to recognize the signs of common grinding problems. This section helps you identify the key symptoms and understand their root causes.
Symptom: Wheel Glazing and Loading
Wheel glazing occurs when the wheel’s abrasive grains become dull, and loading happens when pores get clogged with material. This reduces cutting efficiency. You might notice wheel glazing if your wheel looks shiny or smooth. Common causes include:
- Oil contamination on the wheel or workpiece.
- Running the grinding wheel too fast.
- Using a wheel that is too hard for the material, especially with hardened steels.
- Aggressive plunge grinding techniques.
Symptom: Uneven Wear, Taper, and Short Wheel Life
Uneven wheel wear leads to inaccurate parts and rapid wheel deterioration. If your finished workpieces are tapered, it often points to specific grinding wheel issues. This is one of the most common grinding problems that affects precision.
| Workpiece Problem | Potential Wheel-Related Cause |
|---|---|
| Tapered workpiece | The grinding wheel hardness is too low. |
| Taper with surface burns | The grinding wheel is not sharp. |
| “Trumpet” shaped workpiece | The wheel is too narrow or exits the workpiece too much. |
Addressing the cause of uneven wheel wear is crucial for maintaining consistent grinding results.
Symptom: Vibration, Chatter, and Poor Surface Finish
Vibration during grinding creates “chatter” marks, which are wavy patterns on the workpiece surface. A primary cause is an unbalanced grinding wheel. Even a small imbalance at high speed generates significant vibration. Worn machine parts, like spindle bearings, also cause vibration and degrade surface finish. A drop in surface quality is often the first sign of bearing failure or other machine-related grinding problems.
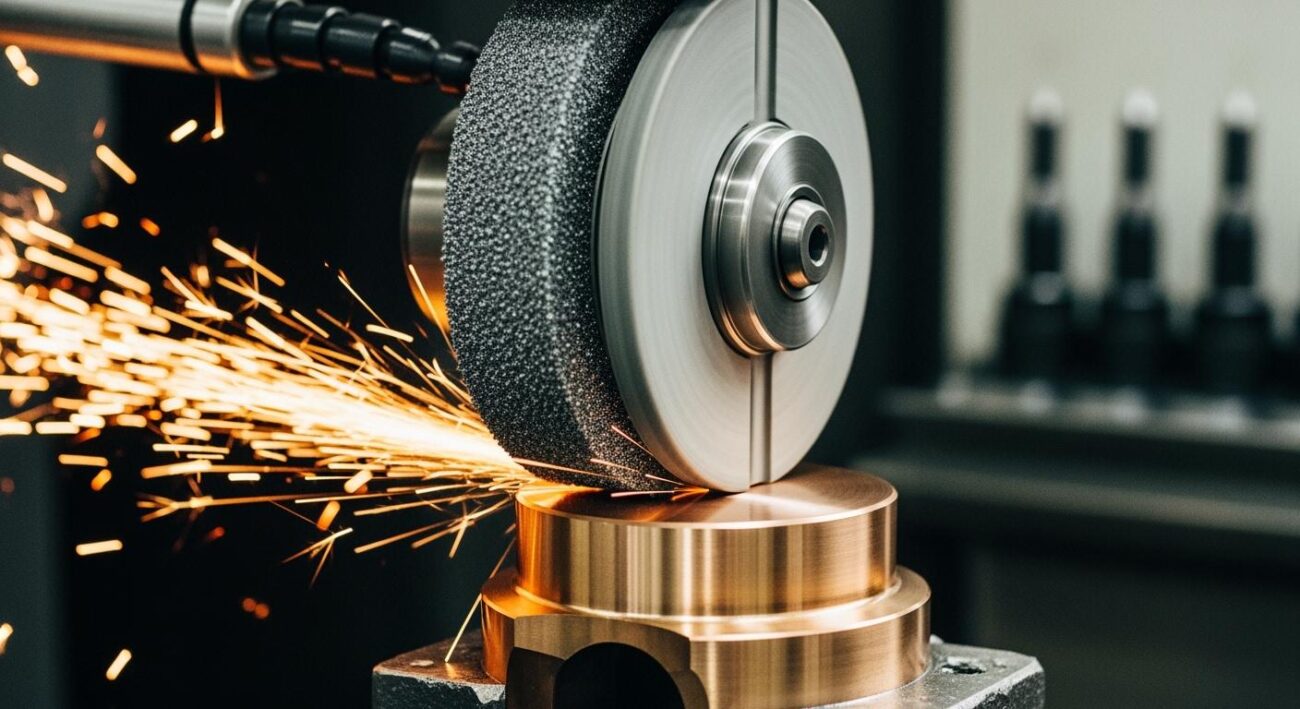
Symptom: Workpiece Burn and Inefficient Cutting
Workpiece burn appears as a blue or brown discoloration on the surface. This heat damage can cause serious metallurgical problems, including:
- Thermal Softening: Reduces the hardness of the part.
- Re-hardening Burn: Creates brittle spots that can lead to cracking.
- Residual Tensile Stress: Lowers the part’s fatigue life.
Insufficient coolant is a frequent cause, as it prevents heat from being removed during the grinding process. This leads to high temperatures and damages your workpiece, hurting your overall performance.
A Practical Troubleshooting Guide for Grinding
After identifying an issue, you need practical solutions. This troubleshooting guide provides clear, step-by-step actions to resolve common grinding problems. Follow these steps to restore your grinding process to peak efficiency.
Fixing Wheel Glazing and Loading
Wheel glazing and loading severely reduce cutting performance. You can restore the wheel’s cutting ability with the right dressing technique. These solutions will help you fix wheel glazing.
- Dress the Wheel Correctly. Use a dressing tool to remove the clogged material and expose fresh abrasive grains. This is the most direct solution for wheel glazing.
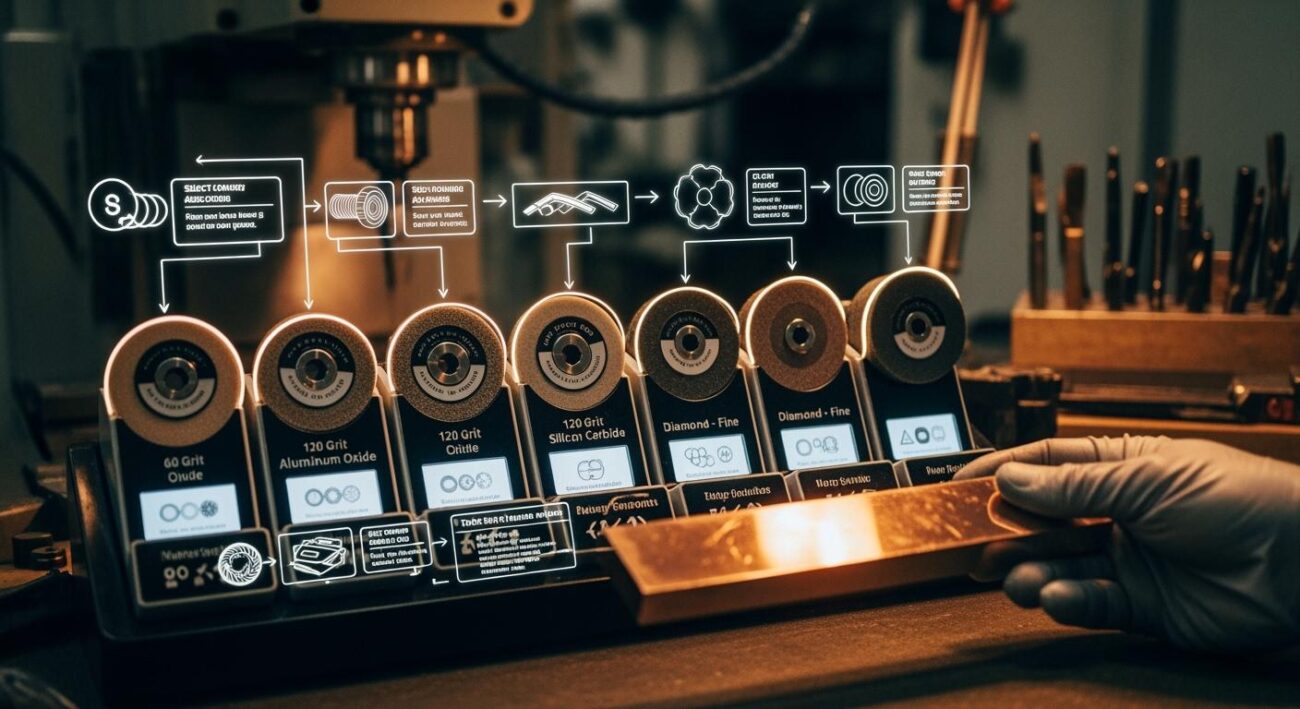
- Select the Right Dressing Tool. Your choice of tool matters for effective dressing.
- Use abrasive dressing sticks made from materials like white aluminum oxide (WA) or silicon carbide (SiC). WA is excellent for resin bond wheels, while SiC offers a more aggressive action.
- Consider rotary dressers for more advanced or automated dressing processes.
- Adjust Grinding Parameters. Decrease the wheel speed or increase the infeed rate. This encourages the wheel to act softer, promoting self-sharpening.
- Check Your Coolant. Ensure a clean and ample supply of coolant is directed at the point of grinding. Proper coolant flushes away swarf and prevents loading.
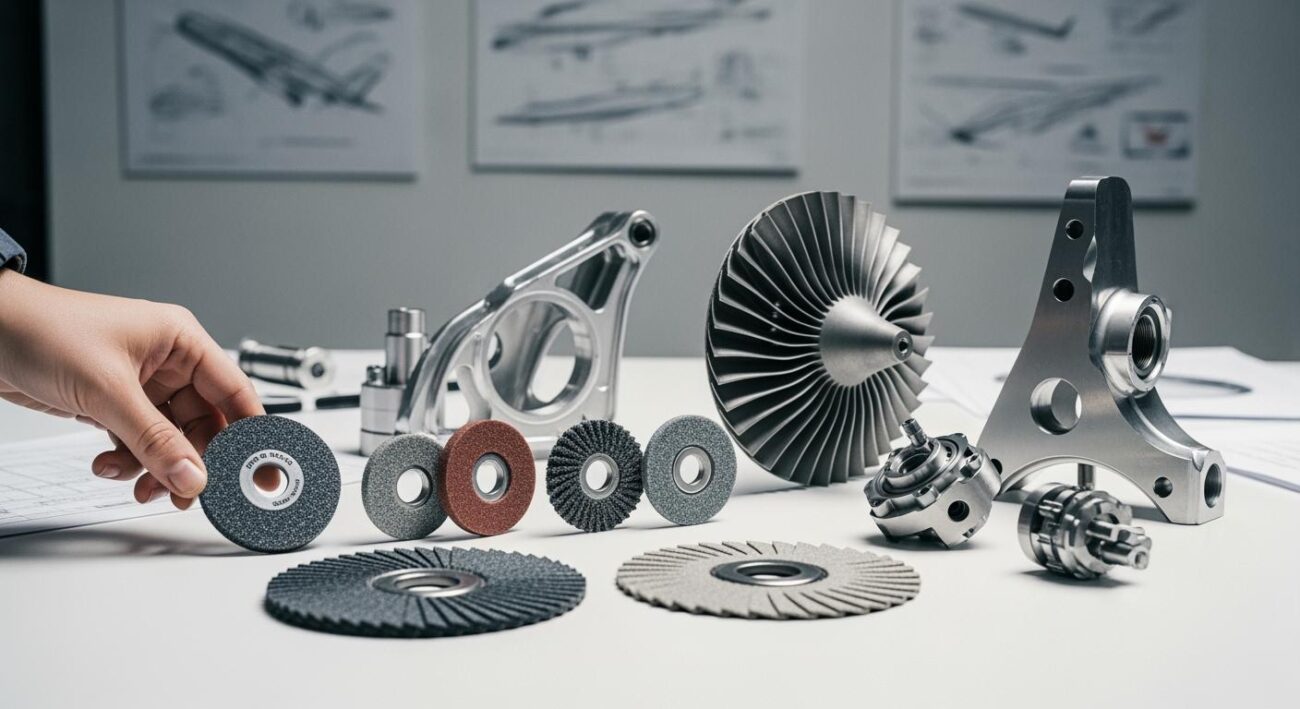
Long-Term Solution for Hard Materials
When grinding hard alloys, ceramics, or composite materials, frequent loading is a sign of an incorrect wheel specification. Using a wheel designed for the task is the best prevention. Aimgrind‘s custom diamond grinding wheels offer exceptional durability and are engineered to resist loading. Their superior heat dissipation and reduced friction enable high-speed grinding, increasing your productivity and preventing these common grinding problems.
Correcting Uneven Wear and Taper
Fixing uneven wheel wear is essential for part accuracy and extending wheel life. Tapered parts and rapid wear point to problems in your setup or process. Use these solutions to correct uneven wheel wear.
- Dress the Full Wheel Face. Ensure your dressing tool traverses the entire width of the wheel. Incomplete dressing is a primary cause of uneven wheel wear.
- Verify Machine Alignment. Check that the grinding wheel spindle and the workpiece holder are perfectly parallel. Misalignment directly causes taper and uneven wheel wear.
- Stiffen the Machine Setup. Ensure the workpiece is held rigidly. Any movement or deflection during grinding will lead to inaccuracies.
- Select the Correct Wheel Hardness. A wheel that is too soft will wear down quickly. A wheel that is too hard can cause other issues. Finding the right balance is key to fixing uneven wheel wear.
Eliminating Vibration and Chatter
Vibration and chatter ruin surface finish and can damage your machine. These solutions focus on creating a stable, balanced grinding system.
- Balance the Grinding Wheel. An unbalanced wheel is the most common source of vibration. Perform a dynamic balance on the machine.
- Inspect the wheel and hub for any damage.
- Mount the wheel securely on a balancing stand.
- Allow the wheel to settle to identify the heavy spot.
- Adjust the balance by moving weights on the flange opposite the heavy spot.
- Re-check the balance until the wheel stops in random positions.
- Secure the balanced wheel onto the grinder spindle.
- Increase System Rigidity. A stable machine resists vibration. Increased rigidity prevents the machine structure from deforming under grinding forces.
- Improve System Damping. Damping absorbs and dissipates vibration energy. Poor damping allows vibrations to build up and cause chatter. You can improve damping by using specialized tool holders or ensuring all machine components are tightly secured.
- Inspect Machine Components. Check for worn spindle bearings or loose machine parts. Worn components cannot provide the stability needed for precision grinding.
Preventing Workpiece Burn and Slow Cutting
Workpiece burn indicates excessive heat, which damages the part’s integrity. Inefficient cutting slows down your entire operation. These solutions help you achieve a cool, fast grinding process.
- Increase Coolant Flow. Direct a generous flow of clean coolant precisely at the grinding zone. Coolant is your first line of defense against heat.
- Use a Softer Grade Wheel. A softer grade wheel improves cutting efficiency. Its bond allows dull abrasive grains to break away, exposing fresh, sharp cutting points. This self-sharpening action maintains a cool cut and prevents heat buildup.
- Reduce the Infeed Rate. A lower material removal rate generates less heat. Adjust your parameters for a lighter cut, especially during finishing passes.
- Dress the Wheel. A sharp, open wheel cuts more freely and generates less friction. Regular dressing is a simple solution for preventing burn caused by wheel glazing.
For difficult-to-grind materials, the wheel itself is often the most important factor. Aimgrind’s custom diamond grinding wheels are designed for low heat generation, which minimizes the risk of thermal damage. This makes them an ideal choice for maintaining material integrity and achieving high precision on hard composites and alloys. This troubleshooting guide, combined with the right wheel, will solve your most challenging grinding issues.
Diagnosing Grinding Wheel Issues: Wheel vs. Machine
When you face grinding problems, you must determine the source. Is it the grinding wheel or the machine itself? A systematic check helps you pinpoint the root cause of grinding wheel issues, saving you time and resources. This approach separates machine faults from process or wheel problems.
Machine-Related Diagnostic Checks
Start your diagnosis with the machine. A faulty machine can mimic wheel-related problems. A stable and well-maintained machine is the foundation of any successful grinding operation. Use this checklist to inspect your machine.
- Inspect Spindle and Bearings. Listen for unusual noises coming from the machine spindle. Check for excessive vibration during operation. A poor surface finish often signals worn bearings. You should also periodically check the drawbar force to ensure it meets manufacturer specifications.
- Verify Machine Stability. Check the machine for any signs of mechanical looseness. Ensure all components are tightly secured. An unstable machine foundation can cause vibrations that affect your grinding quality.
- Confirm Machine Alignment. Proper machine calibration and alignment are critical. You must ensure the machine components are correctly aligned to prevent taper and other inaccuracies in your parts. Regular checks will keep your machine in top condition.
Wheel and Grinding Process Checks
If the machine checks out, your next step is to examine the grinding wheel and your process parameters. An incorrect wheel or process setup is a common source of trouble.
Perform the ‘Ring Test’ on Vitrified Wheels Before mounting a new vitrified wheel, you should check it for hidden damage. This simple test confirms the wheel’s integrity.
- Suspend the wheel freely on your finger or a small pin.
- Gently tap the side of the wheel with a non-metallic object, like a screwdriver handle.
- Listen to the sound. A clear, metallic ring means the wheel is safe to use. A dull thud suggests a crack, and you should not use the wheel.
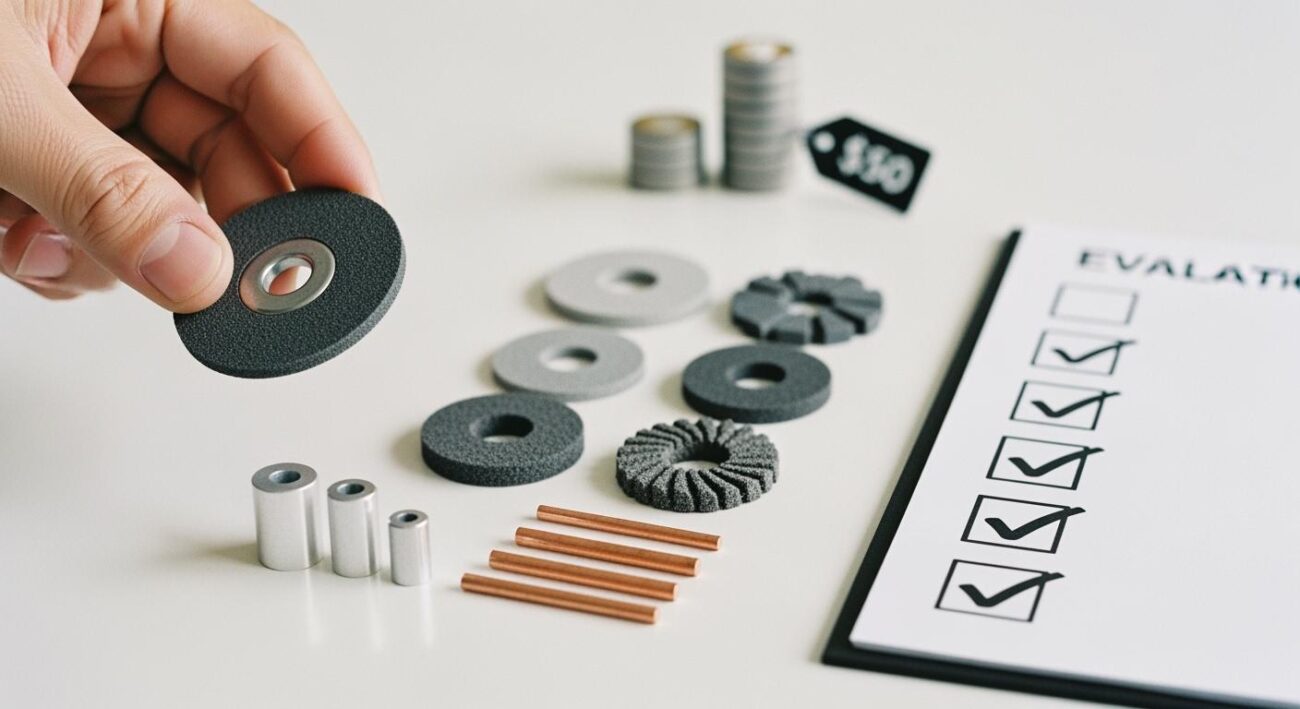
After confirming the wheel is intact, verify its specifications. The markings on the wheel tell you its abrasive type, grit size, and bond hardness. You must ensure these characteristics match the material you are grinding. Using the wrong wheel for the job leads to poor performance and potential damage.
Preventive Maintenance for Peak Performance
A proactive approach to maintenance is the best strategy to maximize your grinding efficiency and performance. This preventive maintenance plan helps you avoid problems before they start. Starting with a high-quality, customized wheel from a provider like Aimgrind simplifies maintenance and ensures process stability from the beginning. These tips for extending wheel life will boost your overall operational performance.
Regular Wheel Dressing and Balancing
Consistent wheel conditioning is fundamental to great grinding performance. Proper dressing and balancing are key parts of routine maintenance for grinding wheels.
- Dress the wheel when its cutting effectiveness drops. This exposes fresh abrasive and keeps your grinding process sharp.
- Balance the wheel before its first use and after each dressing. You should mount the wheel on a clean arbor and use weights to correct any imbalance. A balanced wheel prevents vibration and improves surface finish, which is one of the most effective tips for extending wheel life.
Proper Wheel Storage and Handling
You must handle and store your grinding wheels correctly to prevent damage. A damaged wheel is a safety hazard and will hurt your machine’s performance.
Perform the ‘Ring Test’
Before mounting a vitrified wheel, tap it gently with a non-metallic handle. A clear, metallic ring means the wheel is intact. A dull thud indicates a crack, and you should not use that wheel.
Store each wheel in a dry, organized rack. This protects it from impacts and temperature changes. Proper handling is a simple step toward extending wheel life.
Routine Machine and Coolant System Inspection
Your grinding machine requires regular attention to maintain its precision. A consistent maintenance schedule for the machine prevents unexpected downtime.
- Daily Checks: Check all fluid levels and clean chips from the machine.
- Weekly Checks: Inspect and clean your coolant filters to ensure proper flow.
- Monthly Checks: Clean the coolant tank to remove sludge. A clean machine and coolant system are vital for good grinding.
This routine maintenance for grinding wheels and your machine ensures reliability.
Verifying Speeds, Feeds, and Parameters
Your grinding parameters directly impact wheel performance and part quality. You should document the optimal speeds and feeds for each job. Regularly review these settings to ensure your machine is running efficiently. Small adjustments can make a big difference in your grinding results. This final check completes your preventive maintenance loop, connecting the wheel, the machine, and the process for peak performance.
This troubleshooting guide provides a clear path to resolving grinding wheel issues. You can boost your grinding performance by following a simple process: identify the symptom, apply a targeted fix, and commit to a routine maintenance plan. Proper maintenance is key. Adopting these systematic maintenance practices delivers measurable results, as seen in the table below.
| Case Study | Problem/Initial State | Systematic Troubleshooting Methodology | Improved Grinding Outcome |
|---|---|---|---|
| Longer CBN Wheel Life | Manufacturer achieved 4-6 good pieces between dressings. | Switched to a cDD diamond dresser. | Interval between dressings increased by 100%, doubling wheel life. |
| Improved Process Stability | Inconsistent part-to-part bore size variations. | Switched to a hDD Hybrid Diamond Dresser. | Reduced variations, improved process stability, and increased productivity. |
Consistent maintenance and the right wheel will elevate your performance. Consider how a specialized grinding solution from Aimgrind can perfect your operations.
Grind with Passion, Achieve with Aim.
FAQ
How do I quickly fix a glazed grinding wheel?
You can fix a glazed wheel by dressing it. Use a dressing tool to remove the clogged layer and expose fresh abrasive grains. This action restores the wheel’s cutting ability. Also, check that your coolant flow is strong and clean.
Does the ‘ring test’ work for all grinding wheels?
No, you should only perform the ‘ring test’ on vitrified bond wheels. The test checks for hidden cracks that make the wheel unsafe. Do not use this test on resin, rubber, or metal bond wheels, as they will not produce a clear ring.
Why is my workpiece getting burn marks?
Workpiece burn usually means there is too much heat. You can prevent this by increasing your coolant flow. You might also need to dress the wheel to make it sharper or use a softer grade wheel that cuts more freely and generates less heat.
What if I constantly have issues grinding hard materials?
Frequent problems like loading or burn on hard materials suggest your wheel is not right for the job. You should consider a specialized wheel. Aimgrind’s custom diamond grinding wheels are designed for hard composites and alloys, preventing these issues and improving performance.