You can prevent and resolve wheel loading with two core actions: prevention and resolution. You prevent issues by selecting the appropriate wheel and optimizing your grinding settings. You resolve active problems by dressing the wheel. This guide helps you diagnose and fix common grinding problems, improving your overall efficiency.
Pro Tip: Your first line of defense is choosing the right grinding wheels. A quality wheel from a specialized supplier is essential for successful grinding.
Key Takeaways
- Wheel loading happens when grinding debris clogs the wheel. This stops the wheel from cutting well. It can also damage your work.
- You can prevent wheel loading. Choose the right grinding wheel for your material. Make sure your machine settings are correct. Use enough coolant.
- You can fix a loaded wheel by dressing it. Dressing removes the clogged material. It makes the wheel sharp again. Use the right tool for dressing.
- Regular checks help prevent problems. Inspect your wheel and coolant system daily. This keeps your grinding work smooth and safe.
What is Wheel Loading?
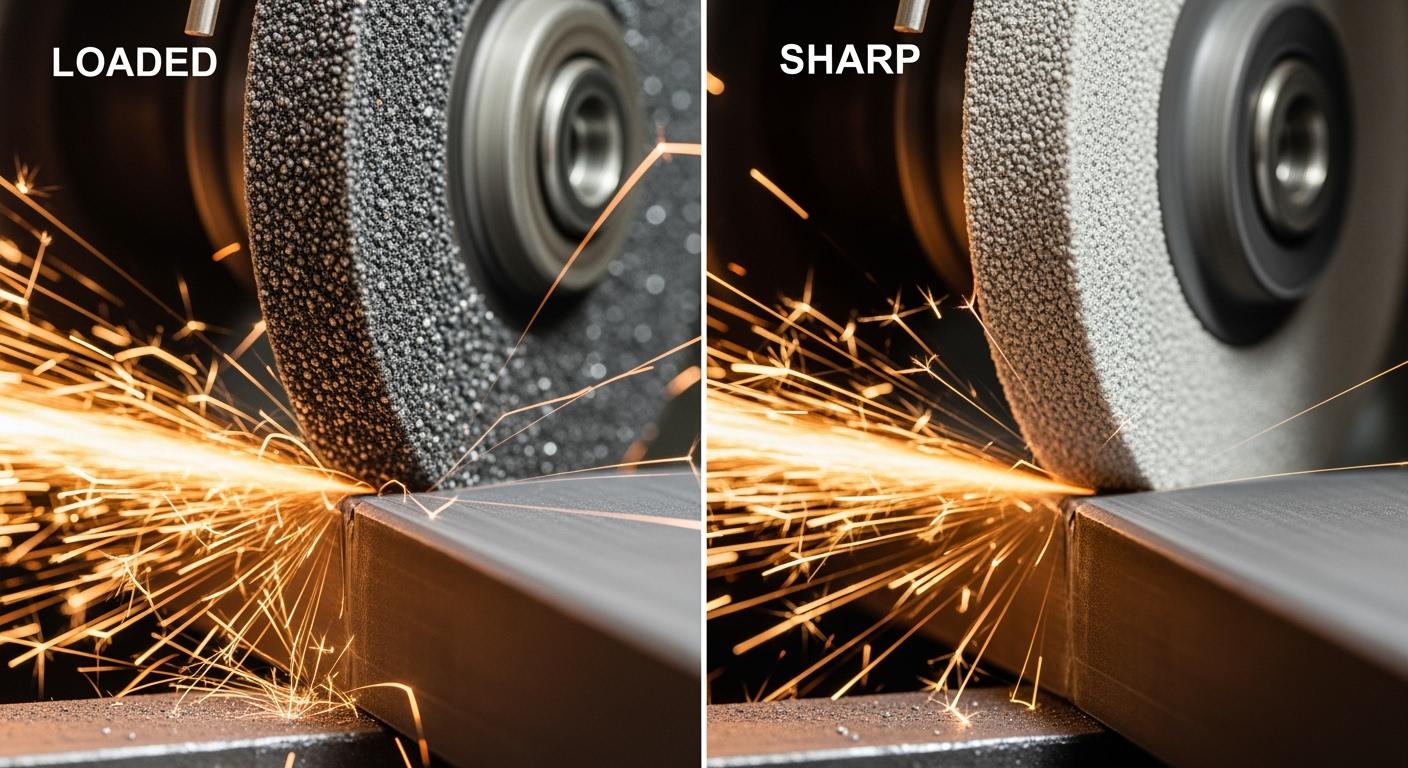
Wheel loading, also known as clogging, happens when grinding debris gets stuck on the surface of your grinding wheel. Instead of cutting material, the loaded wheel starts to rub or burnish the workpiece. This can create a metallurgically unsound finish and is a clear sign of grinding problems. A loaded wheel is not just inefficient; it is also a safety hazard. Always wear your safety gear when operating grinding machinery.
Diagnosing Wheel Loading Issues
You can spot a loaded wheel by looking for a few key signs. Your machine’s performance will tell you a lot.
Symptoms of a Loaded Wheel:
- Poor surface finish with burn marks or discoloration.
- The wheel not cutting effectively or the wheel cutting slowly.
- Increased grinding noise and vibration.
- Your wheel life too short due to the need for frequent dressing.
These issues signal that your wheel is no longer cutting properly and needs attention. Ignoring them can lead to damaged parts and reduced safety.
Loading vs. Glazing
People often confuse loading with glazing, but they are different cutting wheel problems.
- Loading: The pores of the wheel fill up with chips from the material you are grinding. This prevents the abrasive grains from making contact and cutting. The wheel surface looks clogged with material.
- Glazing: The abrasive grains on the wheel become dull and rounded. The wheel surface appears smooth, shiny, and slick.
Understanding the difference helps you choose the right solution. A loaded wheel needs to be cleaned, while a glazed wheel needs to have its dull layer removed to expose fresh, sharp grains.
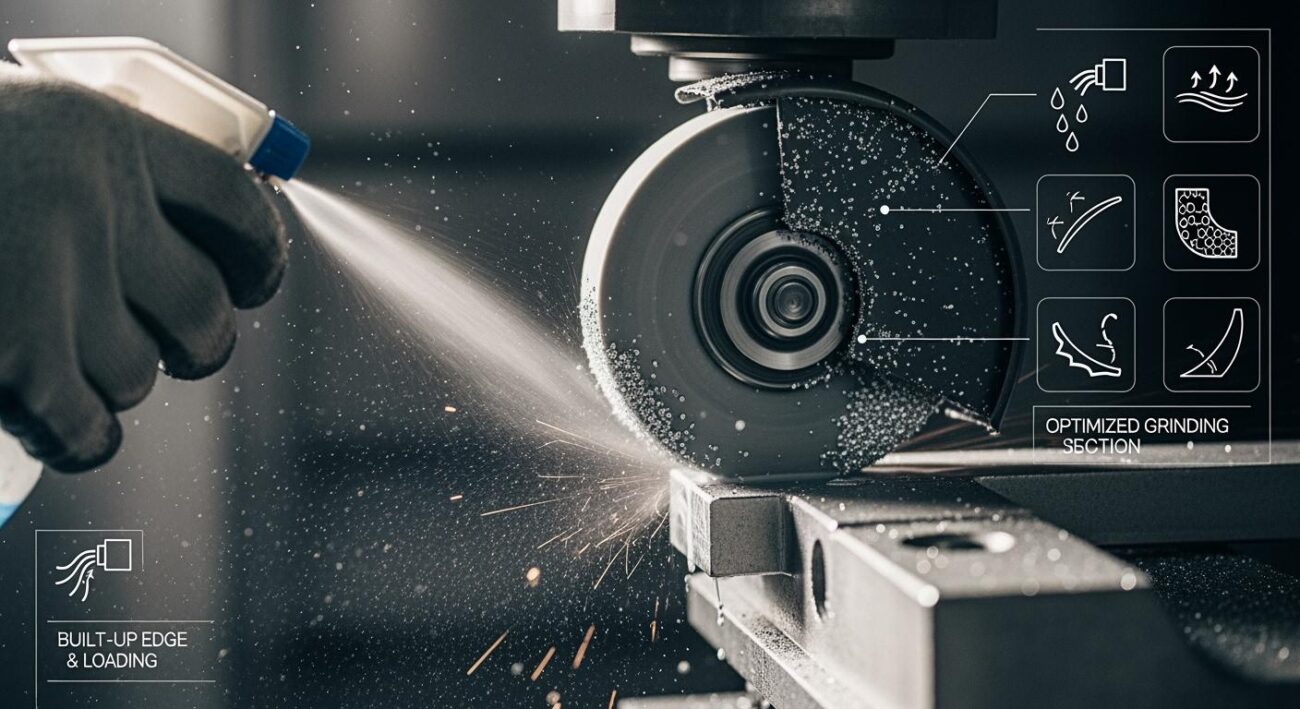
Common Causes of Loading
Several factors can cause your grinding wheel to load. The most common causes relate to your material and machine settings.
- Ductile Materials: Soft materials like aluminum or copper are prone to loading. Their tendency to deform and stick to the abrasive grains causes chips to adhere to the wheel.
- Incorrect Wheel Speed: Operating a wheel at too low a speed does not create enough force to eject chips, causing them to build up.
- Improper Coolant Flow: Insufficient coolant fails to wash away grinding debris from the cutting zone.
- Wrong Wheel Choice: Using a wheel with a grit size that is too fine or a bond that is too hard for the job can quickly lead to loading.
Preventing Grinding Wheel Problems
Prevention is always better than a cure. You can avoid most grinding wheel problems by setting up your operation correctly from the start. A proactive approach saves time, reduces waste, and improves safety. This involves selecting the right wheel, optimizing your machine, and using proper techniques.
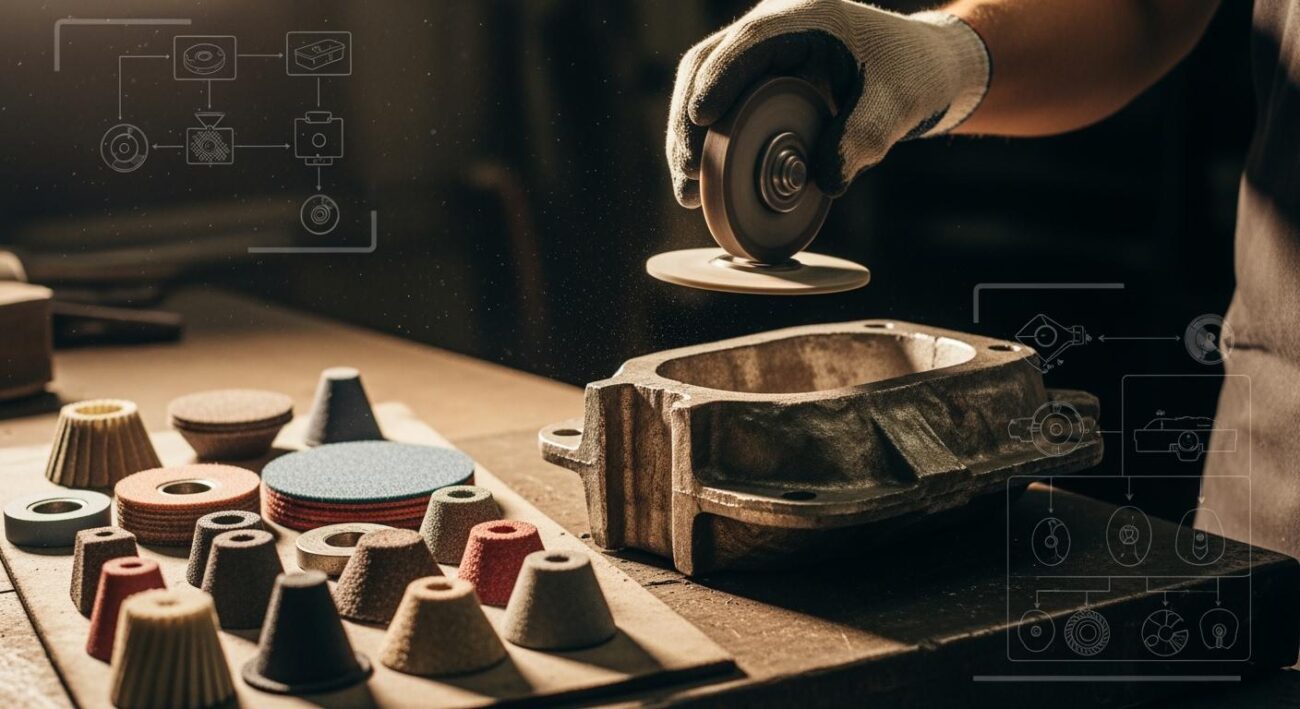
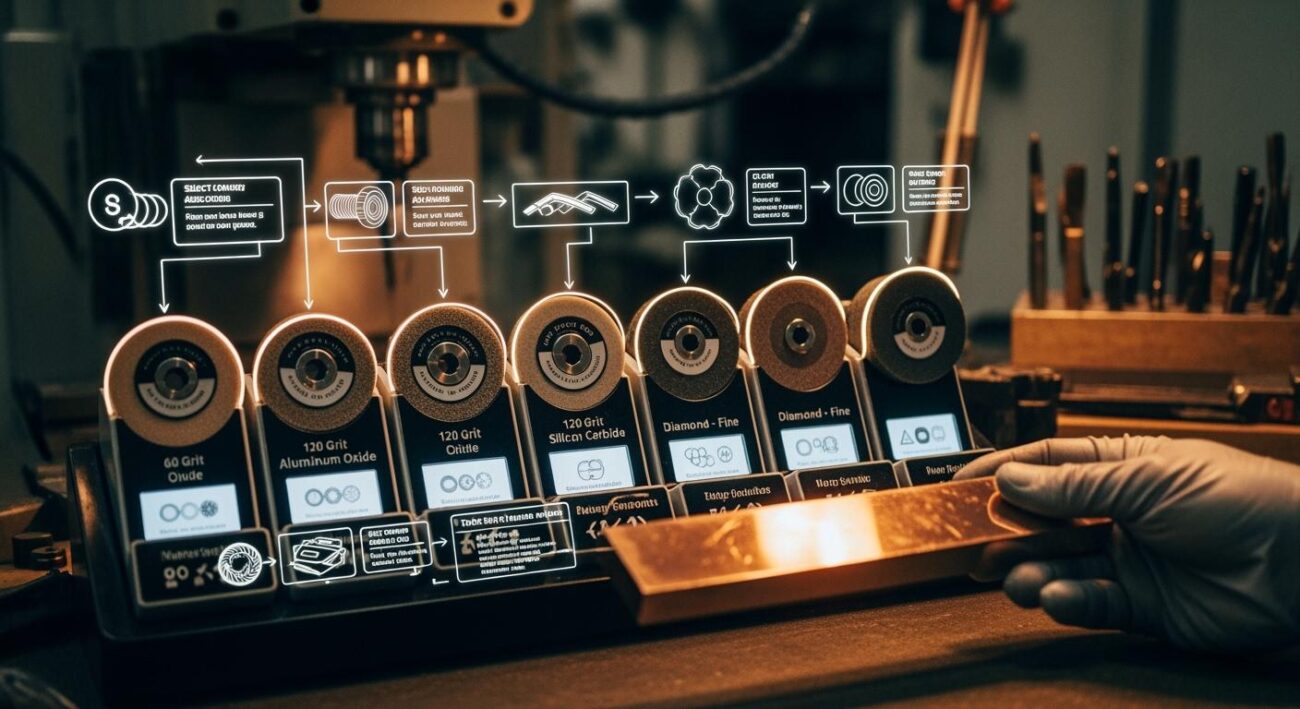
Choose the Right Grinding Wheel
Your first and most important step is selecting the correct grinding wheel. The wheel must match the material you are grinding. Three main factors determine a wheel’s performance: the abrasive grain, the grit size, and the bond.
The abrasive grains do the actual cutting. You choose the type of abrasives based on the workpiece material. Each grain type has unique properties like hardness and strength. The right grain stays sharp and fractures to create new cutting points when it gets dull. The bond is the glue that holds the abrasive grains together. A bond that is too strong will not release dull grains, reducing cutting efficiency. A bond that is too weak causes the wheel to wear down too quickly. Finding the right balance is key to optimal grinding.
Grit size refers to the size of the individual abrasive grains.
- Coarse grits (lower numbers) remove material quickly. They are best for soft, ductile materials where finish is less critical.
- Fine grits (higher numbers) produce a very smooth surface finish. They are ideal for hard, brittle materials.
Choosing the right wheel for specific materials is crucial.
- For Aluminum: Use a coarser grit wheel with a softer grade. This design prevents the wheel from loading up with soft aluminum material. Look for wheels with a non-loading formula to avoid gumming up.
- For Stainless Steel: Select contaminant-free (stainless steel) wheels. These wheels contain less than 0.1% of iron, sulfur, and chlorine. This prevents contamination and discoloration of the workpiece. Ceramic alumina or white aluminum oxide are excellent abrasive choices for this material.
Finding the perfect wheel can be complex. This is where a specialist can help. Aimgrind is a specialized brand offering customized grinding solutions. With nearly two decades of experience, we design custom formulas for a wide range of materials. We help you match the perfect wheel to your job.
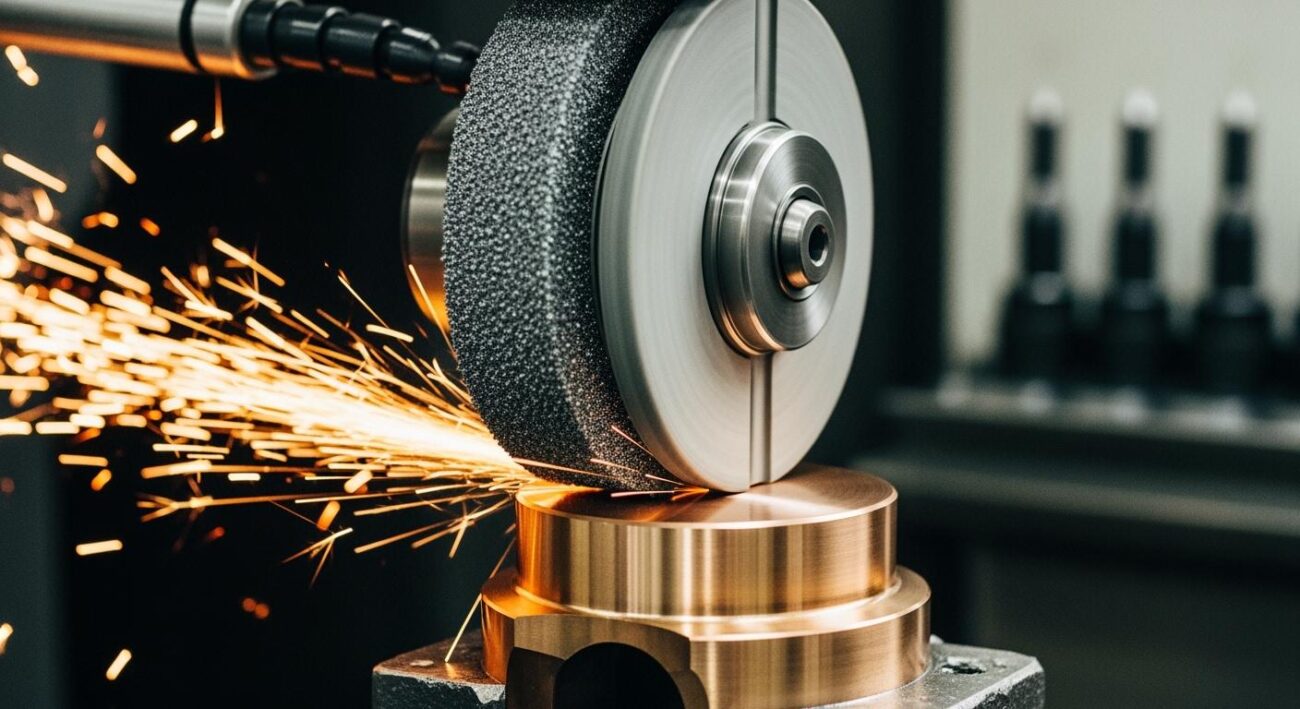
Optimize Grinding Parameters
Your machine settings directly impact wheel performance and life. You must optimize parameters like grinding speed, feed rate, and depth of cut. An incorrect grinding speed can cause loading, while a feed rate that is too aggressive can cause premature wheel wear.
Adjusting the depth of cut also influences wheel loading. You might think a shallow cut is safer, but a slightly deeper cut can sometimes reduce loading. A greater depth of cut can create a smaller average chip thickness. This lessens wheel surface deterioration and extends the tool’s life. Finding the right balance for your specific grinding operation is essential for efficiency.
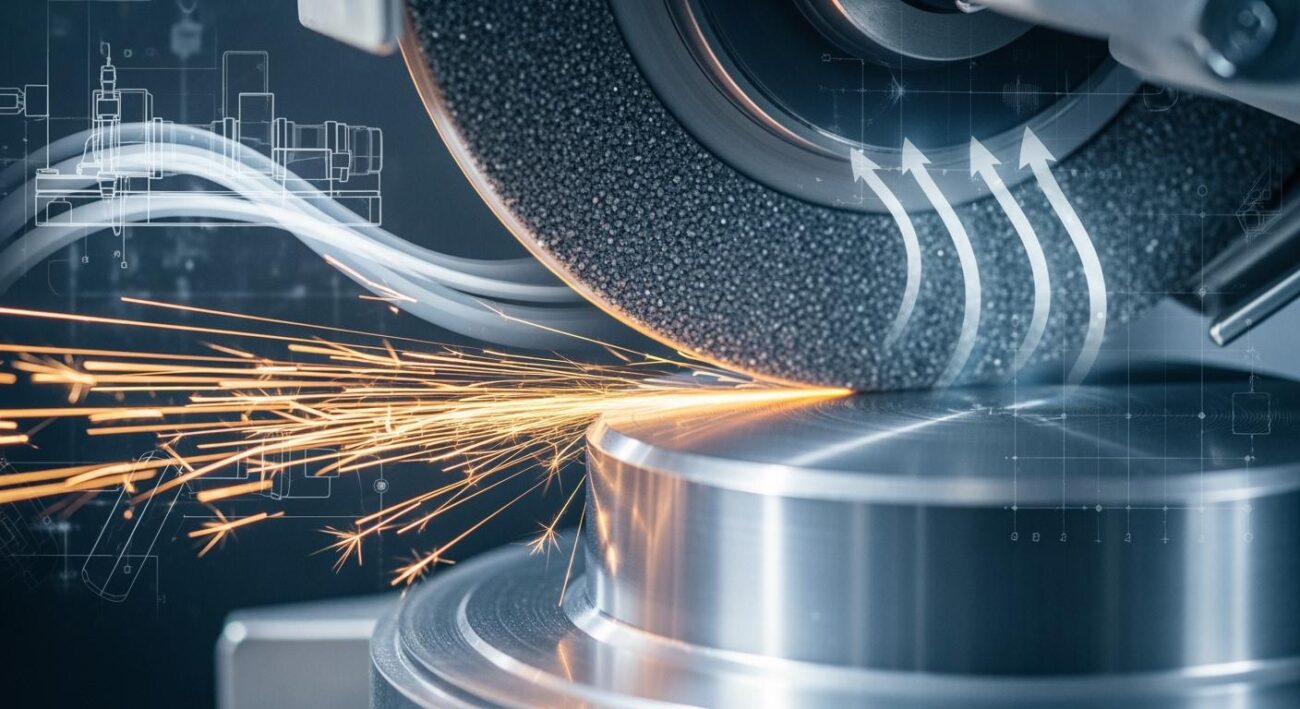
Ensure Proper Coolant Flow
Proper coolant flow is critical for preventing grinding problems. Coolant serves two main purposes: it cools the workpiece to prevent heat damage, and it flushes away grinding debris to keep the wheel surface clean. Insufficient coolant is a primary cause of loading.
Pro Tip: The trick is getting the coolant to flow into the grind at the same speed as the wheel. Velocity is key.
A wheel spinning at high speed creates an air barrier around it. Your coolant must have enough pressure to break through this barrier. For example, a wheel running at 12,000 surface feet per minute (sfm) needs a nozzle pressure of about 270 psi. This ensures the coolant jet matches the wheel speed.
Here are some general pressure and flow rate guidelines:
| Coolant System Component | Pressure Range (psi) | Flow Rate (per inch of wheel width) |
|---|---|---|
| Low-pressure (cooling) pump | 60 to 300 | N/A |
| High-pressure (cleaning) pump | 600 to 800 | 2 to 3 gpm |
| High-pressure (superabrasive) pump | Up to 1,500 | N/A |
Positioning your coolant nozzles correctly is just as important as pressure.
- Position the nozzle slightly above the wheel’s center line.
- Aim the coolant jet to strike the wheel at a 20-degree angle.
- Synchronize the coolant jet’s speed with the wheel’s peripheral speed. This helps the coolant stick to the wheel and get carried into the grinding zone.
- Maintain a steady volume flow to effectively flush chips away.
Use Proper Grinding Technique
Your technique as an operator plays a big role in preventing wheel loading. Inconsistent movements or excessive pressure can lead to uneven wear and a poor surface finish. Always use a steady hand and let the wheel do the work. Applying too much force will not speed up the job; it will only cause the wheel to load faster and wear out. Following established safety protocols protects you and ensures a high-quality finish. Good technique improves both performance and safety.
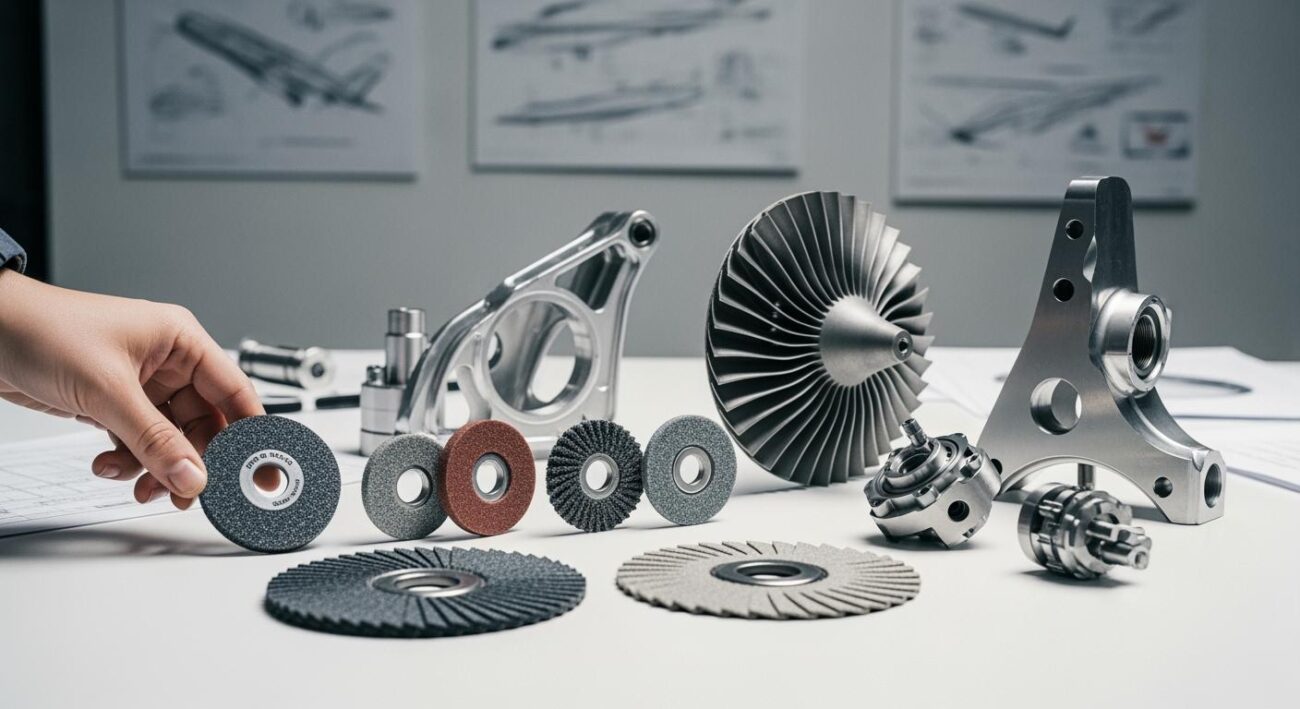
Aimgrind’s Diamond Grinding Wheels
When you work with very hard materials like hard alloys, ceramics, or composites, standard wheels may not be enough. For these demanding jobs, you need a specialized solution.
Aimgrind’s diamond grinding wheels offer superior durability and precision. These wheels are engineered to resist loading, even when grinding the toughest materials. Their robust construction ensures a long service life and consistent cutting action. This means less downtime for wheel changes and dressing, which boosts your overall productivity. The precision of these wheels helps you achieve an excellent surface finish every time.
Choosing the right diamond wheel is a key step in prevention. Consulting with an Aimgrind expert can help you match the perfect wheel to your specific equipment and process. This partnership ensures you get the best possible results and eliminate grinding issues for good.
How to Resolve Active Grinding Issues
When prevention isn’t enough, you need a clear plan to fix active grinding problems. A loaded wheel doesn’t just ruin your workpiece; it also poses a safety risk. The primary solution is dressing the wheel. This process restores your wheel’s cutting ability and gets you back to work efficiently.
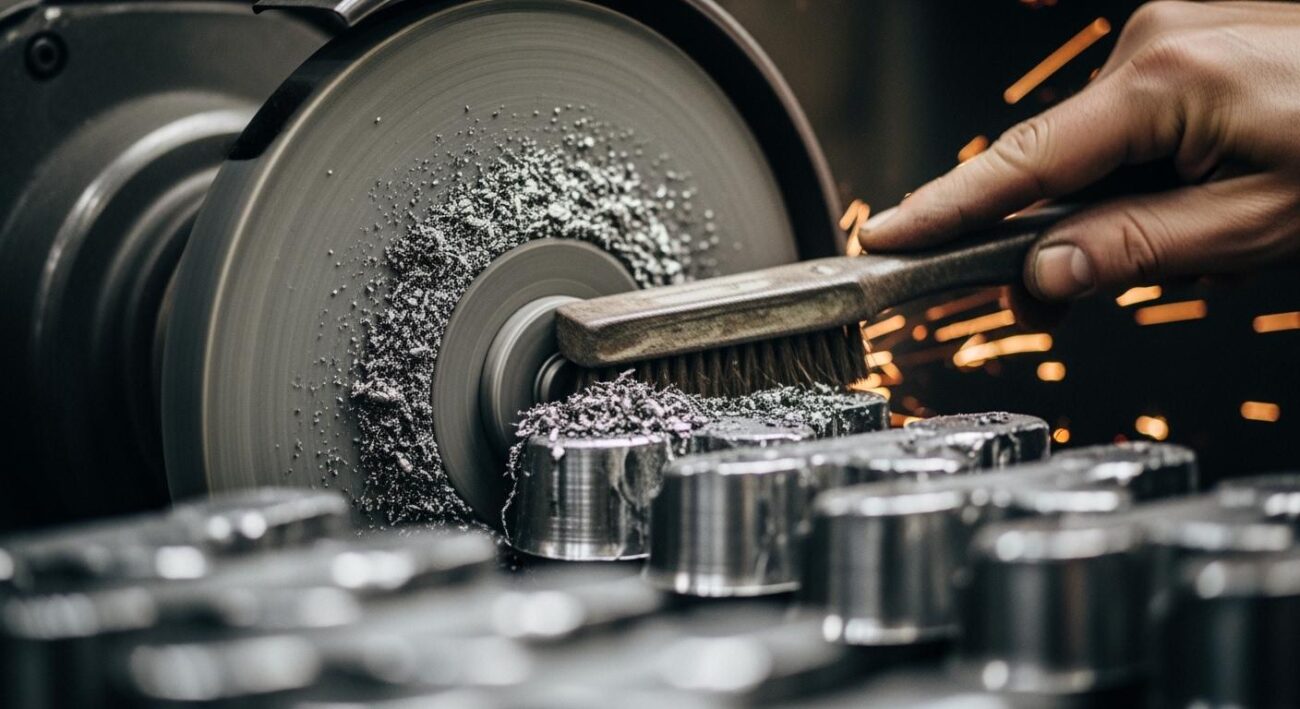
Dressing the Grinding Wheel
Dressing is the process of reconditioning your grinding wheel. It removes the loaded metal particles and dull grains from the wheel surface. This action exposes new, sharp abrasives and restores the wheel to its maximum performance. A proper dressing technique also helps eliminate excess bond material. This makes the wheel more porous, allowing coolant to penetrate better and prevent overheating during grinding.
Choosing the right tool is essential for effective dressing. Different dressers serve specific purposes.
- Diamond Dressers: These use industrial diamonds to clean the abrasive surface. They are perfect for heavy-duty operations that require precise dressing.
- Star Wheel Dressers: These tools have rotating cutters that remove debris. They are a common choice for general-purpose dressing and are great for clearing the wheel surface.
- Dressing Sticks: These are blocks of abrasive material. You use them to grind away worn grains and clogged material, especially on fine-grained wheels.
When you use a single-point diamond dresser, you must follow a precise procedure for safety and effectiveness.
- Incline the diamond dresser at a 10 to 15-degree angle. Point it in the direction of the wheel’s rotation to keep the diamond sharp.
- Use a small infeed of .001 inches. A larger infeed can crack the wheel.
- Apply plenty of coolant. This manages heat and prevents the diamond from degrading.
- Always start dressing at the center of the wheel. Beginning at the side can damage the diamond.
- Rotate the dresser 20 to 40 degrees if a flat spot develops. This restores a sharp point for effective cutting.
Using a Dressing Stick
A dressing stick is a simple yet powerful tool for maintaining your wheels, especially on a bench grinder. You use it to true the grinding surface, remove material loading, and correct uneven wear. This process gives your wheel a fresh edge, ensuring a quality finish and safe operation.
Safety First! ⚠️
Your hands will be near a rotating spindle when dressing a wheel. Always follow your machine’s safety protocols. Some machines have features that prevent the spindle from running while the doors are open.
Here is the correct technique for using a dressing stick on a bench grinder:
- Adjust the tool rest so it is 90 degrees to the grinding wheel.
- Hold the dressing stick flat on the tool rest. Make sure its end is parallel to the wheel’s surface.
- Turn on the grinder.
- Move the stick firmly across the wheel.
- Apply light pressure. You only need to remove enough material to smooth the surface and true up the wheel.
Establishing a Maintenance Schedule
The best way to handle loading is to address it before it becomes a major problem. Establishing a regular maintenance schedule keeps your grinding operations running smoothly. Instead of waiting for a wheel not cutting properly, you can act proactively.
Modern technology offers advanced ways to automate this process. You can use sensors to monitor your wheel’s condition in real time.
- Acoustic Emission (AE) sensors are highly sensitive tools that listen to the sounds of the grinding process.
- These sensors can detect changes in the wheel as it wears down or becomes loaded.
- By analyzing these signals, a system can determine the exact moment a wheel’s cutting performance drops.
This data-driven approach tells you precisely when to dress the wheel. It moves you from a fixed schedule to a condition-based one. You dress the wheels only when needed, which saves time, extends wheel life, and ensures consistent part quality. A smart maintenance plan is key to long-term productivity and safety.
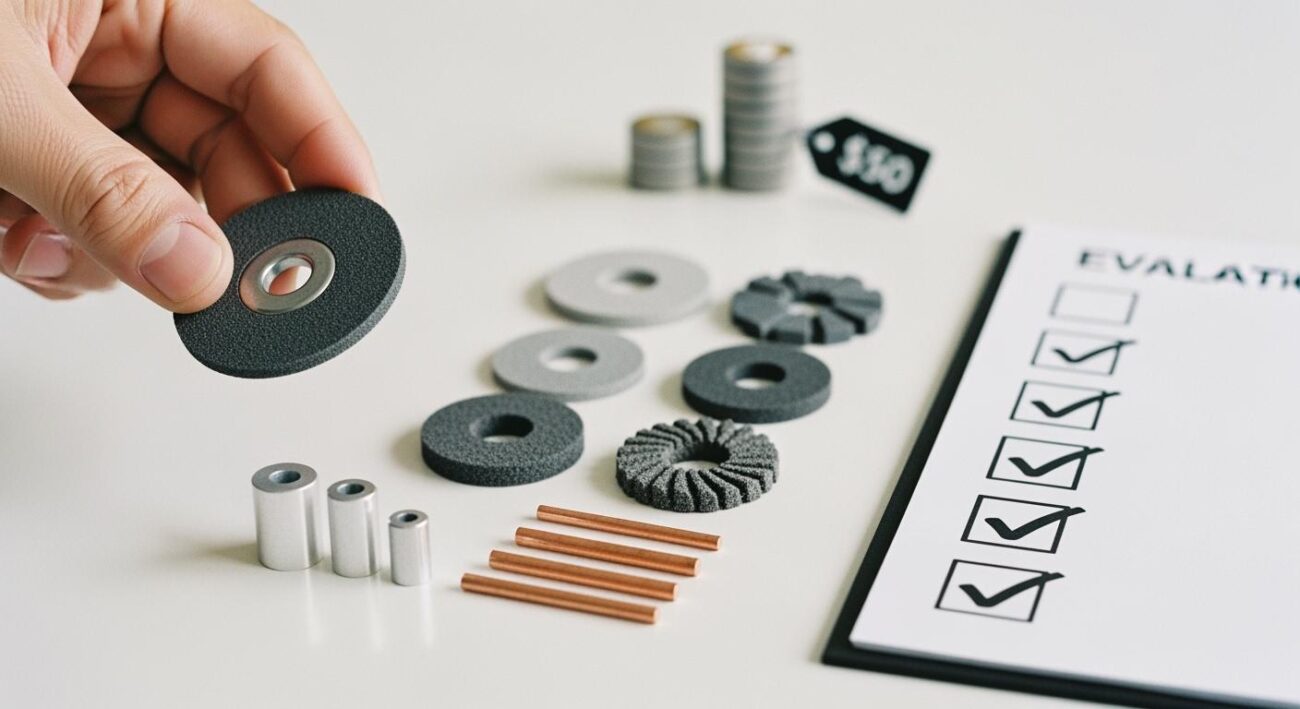
Quick Reference Checklist
Use this checklist to prevent and resolve common grinding wheel issues. A consistent routine helps you maintain peak performance and safety.
Prevention Checklist
A daily check keeps your machine and wheel in top condition. This routine helps you spot problems before they start.
Daily Machine & Wheel Inspection:
- Inspect the Wheel: Look at your grinding wheel before each use. Regularly dress the wheel to remove dull grains and prevent clogging. This ensures a clean cutting surface.
- Check Coolant System: Make sure your coolant system is working correctly. Check the hoses and filters. Proper flow is crucial for preventing wheel loading.
- Test Safety Features: Test your machine’s lights, horns, and safety alarms. Your safety is always the first priority.
- Check Fluid Levels: Look at the engine oil, coolant, and hydraulic fluid. Top them up if needed.
- Clean for Visibility: Clean all mirrors and cab glass. A clear view of your work area is essential for precise cutting.
Resolution Checklist
When a loaded wheel stops your work, you need a clear plan. Follow these steps to fix the issue and document it properly. This helps you prevent and resolve future problems.
- Stop and Assess: Immediately stop the machine. Inspect the wheel surface for signs of loading or damage.
- Dress the Wheel: Use the correct dressing tool to clean the wheel. This process removes clogged material and exposes fresh, sharp abrasives.
- Review Your Setup: Check your grinding parameters. Is the wheel speed correct? Is the coolant flow adequate?
- Document the Incident:
- Fill out an incident log with all necessary details.
- Take photos of the loaded wheel as evidence.
- Note any changes you made to fix the problem.
- Share your findings with your team to improve your processes.
You can prevent and resolve grinding problems with a clear strategy. You prevent issues by choosing the right grinding wheel and optimizing your settings. You resolve them by dressing the wheel to expose fresh abrasives. This systematic approach improves your productivity and final finish. To prevent and resolve issues for good, partner with a specialist like Aimgrind. We provide customized wheels and abrasives. Your perfect wheel ensures excellent grinding results.
FAQ
What is the fastest way to fix a loaded wheel?
The quickest solution is to dress the wheel. You use a dressing tool to clean the clogged surface. This action removes debris and exposes fresh, sharp abrasive grains. Your wheel will cut effectively again.
Can I use the same wheel for steel and aluminum?
You should not use the same wheel for both. Soft metals like aluminum need a coarser, softer wheel to prevent loading. Hard steel requires a different type. Always match your wheel to the material you are grinding.
How often should I dress my grinding wheel?
You should dress the wheel whenever you notice performance drops. Signs include a poor surface finish or slow cutting. A proactive maintenance schedule prevents major issues and keeps your operations running smoothly.
Why is my new wheel loading up so fast?
Your new wheel might be incorrect for the material. Check if the grit is too fine or the bond is too hard. Also, confirm your grinding speed and coolant flow are optimized for the job.