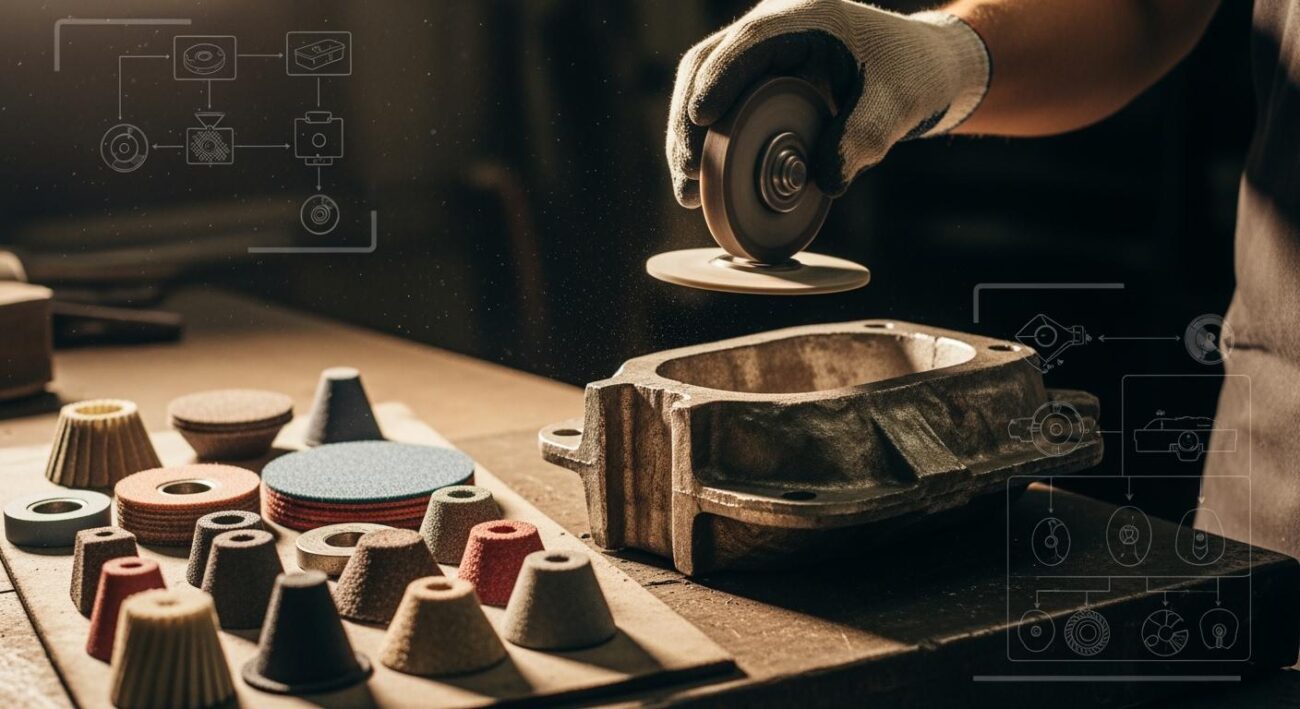
This beginner’s guide helps with sharpening drills. For a standard HSS drill, you want a 60 to 80-grit aluminum oxide wheel. The right wheel gives you faster sharpening and a better drill point. Proper grinding improves your drill’s accuracy. This beginner’s guide makes the grinding process easy. You will learn about different grinder wheels and other wheels. The right wheel is key for effective grinding and preserving your drill. A good wheel is crucial for all grinding.
Key Takeaways
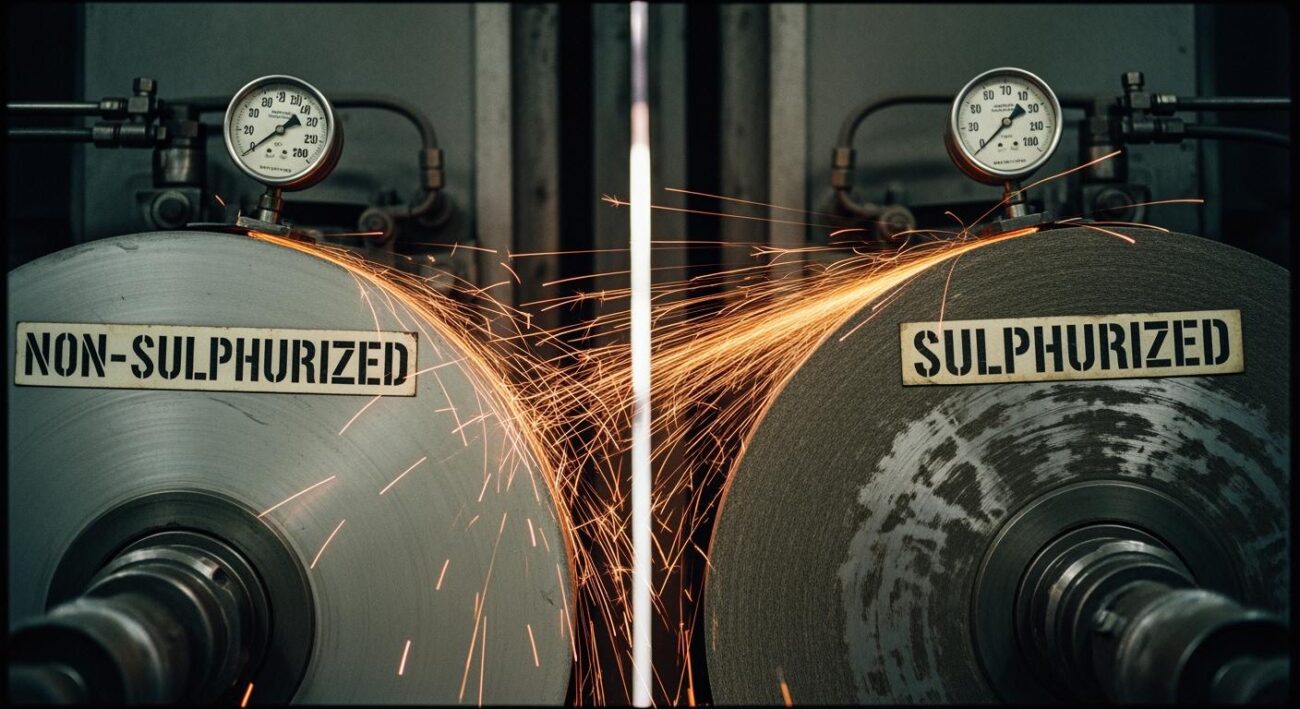
- Match your grinding wheel to the drill material. Use an aluminum oxide wheel for HSS drills. Use a diamond wheel for harder materials like cobalt or carbide.
- Choose the right grit size. A 60 to 80-grit wheel works well for general HSS drill sharpening. Coarser grits remove more material. Finer grits create a smoother edge.
- Always prioritize safety. Wear eye, ear, and respiratory protection. Check your wheel for damage. Never use the side of a standard grinding wheel.
- Master the sharpening motion. Hold the drill at a 59-degree angle to the wheel. Apply light pressure. Rotate the drill to create a relief angle. Make both sides even.
- Cool your drill bit often. Dip the drill in water frequently during grinding. This prevents overheating. Overheating makes the drill bit soft and dull.
Selecting the Right Grinder Wheels
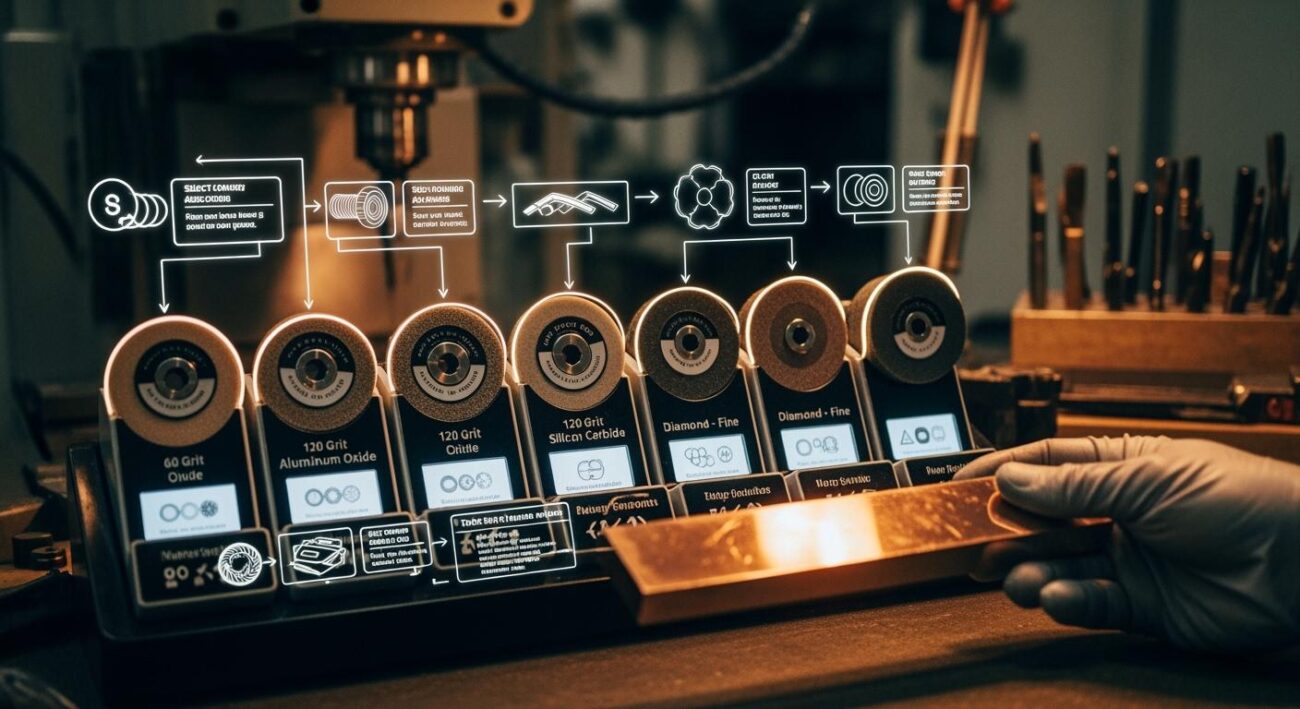
Choosing the correct wheel for your grinder is the most important step for successful drill sharpening. The right selection ensures efficient grinding, protects your drill bits, and keeps you safe. You need to consider three main factors: the drill material, the abrasive grit size, and the physical size of the wheel. Getting any of these wrong can lead to a damaged tool or a poor cutting edge.
Match Wheel to Drill Material
You must match the abrasive material of the wheel to the metal of your drill bit. Different metals require different types of abrasive wheels for effective grinding.
High-Speed Steel (HSS): This is the most common material for a drill bit. For HSS tools, you should use a gray Aluminum Oxide wheel. This abrasive is tough and cost-effective, making it perfect for general-purpose sharpening.
Cobalt (HSS-Co): Cobalt drill bits are harder than standard HSS and generate more heat during grinding. You have better options than a standard wheel.
- A ‘green wheel,’ which is made of Silicon Carbide, cuts well and helps keep the tool cooler.
- A Diamond wheel is an even better choice. It creates very little heat during grinding and maintains its shape, which is ideal for creating precise cutting edges.
Solid Carbide: Carbide is extremely hard and brittle. You cannot use a standard aluminum oxide wheel on it. A diamond abrasive wheel is the best tool for this job. Diamond is much harder than carbide, allowing for efficient grinding and a superior finish.
Pro Tip: For hard materials like carbide, a diamond wheel offers the best performance. It removes material quickly, wears down slowly, and gives you a much better surface finish compared to other abrasive types.
The following table shows why diamond is the superior choice for grinding hard carbide tools.
| Feature | Diamond Abrasive | Silicon Carbide (SiC) Abrasive |
|---|---|---|
| Grinding Efficiency | High; removes material quickly. | Low; material removal is very slow. |
| Wheel Wear Rate | Low; the wheel keeps its shape longer. | High; the wheel wears down fast. |
| Surface Finish | Excellent; creates a sharp, clean edge. | Fair to Good; can struggle with fine finishes. |
For sharpening carbide tools, resin bond diamond wheels are an excellent option. They provide a cool grinding action that produces sharp edges with a great finish on your drill.
Choose the Correct Grit Size
After you select the abrasive material, you need to decide on the grit size. The grit number tells you how coarse or fine the abrasive particles on the wheel are. Understanding how to get the right grit is key to good grinder wheel performance.
A smaller grit number (like 46 or 60) means the wheel has larger, coarser abrasive particles. A coarse wheel removes material quickly, which is great for reshaping a badly damaged drill. However, it leaves a rougher finish on the tool.
A larger grit number (like 80 or 100) means the wheel has smaller, finer abrasive particles. A fine wheel removes material slowly but creates a much smoother, sharper cutting edge.
| Grit Range | Application Type |
|---|---|
| 30-60 | General purpose, shaping, and rough grinding |
| 70-220 | Precision grinding, tool sharpening, and finishing |
For general sharpening of HSS drill bits, a 60 to 80-grit wheel is the ideal range. A 60-grit wheel is perfect for quickly restoring the basic shape of the drill point. You can then move to an 80-grit wheel to refine the edge for a smoother cut. For most DIY tasks, a single 60-grit wheel offers a good balance between speed and finish. Knowing when to change wheels between grits helps you work more efficiently. These are two of the most common types of grinding wheels.
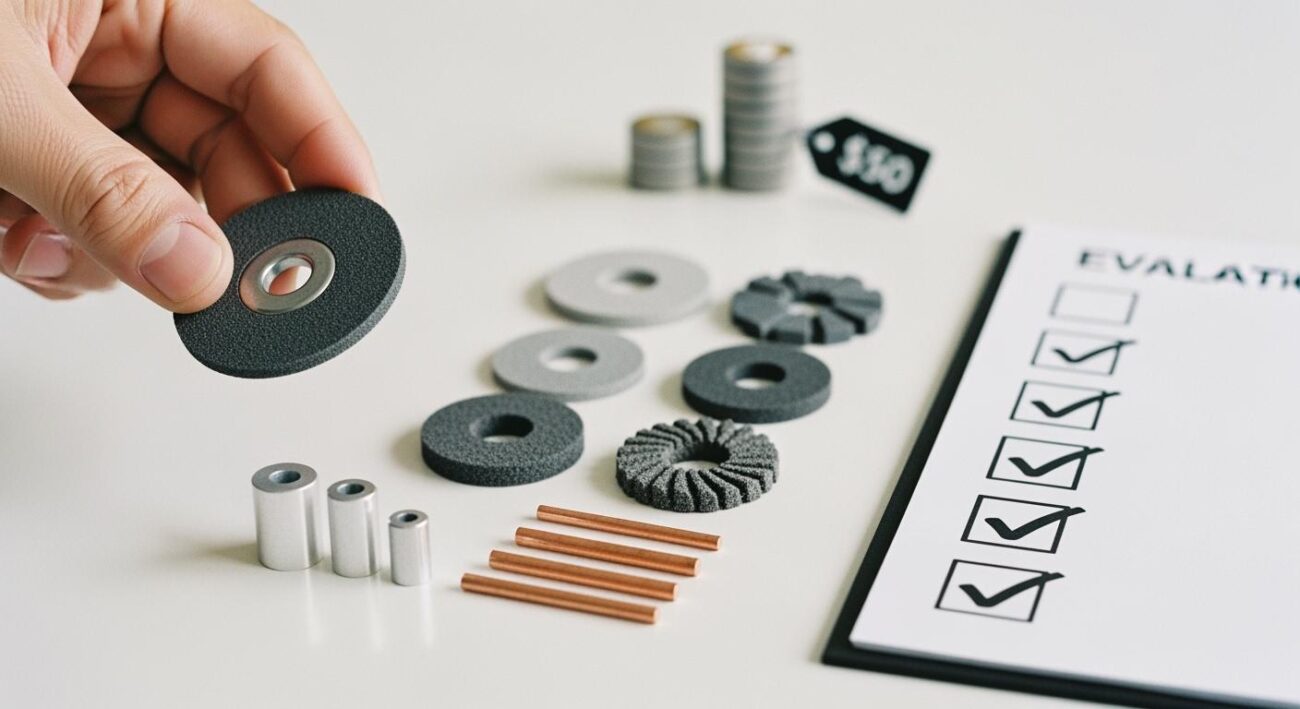
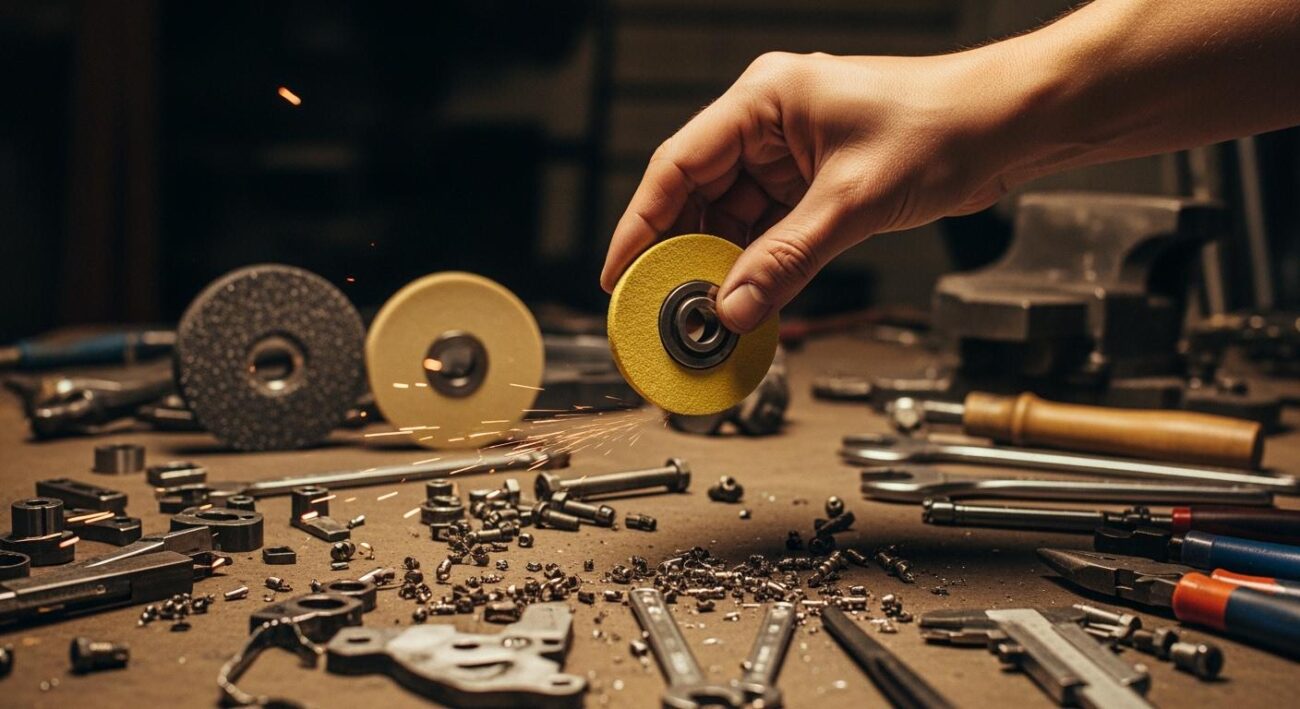
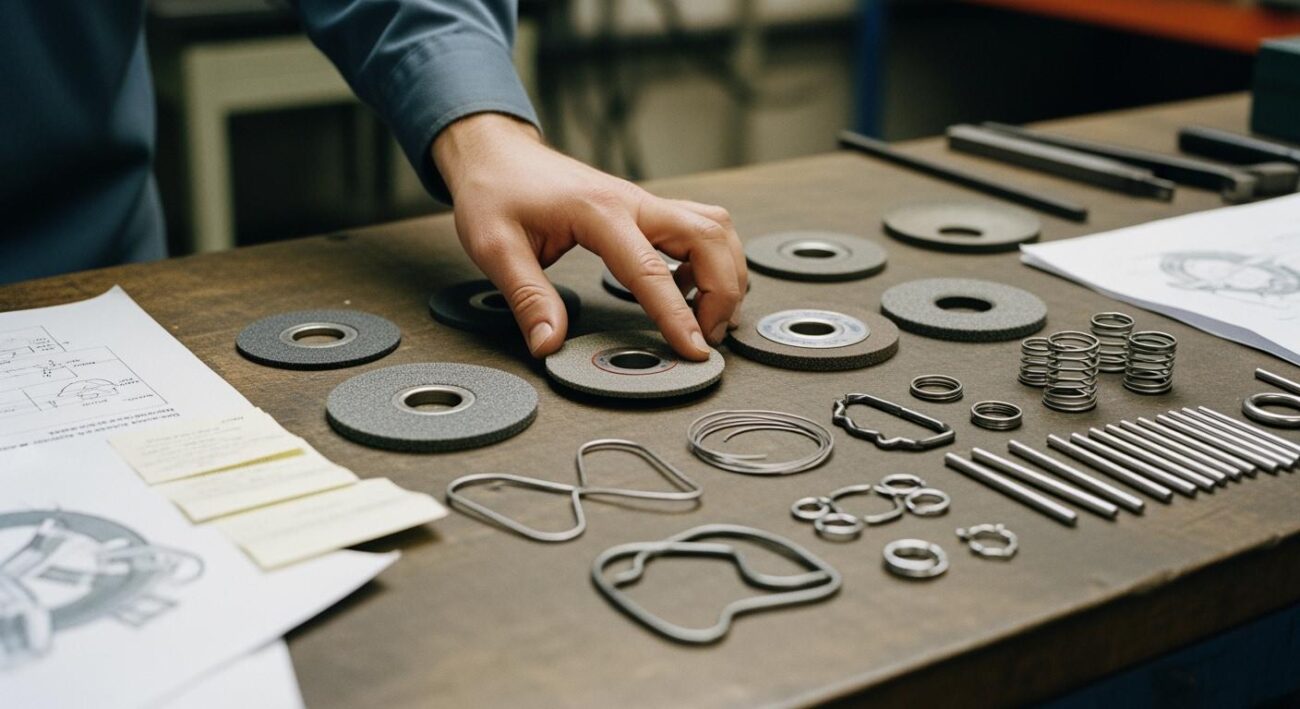
Verify Wheel and Arbor Size
Finally, you must ensure the new wheel fits your bench grinder safely. Check two measurements: the wheel’s diameter and the arbor hole size.
The wheel’s diameter must not exceed the maximum size your grinder is rated for. Using a wheel that is too large is extremely dangerous. You can find this information in your grinder’s manual or on its safety guard.
The arbor is the shaft that the grinding wheel mounts onto. The hole in the center of the wheel must match the diameter of your grinder’s arbor exactly. Do not use a wheel with a hole that is too big or too small.
Safety First! An improperly mounted wheel is a major safety hazard. As safety guidelines state, “Make sure wheel hole fits machine arbor properly.” A poor fit dramatically increases the risk of the wheel vibrating, cracking, or even bursting during operation. Always inspect your grinder wheels for cracks or damage before each use.
By carefully selecting your grinder wheels based on these three criteria, you set yourself up for a safe and successful grinding experience.
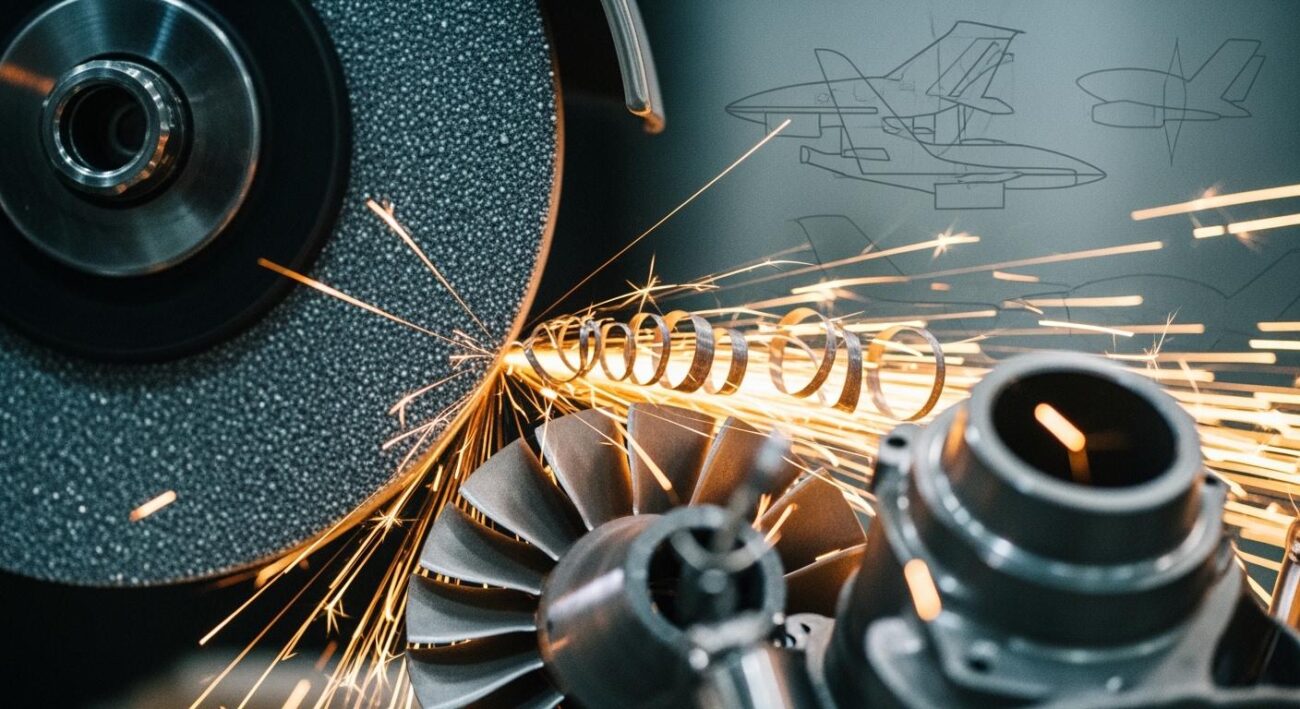
Advanced Sharpening with Aimgrind Diamond Wheels
When you work with tough materials like cobalt or carbide, you need a superior sharpening solution. Standard wheels are not effective for this task. Aimgrind offers premium diamond grinding wheels designed for these demanding jobs. With nearly two decades of expertise, Aimgrind delivers durable and precise wheels that give your tools a final, sharp cutting edge. This makes advanced grinding accessible to everyone.
Why Choose Diamond for Hard Metals
You should choose diamond for hard metals because it offers unmatched performance. A diamond grinding wheel lasts much longer than a conventional abrasive wheel. When used correctly, diamond wheels can last hundreds of times longer. This durability comes from diamond being the hardest natural material.
These wheels also hold their shape remarkably well. This means you spend less time dressing the wheel and more time on your grinding tasks. The result is a faster, more efficient grinding process and a perfect edge on your hard metal drill.
Aimgrind Advantage: A diamond wheel is a smart investment. Its long service life and superior grinding performance reduce downtime and improve the quality of your work, saving you time and money.
Selecting an Aimgrind Wheel
Choosing the right Aimgrind wheel ensures the best results for your drill. Aimgrind specializes in matching the perfect wheel to your specific needs. You should consider the material of your drill bit. For example, a resin bond diamond wheel is an excellent choice for the cool grinding action needed to sharpen carbide tools.
Aimgrind provides personalized selection to match the wheel with your equipment and grinding process. You can trust their expertise to find the ideal wheel for any sharpening job. Their range of diamond grinding wheels guarantees you get the right tool for high-quality results.
Best Practices for Diamond Grinding
To get the most from your diamond wheel, you should follow a few best practices. Diamond wheels are very efficient, so you only need to apply light, even pressure during grinding. Let the wheel do the work.
Over time, your wheel can become clogged with material. This is called “loading.” You must clean the wheel to restore its cutting ability. This cleaning process is known as dressing.
- Secure a dressing stick on your tool rest.
- Turn the grinder on and gently press the stick against the rotating wheel.
- Move the stick smoothly across the wheel face.
- This action removes clogged material and exposes fresh diamond particles.
Properly dressing your wheel ensures a consistent surface for precise grinding and extends the life of your drill and your wheel.
The Grinding Process for Sharpening Drills

With the right wheel selected, you are ready to begin the grinding process. Proper technique is just as important as the wheel itself. This process transforms a dull, useless drill bit into a sharp, effective tool. Following these steps ensures you get a perfect point every time while keeping you safe.
Prepare the Grinder and Wheel
Before you even turn the grinder on, you must prepare your workspace and equipment. Your safety is the top priority. Always wear the proper personal protective equipment (PPE) for any grinding job.
- Eye Protection: Wear safety glasses. A full face shield is also highly recommended.
- Hearing Protection: A bench grinder is loud, so use earmuffs or earplugs.
- Respiratory Protection: A dust mask prevents you from inhaling fine metal particles.
Next, you need to inspect your grinding wheel for damage, especially if it is new. A cracked wheel can shatter at high speed. You can perform a simple “ring test” to check its integrity.
- Make sure the wheel is clean and dry.
- Suspend the wheel by placing your finger through the center arbor hole.
- Gently tap the side of the wheel with a light, nonmetallic tool, like a screwdriver handle.
- Listen to the sound. A clear, metallic ring means the wheel is safe to use. A dull thud indicates a crack, and you must dispose of the wheel immediately.
Finally, you should dress a new aluminum oxide wheel. Dressing removes the smooth outer layer, exposes fresh abrasive grains, and ensures the face of the wheel is perfectly flat. This step is vital for accurate grinding. To dress the wheel, secure a dressing stick on the tool rest and move it steadily across the face of the rotating wheel. This preparation makes your grinder ready for precise sharpening.
Set the Correct Drill Point Angle
The angle of your drill bit’s point determines how it cuts. For most jobs, you will want to create a standard angle.
General-Purpose Angle: A 118-degree point angle is the standard for general-purpose drilling. This angle works very well for drilling into mild steel, aluminum, wood, and soft plastics. Most new drill bits come with this angle from the factory.
Your goal during grinding is to recreate this 118-degree included angle. You will hold the drill bit against the wheel to achieve an angle of about 59 degrees on each cutting lip (59 + 59 ≈ 118). While professionals may use a tool like a PG1000 gauge to check their work, you can achieve great results by eye with a little practice.
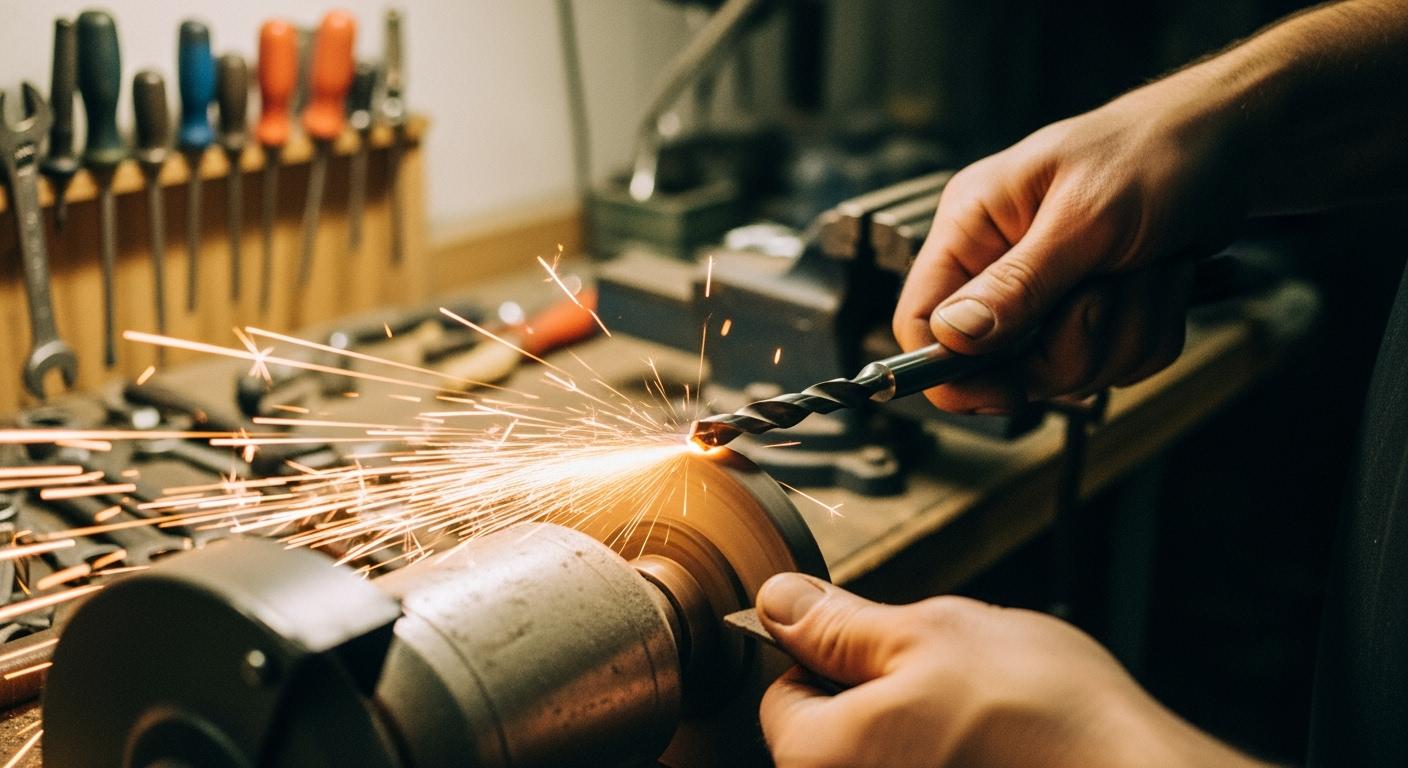
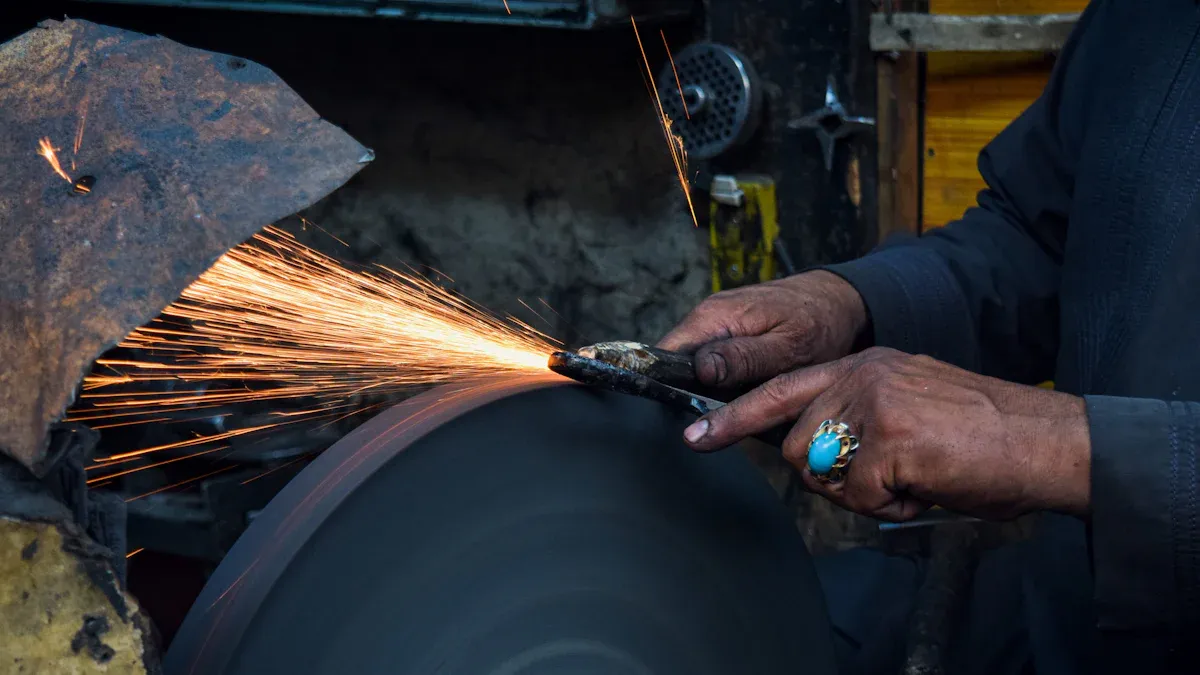
Master the Sharpening Motion
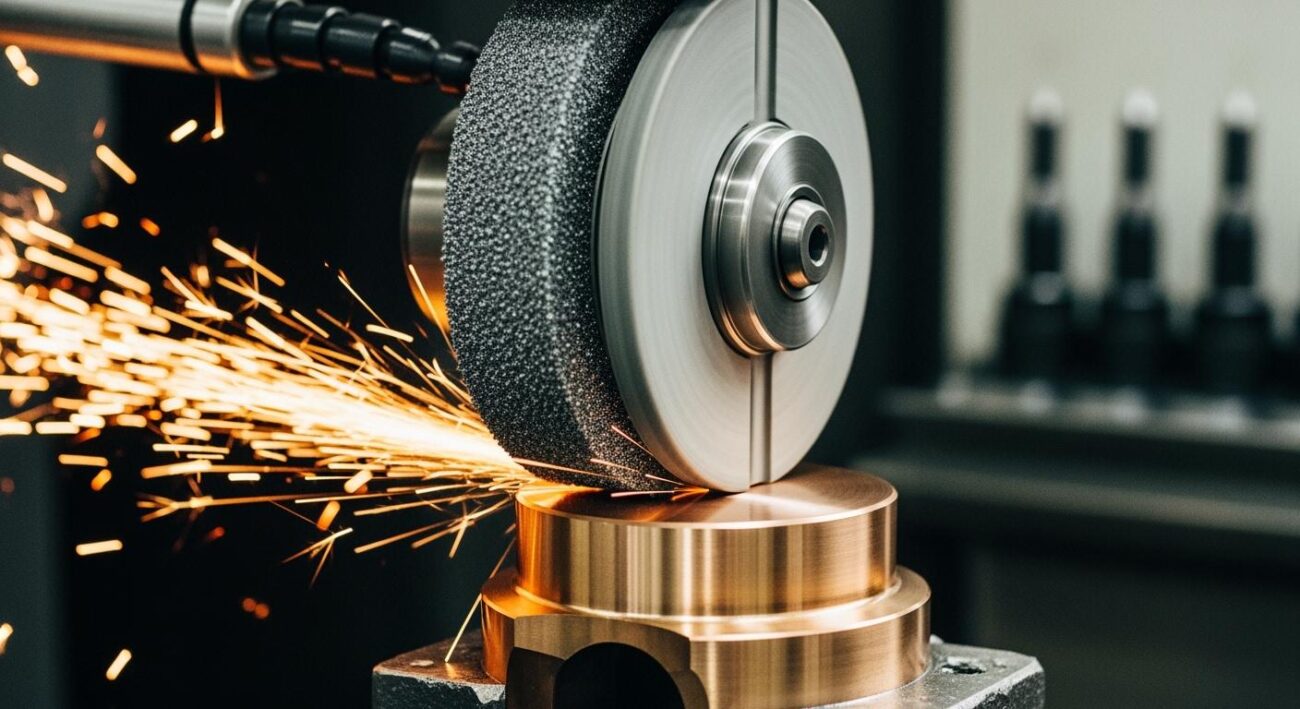
The way you move the drill bit against the wheel is the most important skill in sharpening drills. First, remember one critical rule: only use the face of the grinding wheel.
⚠️ Warning: Never Use the Side of the Wheel
Standard bench grinding wheels are not designed for side pressure. Grinding on the side creates internal stress that can cause the wheel to crack or even explode. It is an extremely dangerous practice that can lead to serious injury. Always perform grinding on the face of the wheel.
Here is how to master the correct sharpening motion:
- Position the Drill: Hold the drill bit with both hands and approach the wheel. Rest your hand on the grinder tool rest for stability.
- Set the Angle: Hold the drill so its centerline is horizontal and pointed toward the wheel at the correct 59-degree angle.
- Create the Cutting Edge: Gently touch the first cutting edge to the spinning wheel. Apply light, even pressure.
- Create the Relief Angle: As you are grinding, slightly lift the back of the drill bit. This “rotate and sweep” motion grinds away material behind the cutting edge. This relief angle is crucial because it allows the cutting edge to bite into the material.
- Rotate 180 Degrees: After a few seconds, pull the drill away. Rotate it exactly 180 degrees and repeat the same motion on the other cutting edge. The goal is to make both sides identical.
This motion takes practice. The key is to be smooth and consistent. Let the wheel do the work; you do not need to apply a lot of force.
Cool and Inspect Your Work
Heat is the enemy of a drill bit. During grinding, friction generates a lot of heat. If the drill bit gets too hot, it will lose its temper and become soft. High-speed steel (HSS) can be damaged by temperatures over 900°F, which can happen quickly.
To prevent this, keep a small container of water next to your grinder. After grinding each side for just a few seconds, dip the drill bit into the water to cool it down. This step is not optional—it is essential for preserving the hardness of your drill.
After cooling the drill, you need to inspect your work. Look closely at the tip under a good light.
- Check the Cutting Lips: The two cutting edges (lips) must be the same length and have the same angle. If one is longer than the other, the drill will cut an oversized hole and wear out quickly.
- Check the Chisel Edge: The small line at the very center of the tip should be perfectly centered.
- Check for Sharpness: The edges should look crisp and feel sharp to the touch (be careful!).
If anything looks uneven, return to the grinding wheel and make small adjustments. Continue the process of grinding, cooling, and inspecting until you have a perfectly sharp point. This attention to detail is what makes sharpening drills a rewarding skill.
You can master sharpening drills by remembering three key actions. Proper grinding starts with the right wheel and ends with a sharp tool for all your sharpening drills.
- Selection: Choose an aluminum oxide wheel for HSS. Use a premium Aimgrind diamond wheel for hard metals. This wheel choice is vital for your grinding.
- Technique: Always use the face of the grinding wheel. Rotate the drill on the wheel to create a sharp edge. A magnifier helps you see the grinding on the wheel.
- Preservation: Cool your bit frequently during grinding. This non-negotiable step preserves the tool’s hardness.
FAQ
What is the best wheel for a beginner?
You should start with a 60 to 80-grit aluminum oxide wheel for HSS drill bits. This type provides a good balance for shaping and sharpening. It is the most common and cost-effective choice for general-purpose work.
Why did my drill bit tip turn blue?
Your drill bit turned blue because it got too hot. This high heat damages the steel’s temper, making the tip soft and unable to hold a sharp edge. You must cool the bit in water frequently to prevent this from happening.
Can I use the side of my grinding wheel?
⚠️ Never use the side of a standard wheel.
These wheels are only designed for grinding on their face. Using the side creates dangerous stress. This pressure can cause the wheel to crack or shatter during use, leading to serious injury.
When should I use a diamond wheel?
You should upgrade to a diamond wheel for very hard materials like carbide or cobalt. Standard wheels are not effective on these metals. A premium Aimgrind diamond wheel gives you a faster, cooler cut and a much sharper edge.