You see the negative effect on surface finish from grinding chatter. These unwanted chatter marks ruin dimensional accuracy and shorten your grinding wheel life. This guide helps you solve this common vibration problem for a flawless finish. You can reduce grinding wheel vibration with a systematic approach. This method helps you eliminate chatter marks for a perfect finish.
Start with the simplest checks first. This structured process helps you find the source of the vibration and chatter faster, ending the frustrating chatter.
Key Takeaways
- Adjust grinding settings like feed rate and wheel speed. This helps reduce forces and stops vibrations.
- Check and balance your grinding wheel. A good wheel cuts better and prevents chatter marks.
- Make sure your machine is stable. Tighten loose parts and check the spindle to stop vibrations.
- Secure the workpiece tightly. A firm hold prevents the part from moving and causing chatter.
Reduce Grinding Wheel Vibration via Process Parameters
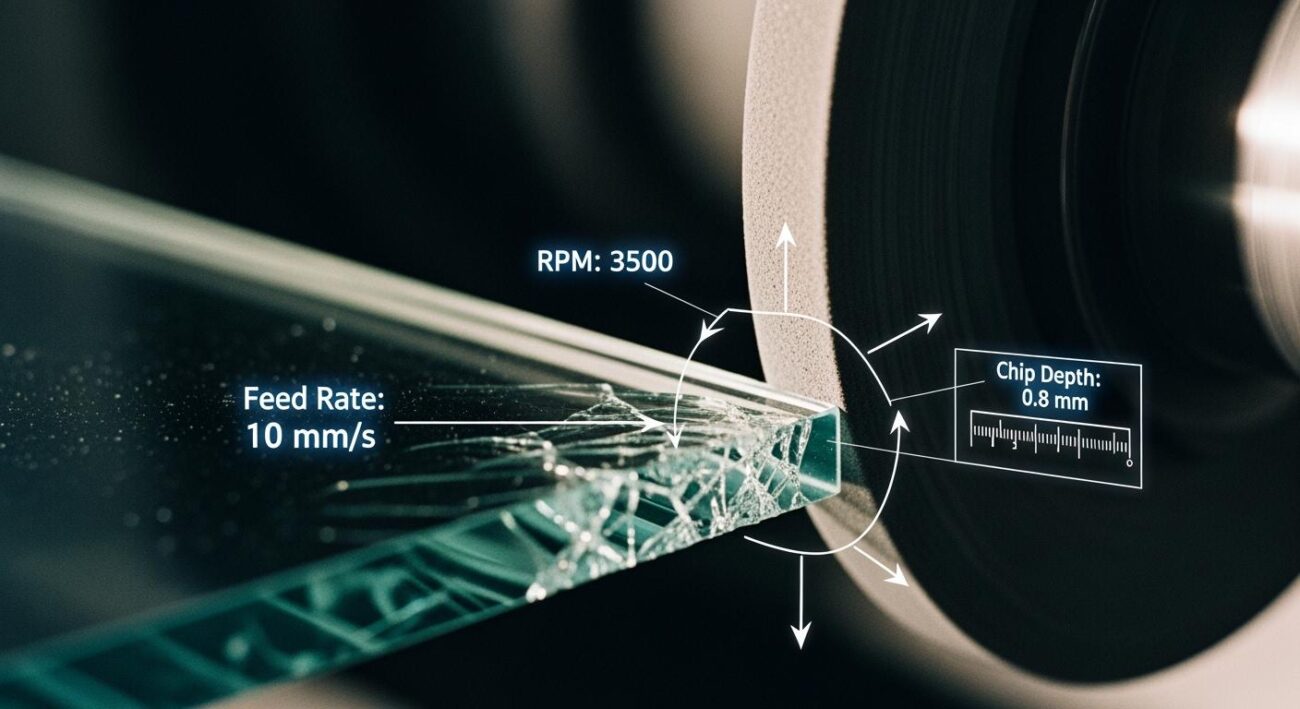
Your first line of defense against grinding chatter is adjusting the grinding process parameters. These settings directly control the interaction between the grinding wheel and your workpiece. Small changes here can have a huge impact on performance. Fine-tuning your grinding process parameters is one of the most effective ways to reduce grinding wheel vibration and solve this common vibration problem. Let’s explore some key techniques.
Adjust Feed Rate and Depth of Cut
Aggressive material removal often creates excessive cutting forces. This is a primary source of vibration. You can directly reduce these forces by adjusting your feed rate and depth of cut. High feed rates and deep cuts are common culprits that cause chatter marks. Reducing the depth of cut helps minimize cutting forces and the resulting chatter.
A case study on hardened steel provides a clear example. Operators reduced the feed rate from 120 to 20 inches per minute. This simple change decreased vibration amplitude from 79 to just 8 microinches. Slower, more controlled passes give you a better finish and help eliminate chatter marks.
Pro Tip: Start with the recommended parameters for your material. You can then make small, incremental adjustments to find the sweet spot that balances removal rate and surface quality.
The table below offers a good starting point for infeed rates on hardened steels.
| Work Material | Roughing Infeed per Revolution (in.) | Finishing Infeed per Revolution (in.) |
|---|---|---|
| Plain carbon steel, hardened | 0.0002 | 0.000050 |
| Alloy and tool steel, hardened | 0.0001 | 0.000025 |
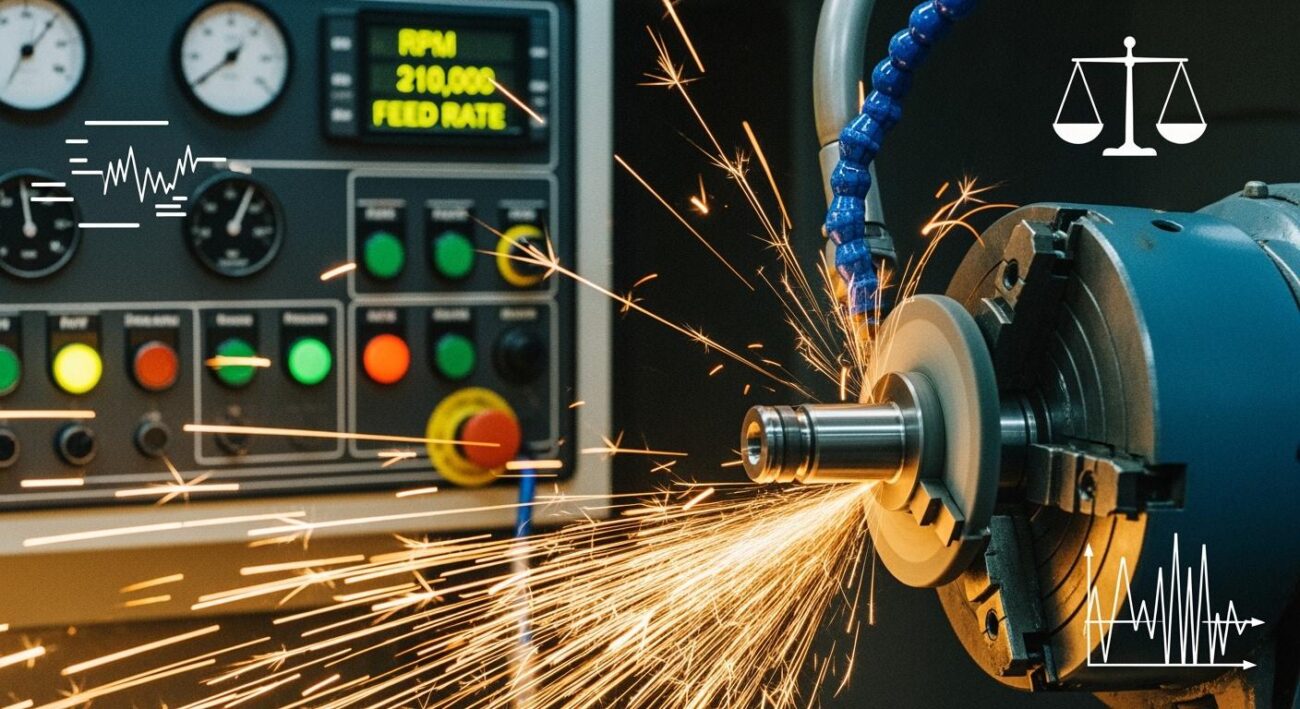
Modify Wheel Speed to Exit Resonance
Every machine setup has a natural frequency. When your grinding wheel speed matches this frequency, it creates harmonic resonance. This resonance amplifies vibration, leading to severe chatter. You can break this harmonic cycle by slightly changing the wheel speed. A small adjustment of about 10% is often enough to move out of the resonant frequency and stop the chatter.
You can also use wheel speed to change how the wheel behaves. Reducing the surface feet per minute (SFPM) makes a vitrified bond grinding wheel “act softer.” A softer-acting wheel generates lower cutting forces. This simple change can reduce grinding wheel vibration and help you eliminate chatter marks.
Optimize Coolant Flow and Concentration
Coolant does more than just cool the part. It lubricates the cutting zone, flushes away chips, and helps control thermal expansion. Insufficient coolant is a major cause of problems. Think of a car engine. Without enough coolant, the engine quickly overheats and suffers severe damage. The same principle applies to grinding. Poor cooling leads to thermal damage, which can increase vibration and leave chatter marks.
Your coolant flow and concentration must match your material and operation.
- General grinding processes use flow rates from 2 to 20 gallons per minute (gpm).
- Heat-sensitive materials require special attention. For example, grinding titanium may require a coolant concentration of 14% and a flow rate of at least 15 gpm to prevent heat buildup.
Proper coolant application ensures heat is removed effectively. This prevents workpiece distortion and reduces the chances of vibration.
Adjust Grinding Path to Eliminate Chatter Marks
Sometimes, chatter marks appear in a repeating pattern. This indicates that the vibration is occurring at a specific point in the grinding path. You can disrupt this pattern by adjusting the tool path. For example, you can introduce a slight oscillation or change the traverse speed. These small changes alter the cutting dynamics. This prevents the vibration from building up in one spot. This technique is a simple way to reduce grinding wheel vibration without changing other grinding process parameters. It effectively breaks the cycle that creates chatter marks.
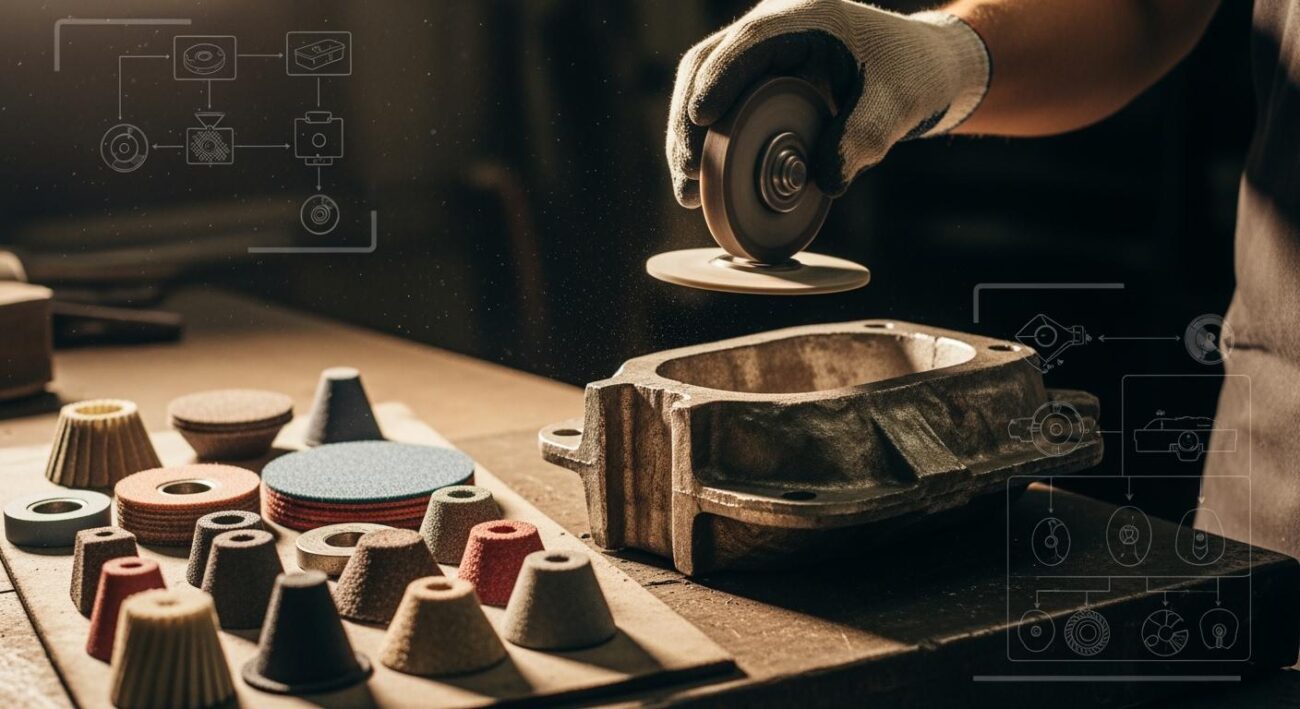
Inspect and Condition the Grinding Wheel

If adjusting process parameters does not stop the vibration, your next step is to inspect the grinding wheel itself. The wheel is the heart of your grinding operation. Its condition directly affects stability and performance. An imbalanced, dull, or incorrect grinding wheel is a common source of chatter.
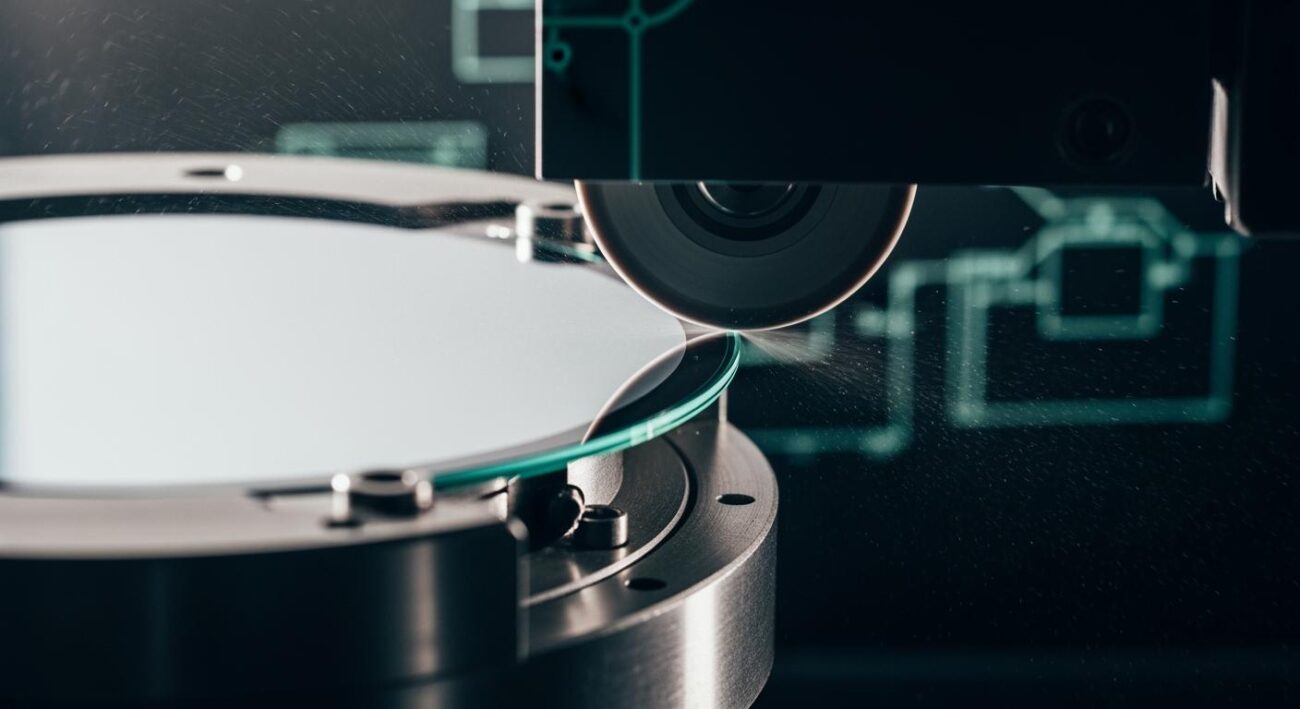
Balance the Wheel to Correct Mass Distribution
An unbalanced grinding wheel is like a car tire with a heavy spot. As it spins, it creates a powerful centrifugal force that causes severe vibration. This vibration transfers directly to your workpiece, leaving behind chatter marks. Balancing corrects the wheel’s mass distribution, ensuring it rotates smoothly without creating unwanted forces.
There are several balancing techniques you can use. Static balancing is done with the wheel at rest, while dynamic balancing is performed while the wheel is spinning.
- Place the grinding wheel and its mount on a clean, level balancing stand.
- Allow the wheel to settle. The heaviest point will naturally rotate to the bottom.
- Attach balancing weights to the flange directly opposite this heavy spot (at the top).
- Adjust the weights until the grinding wheel remains stationary no matter how you position it. This indicates it is balanced.
For higher precision, you may need dynamic or automatic balancing systems that measure imbalance while the machine is running. These systems provide the highest level of accuracy. The required precision depends on your application, as shown by industry G-Grade standards.
| G-Grade | Typical Applications |
|---|---|
| G 2.5 | Machine-tool drives, gas and steam turbines |
| G 1.0 | Grinding machine drives, high-speed armatures |
| G 0.4 | Gyroscopes, precision grinding spindles |
Note: Always re-balance your wheel after mounting it, after dressing, and as part of regular maintenance. A balanced wheel is fundamental to preventing vibration.
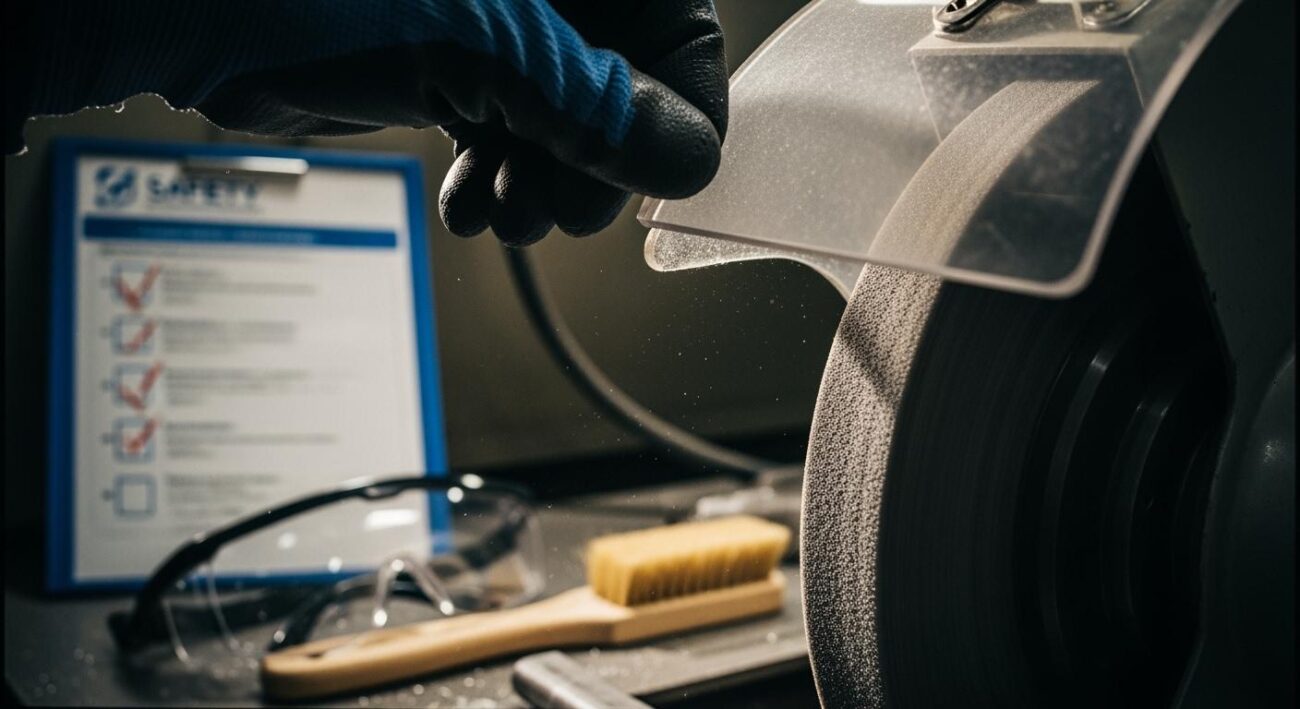
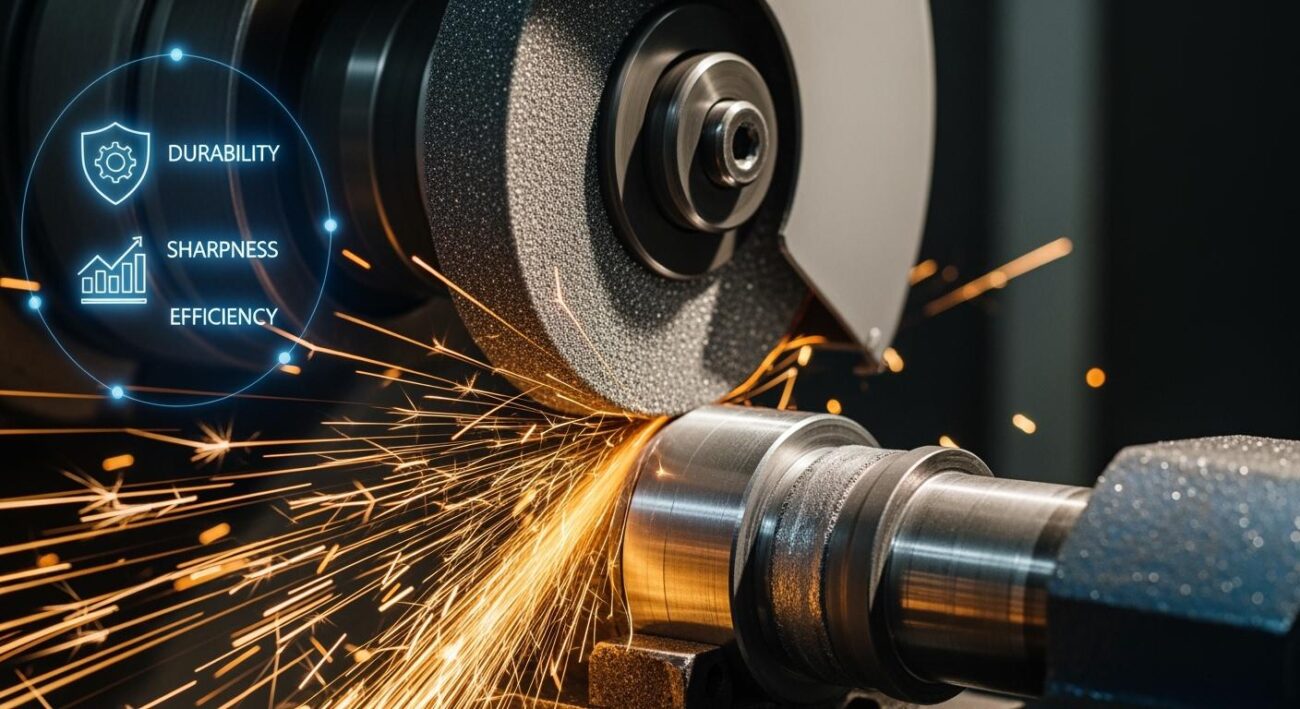
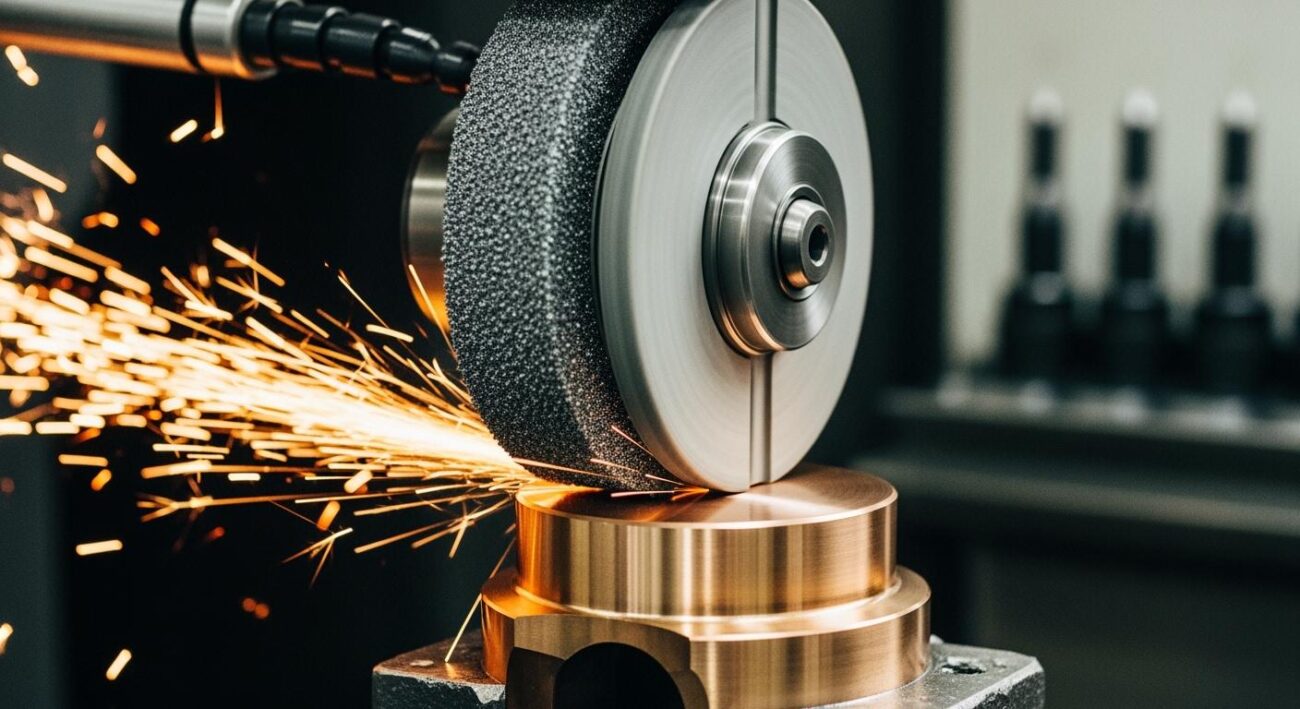
Dress and True the Wheel for a Sharp, True Surface
Over time, a grinding wheel can become “loaded” with material chips or “glazed” with dull abrasive grains. A loaded or glazed wheel cannot cut efficiently. It rubs instead of cuts, which increases cutting forces and causes chatter. Dressing restores the wheel by removing the loaded layer and exposing fresh, sharp abrasive grains.
Truing is the process of making the wheel perfectly concentric with the spindle. It ensures the entire wheel surface makes even contact with the workpiece. Any runout, or wobble, will cause intermittent cutting forces that lead to vibration. For high-precision work, you should true your wheel to a total indicator runout (TIR) of less than 0.0005 inches.
- Ensure your dressing tool (like a single-point diamond) is sharp and held rigidly.
- Set the wheel to the recommended dressing speed.
- Move the dresser steadily across the wheel face to create a uniform, open surface.
- Always wear proper safety gear, including safety glasses.
A properly dressed and trued wheel cuts freely, reduces heat, and is a key step in eliminating grinding chatter.
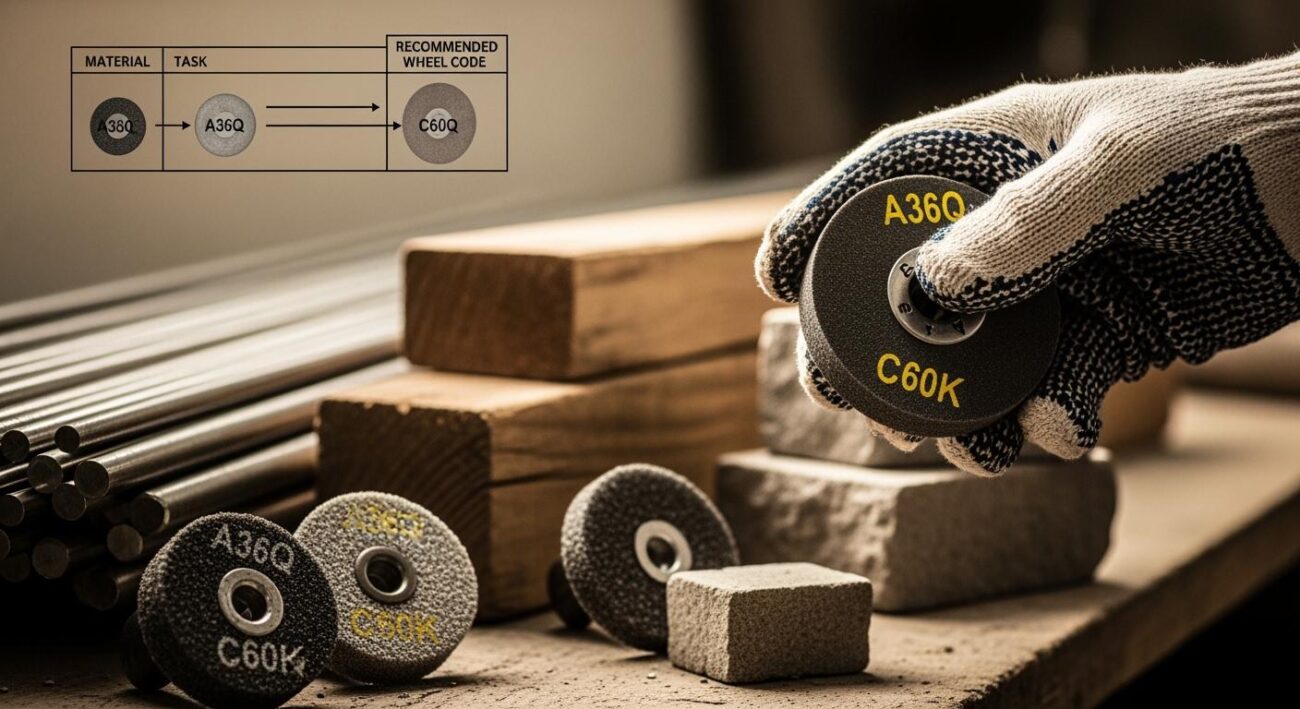
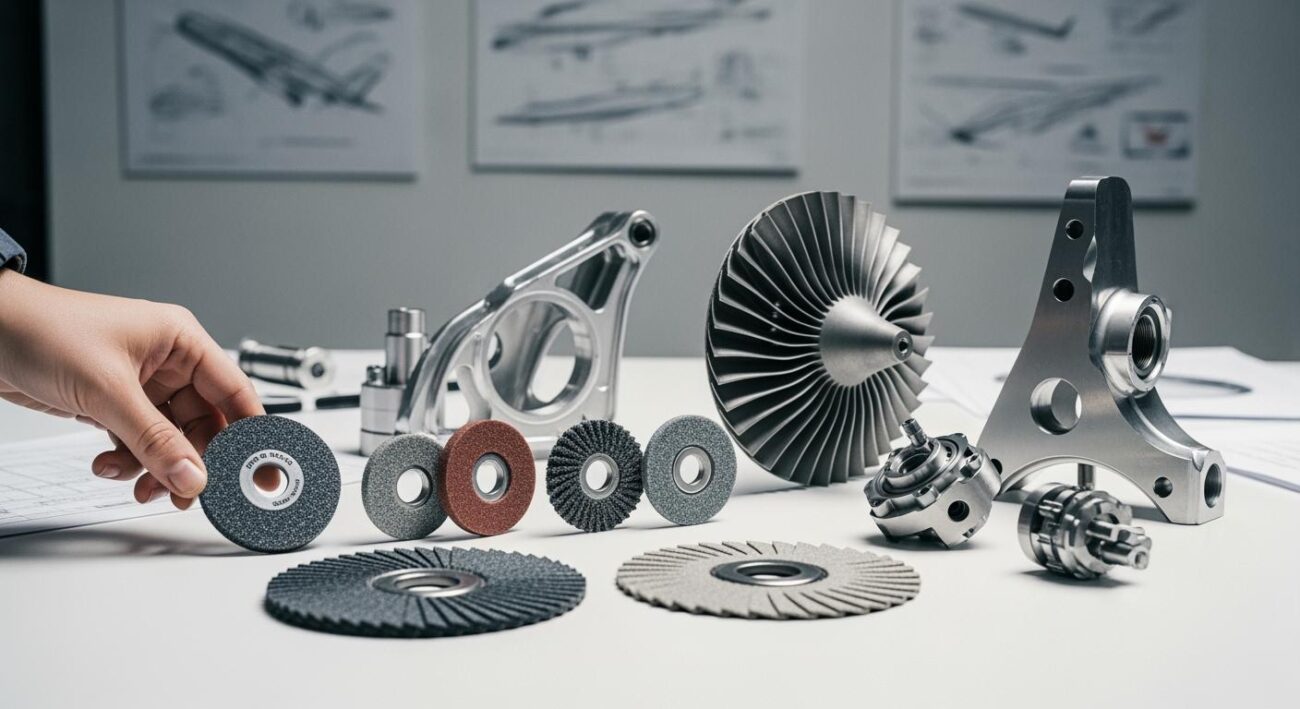
Select the Correct Abrasive, Grit, and Bond
Using the wrong grinding wheel for your material is a recipe for problems, including intense chatter. The wheel’s abrasive type, grit size, and bond must match the workpiece material and your operational goals. A wheel that is too hard, for example, will not break down to expose new cutting edges, leading to glazing and vibration.
When grinding extremely hard or brittle materials like ceramics, composites, or tungsten carbide, wheel selection becomes even more critical. A standard wheel may struggle, generating excessive forces that cause chatter marks. For these demanding jobs, you need a high-performance solution.
This is where a specialist can help. As a provider of customized grinding solutions, Aimgrind has the expertise to match the perfect wheel to your specific application. For difficult materials, our diamond grinding wheels are engineered to deliver superior stability and performance. Their robust construction and high-quality abrasives provide a free-cutting action that minimizes cutting forces, helping you prevent chatter at its source. Choosing the right wheel is not just a troubleshooting step; it’s a foundational strategy for achieving flawless results.
Verify Machine Stability and Integrity

If you have fine-tuned your process and conditioned your wheel, but chatter persists, the machine itself may be the culprit. The entire machine structure must be rigid and stable. Any looseness or wear can become a significant source of vibration. A systematic inspection of the machine’s core components will help you find and fix the root cause of machine vibration.
Tighten Loose Guards, Bolts, and Fixtures
Vibration often comes from the simplest places. A loose guard, bolt, or fixture can vibrate during operation, transferring that movement to the workpiece and causing chatter. You should perform a thorough check for any looseness.
- Check Axis Movement: Jog each machine axis through its full range of motion. You should feel smooth movement with no play or hesitation.
- Inspect Workholding: Examine your chucks and fixtures. Ensure they clamp parts securely and show no signs of wear or damage that could allow movement.
A quick “shake test” on guards, panels, and mounts can reveal hidden sources of noise and movement. Tightening these components is an easy fix that can have a big impact.
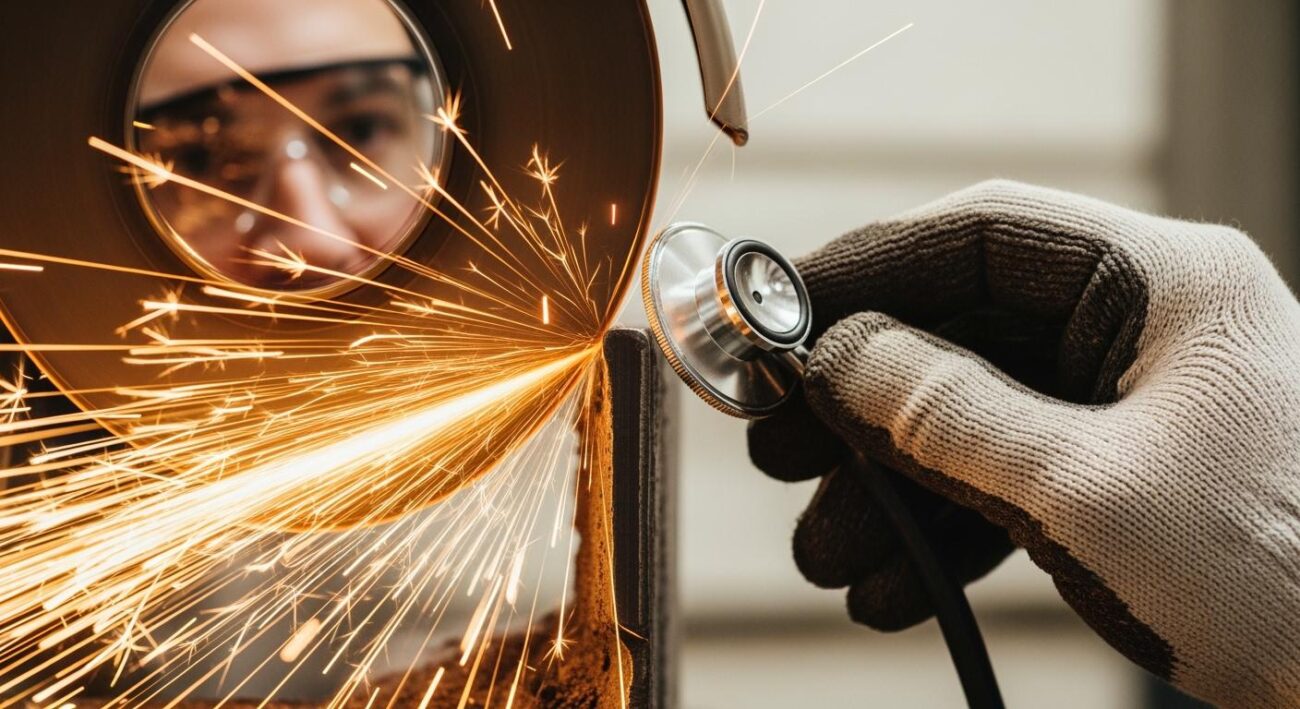
Inspect Spindle Bearings for Wear and Runout
The spindle is the heart of your machine, and its bearings are critical. Worn bearings are a major cause of chatter and can lead to a serious vibration problem. You should watch for clear warning signs of bearing failure.
- Unusual noises like grinding or whining.
- Excessive vibration you can feel through the machine.
- A noticeable drop in surface finish quality.
- Overheating of the spindle housing.
You can use a dial test indicator to measure spindle runout. This test shows if the spindle is wobbling as it rotates. Excessive runout is a sure sign that the bearings need replacement to stop the vibration.
Check Drive Belts for Damage and Tension
The belts that drive your spindle can also introduce vibration. A worn or improperly tensioned belt will not transfer power smoothly. Visually inspect your drive belts for any signs of damage. You should replace any belts that show:
- Cracking or splitting
- Fraying along the edges
- A shiny, glazed surface from wear
Belt tension is just as important. A belt that is too loose will slip, while a belt that is too tight puts extra strain on the bearings. You can use a tension gauge to check that the tension matches the manufacturer’s specifications. Correcting belt issues is a key step in finding the source of vibration.
Ensure the Machine is Level and on a Solid Base
Your grinding machine needs a solid, stable foundation to perform correctly. If the machine is not perfectly level, its frame can twist, leading to machine vibration and alignment issues. This instability creates chatter. Use a precision machinist’s level to verify the machine is level from front-to-back and side-to-side.
The floor itself matters. A weak or uneven concrete floor can transmit vibration from other equipment. If you suspect this is an issue, you can place specialized rubber isolation pads under the machine’s feet. This helps dampen external vibration and provides a more stable base for chatter-free grinding.
Secure the Workpiece for Minimizing Chatter Marks
Your final area of inspection is the workpiece itself. A part that is not held securely will vibrate under grinding pressure. This movement is a direct cause of chatter. Properly securing your workpiece is a critical step for minimizing chatter marks and achieving a perfect surface finish.
Reinforce Workholding for Maximum Rigidity
Insufficient clamping force is a common source of problems. When your part is not held tightly, it moves and vibrates during grinding. This instability creates chatter. For thin-walled or complex parts, standard clamps can cause distortion. You can use advanced workholding methods to provide strong support without damaging the part.
- Magnetic Workholding: Uses magnets to hold ferrous materials, providing even force distribution.
- Expanding Mandrels: Secure hollow parts from the inside, preventing external distortion.
- Adhesive Workholding: Uses special wax or glue to hold fragile or irregularly shaped parts.
These techniques increase rigidity and help prevent the vibrations that cause chatter marks.
Use Steady Rests to Support Slender Parts
Long, thin workpieces are naturally flexible. They can easily bend or whip during grinding, which produces severe chatter marks. You need to provide extra support to keep these parts stable. Steady rests are the perfect tool for this job. They brace the workpiece against the cutting forces.
There are different types of rests for various applications:
- A Fixed Steady Rest supports parts with a consistent diameter.
- A Follow Rest attaches to the machine’s carriage. It moves with the grinding wheel to provide continuous support.
Using the correct steady rest prevents deflection and stops the chatter that ruins long parts.
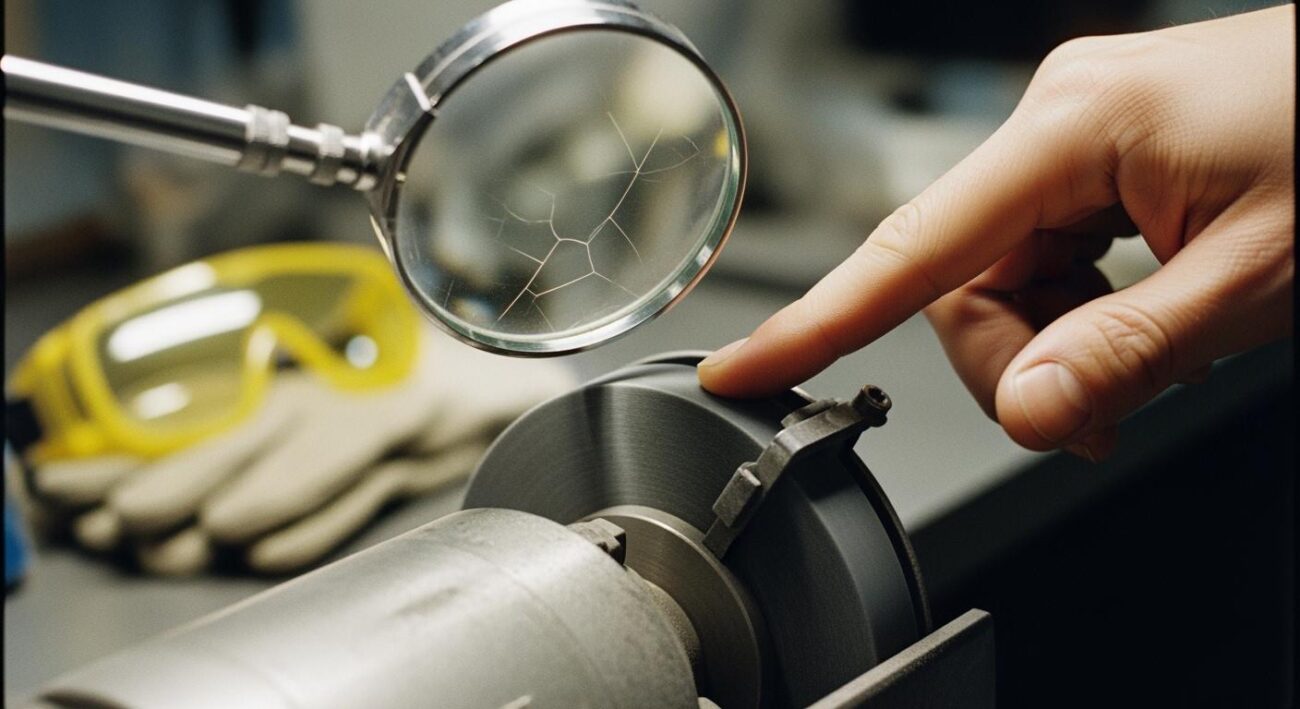
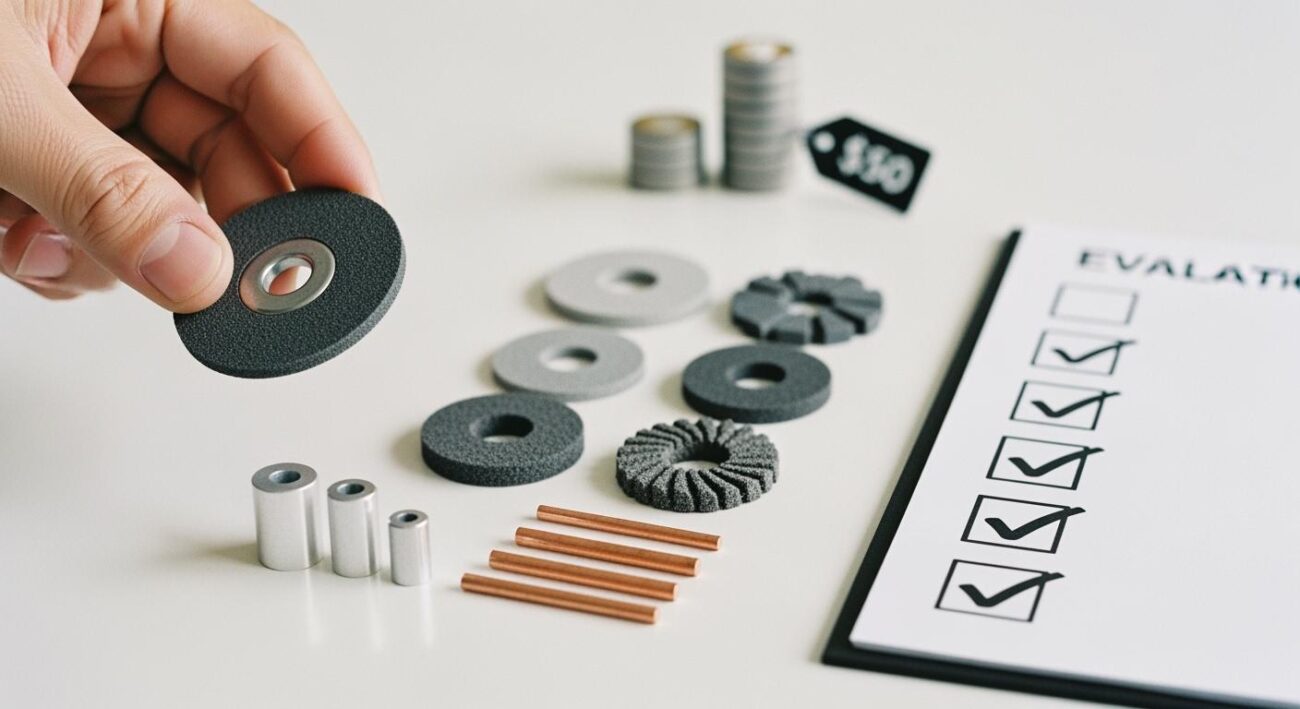
Check Fixtures for Wear or Damage
Your workholding fixtures wear out over time. A worn chuck or fixture loses its ability to hold parts securely. This loss of clamping power allows movement and introduces chatter. You should regularly inspect your fixtures for signs of wear.
Look for deep gouges or defects on the surface of a magnetic chuck. Check for internal linkage wear that prevents the magnet from fully engaging. A weak hold makes it difficult to eliminate chatter marks. Replacing worn fixtures restores the rigidity needed for a smooth, clean grind free of chatter marks.
You can stop grinding chatter by checking four areas: grinding process parameters, grinding wheel condition, machine stability, and workpiece security. This methodical process helps you eliminate chatter marks. You can reduce grinding wheel vibration. This stops the chatter marks. Regular checks prevent future chatter and vibration. You will see fewer chatter marks. A stable grinding wheel stops vibration. This chatter creates ugly chatter marks. Fixing the vibration from the grinding wheel removes these chatter marks. Controlling this chatter and vibration gives you a superior finish.
Grind with Passion, Achieve with Aim.
FAQ
What is the fastest way to stop grinding chatter?
You should first adjust your process parameters. A small change in wheel speed, around 10%, often breaks the harmonic resonance causing the chatter. Reducing your feed rate and depth of cut also lowers cutting forces, which can quickly solve the problem.
Can the wrong coolant cause vibration?
Yes. Insufficient coolant leads to heat buildup and workpiece distortion. This instability can cause vibration and surface flaws. Proper coolant flow lubricates the cut, flushes away debris, and helps prevent issues that contribute to chatter.
How do I know if my machine is the source of chatter?
First, perform a simple “shake test” on all guards and fixtures to find loose parts. Next, listen for unusual noises from the spindle, which may indicate worn bearings. An unstable machine foundation is another common source of vibration that creates chatter.