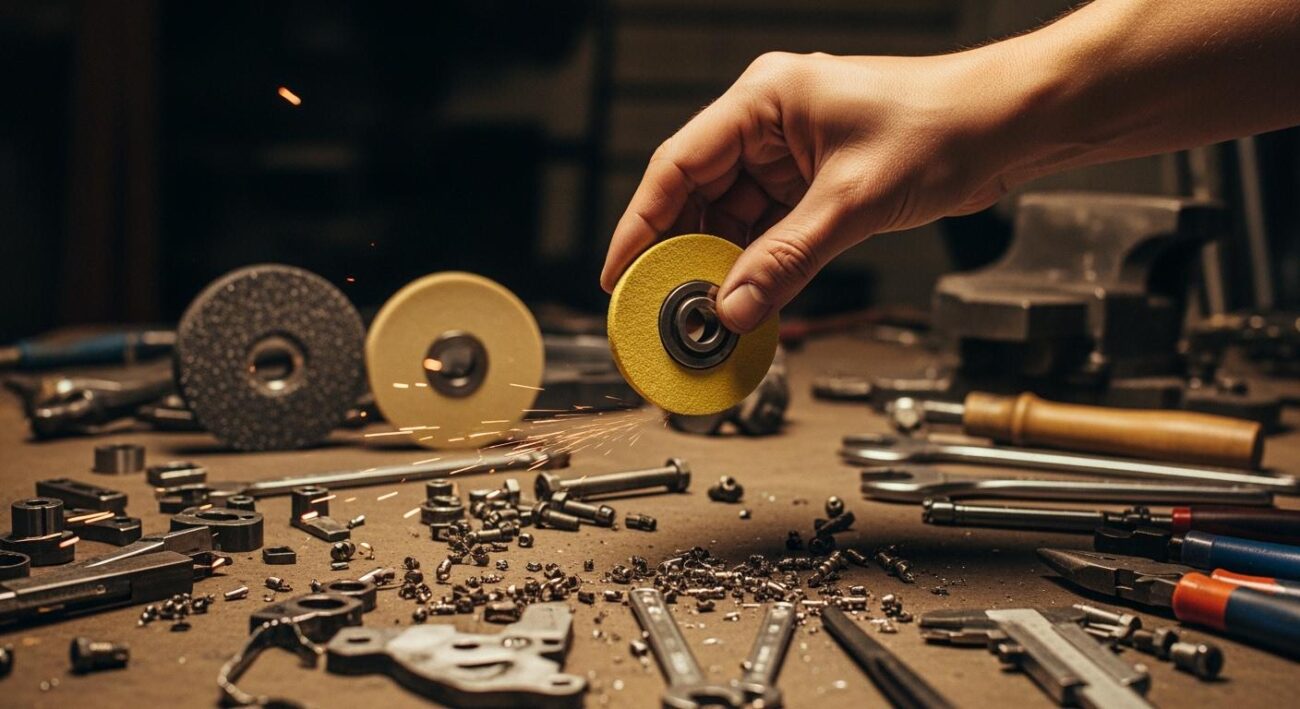
You must dress a grinding wheel to keep it in top condition. Dressing a grinding wheel is the process of cleaning and restoring its abrasive surface. This makes the wheel flat, sharp, and true. This essential maintenance prevents dangerous grinder vibrations and ugly burn marks on your workpiece. A properly maintained wheel ensures your grinding is faster, cooler, and more precise.
Key Takeaways
- Dressing a grinding wheel cleans its surface. This makes the wheel flat and sharp. It helps prevent dangerous vibrations and burn marks on your work.
- Look for signs like a shiny, smooth wheel or too much vibration. These signs mean you need to dress your wheel. Dressing makes your grinding safe and works better.
- Always wear safety glasses, a face shield, and ear protection. Never wear gloves. This keeps you safe from sparks and noise.
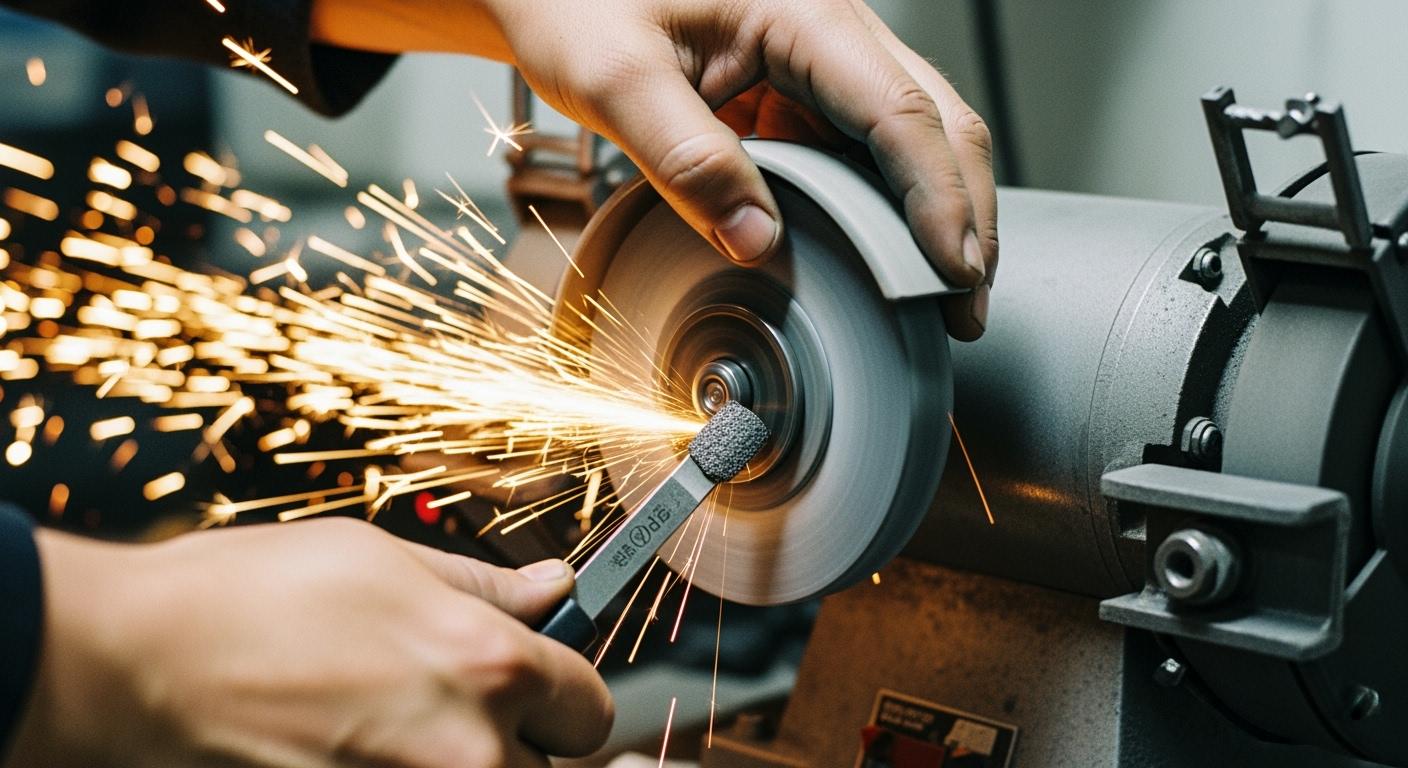
- Use a dressing tool like a star wheel dresser or a diamond dresser. Hold the tool firmly on the tool rest. Move it slowly across the wheel with light pressure.
- After dressing, turn off the grinder. Check the gap between the tool rest and the wheel. Adjust it to be very small, about 1/16 of an inch. This is important for safety.
Why dressing a grinding wheel is crucial
Ignoring your grinding wheel is a recipe for poor results and safety risks. Over time, every wheel needs maintenance. Knowing the warning signs helps you understand when it’s time to act. Dressing a grinding wheel restores its surface, ensuring your grinding is safe and effective.
Loaded or glazed wheel signs
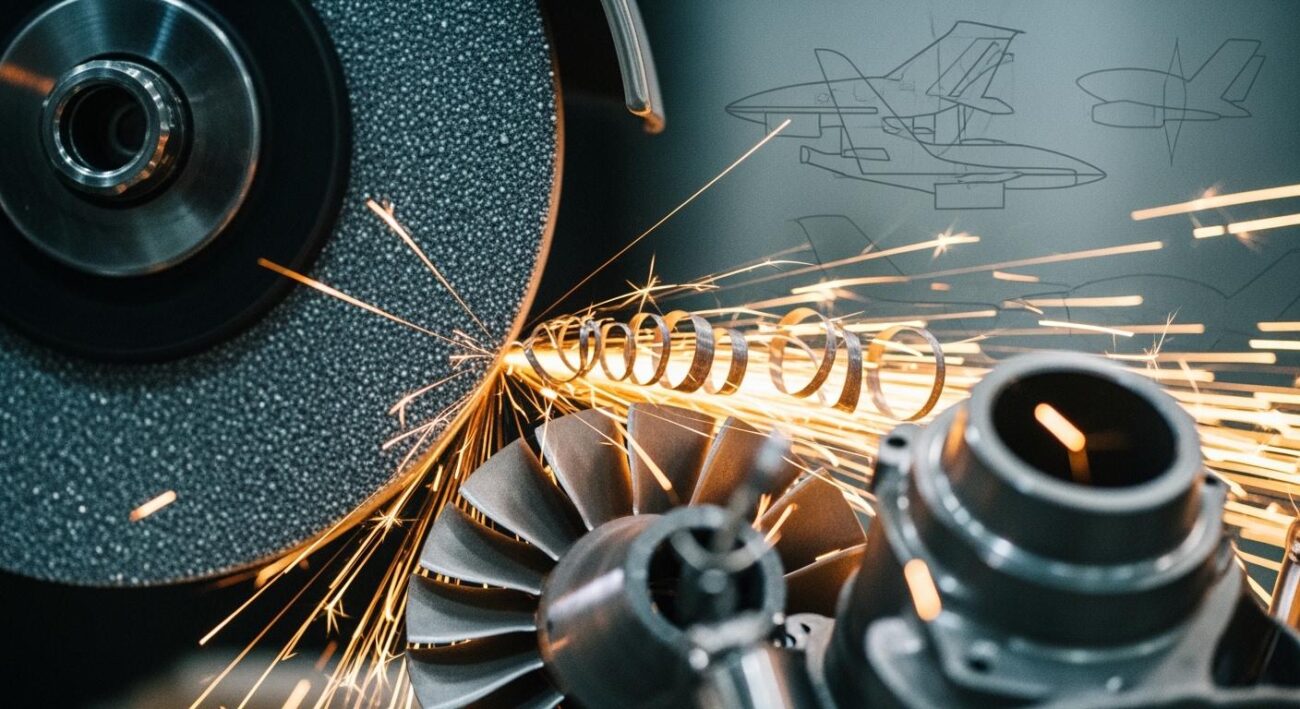
You can spot a problem wheel with a quick visual check. A “loaded” wheel occurs when metal particles from your workpiece get stuck on the wheel’s surface. This clogs the abrasive grains. A “glazed” wheel looks shiny and smooth. Glazing happens if you use a wheel with a bond that is too hard for your material or if you push the workpiece too hard during grinding.
A loaded or glazed grinding wheel cannot cut properly. This inefficiency forces you to apply more pressure, which creates excess heat and can burn your project. To fix this, you must dress a grinding wheel. This process offers several benefits:
- It exposes fresh, sharp abrasive grains for faster cutting.
- It removes clogged particles, which improves cooling and reduces heat buildup.
- It allows you to use less pressure for better control and performance.
Out-of-round or uneven wheel signs
An uneven wheel is a serious safety hazard. You will notice excessive vibration when you turn the grinder on. The wheel may also have visible chips, flat spots, or gouges. Sometimes, the problem starts with an out-of-round bore in the grinding wheel itself, causing it to wobble from the start. Using an unbalanced wheel makes accurate work impossible and increases the risk of the wheel shattering during operation. Regular checks and proper dressing keep your machine running smoothly and safely.
Essential tools and safety gear

Before you begin, you must gather the right tools and wear the proper safety equipment. This preparation is non-negotiable for safe and effective grinding. Proper gear protects you from injury and helps you achieve the best results.
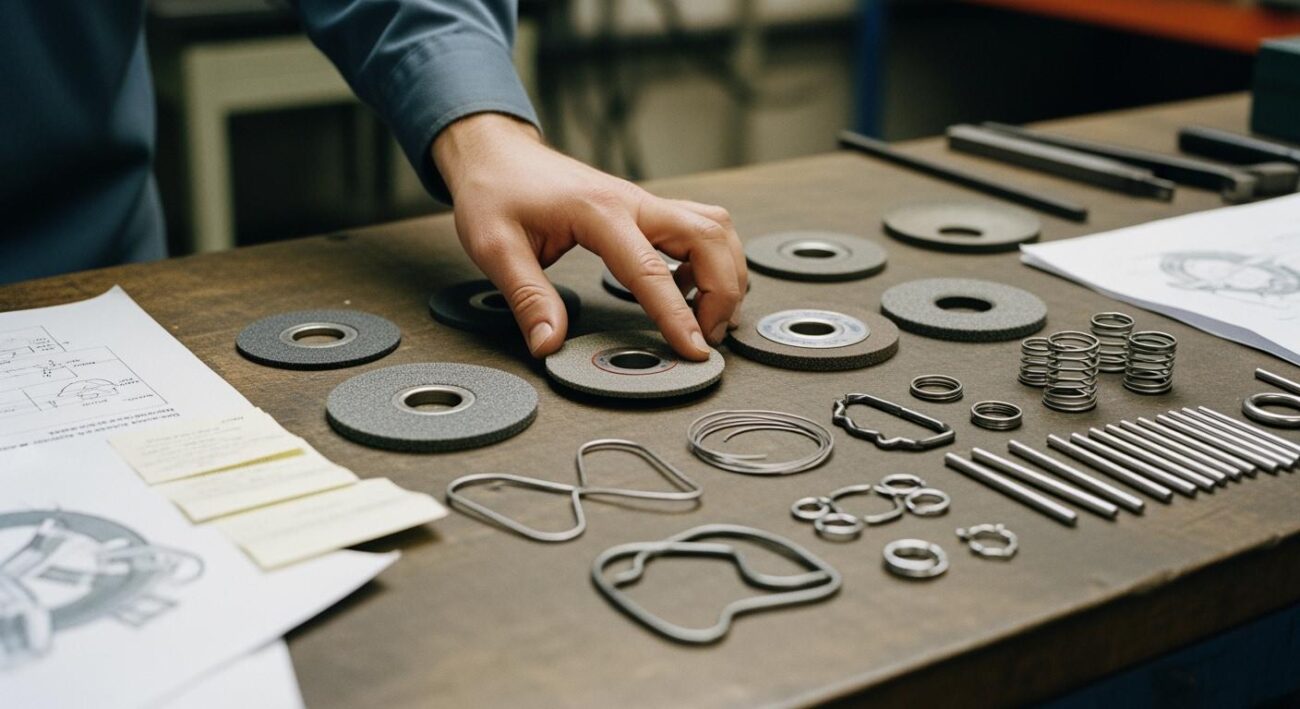
Grinding wheel dressing tools
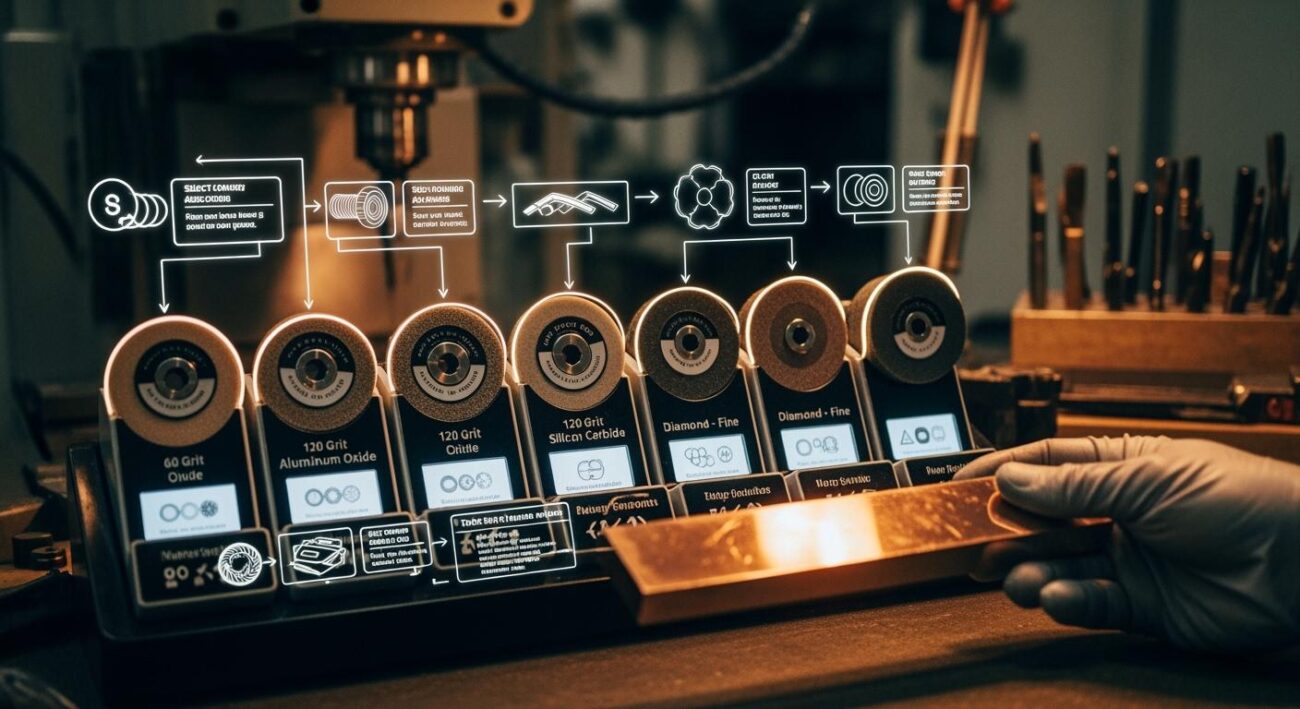
You have several options for a dressing tool. Each type works differently.
- Star Wheel Dressers: These tools are great for quickly removing glazing from a wheel’s surface. However, they are noisy and can remove a lot of material if you are not careful.
- Silicon Carbide Sticks: These sticks use a fine grit (200-400 mesh) to gently expose fresh abrasive grains. You can use them to open up the wheel’s surface for better cutting action.
- Diamond Dressers: For the most precise and durable results, a diamond dressing tool is your best choice. These tools use a single or multi-point diamond to true the grinding wheel with exceptional accuracy. They are ideal for returning a wheel to a perfectly round shape and creating a flat surface for precision grinding.
For professional-grade maintenance, consider a specialized tool. Brands like Aimgrind offer high-quality, customized diamond dressers. Their tools are designed for optimal performance and longevity, ensuring your equipment is always ready for the job. You can find them at
https://www.aimgrind.com.
Mandatory safety equipment
Safety is the top priority when working with a bench grinder. Flying particles and high-speed rotation create serious hazards. Always wear the following personal protective equipment (PPE):
- Eye and Face Protection: You must wear safety glasses with side shields. Add a full-face shield over them for maximum protection from sparks and debris.
- Hearing Protection: Grinding is loud. Earmuffs or earplugs are necessary to protect your hearing.
- Proper Clothing: Wear long sleeves, but make sure they are not loose. Remove any jewelry that could get caught in the machine.
- Gloves: Avoid wearing gloves. They can easily get entangled in the spinning wheel, causing severe injury.
Dress a grinding wheel: A step-by-step guide
Following this step-by-step guide will help you safely and effectively dress a grinding wheel. Each step is important for achieving a flat, true surface for your grinding tasks.
Step 1: Put on safety gear
Your safety is the first priority. Before you even touch the grinder, you must put on your personal protective equipment (PPE).
- Wear safety glasses and a full-face shield.
- Use earmuffs or earplugs to protect your hearing.
- Wear snug-fitting, long-sleeved clothing.
- Remember to remove all jewelry and avoid wearing gloves.
Step 2: Adjust the tool rest
A properly positioned tool rest is crucial for safety. You will use it to support the dressing tool. Check the gap between the tool rest and the grinding wheel.
Safety First!
According to safety regulations, the maximum gap allowed between the tool rest and the wheel is ⅛ inch. A larger gap creates a dangerous ‘pinch zone‘ where the tool or workpiece can get trapped. This can cause the object to be thrown violently or lead to severe injury.
Step 3: Start the grinder safely
Starting the grinder correctly is a critical safety procedure. A damaged wheel is most likely to break apart when the machine first starts.
To protect yourself, always stand to one side of the grinder when you turn it on. Never stand directly in front of it. Wait for the wheel to reach its full operating speed before you begin working. This ensures you are not in the line of fire if any debris comes loose.
Step 4: Brace the dressing tool
Now you can position your dressing tool. Hold the tool firmly with both hands. Rest it securely on the tool rest.
For the best results, you should angle the tool slightly. This is called a “drag angle.” This angle helps maintain the sharpness of the diamond point and extends the life of your tool.
- Single-point diamond dressers: Use a drag angle of 10 to 15 degrees.
- Blade dressers: You can position these at a 90-degree angle to the wheel’s center.
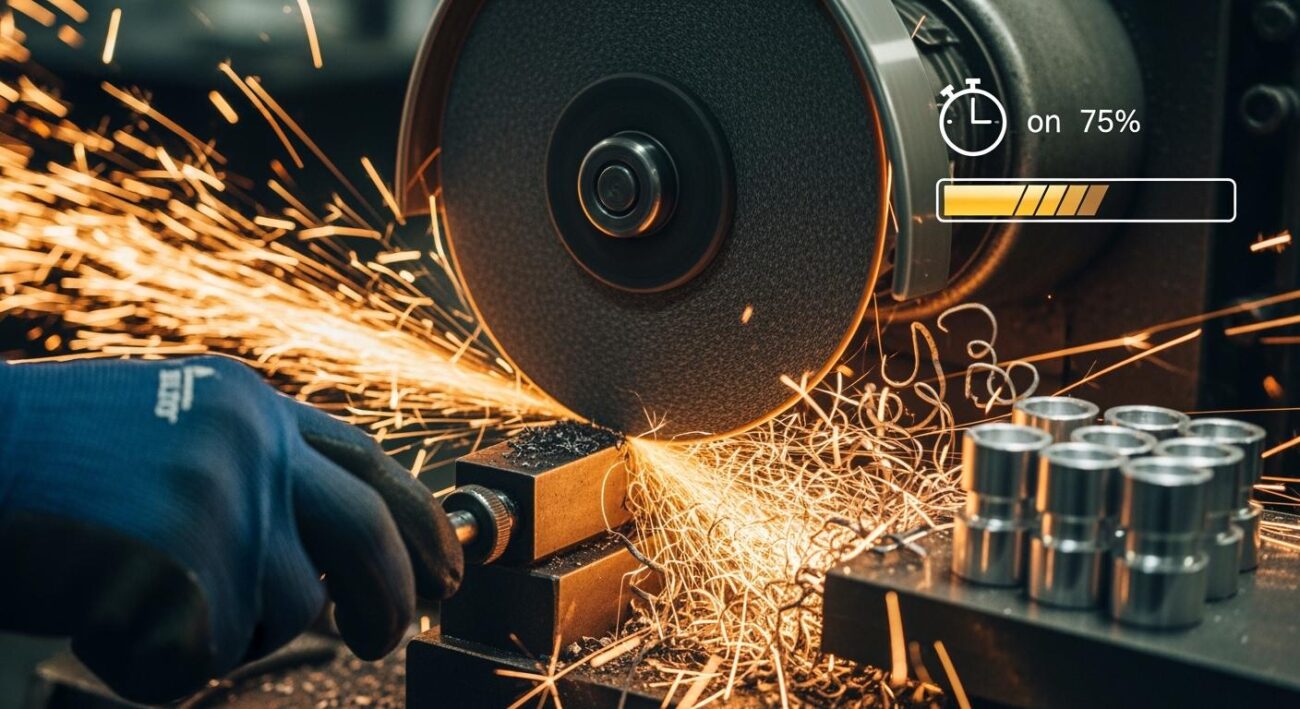
Step 5: Apply light, steady pressure
Gently bring the dressing tool into contact with the spinning wheel. You only need to apply light pressure. For fine wheels, the natural weight of the tool is often enough.
Applying too much pressure is counterproductive and dangerous. It can damage the wheel’s surface or cause the tool to overheat. Think of it like a bandage applied too tightly; excessive force cuts off circulation and causes damage. Similarly, too much pressure during dressing can ruin the wheel’s structure.
Step 6: Move the dresser smoothly
Move the tool smoothly and steadily across the entire face of the wheel. The speed of your movement affects the final finish.
| Dressing Speed | Effect on Wheel | Workpiece Finish |
|---|---|---|
| Fast | Acts softer, removes more material | Rougher |
| Slow | Acts harder, removes less material | Smoother |
A fast pass is good for rough work where you need to remove a lot of material quickly. A slow pass creates a finer surface on the wheel, which is ideal for precision grinding and achieving a smooth finish on your workpiece. Avoid moving too slowly, as this can dull the abrasive grains instead of exposing new ones.
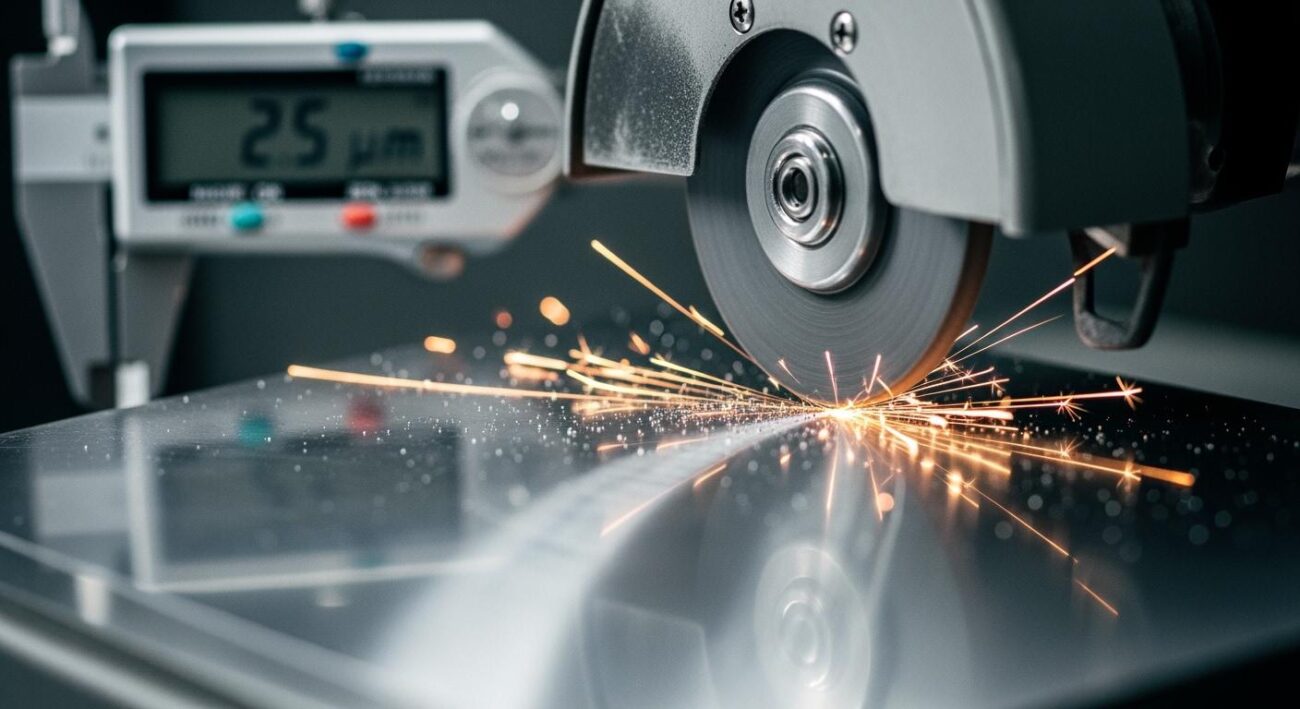
Step 7: Inspect the wheel surface
After one or two passes, stop the grinder and inspect your work. The wheel surface should look clean and uniform. It should feel flat when you run a straight edge across it (with the power off!). You should see fresh, sharp abrasive grains. If you still see shiny glazed spots or feel uneven areas, you will need to repeat the process of dressing the wheel.
Step 8: Power down and clean up
Once you are satisfied with the result, turn the grinder off and wait for it to come to a complete stop. The final step in this step-by-step guide is cleaning. Abrasive dust is harmful to breathe and can damage your equipment.
Use a shop vacuum or a dedicated dust collector to clean the machine and the surrounding area. Make sure you remove all accumulated dust from the grinder’s housing, tool rest, and your workspace. A clean shop is a safe shop. This completes the process to dress a grinding wheel.
Tips for dressing your grinding wheel
Mastering a few key techniques will improve your results when dressing your grinding wheel. These tips help you work safely and achieve a perfectly true wheel surface every time. Follow these pointers for professional-quality maintenance.
Maintain a firm, steady motion
Your movement determines the final quality of the wheel face. A shaky or inconsistent motion will create an uneven surface. You must maintain a steady feed rate to avoid this problem. Move the dressing tool smoothly back and forth across the wheel. This action is vital for creating a straight surface and preventing grooves from forming. You should also keep the tool held firmly against the tool rest. This rigidity ensures the wheel becomes perfectly true.
Use light and even pressure
You do not need to use a lot of force when dressing your grinding wheel. Let the dressing tool do the work. Applying too much pressure can damage the wheel’s abrasive grains or cause the tool to overheat.
Pro Tip 💡
Start with very light contact. You should hear a consistent hissing sound as the tool cleans the surface. If you hear loud grinding or see excessive sparks, you are pushing too hard. A light touch is key for effective dressing.
Check the tool rest position
This final tip is a critical safety check. The process of dressing the wheel removes material, which makes the wheel’s diameter smaller. This increases the gap between the wheel and the tool rest. After you dress a grinding wheel and turn the power off, you must check this gap.
- You must readjust the tool rest.
- Move the tool rest closer to the wheel until the gap is about 1/16 of an inch.
- This tiny gap prevents your fingers or your workpiece from getting pulled into the wheel.
Always performing this check after dressing your grinding wheel is a non-negotiable safety habit.
You must make dressing a grinding wheel a regular habit for your bench grinder. This essential task ensures your safety and extends the life of your grinding wheel. It is the key to achieving clean, precise, and professional work. Remember, a well-maintained grinder equipped with quality tools is a cornerstone of any efficient and safe workshop. ✅
FAQ
How often should I dress my grinding wheel?
You should dress your wheel whenever you notice issues. Look for a glazed, shiny surface or feel excessive vibration. Regular users might dress their wheels weekly. Occasional users can dress them as needed. Consistent performance is your best guide.
Can I use one dressing tool for all types of wheels?
Different tools suit different tasks. A star wheel dresser is good for coarse wheels. A diamond dresser offers the best precision for all wheel types.
Tool Tip 💡
For the best results, match your dressing tool to your grinding wheel’s grit and your project’s needs.
What happens if I don’t dress my wheel?
An undressed wheel is a safety risk. It can cause dangerous vibrations and may even shatter. It also cuts poorly, generates excess heat, and can burn your workpiece. Regular dressing keeps your grinder safe and effective.
Why choose a specialized diamond dresser from Aimgrind?
Aimgrind provides high-quality, customized diamond tools. Their dressers offer superior precision and durability. This ensures your wheel surface is perfectly flat and true for professional results. You get optimal performance and a longer tool life.