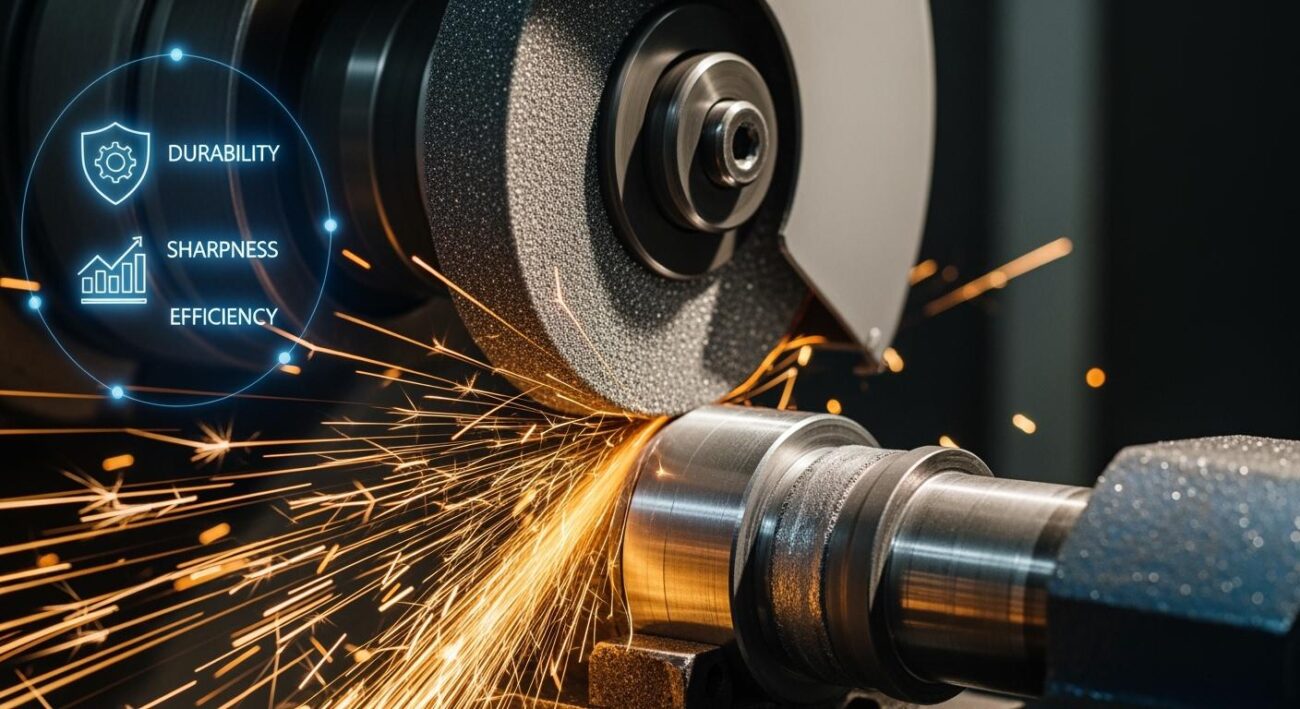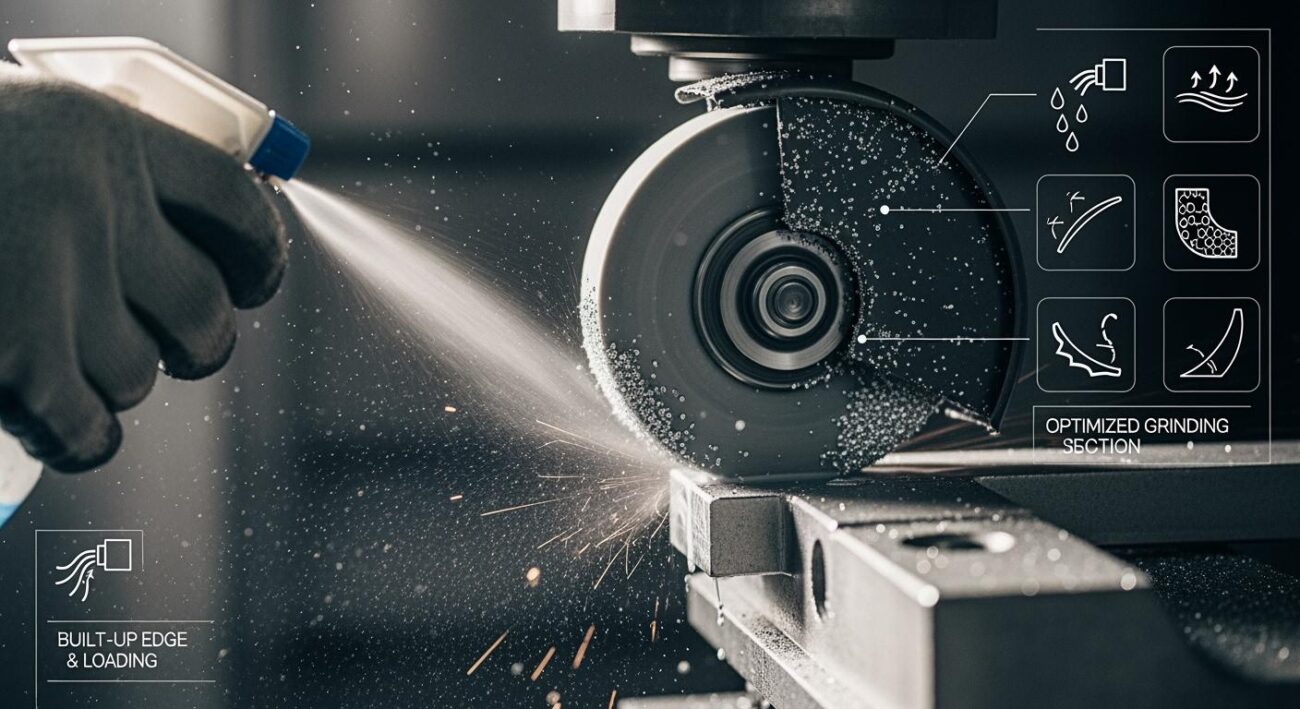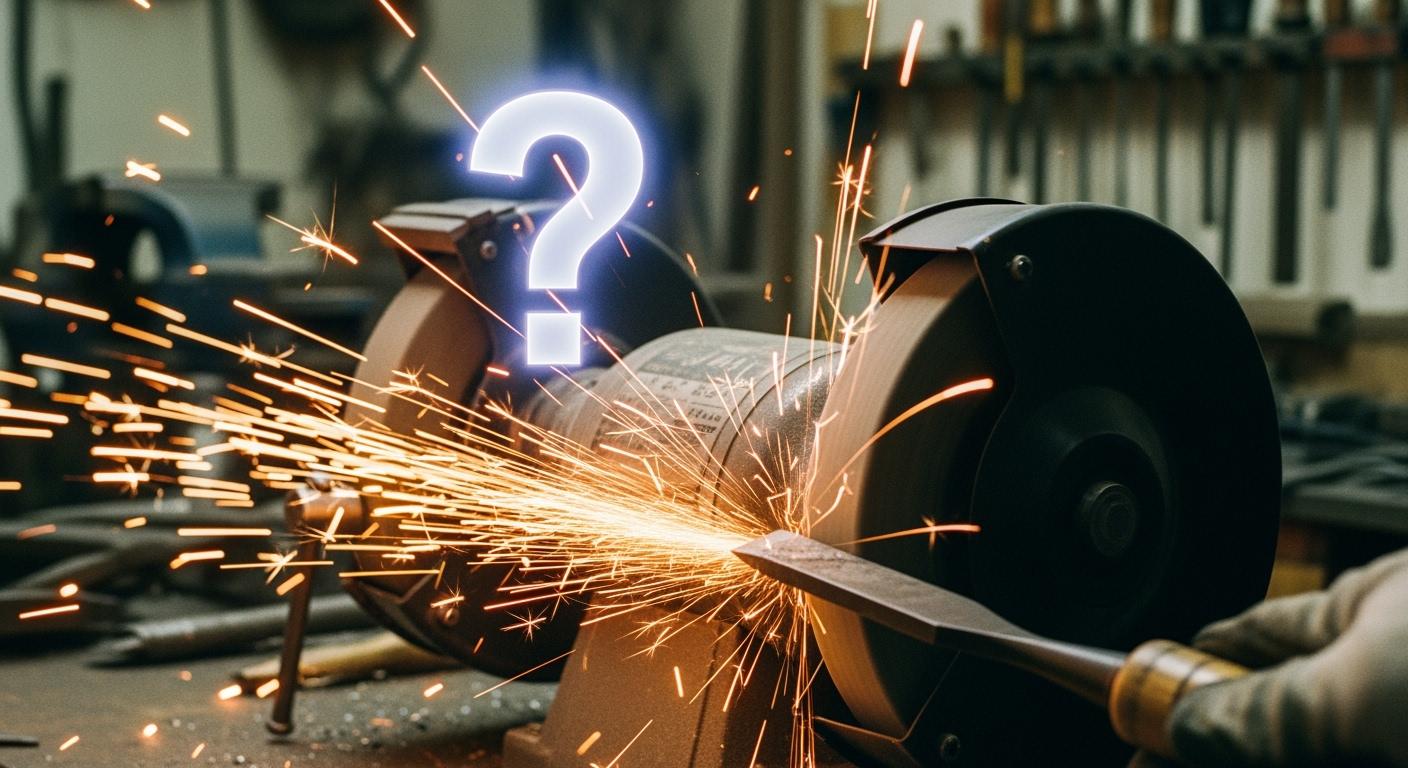
You should treat any unusual noises from your grinder as a serious warning. A strange grinding noise often points to significant safety implications. Statistics show shattering abrasive wheels cause over 5,000 injuries each year, so your immediate attention is crucial for safety. This guide helps with the diagnosis of common grinding wheel noises. You can identify problems like a cracked wheel, an unbalanced wheel, loose parts, or bearing failure.
Key Takeaways
- Listen to your grinder. Different noises like ringing, rattling, or screeching tell you about different problems.
- Always stop and unplug your grinder if it makes strange noises. This keeps you safe.
- Check for loose parts, unbalanced wheels, or bad bearings. Fix these problems to make your grinder work right.
- Replace cracked wheels right away. Never try to fix a cracked wheel.
- Do regular checks and keep your grinder clean. This helps prevent problems and keeps your grinder quiet.
Identifying Common Grinding Wheel Noises

Your ears are your first line of defense against a dangerous grinder malfunction. Different grinding wheel noises point to different problems. Learning to identify these sounds is the first step in a safe diagnosis. This guide breaks down the most common grinding wheel noises and what they mean.
Ringing or Singing: A Cracked Wheel Warning
A clear, high-pitched ringing sound is one of the most dangerous grinding wheel noises. It often signals a cracked wheel. You might hear this sound when you tap the wheel or right after you turn the grinder off. The crack acts like a tuning fork, creating a distinct tone.
⚠️ Safety Alert: Stop Immediately!
A ringing or singing sound is a critical warning. A cracked wheel can shatter violently during operation. Unplug the grinder and do not use it until you perform a full inspection.
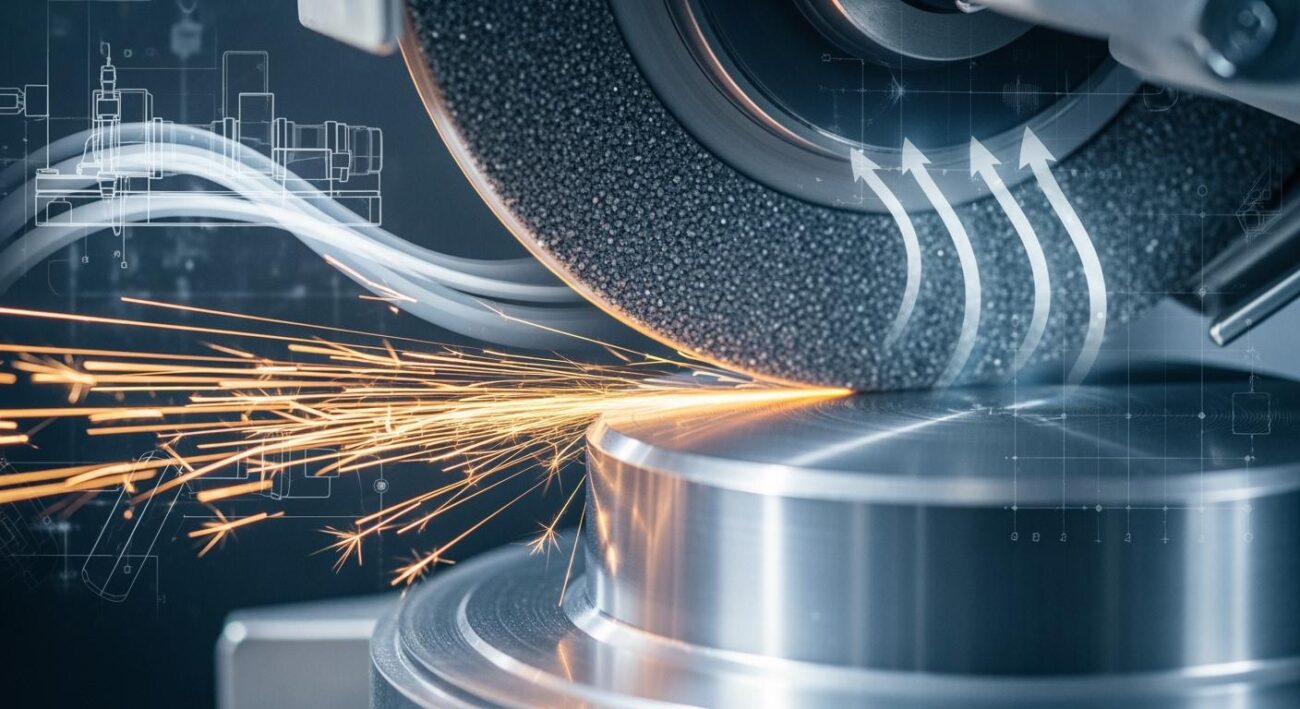
Scientific analysis shows that a cracked wheel produces specific high-frequency sounds. For example, a damaged resin-bonded wheel can create signals in the 10000–20000 Hz range. A diamond grinding wheel with a flaw might emit energy centered around 180 KHz. These are clear symptoms of a compromised wheel. Ignoring these symptoms can lead to catastrophic failure.
Rattling: A Common Grinding Noise from Loose Parts
A rattling grinding noise usually points to a loose component. The sound can be intermittent or constant. The source is often simple. A loose guard, a wobbly tool rest, or an improperly tightened flange nut can cause this sound. While less immediately dangerous than a cracked wheel, these symptoms still require your attention. A loose part can lead to excessive vibration or interfere with the wheel’s rotation. This grinding noise is a clear signal to check all your hardware. These symptoms are your machine asking for a quick check-up.
Heavy Vibration: The Sign of an Unbalanced Wheel
You will feel a heavy vibration more than you will hear it. This issue often creates a low, rhythmic humming or rumbling grinding noise. An unbalanced wheel is the most common cause. This imbalance can happen for several reasons:
- Uneven wear on the wheel face.
- Improper mounting.
- Manufacturing defects in the wheel itself.
This vibration makes precise work impossible. It also puts immense stress on the grinder’s motor and wheel bearings. These symptoms can eventually lead to more severe damage. The constant shaking is one of the key symptoms of an unbalanced wheel.
Screeching or Squealing: Diagnosing Wheel Bearing Failure
A loud, high-pitched screeching or squealing is a classic sign of wheel bearing failure. The sound may start as a faint hum and grow louder over time. Failing wheel bearings can produce several types of wheel bearing noises. These symptoms often get worse as the grinder heats up.
Common symptoms of wheel bearing failure include:
- High-pitched squealing
- Rumbling or grinding sounds
- Rattling noises
These grinding sounds indicate the internal components of the bearings are wearing out and creating friction. Continuing to run a grinder with these symptoms of wheel bearing failure is risky. The bearing could seize completely, causing the wheel to stop abruptly. This sudden stop can damage the grinder or even shatter the wheel. This specific grinding noise is a direct indicator of wheel bearing failure.
Dull Thudding: An Out-of-Round Wheel
A repetitive, dull thudding grinding noise often means your wheel is “out-of-round.” This means the wheel is no longer a perfect circle. The thudding sound is the high spot on the wheel hitting your workpiece with each revolution. This is one of the most frustrating grinding wheel noises for precision work.
An out-of-round wheel has very clear symptoms on the workpiece itself. It creates “chatter marks,” which are ugly, evenly spaced ripples that ruin the surface finish. It can also cause “lobing,” a geometric error where a round part starts to look like a subtle triangle or pentagon. These symptoms make achieving a smooth, precise finish impossible. This grinding noise is a direct threat to the quality of your work. These unusual noises are symptoms of a problem that needs immediate correction.
The Mandatory Pre-Inspection Safety Checklist
You have identified the strange noise. Now you must inspect the grinder. Before you touch a single tool, you must follow a strict safety procedure. These steps are not suggestions; they are the most critical part of the process for preventing serious injury. Your personal safety is the number one priority.
Unplug the Grinder from Power
Simply flipping the switch to “off” is not enough. You must completely disconnect the grinder from its power source. This action prevents any accidental startup while you work. For maximum safety, professionals follow a Lockout/Tagout (LOTO) procedure. This ensures total control over hazardous energy.
Professional Safety Standard: OSHA regulations provide a clear process for machine safety. You can adapt these steps for your own protection:
- Tell anyone nearby that you are servicing the grinder.
- Shut down the machine using its normal controls.
- Unplug the grinder from the wall outlet.
- If possible, place a lock on the plug to prevent anyone from reconnecting it.
- Try to turn the grinder on to verify it has no power.
- Return the power switch to the “off” position.
Wear Essential Personal Protective Equipment (PPE)
Your next step is to protect yourself. Even a stationary grinder can have sharp edges or loose abrasive particles. Proper PPE is essential for your safety.
- Safety Glasses and a Face Shield: These protect your eyes and face from dust or a potential fragment if a damaged wheel is moved.
- Gloves: Wear sturdy gloves to protect your hands from sharp edges on the wheel or guards.
- Hearing Protection: This is good practice for the final startup test.
Ensure a Clear and Safe Workspace
A cluttered workbench is a hazard. You need a clean, organized area to perform your inspection. Remove all unnecessary tools, materials, and debris from around the grinder. Make sure you have good lighting to see all components clearly. This simple step improves your focus and overall safety.
Follow the “Stand-Aside” Rule on Startup
After any inspection, tightening, or wheel replacement, you must perform one final safety check. Before you begin grinding, follow the “stand-aside” rule. Turn the grinder on and immediately step to the side. Never stand directly in front of the wheel during startup. Let the grinder run for at least one full minute. This allows you to confirm the repair was successful and that the wheel is stable. This final safety measure is your last line of defense.
Step-by-Step Solutions for Grinder Noises
After following the safety checklist, you are ready to fix the source of the grinding noise. This section provides step-by-step solutions for the most common issues. Your careful work here ensures a safe and effective repair.
Cracked Wheels: The Ring Test & Replacement
A ringing sound points to a cracked wheel, which requires immediate replacement. You must never use a cracked wheel. You can confirm a crack with a simple procedure called the “ring test.” This test works best on vitrified and silicate wheels.
Note: Wheels bonded with organic materials will not produce a clear metallic ring. This test is for confirming cracks in wheels that are supposed to ring.
How to Perform the Ring Test:
- Make sure the wheel is completely dry and clean.
- Suspend a small wheel from your finger through the bore hole. Place a larger wheel upright on a clean, hard floor.
- Gently tap the wheel with a non-metallic object, like a screwdriver’s wooden handle. Tap it about 45 degrees from the vertical centerline and one to two inches from the edge.
- Listen for the sound. A good wheel produces a clear, metallic ring. A cracked wheel makes a dull, dead thud.
- Rotate the wheel 45 degrees and tap it again to confirm your result.
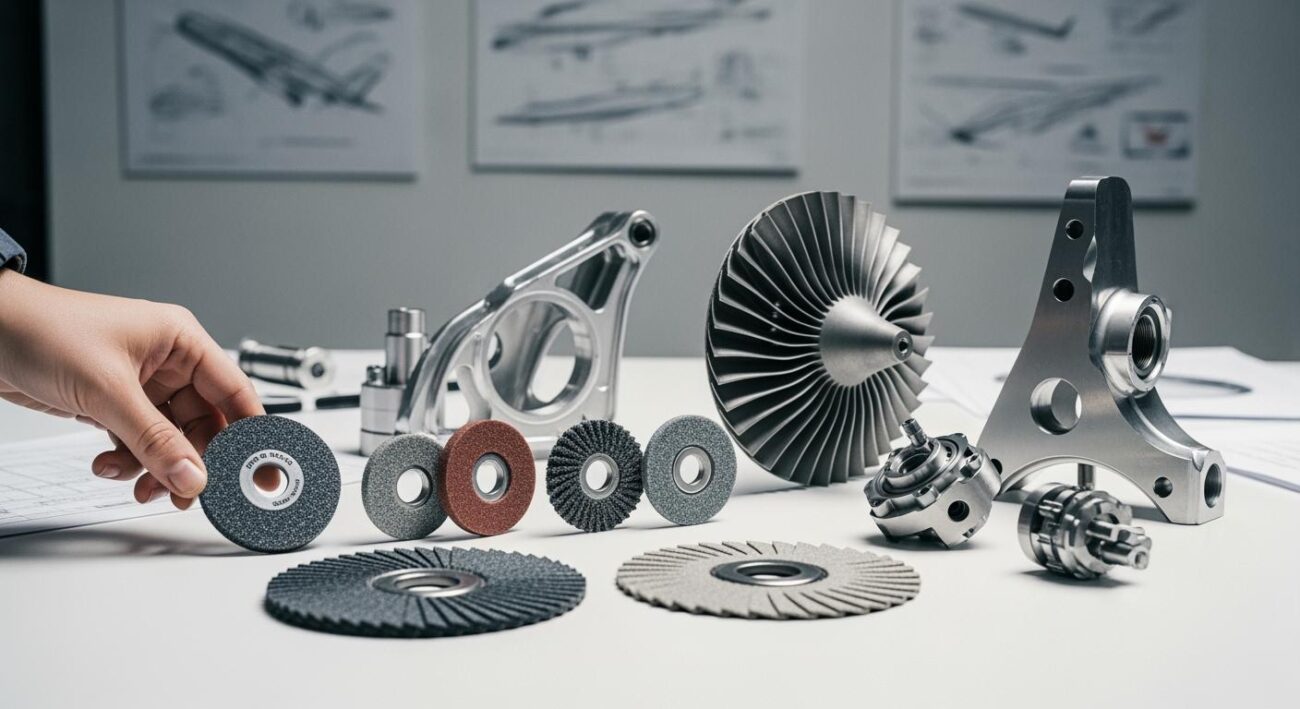
If the test confirms a crack, the only solution is replacement. Do not attempt to repair a cracked wheel. For demanding applications on hard materials, you should invest in a superior wheel. A high-quality wheel like an Aimgrind diamond grinding wheel ensures precision, safety, and a longer lifespan, making it a wise choice for your replacement. A proper replacement is your best defense against catastrophic failure.
Loose Components: A Tightening Guide
A rattling sound often comes from a loose part. Your task is to find and tighten it. After unplugging the grinder, you can begin your inspection.
- Wheel Guards: Check that the main guard and any spark arrestors are secure. Tighten all bolts and screws.
- Tool Rest: The tool rest takes a lot of pressure. Wiggle it to check for movement and tighten its locking handle or bolts.
- Flange Nuts: The large nuts holding the wheel are called flanges. Ensure they are snug. Use the correct wrench for this job to avoid damage. Do not over-tighten, as this can also damage the wheel.
A simple tightening is often all that is needed. This quick fix is a crucial part of your machine’s upkeep and a necessary replacement for worn-out fasteners.
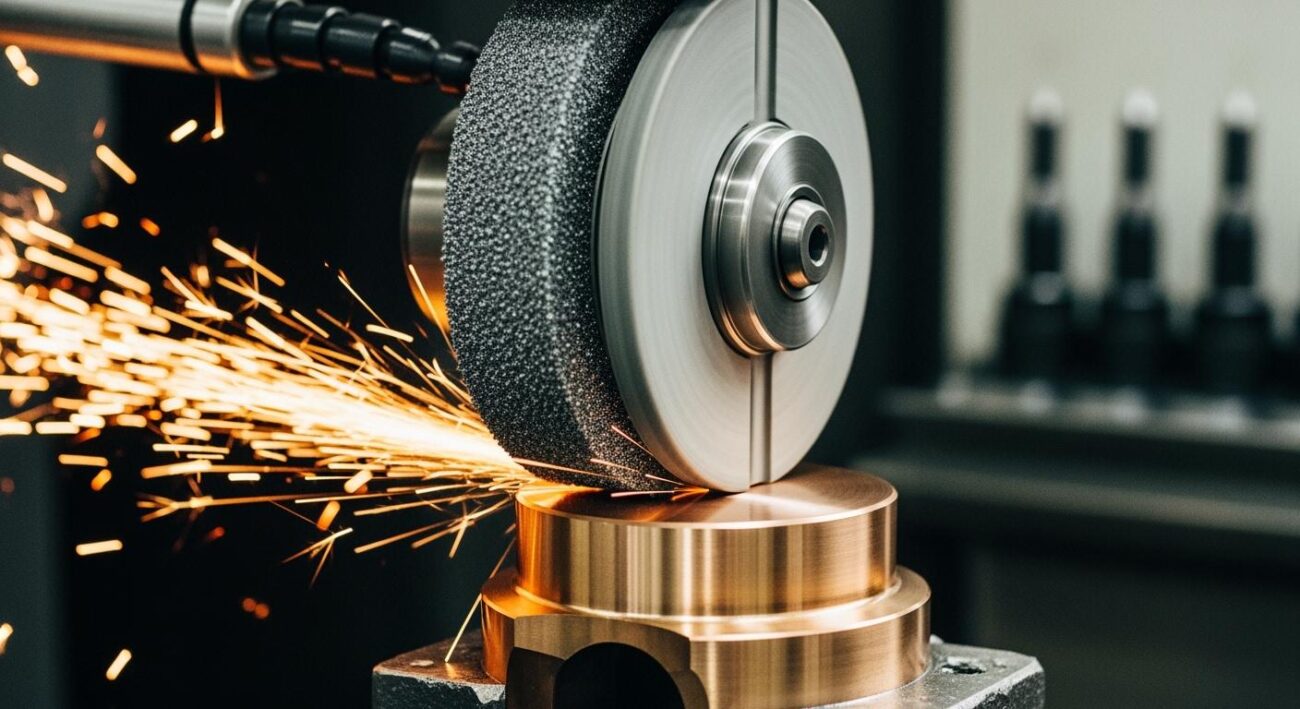
Unbalanced Wheels: Dressing and Truing
Heavy vibration often means your wheel is unbalanced or out-of-round. You can correct this with two related processes: dressing and truing. While people often use the terms interchangeably, they have different purposes.
| Aspect | Truing | Dressing |
|---|---|---|
| Purpose | Restores the wheel’s shape to make it perfectly round and balanced. | Cleans the wheel’s surface to expose fresh, sharp abrasive grains. |
| Procedure | Reshapes the wheel using a precision tool like a diamond dresser. | Removes loaded or glazed sections with a dressing tool. |
| Frequency | Less frequent. Done when the wheel has visible wear or vibration. | More frequent. Done when cutting efficiency drops. |
For an unbalanced wheel causing vibration, you need to true it. A star-wheel dresser is good for rough cleaning, but it follows the wheel’s existing shape. To fix an out-of-round wheel, you need a single-point diamond dresser to restore its geometry. Secure the dresser to the tool rest and slowly move it across the face of the spinning wheel. This action removes high spots and makes the wheel concentric with the arbor, eliminating the source of the vibration. This is not a replacement for a damaged wheel, but a maintenance procedure.
How to Replace Wheel Bearings Safely
A high-pitched screech is a classic sign of wheel bearing failure. This is a more involved repair that requires the right tools and patience. If you hear noises and feel excessive heat from the spindle area despite proper lubrication, it confirms the diagnosis of wheel bearing failure. This guide is for tool grinders; the term wheel bearing failure is also used in the automotive world, but the repair process is completely different.
- Removal: Bearing puller, arbor press, sockets, soft-faced hammer, vise with soft jaws.
- Installation: Arbor press, brass punch, correctly sized pipes or sockets that only contact the bearing’s inner race.
Steps to Replace Wheel Bearings:
- Disassembly: First, remove the grinding wheel, guards, and flanges. You will then need to remove the motor’s end bells or bearing caps to access the shaft and wheel bearings.
- Bearing Removal: Use a bearing puller to safely pull the old bearings off the motor shaft. Avoid hammering directly on the shaft. This is the most critical step in the replacement process.
- Cleaning and Inspection: Clean the motor shaft and the housing where the bearings sit. Inspect them for any damage.
- New Bearing Installation: Carefully press the new bearings onto the shaft. Only apply pressure to the inner race of the bearing. Pushing on the outer race will damage the new part. This careful replacement ensures a long service life.
- Reassembly: Once you replace wheel bearings, you can reassemble the grinder in the reverse order you took it apart.
This replacement process can seem difficult. If you are not comfortable with this level of disassembly, seeking professional help is the safest option. A successful replacement will eliminate the noise and restore your grinder’s performance. The decision to replace wheel bearings yourself depends on your mechanical skill. A proper replacement is key to fixing the wheel bearing failure. When you replace wheel bearings, you are performing a full replacement of a critical component. You must replace wheel bearings correctly to ensure safety.
Preventative Maintenance for a Quiet Grinder
Good maintenance prevents most grinding wheel noises from ever starting. A quiet grinder is a sign of a well-cared-for machine. These preventative maintenance practices will keep your grinder running safely and smoothly. Consistent maintenance is your best strategy for a long tool life.
Perform Regular Wheel Inspections
You should inspect your grinding wheel before every use. This quick visual maintenance check is a powerful safety habit. Look for any chips, gouges, or fine cracks. A damaged wheel requires immediate replacement. This simple maintenance step takes only a few seconds.
Always Use Blotters Correctly
Blotters are the paper or cardboard washers that fit between the wheel and the flanges. You must always use them. They serve a critical purpose.
- They cushion the wheel from the hard metal flanges.
- They help distribute clamping pressure evenly.
- They compensate for any minor roughness on the flange or wheel surface.
Using blotters is a fundamental part of proper wheel maintenance. Skipping this step can lead to a cracked wheel and the need for a replacement.
Keep Flanges Clean and Properly Sized
The flanges are the metal discs that hold the wheel on the grinder. Proper maintenance of your flanges is essential. Before mounting a wheel, make sure the flanges are clean and free of any burrs or old material. They should also be the correct size, typically at least one-third the diameter of the wheel. Clean flanges ensure the wheel mounts flat and runs true. This maintenance task prevents imbalance.
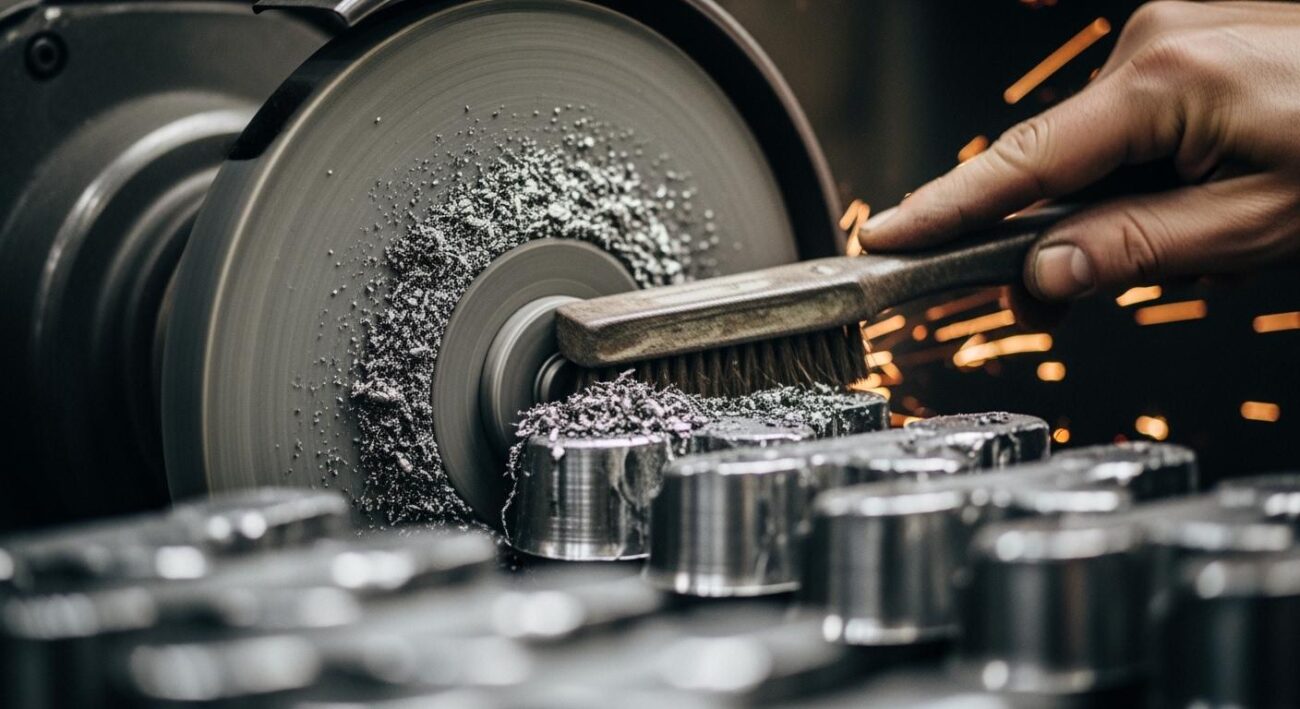
Dress the Wheel Face as Needed
Dressing is a maintenance procedure that cleans the wheel’s surface. The frequency of this maintenance depends on your work. Some operators dress the wheel for every part to ensure maximum precision. Others wait until they see a change in the spark pattern. When sparks start shooting to the opposite side of the wheel, it is a clear sign it needs dressing. Proper maintenance through dressing exposes fresh abrasive and keeps your wheel cutting efficiently.
Store Grinding Wheels Properly
How you store your wheels is a critical part of long-term maintenance. Resin bonds in wheels can weaken with moisture and age.
Storage Tip: Always store your wheels in a dry area. Avoid places with extreme heat, freezing temperatures, or condensation. Never store them directly on a concrete floor.
Use proper racks or bins with dividers to protect wheels from being bumped or dropped. For larger wheels, use a rack that supports them securely. This careful storage maintenance prevents damage and ensures the wheel is safe to use when you need it.
A quiet grinder is a safe grinder. Any grinding noise or unusual noises demand an immediate stop for your safety. You now know how to identify grinding wheel noises from cracks, imbalance, loose parts, or failing wheel bearings, which can lead to wheel bearing failure. Following safe repair procedures is essential. Good maintenance not only ensures safety but also leads to better results and a longer tool life.
- Dressing the wheel maintains its cutting ability.
- Using the correct speed prevents overheating.
- Storing wheels properly prevents cracks and damage.
FAQ
How often should I inspect my grinding wheel?
You should perform a quick visual inspection of your grinding wheel before every single use. Look for any new chips, cracks, or damage. This simple habit is your first and best defense against a wheel failure. A few seconds of checking ensures a safer grinding session.
Can I use a wheel that has been dropped?
No, you should never use a wheel after dropping it. The impact can create tiny, invisible cracks. You must perform a ring test to check for damage. If the wheel makes a dull thud instead of a clear ring, you must discard it immediately for your safety.
Why choose a diamond wheel for my replacement?
You should choose a diamond wheel for grinding very hard materials like carbide or ceramics. For these demanding jobs, a quality Aimgrind diamond grinding wheel offers superior durability and precision. This ensures a longer lifespan for the wheel and better results for your work.
What if my grinder still vibrates after dressing the wheel?
If vibration continues after you true the wheel, you should check other components. The problem may not be the wheel itself.
- Inspect the wheel flanges for dirt or damage.
- Check for worn-out wheel bearings.
- Ensure the grinder is securely bolted to your workbench.