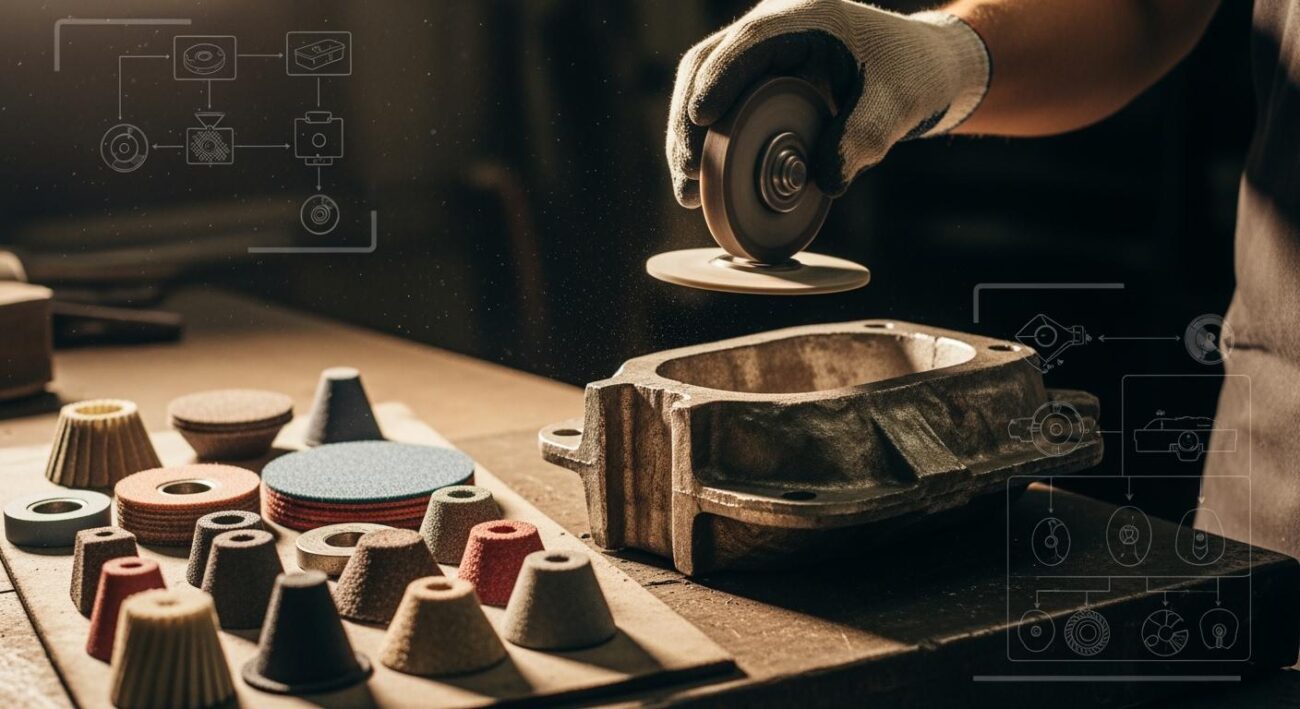
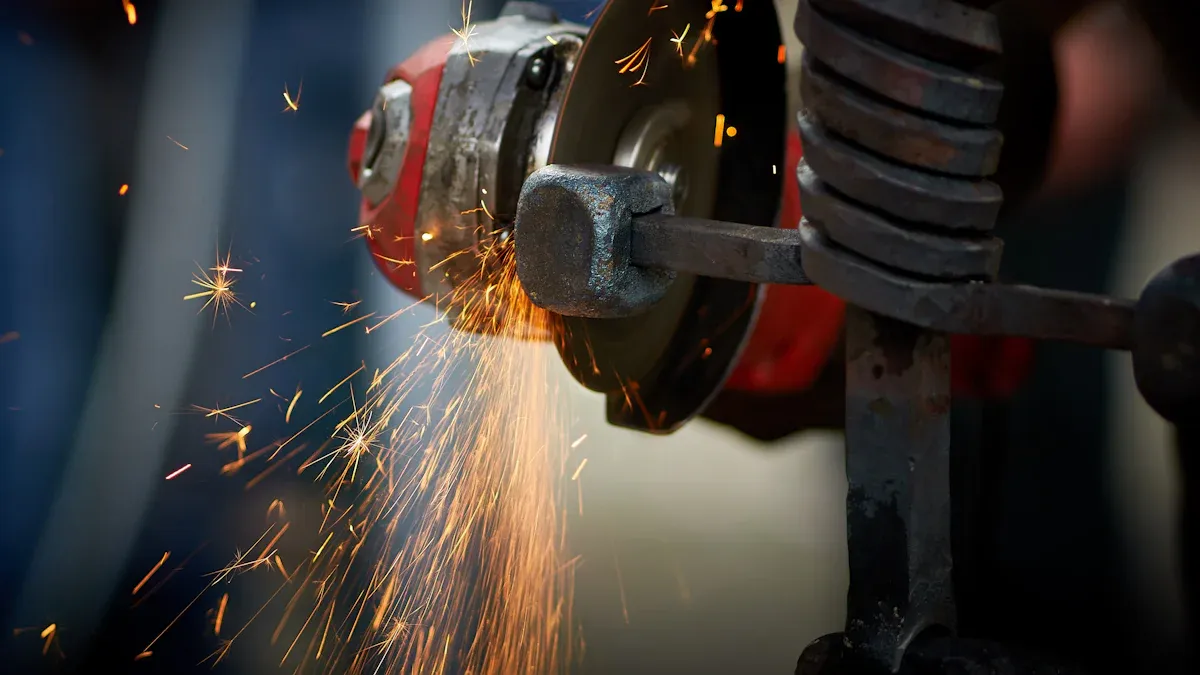
Your grinding wheel suddenly wears out too fast. This issue costs you time and money. You can often fix these grinding problems with simple adjustments. Incorrect grinding parameters or poor wheel dressing are common culprits. This guide helps you diagnose and solve the issue. You can restore your grinding wheel life and get your grinding process back on track.
Key Takeaways
- Check your grinding settings first. Adjusting wheel speed, feed rate, and coolant flow can fix fast wear or glazing.
- Always inspect your grinding wheel for damage. A cracked wheel is very dangerous and must be discarded.
- Properly mount and balance your grinding wheel. This prevents vibrations and ensures a good finish.
- Dress your wheel regularly. This keeps it sharp and improves cutting performance.
- Choose the right grinding wheel for your material. This helps the wheel last longer and work better.
Diagnose and Solve Common Grinding Issues
When your grinding process hits a snag, you need to identify the root cause quickly. Most grinding problems fall into a few common categories. You can use a simple Symptom-Diagnosis-Solution method to diagnose and solve these issues and restore your productivity.
Fast Wheel Wear (Too Soft)
Symptom: Your grinding wheel wears down much faster than usual. You find yourself replacing the wheel constantly. This problem is often described as the wheel feeling “too soft” for the job, leading to a situation where the wheel life too short.
Diagnosis: Several factors can cause a wheel to wear prematurely. Your grinding parameters might be too aggressive. Excessive wheel speed or an overly forceful dressing technique can strip abrasives away. Other machine-related issues can also contribute:
- Vibrations: Worn spindle bearings or a poorly maintained belt drive system can cause vibrations, leading to uneven wheel wear.
- Heat Buildup: Inadequate or dirty coolant fails to prevent overheating, which can cause the wheel’s bond to break down. Misaligned coolant nozzles are a common culprit.
- Improper Clamping: If the wheel is not clamped securely, it can become unstable and deform during the grinding operation.
Solution: First, review your operating parameters. You may need to reduce the wheel speed or the aggression of your dressing pass. Ensure your coolant system is clean and delivering sufficient flow directly to the cutting zone. If the problem persists, you might need a different wheel specification. A softer bond wheel is designed to break down and release dull abrasive grains, exposing fresh, sharp grains for a consistent cutting action. This prevents rubbing and burning. A wheel with a coarser grit can also help by distributing pressure more effectively.
💡 Pro Tip: A wheel that seems too soft might actually be the correct grade if your parameters are causing excessive heat. Before changing your wheel, always check your speeds, feeds, and coolant.
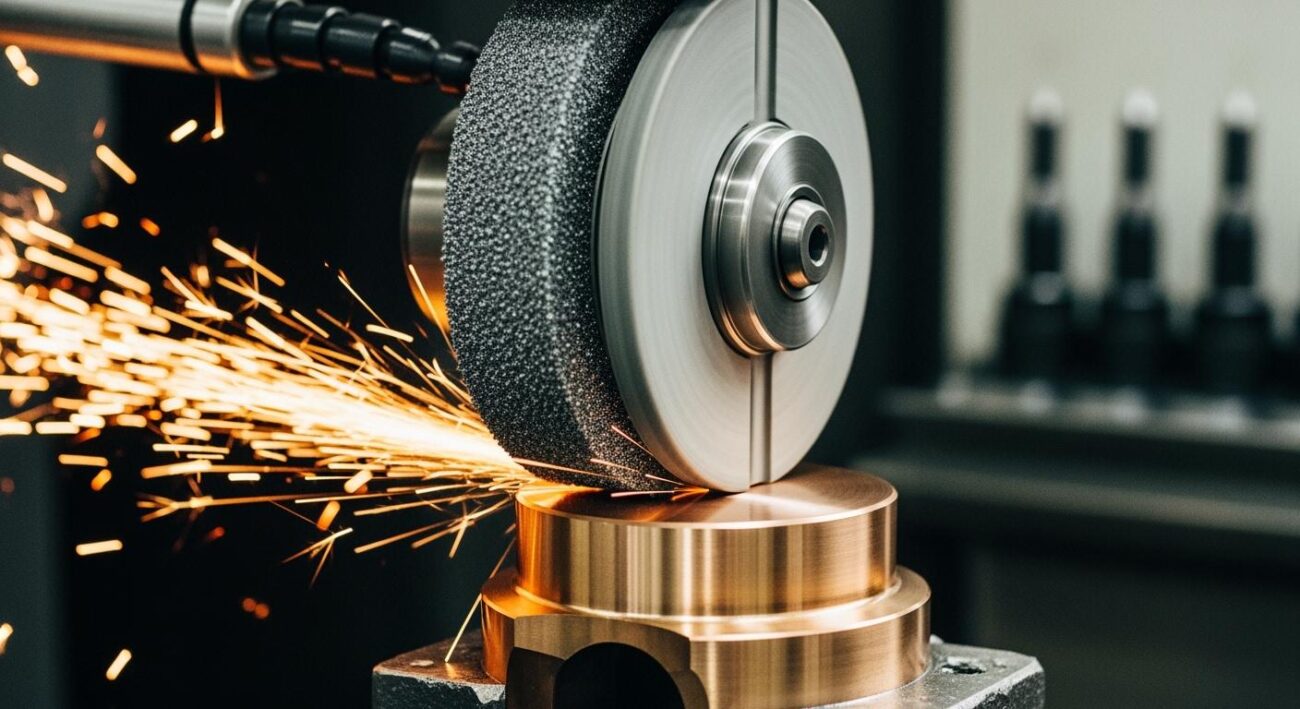
Wheel Glazing (Too Hard)
Symptom: The wheel surface becomes smooth and shiny. You notice the wheel cutting slowly, or in severe cases, the wheel not cutting at all. This glazing effect increases friction, often causing chatter marks and burning on the workpiece, resulting in a poor surface finish.
Diagnosis: Wheel glazing happens when the abrasive grains on the surface become dull instead of fracturing to expose new cutting edges. This typically occurs when the grinding action is not aggressive enough.
- Low Wheel Speed: Operating the wheel below its recommended speed reduces its cutting ability.
- Slow Feed Rate: A slow in-feed rate means the grains are just rubbing the material instead of cutting it. This polishes the abrasive points flat.
- Incorrect Wheel Grade: A wheel grade that is too hard for the material will not allow the bond to break down and release dull grains.
Solution: To fix a glazed wheel, you need to make the cutting action more aggressive. You can increase the feed rate to apply more pressure, which encourages the dull grains to fracture away. You can also try increasing the wheel speed within its safety limits. If these adjustments do not work, you must re-dress the wheel to strip away the glazed layer and expose a fresh cutting surface. A proper dressing will restore the wheel’s performance and improve your part finish.
Wheel Chipping and Cracking
Symptom: You see small chips missing from the edge of the grinding wheel, or you discover a visible crack in the wheel’s body.
⚠️ Safety Alert: A cracked grinding wheel is extremely dangerous. It can shatter during operation, causing serious injury. Never use a wheel that you suspect is cracked.
Diagnosis: Chipping and cracking are almost always caused by physical stress or damage. This can happen from dropping the wheel, improper storage where objects can fall on it, or incorrect mounting procedures. Overtightening the mounting flanges is a common mistake that creates immense pressure and can easily crack a wheel.
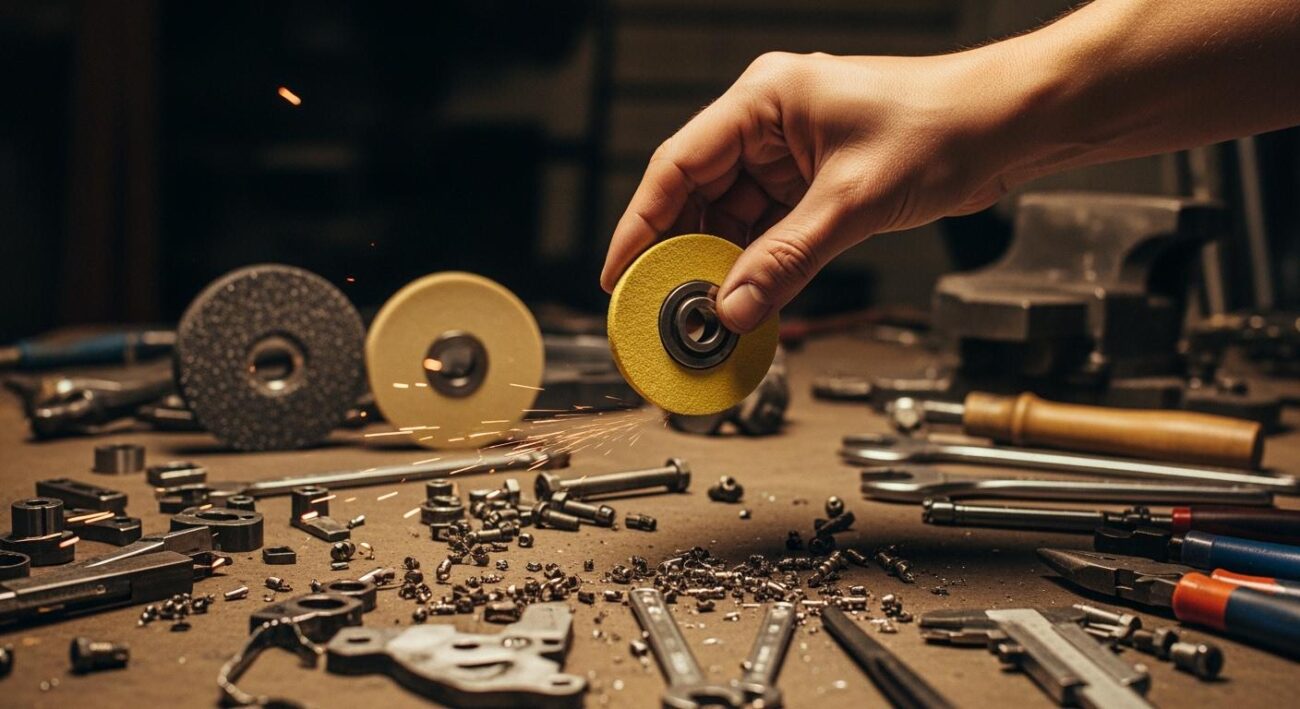
Solution: The best solution is prevention. You must handle and store every grinding wheel with care. Before you mount any wheel, you must inspect it for damage. A critical safety procedure is the “ring test.”
- Make sure the wheel is dry and clean.
- Suspend the wheel freely on your finger or a small pin through the arbor hole.
- Gently tap the wheel with a light, non-metallic object, like a screwdriver handle. Tap it about 45 degrees from the vertical centerline on each side.
- Listen to the sound. A sound, undamaged wheel will give a clear metallic ring. A cracked wheel will produce a dull, dead sound.
If a wheel fails the ring test, do not use it. Discard it immediately. This simple test is a vital step to diagnose and solve one of the most dangerous grinding problems and ensure a safe operation. A good finish starts with a safe, sound wheel.
Optimizing Your Grinding Process Parameters
An excellent grinding result depends on more than just the wheel itself. Your machine’s settings, or process parameters, are critical. A sudden drop in wheel life often points to a parameter that has drifted out of its optimal range. You can restore performance by systematically reviewing and adjusting these key settings. This step ensures your entire grinding system works in harmony.
Wheel Speed and Feed Rate Adjustment
The speed of your grinding wheel and the rate at which you feed the workpiece are two of the most influential factors in any grinding operation. Finding the right balance between them is essential for both wheel longevity and achieving a quality finish.
Wheel speed, often measured in Surface Feet per Minute (SFPM), directly impacts how the abrasive grains interact with the material. For example, when grinding hard tool steel with a ceramic wheel, a speed around 4600 SFPM is often ideal. Many standard bench grinders operate between 4000 and 6500 SFM, but this range is a result of common motor and wheel combinations and may not be perfect for your specific job. Running a wheel too slowly can cause glazing, while running it too fast can lead to premature wear and even burning of the workpiece.
Feed rate, which includes the depth of cut and the speed of travel, determines the workload on each abrasive grain. Adjusting these factors is crucial for the quality of your grind.
- Controlled Infeed: A proper infeed rate prevents the wheel from glazing and avoids smearing the material, which helps you create a defect-free surface.
- Optimized Wheel Life: You can minimize wheel wear by carefully adjusting your infeed increments. Some advanced systems even use adaptive algorithms to change feed rates on the fly, maximizing the life of the grinding wheel.
- Preventing Glazing: If your wheel is glazing or you see a poor surface finish, a slightly more aggressive feed rate can encourage the wheel to self-sharpen, improving its cutting action. A wheel not cutting at all is a clear sign your feed rate is too low.
💡 Quick Tip: Think of speed and feed as a team. If you increase the wheel speed, you may need to adjust the feed rate to maintain the same chip load on each abrasive grain. Small, incremental changes are the key to finding the sweet spot for your grinding process.
Coolant Flow and Concentration
Coolant is the unsung hero of many grinding operations. It does more than just keep things cool; it lubricates the cutting zone, flushes away swarf, and prevents the wheel from loading. Inadequate coolant is a direct path to a shorter wheel life and damaged parts.
You must watch for signs of poor coolant performance. These symptoms often appear on the workpiece or the wheel itself and signal that you need to take immediate action.
- Material Discoloration: Any sign of burning on the workpiece indicates excessive heat.
- Micro-cracks: Extreme heat can cause tiny cracks to form on the material’s surface, compromising its integrity.
- Wheel Glazing and Loading: Without enough coolant to wash away debris, the wheel surface gets clogged, reducing its cutting ability.
- Heat Buildup and Vibrations: Increased friction from poor lubrication generates excess heat and can cause machine vibrations.
To solve these issues, check your entire coolant system. Ensure the nozzles are aimed directly at the point of contact between the wheel and the workpiece. Clean your filters and check the tank for sludge. Also, verify the coolant concentration is correct. A mixture that is too lean won’t provide enough lubrication, while one that is too rich can cause foaming and reduce cooling efficiency. Proper coolant management is a simple yet powerful way to extend the life of your grinding wheel.
Machine Stability and Mounting
Your grinding machine provides the foundation for the entire process. Any instability, vibration, or misalignment will transfer directly to the grinding wheel, causing rapid, uneven wear and a poor finish. A stable, properly maintained machine is non-negotiable for precision grinding.
The most critical aspect of machine stability starts with how you mount the wheel. An improperly mounted wheel is both inefficient and extremely dangerous. You must follow a strict procedure every time you change a wheel to ensure safety and performance.
⚠️ Safety First: Before mounting any wheel, disconnect the machine from its power source. Always compare the RPM rating on the wheel to your machine’s speed and never exceed the wheel’s maximum safe speed.
Follow these best practices for secure mounting:
- Inspect Everything: Perform a “ring test” on the new wheel to check for hidden cracks. Clean the machine’s spindle and flanges, removing any dust or debris. Check the flanges for warping or burrs, as they must be perfectly flat.
- Use Correct Components: Always use matching flanges of the correct size and type. They should be at least one-third of the wheel’s diameter. Use fresh blotters (the paper washers) to cushion the wheel from the flange pressure. Never use random washers or overtighten the nut with power tools; hand-tighten it securely.
- Ensure a Free Fit: The wheel must slide freely onto the spindle without being forced. Make sure all guards are properly re-attached according to the manufacturer’s instructions.
- Test the Setup: After mounting, run the wheel for at least one full minute in a protected area before you begin grinding. Listen for any unusual noises or vibrations. This final check confirms the wheel is stable and ready for work.
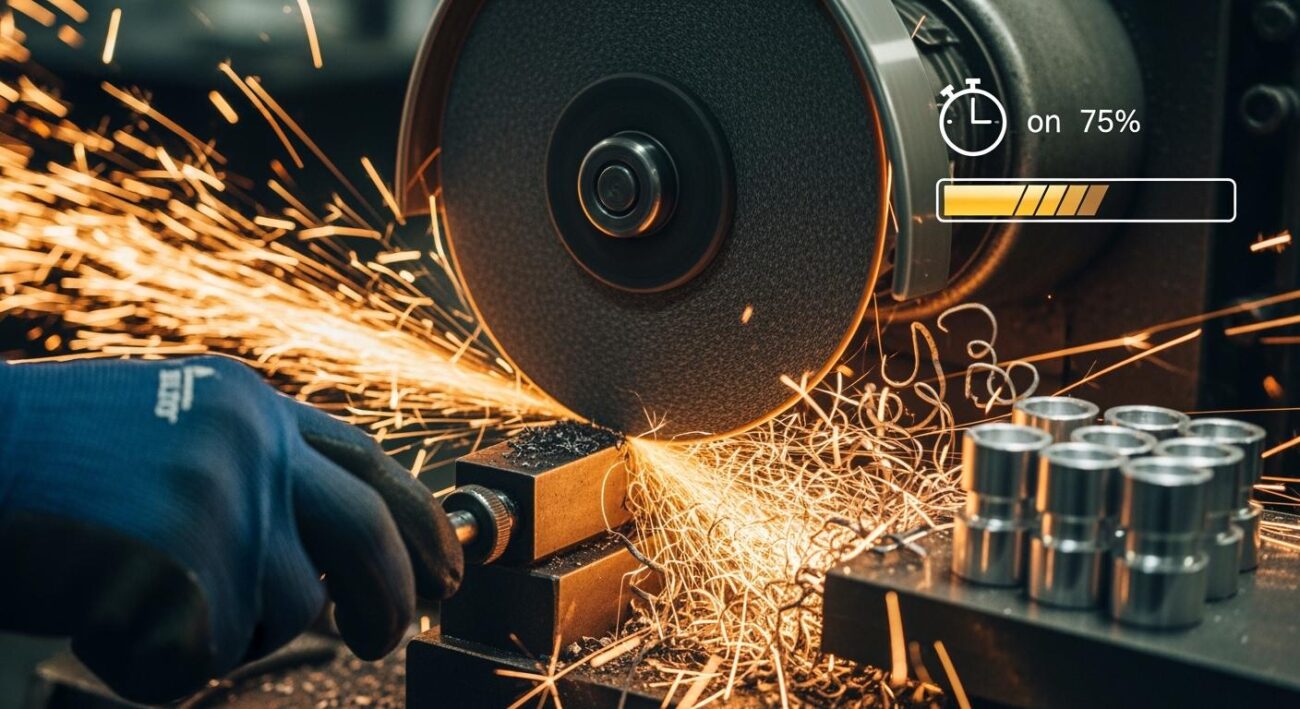
By paying close attention to these parameters—speed, feed, coolant, and stability—you can solve most causes of premature wheel wear and get your operation back to peak efficiency.
Refining Dressing and Truing Techniques
Proper wheel maintenance is essential for a long-lasting grinding wheel. Dressing and truing are two key processes that restore your wheel’s performance. You can solve many grinding issues by refining your technique. This ensures your wheel stays sharp and runs true.
Dressing Frequency and Aggression
Dressing exposes fresh abrasive grains on your grinding wheel. This action restores its cutting ability. You must find the right dressing frequency. If you dress the wheel too little, it can become glazed. A glazed wheel causes friction, poor finishes, and workpiece burning. If you dress the wheel too aggressively, you will waste its abrasive layer and shorten its life. The goal is to remove just enough material to create a sharp cutting surface for your grinding task.
Correct Dressing Tool Selection
You need the right tool for the job. Your choice of dressing tool directly impacts the wheel’s surface and its grinding performance. Consider these options:
- Diamond Dressers: These are great for high-precision work. They use industrial diamonds to sharpen the wheel effectively.
- Handheld Dressing Sticks: These are a low-cost option for basic cleaning and reshaping. They wear down faster and require more frequent replacement.
- Rotary Dressing Tools: These are ideal for industrial settings. They offer high consistency for repetitive grinding operations.
Your selection depends on the grinding wheel specification, the material you are grinding, and the surface finish you need. A hard material requires a robust tool, while a softer material may only need a simple dressing stick.
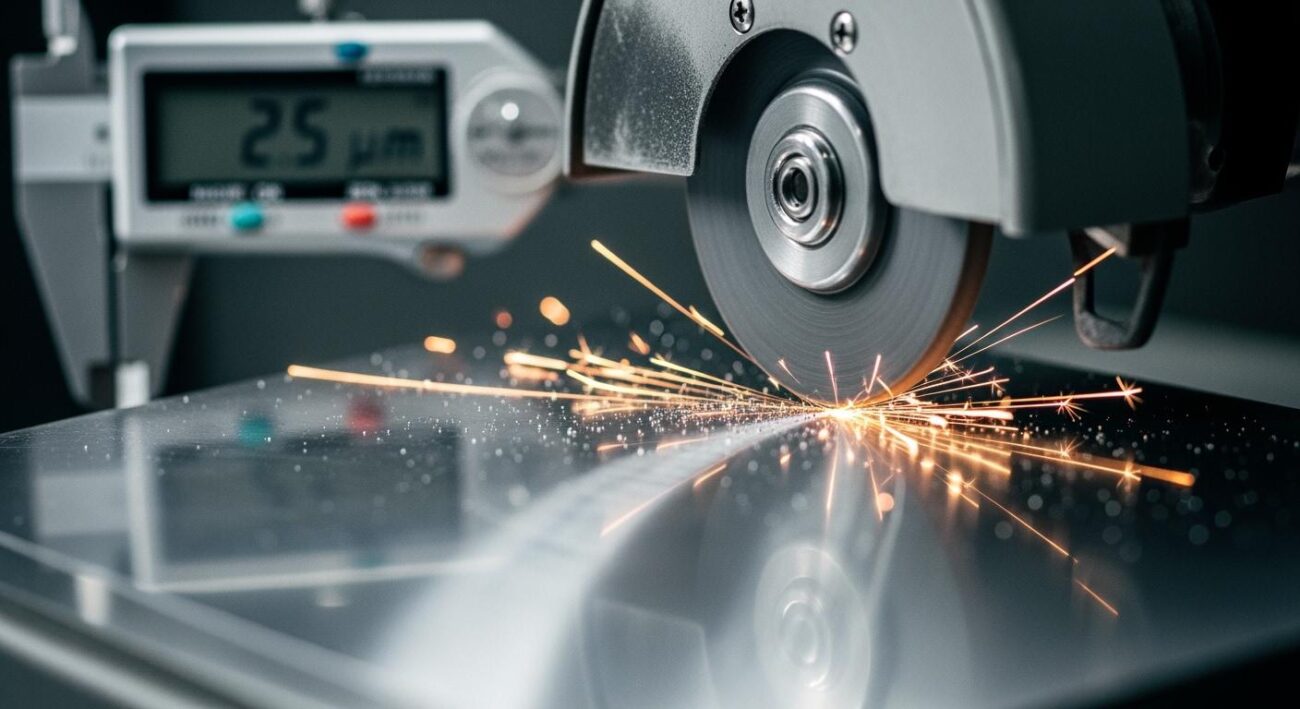
Proper Wheel Truing and Balancing
Truing makes a wheel perfectly round and concentric with the spindle. Balancing ensures the wheel’s weight is evenly distributed. Both are critical for safety and precision. An unbalanced wheel creates intense vibration. This leads to a poor surface finish, chatter marks, and even workpiece burning. More importantly, an improperly balanced wheel is a safety hazard. The uneven forces can cause extreme stress, increasing the risk of the wheel breaking apart during operation.
✅ Pro Tip: Always true a new grinding wheel before its first use. Follow these steps for a safe and effective process:
- Inspect: Check the wheel for any cracks or damage.
- Mount: Secure the truing tool to your machine.
- Execute: Bring the tool into gentle contact with the rotating wheel. Apply steady pressure to remove material evenly.
- Evaluate: Check the wheel to ensure it is smooth and uniform.
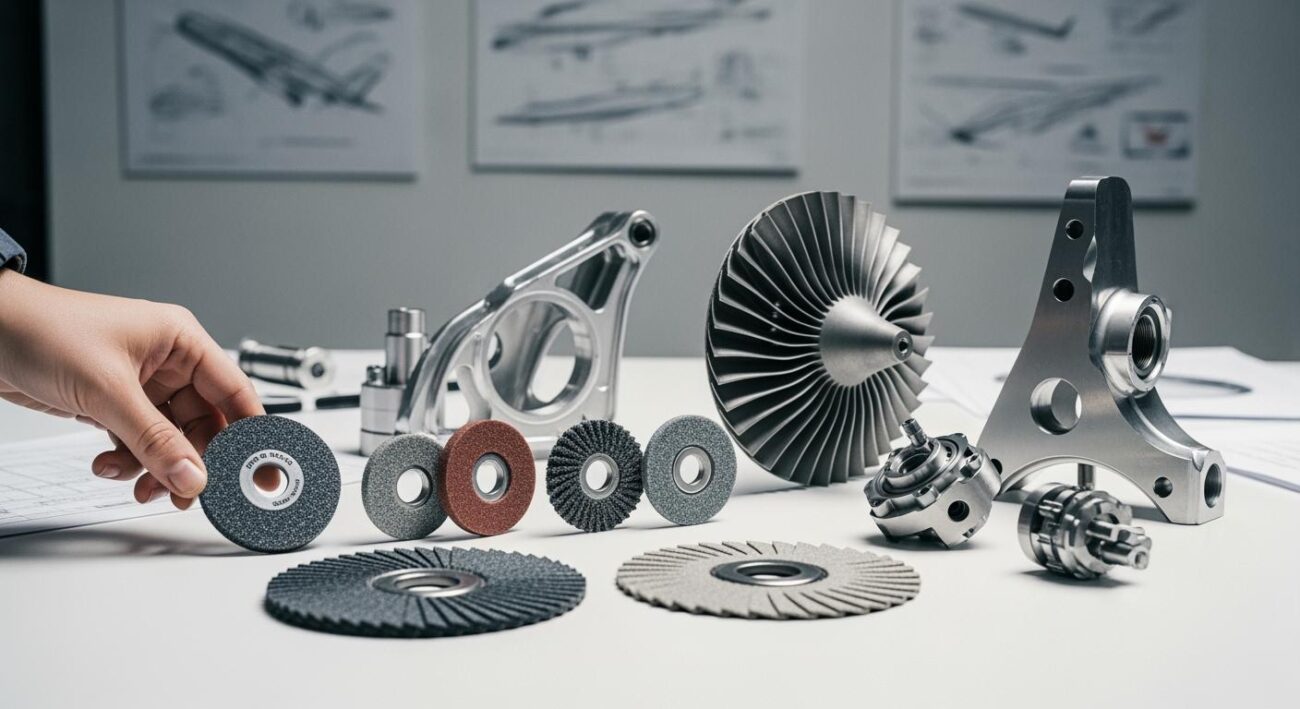
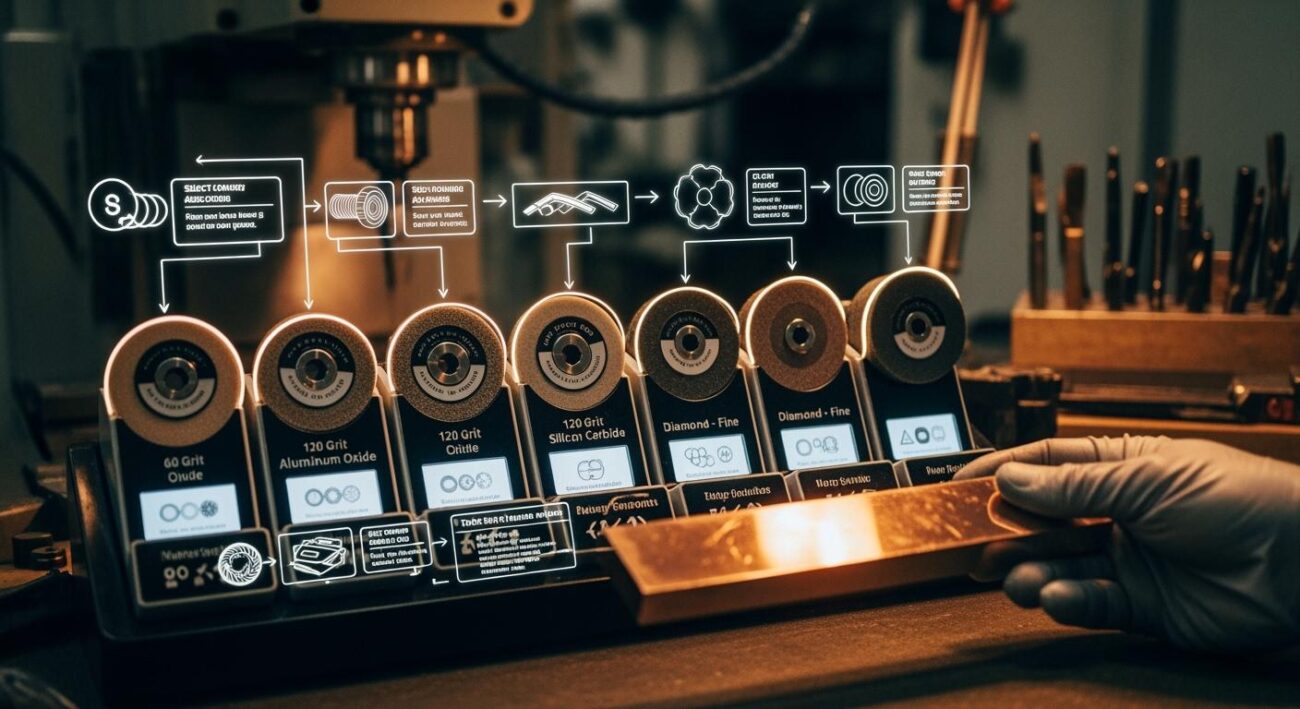
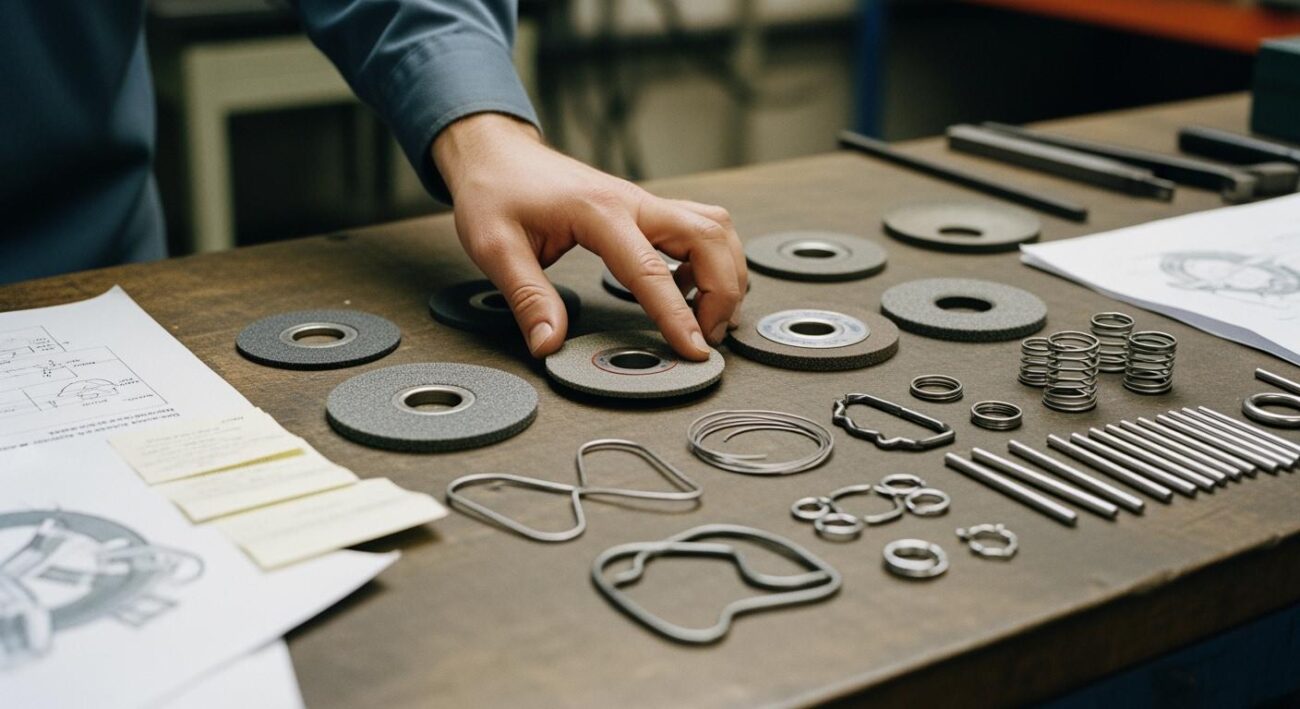
Choosing the Right Grinding Wheel for a Longer Life
If you have optimized your process and still face issues, your grinding wheel itself may be the problem. Selecting the right wheel is the final and most crucial step for extending its life and achieving a perfect finish. A wheel that is not matched to your material will always underperform.
Matching Wheel Specs to Your Material
Every grinding wheel has specifications for grit, grade, and bond. You must match these to your workpiece material for effective grinding. A mismatch causes rapid wear or poor performance. For example, a wheel with high friability, meaning the grains fracture easily, exposes new sharp edges. This is ideal for grinding heat-sensitive materials because it provides a cooler cutting action.
Here is a basic guide for matching your wheel to the material:
| Grit Size | Grinding Wheel Grades | Suitable Materials |
|---|---|---|
| 10-24 | Soft-Medium | Stainless steel, cast iron, hard steel |
| 30-60 | Medium-Hard | Mild steel, aluminum, general metals |
| 70-220 | Medium-Hard | Carbide, high-speed steel |
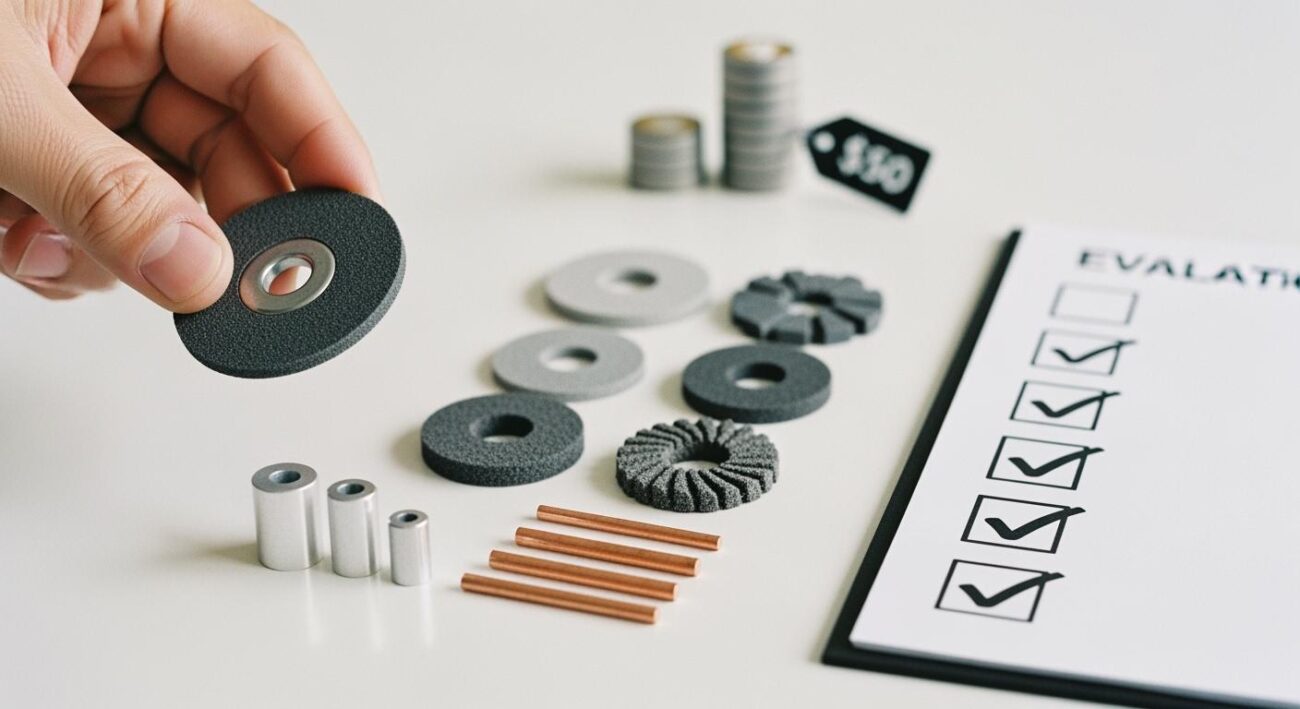
When to Consider a New Specification
You should consider a new grinding wheel specification when you notice clear performance drops. If your grinding cycle times increase or you see a rougher surface on your parts, your wheel is likely no longer effective. Other signs include:
- Visible wheel damage like cracks or chips.
- Increased vibration during the grinding operation.
- A significant reduction in the wheel’s size or an uneven shape.
These symptoms indicate your current wheel cannot handle the demands of the job.
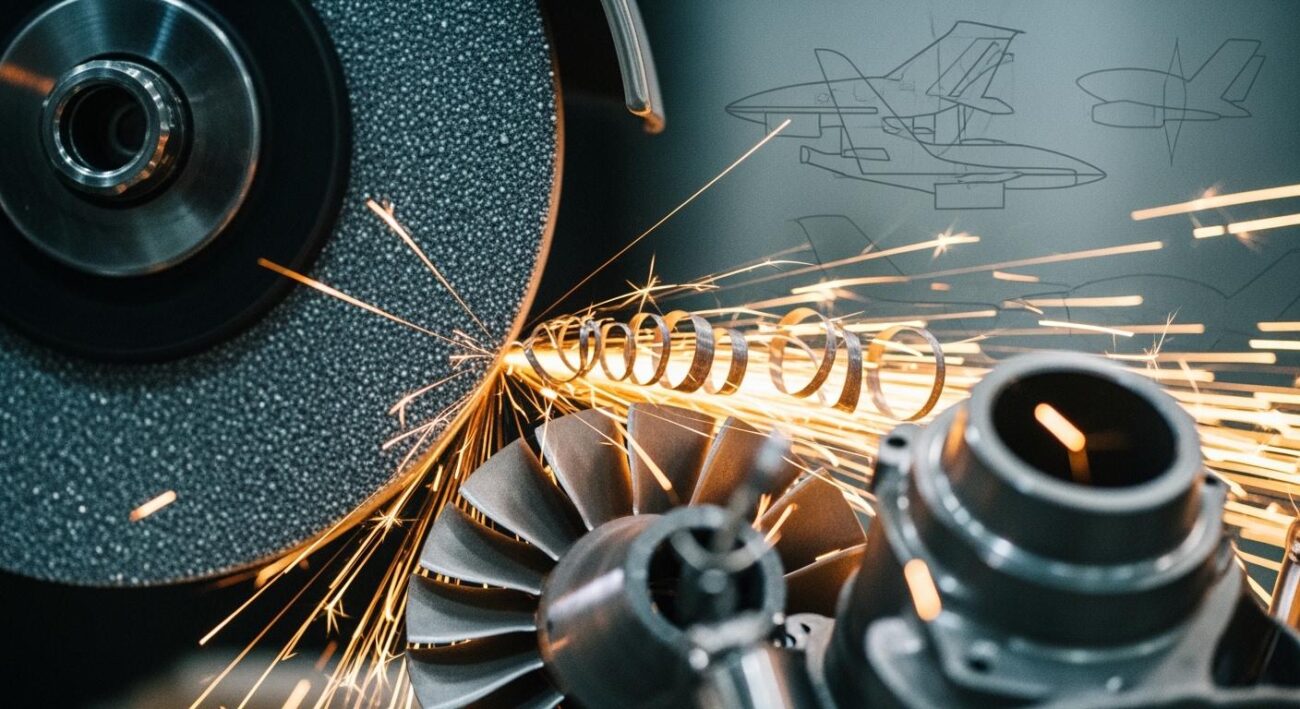
Upgrading to Aimgrind Diamond Wheels
When standard solutions fail, you need an expert. Aimgrind specializes in diagnosing tough grinding issues and creating custom wheel formulas for materials like ceramics, hard alloys, and composites.
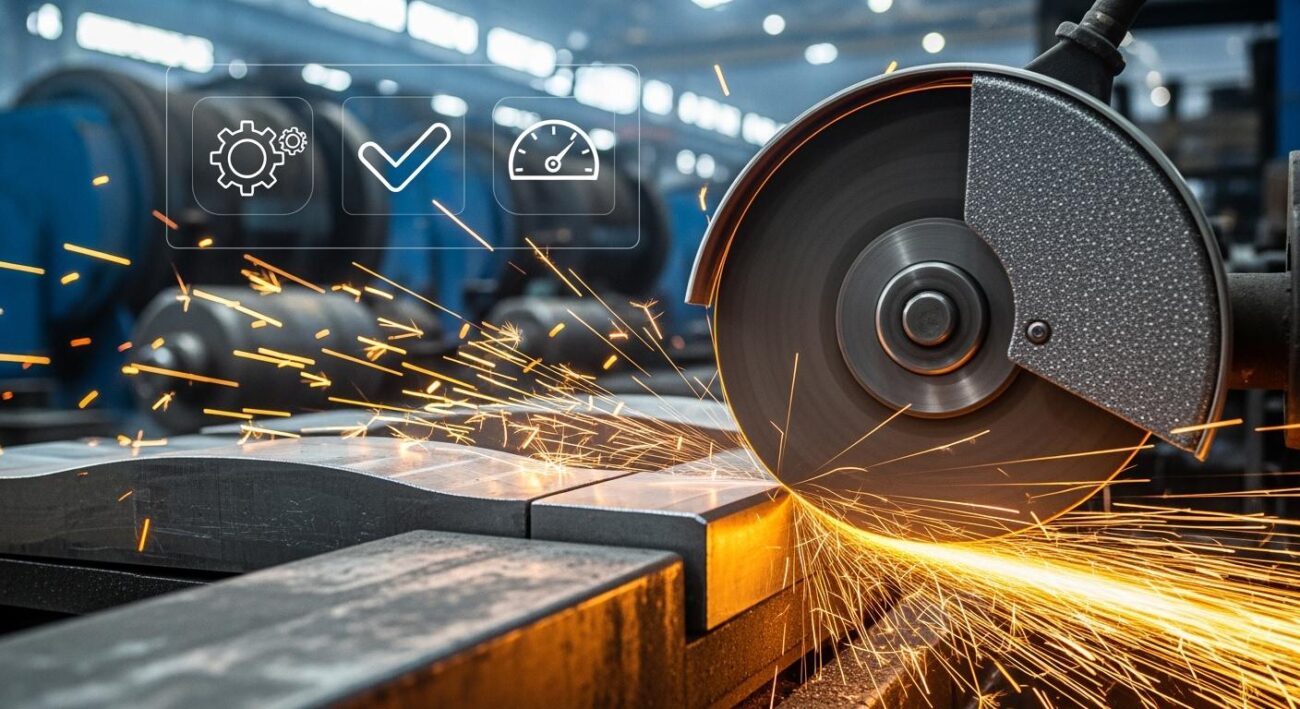
For the most demanding applications, upgrading to an Aimgrind diamond grinding wheel is the ideal solution. Diamond wheels offer exceptional durability and precision. They provide a much longer wheel life, reducing downtime and replacement costs. Their superior wear resistance ensures you can maintain tight tolerances and a consistent surface quality, making your entire grinding process more efficient.
You can diagnose and solve most grinding problems with a clear plan. First, adjust your grinding parameters and dressing the wheel. If issues persist, you may need a new grinding wheel.
For expert help, consulting grinding experts like Aimgrind can boost your productivity by over 20% and increase the number of parts you manufacture. With nearly two decades of experience, we deliver tailored solutions for your grinding needs. Grind with Passion, Achieve with Aim.
FAQ
What is the most common cause of fast wheel wear?
You often find that incorrect process parameters are the main cause. Running the wheel too fast or using an overly aggressive feed rate wears down the wheel quickly. Always check your machine settings first before you decide to change the wheel itself.
How often should I dress my grinding wheel?
You should dress your wheel based on its performance, not a fixed schedule. Dress it when you notice signs of glazing, loading, or a poor surface finish. This action restores the wheel’s cutting ability and ensures a quality grind every time.
Can I use a wheel rated for a lower RPM on my machine?
⚠️ Never do this. You must never use a wheel on a machine with a higher RPM than the wheel’s maximum safe speed. The wheel can shatter under the excess force. This creates an extremely dangerous situation that could cause serious injury.
When should I upgrade to a diamond wheel?
You should consider upgrading when grinding very hard or brittle materials like ceramics or hard alloys. If standard wheels wear out too fast or fail to provide the required precision, an Aimgrind diamond wheel offers superior longevity and performance for demanding jobs.