Eccentric grinding wheel mounting is a primary cause of costly grinding problems. This eccentricity directly leads to poor grinding results. Operators often see specific defects from this single issue. These problems degrade overall grinding performance.
Key Defects from Eccentricity:
- Severe vibration during grinding
- Chatter marks and part out-of-roundness
- Premature grinding wheel wear
This guide helps you identify and correct mounting eccentricity for better grinding.
Key Takeaways
- An eccentric grinding wheel causes many problems. These include severe vibration, poor surface finish, and incorrect part shapes.
- Eccentricity happens from dirty parts, wrong mounting, or a bad fit between the wheel and the machine. Always check and clean parts before mounting.
- Mount the grinding wheel correctly. Use a star pattern to tighten bolts. This helps keep the wheel centered.
- Truing and dressing fix eccentricity. Truing makes the wheel round. Dressing sharpens it. These steps are important for good grinding.
- Always check the wheel’s runout with a dial indicator. This makes sure the wheel is perfectly centered before you start grinding.
Common Grinding Problems and Defects
An eccentric grinding wheel is not just a minor inconvenience; it is the root cause of several significant grinding problems that compromise quality, efficiency, and safety. These issues manifest as tangible defects on the workpiece and accelerated wear on the grinding machine itself. Understanding these common problems is the first step toward diagnosing and correcting eccentricity.
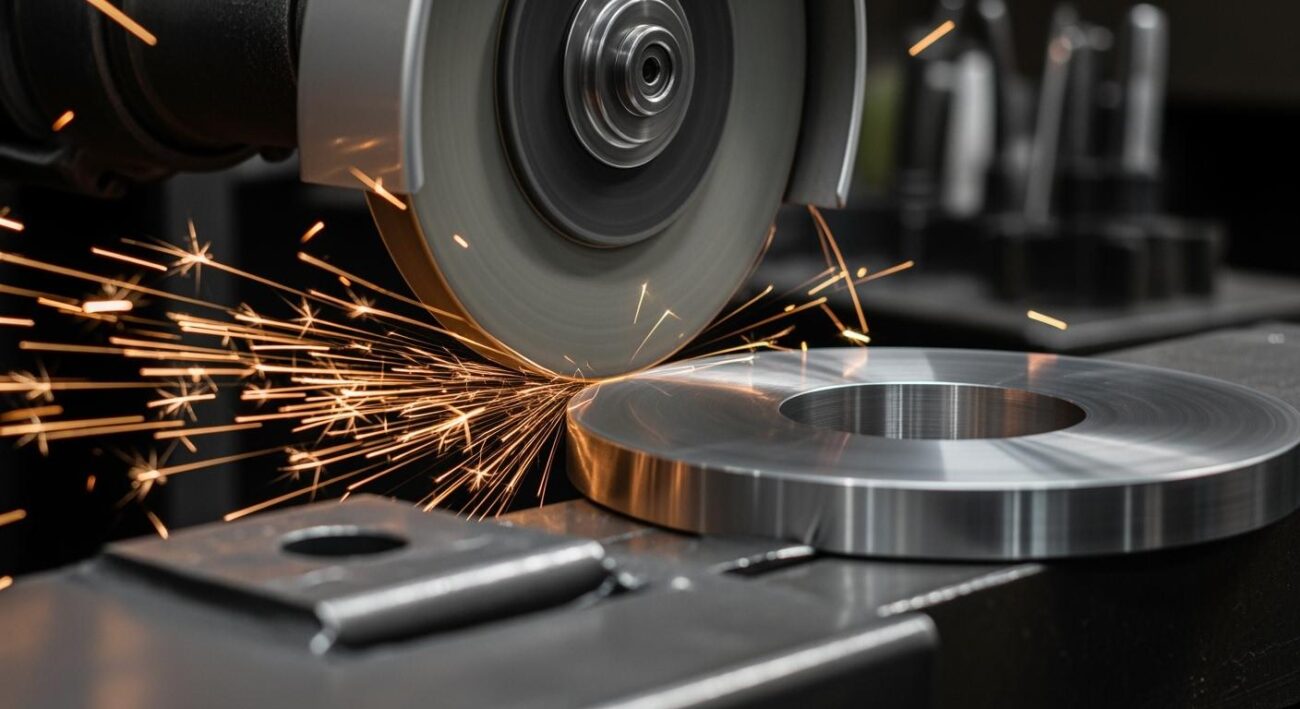
Vibration and Grinding Performance
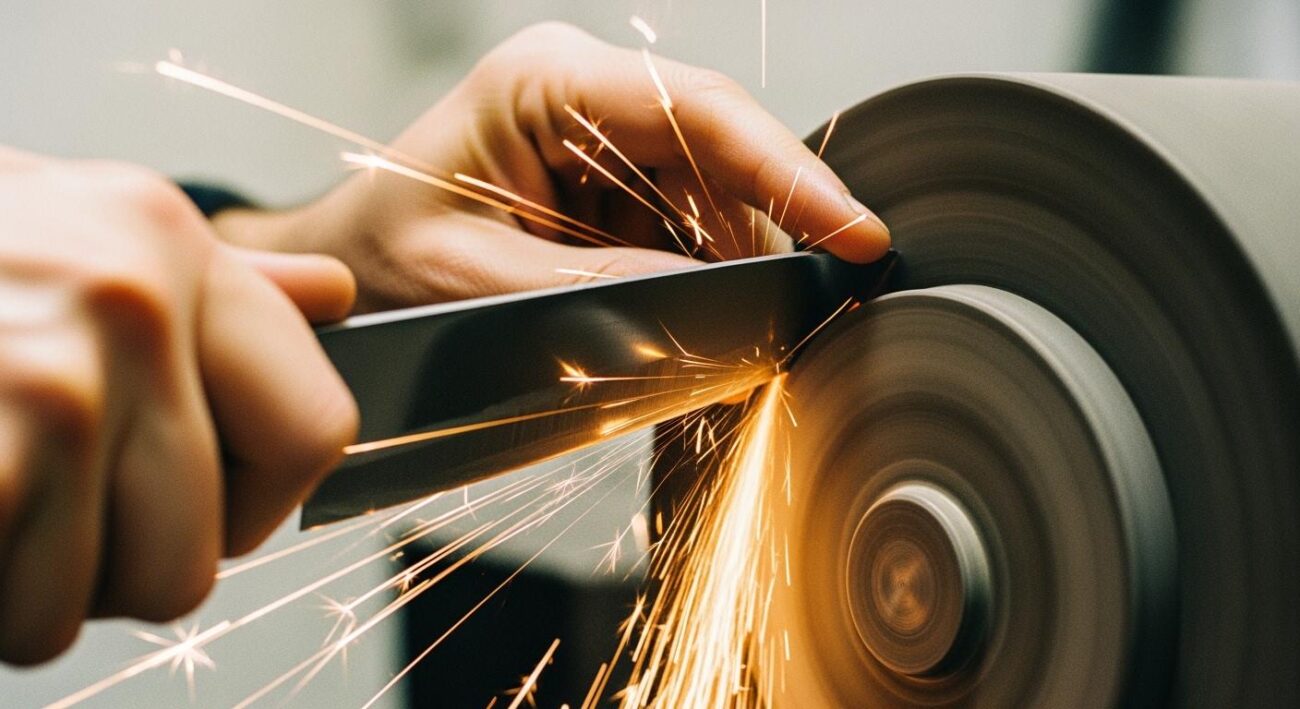
Vibration is the most immediate and noticeable symptom of an eccentric grinding wheel. Instead of rotating smoothly, the wheel wobbles, creating oscillating forces that ripple through the entire grinding machine. This imbalance can lead to vibrations that manifest as chatter, especially when machine components are excited at their natural frequencies. These vibrations are then transferred directly to the workpiece during the grinding process.
When the vibration frequency matches the rotational speed of the grinding spindle, the grinding wheel or spindle is the likely cause. This issue can sometimes be controlled by changing the machining speed. However, persistent vibration has severe consequences for the grinding machine.
Quantifiable Effects of Severe Vibration:
- Reduced Equipment Lifespan: Vibrations accelerate wear on spindle bearings and other critical components, leading to premature failure.
- Increased Maintenance Costs: Damage from vibrations requires costly repairs, including bearing replacement and system realignment.
- Production Downtime: Unexpected failures can halt production, causing missed deadlines and financial losses.
- Compromised Precision: Excessive vibrations reduce machining accuracy, leading to defective products and rework.
- Safety Risks: In extreme cases, severe vibrations can cause component detachment or uncontrolled machine behavior, posing a hazard to operators.
Poor Surface Finish and Burns
The quality of a ground surface, known as its surface integrity, is paramount. Eccentricity directly undermines this integrity. The oscillating motion of an unbalanced grinding wheel creates inconsistent cutting forces, resulting in visible surface defects like chatter marks. These wavy patterns make the surface unsuitable for high-precision applications.
Beyond visual surface defects, eccentricity generates excessive localized heat. The uneven contact forces cause certain areas of the grinding wheel to apply more pressure and friction than others. This intense heat can lead to thermal damage, a serious defect that compromises the material’s structural integrity.
- Oxidation Burn: This appears as discoloration on the workpiece surface, indicating that grinding temperatures were too high.
- Thermal Softening: If the heat exceeds the material’s tempering temperature, it can soften the surface, reducing its hardness and wear resistance. This is a critical failure of surface integrity.
- Re-hardening Burn: Extreme temperatures can cause the surface layer to re-harden into brittle martensite upon cooling. This creates high residual tensile stress, which can lead to micro-cracks and catastrophic part failure. This defect severely impacts the material’s integrity.
These surface defects are clear indicators that the grinding forces are uncontrolled, often due to an eccentric wheel.
Dimensional and Geometric Defects
Precision grinding aims to achieve tight dimensional and geometric tolerances. An eccentric grinding wheel makes this goal impossible. The wheel’s runout causes it to cut deeper on one side of its rotation than the other. This uneven cut directly translates into geometric inaccuracies on the workpiece.
This eccentric error is a primary cause of “lobing,” or out-of-roundness, on cylindrical parts. The error creates a fundamental geometry flaw that repeats once per revolution of the machining process. For parts requiring high precision, even a minuscule error can lead to a failed component. The integrity of the final product depends on eliminating this type of defect.
| Geometric Tolerance | Top-Tier Machining Capability |
|---|---|
| Roundness | 0.005 mm |
| Cylindricity | 0.008 mm |
Achieving these top-tier tolerances is impossible with an eccentric grinding wheel, as the inconsistent cutting forces and runout create dimensional defects that exceed acceptable limits.
Accelerated and Uneven Wear
An eccentric grinding wheel does not wear evenly. The “high spot” of the wheel experiences concentrated forces and does a disproportionate amount of the grinding work. This leads to rapid, localized wear on one section of the wheel.
This uneven wear pattern has several negative effects on grinding performance:
- Reduced Wheel Lifespan: The grinding wheel must be dressed more frequently to restore its balance and shape, consuming the abrasive layer much faster. In one documented case, correcting a mere 0.05mm runout variation increased abrasive wheel lifespan by 53%.
- Inconsistent Material Removal: As the wheel wears unevenly, the number of effective abrasive grains making contact with the workpiece changes. This leads to fluctuating material removal rates, making the machining process unpredictable and difficult to control.
- Poor Grinding Performance: An unbalanced wheel leads to inconsistent cuts, uneven material removal, and inaccurate tolerances. This poor performance results in rework and scrap, directly impacting production efficiency.
Ultimately, an eccentric grinding wheel degrades its own cutting ability while simultaneously damaging the workpiece, making it one of the most critical grinding problems to address for maintaining surface integrity and overall machining efficiency.
Causes of Grinding Wheel Eccentricity
Understanding the sources of eccentricity is the first step toward prevention. Eccentricity rarely happens by chance. It is usually the result of specific issues in the mounting process. Identifying these root causes helps operators ensure a stable grinding setup. This stability is crucial for achieving good dynamic balance.
Improper Arbor and Flange Fit
The connection between the grinding wheel and the grinding machine spindle is critical. Flanges are the components that clamp the grinding wheel onto the arbor. If these surfaces are not perfectly clean and flat, eccentricity is almost guaranteed.
- Contamination: Dirt, rust, or old grinding residue on the flanges or arbor can prevent the grinding wheel from seating flat. This small tilt creates significant eccentricity.
- Damage: Nicks, burrs, or warping on the flange surfaces also cause the grinding wheel to mount at an angle. These imperfections introduce wobble and uneven forces during the grinding operation. Proper machining depends on clean surfaces.
Incorrect Mounting Procedures
A perfect grinding wheel can be mounted with eccentricity if the procedure is wrong. The goal is to apply even clamping forces across the wheel. Uneven forces will distort the wheel’s position, causing eccentricity. A proper eccentric sleeve grinding setup requires careful steps. Following a consistent method helps achieve controlled eccentricity and better dynamic balance.
The tightening sequence for the flange bolts is very important. Operators should tighten bolts in a star pattern, similar to changing a car tire. This method distributes the clamping forces evenly. Simply tightening bolts in a circle can warp the flange and introduce eccentricity. This eccentricity affects the cutting forces and the overall dynamic balance of the grinding machine. The eccentric sleeve grinding process is sensitive to these forces. Controlled eccentricity is key for precision machining.
Bore and Arbor Mismatch
The fit between the grinding wheel’s central hole (the bore) and the grinding machine spindle (the arbor) is a common source of eccentricity. A clearance that is too large allows the grinding wheel to shift off-center. This creates a fundamental imbalance and eccentricity. The dynamic balance of the entire grinding system is compromised. This is why standards exist for this critical fit. The eccentric sleeve grinding technique relies on this precise fit for successful machining.
Grinding wheels shall fit freely on the spindle and remain free under all grinding conditions. A controlled clearance between the wheel hole and the machine spindle is essential. This avoids excessive pressure from mounting and spindle expansion.
The specifications ensure there is enough room for thermal expansion during grinding without being so loose that it causes eccentricity. The dynamic balance of the grinding machine depends on this detail. For any eccentric sleeve grinding application, this fit is paramount for controlled eccentricity and managing cutting forces.
| Component | Specification |
|---|---|
| Machine Spindle | Nominal (standard) size plus zero minus .002 inch |
| Wheel Hole | Suitably oversize to assure safety clearance |
A mismatch here is a direct cause of eccentricity, which disrupts the dynamic balance needed for precision machining and grinding. The eccentric sleeve grinding process cannot tolerate such a basic setup error.
Achieving Precision Grinding
Achieving precision results is a systematic process. It requires attention to detail at every stage, from inspection to final verification. Following these steps helps prevent and correct eccentricity, ensuring the grinding wheel performs at its peak. This guide provides a clear path to achieving a stable setup for superior machining.
Component Inspection and Cleaning
The foundation of a concentric setup is a clean and true machine. Before mounting any grinding wheel, a thorough inspection of the machine’s components is essential. This preventative step addresses issues at their source.
First, inspect the spindle and arbor. Use a dial indicator to check for runout. A user once noted 0.008 inches of runout on a flange face and 0.002 inches on the arbor itself. These small deviations can cause significant problems.
Key Inspection Points:
- Check spindle and arbor runout. Correct it to fall within acceptable limits.
- Inspect the spindle and adapter for any damage, nicks, or wear. Service or replace these parts if they are compromised.
- Examine the spindle bearings. Worn bearings are a common cause of runout and should be replaced.
Next, ensure all contact surfaces are perfectly clean. Dirt, rust, or old grinding residue on the flanges or arbor will prevent the grinding wheel from seating flat. This tilt is a direct cause of eccentricity. Use the right tools for cleaning.
- Specialized cleaning discs, often made with coarse-grade silicon carbide, are effective.
- These tools remove rust, scale, and other contaminants without damaging the metal surface.
- Their open-web construction is responsive and minimizes the risk of gouging the flange, protecting its critical integrity.
A clean, true spindle is the first step toward achieving good dynamic balance in the grinding process.
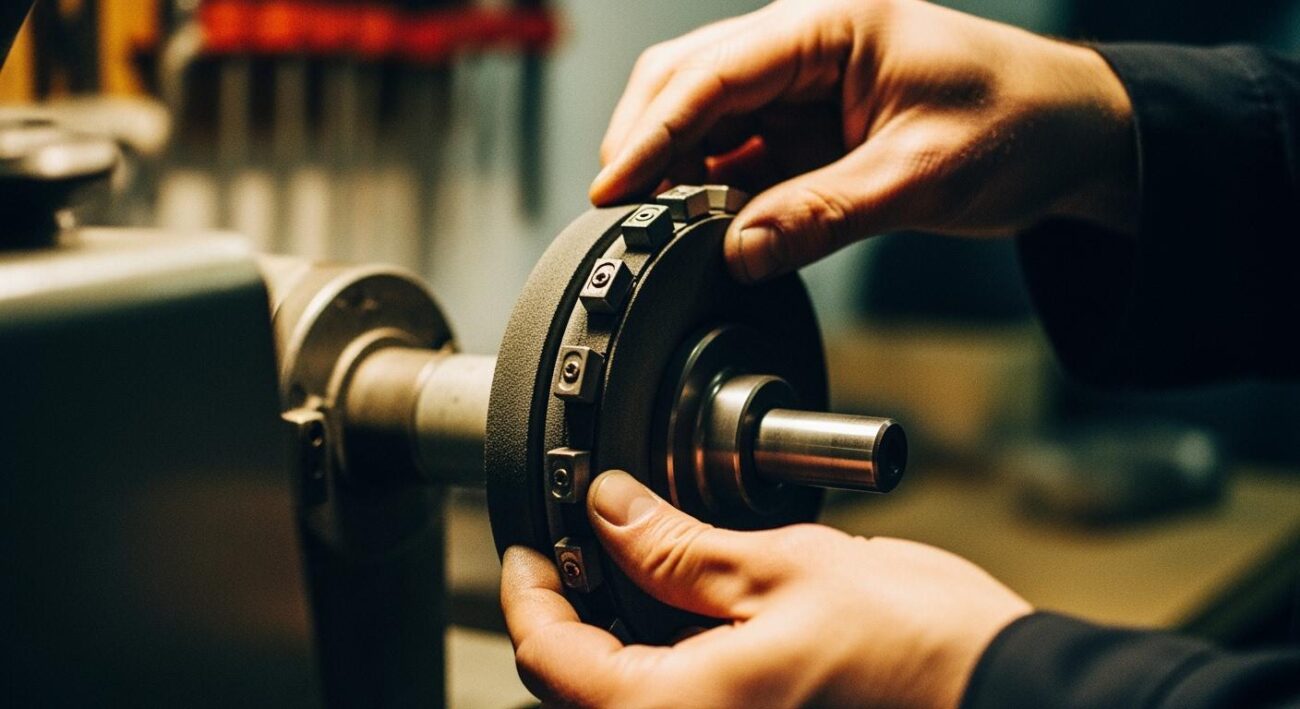
Proper Mounting Technique
A perfect grinding wheel can still be mounted with eccentricity if the technique is flawed. The fit between the wheel and the arbor is critical. A proper fit minimizes the initial eccentricity. This is why high-quality, precision-manufactured wheels are so important. The integrity of the entire setup depends on this fit.
For example, Aimgrind‘s diamond grinding wheels are engineered with precise bore diameters. This ensures a snug, centered fit on the arbor from the very beginning. This design choice minimizes a primary cause of eccentricity, giving operators a head start in achieving a perfect grinding wheel dynamic balance.
Once the wheel is on the arbor, the flange bolts must be tightened correctly to apply even pressure. Uneven clamping force will warp the flange and introduce eccentricity.
Tip: The Star Pattern
Always tighten flange bolts in a criss-cross or star pattern. This technique distributes clamping force evenly, just like tightening the lug nuts on a car tire. Simply tightening bolts in a circle can cause the flange to tilt.
Follow a staged tightening sequence for the best results:
- Pass 1: Lightly tighten all bolts to about 30% of the final torque in a star pattern.
- Pass 2: Increase the torque to about 60% of the final value, again following the star pattern.
- Pass 3: Tighten all bolts to 100% of the final torque, still using the star pattern.
- Final Check: Perform one final pass in a circular motion to ensure all bolts are at a uniform torque.
This methodical approach is key to maintaining the grinding wheel dynamic balance and preventing mounting-induced eccentricity.
The Role of Truing and Dressing
Even with perfect mounting, minor eccentricity can exist. Truing and dressing are two essential processes to prepare the grinding wheel for high-precision work. Though often done together, they have different purposes.
| Aspect | Truing | Dressing |
|---|---|---|
| Purpose | Restores the grinding wheel’s shape and concentricity. It corrects runout and ensures the wheel is perfectly round. | Cleans and sharpens the grinding wheel surface. It removes clogged material and exposes fresh, sharp abrasive grains. |
| Outcome | Achieves geometric accuracy and dynamic balance, eliminating vibration caused by an out-of-round wheel. | Restores the wheel’s cutting ability, improving material removal and surface finish. |
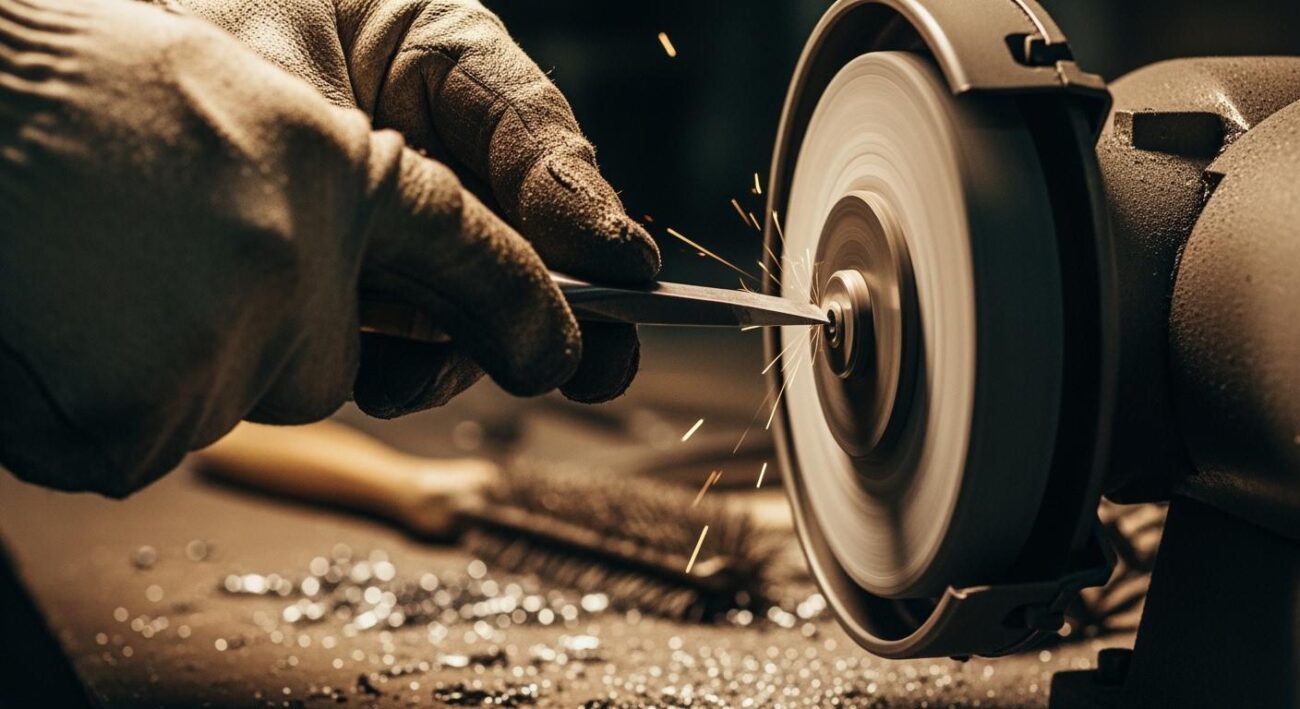
Truing directly corrects eccentricity. A single-point diamond tool is fixed in place while the grinding wheel rotates. The diamond shaves off the “high spots” of the wheel. This action makes the wheel perfectly concentric with the spindle’s axis of rotation. This process is fundamental to establishing grinding wheel dynamic balance and ensuring the wheel makes a consistent cut.
For effective truing, use precise parameters. For a vitrified bond wheel, these settings are a good starting point:
- Depth of Cut: Use a very small infeed, such as 0.0002 inches per pass.
- Traverse Speed: Move the diamond across the wheel face at a speed that gives an overlap ratio between 2 and 4.
This careful truing process is vital for the surface integrity of the final part.
Verification with a Dial Indicator
The final step is to verify your work. “Trust, but verify” is a great motto for precision grinding. A dial indicator is used to measure the final runout, known as Total Indicated Runout (TIR). This measurement confirms that the eccentricity has been eliminated.
Mount a dial indicator with its tip touching the surface of the grinding wheel. Slowly rotate the wheel by hand and watch the needle. The total movement of the needle is the TIR. The goal is to get this value as close to zero as possible.
Acceptable TIR depends on the type of grinding wheel and the required precision of the machining.
| Grinding Wheel Type | Acceptable TIR (after truing) |
|---|---|
| Conventional and Ceramic | 0.0005″ |
| CBN and Diamond | 0.000040″ |
If the runout is still too high, you must troubleshoot the system.
- Re-verify that the machine spindle itself runs true.
- Ensure the grinding wheel is mounted on a high-quality, precision blank.
- Check that all fixturing is solid and stable.
- Re-true the grinding wheel, ensuring the diamond tool is sharp and rigid.
This final verification guarantees that the grinding wheel is perfectly concentric. A true-running wheel protects the surface integrity of the workpiece, extends wheel life, and ensures the entire grinding system operates with optimal dynamic balance and integrity. This confirmation is the last step before starting a successful grinding operation.
Eccentric mounting creates serious grinding problems. These issues include vibration, poor finishes, and dimensional defects. A concentric grinding wheel is essential for quality grinding. The solution involves a three-part approach. First, inspect components for damage. Second, use correct mounting procedures for the grinding wheel. Third, true the grinding wheel to eliminate runout. This process prevents defects and improves grinding performance.
Following these steps is fundamental to preventing grinding problems. It ensures the best grinding performance and maximizes the life of any grinding wheel, preventing costly defects.
FAQ
What is the biggest sign of an eccentric grinding wheel?
Severe vibration is the most obvious sign. This shaking affects the entire grinding machine. It leads to poor grinding results and can damage machine parts. Correcting the wheel’s eccentricity is key to smooth grinding.
Can I fix a wobbly grinding wheel without replacing it?
Yes. Truing is the process for fixing a wobbly grinding wheel. A diamond tool shaves the wheel’s high spots. This action corrects the eccentricity and makes the grinding wheel perfectly round for precision grinding operations.
How does a wobbly wheel affect the final product?
A wobbly wheel causes many grinding defects. It creates chatter marks and out-of-roundness on the part. The poor surface finish from this bad grinding can ruin the workpiece. This makes the grinding process unreliable.
Why is a snug fit important for a new grinding wheel?
A snug fit prevents initial eccentricity. A loose fit allows the grinding wheel to shift off-center. This imbalance causes problems during the grinding process. A proper fit is the first step to successful grinding.
Contact Us
For More Grinding Solution or Customized Abrasive Tools