Your new grinding wheel vibrating is a common problem. This issue often stems from improper mounting, wheel imbalance, or a manufacturing flaw. You can usually fix this vibration with some straightforward troubleshooting. These checks help you return to smooth and safe grinding quickly.
Safety First! ⚠️
Always unplug your grinder before you inspect the grinding wheel or make any adjustments. Your safety is the number one priority.
Key Takeaways
- Always check your grinding wheel is mounted correctly. A loose wheel causes vibration.
- Inspect your new wheel for damage. Even small cracks make it unsafe.
- Perform a “ring test” on your wheel. A dull sound means it has a hidden crack.
- Match your wheel’s speed to your grinder. Do not use a wheel with a lower RPM rating.
- Dress a new grinding wheel before use. This makes it round and ready for work.
Immediate Troubleshooting for a Vibrating Grinding Wheel
When your new grinding wheel is vibrating, you need to act fast. These first troubleshooting steps are the most critical for your safety and the quality of your work. A systematic approach helps you identify the problem quickly. Follow these troubleshooting techniques before moving to more complex diagnostics.
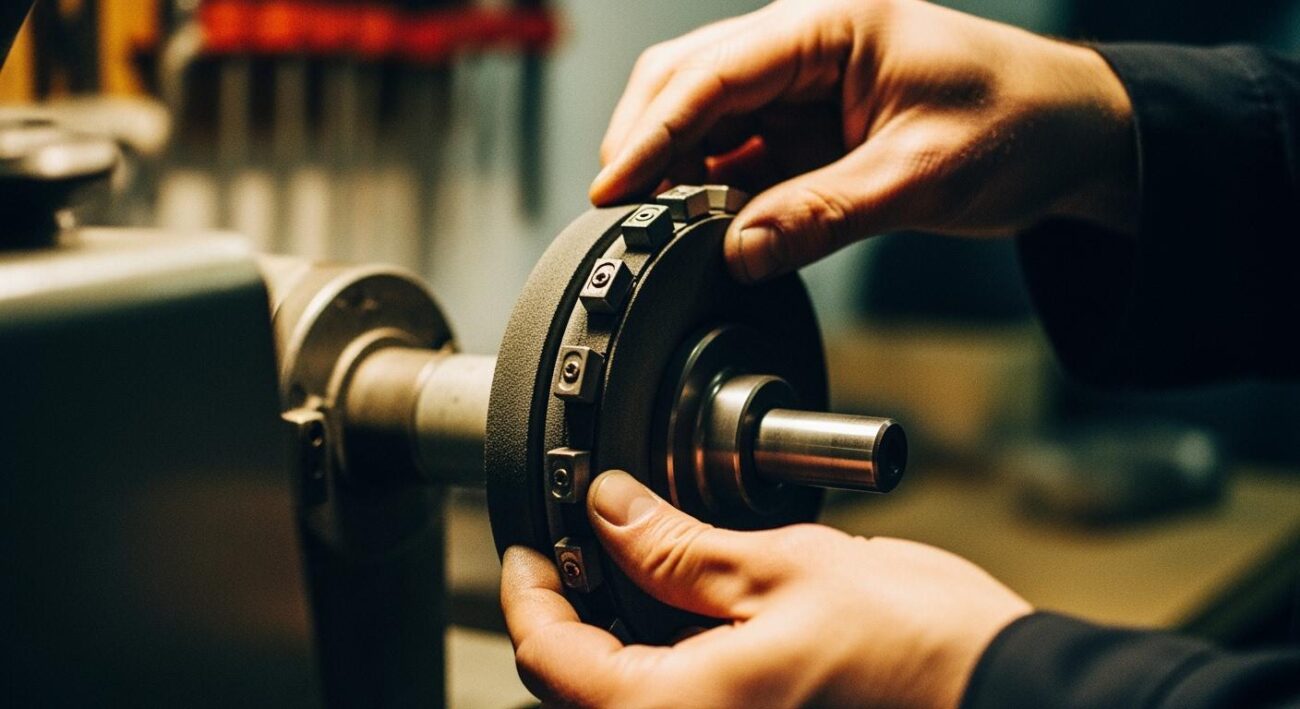
Verify Proper Mounting and Tightness
An improperly mounted grinding wheel is a primary cause of vibration. A slight wobble can create significant imbalance and chatter during grinding. This chatter can ruin your workpiece with uneven chatter marks. Follow these steps to ensure your wheel is secure.
- Clean All Surfaces: Wipe the grinder’s spindle and flanges. Debris can cause misalignment and lead to a dangerous wobble.
- Use Correct Flanges: You must use flanges designed for your wheel. They should be the same diameter to apply even pressure.
- Position the Wheel: Slide the grinding wheel onto the spindle. It should fit snugly without needing force.
- Tighten the Nut Carefully: Hand-tighten the flange nut first. Then, use a wrench to secure it. Do not overtighten. Overtightening can crack the wheel and cause severe vibration. Check your grinder’s manual for specific torque recommendations if available.
- Check Guarding: OSHA standards require that guards cover the spindle, nut, and most of the wheel. Ensure your work rest is within 1/8-inch of the wheel to prevent accidents.
Pro Tip: After mounting, spin the wheel by hand. Watch for any wobble or uneven movement. If you see any, repeat the mounting process. This simple check prevents major vibration issues.
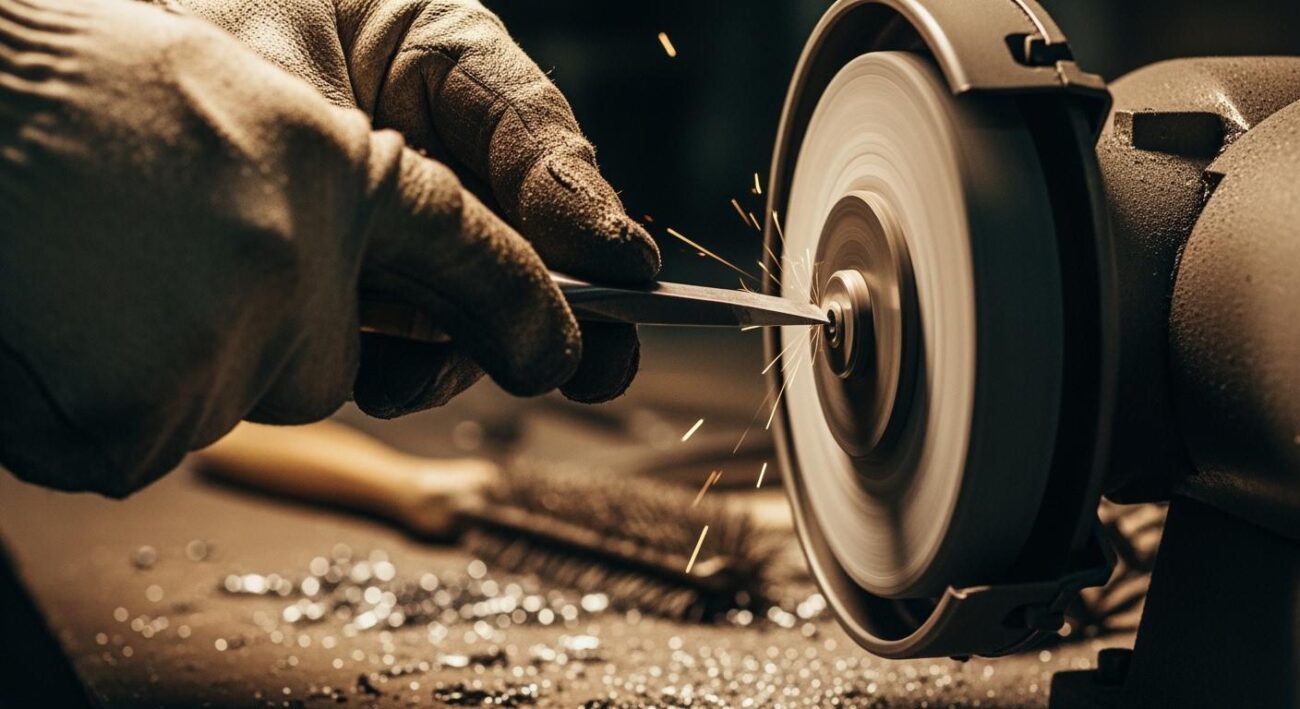
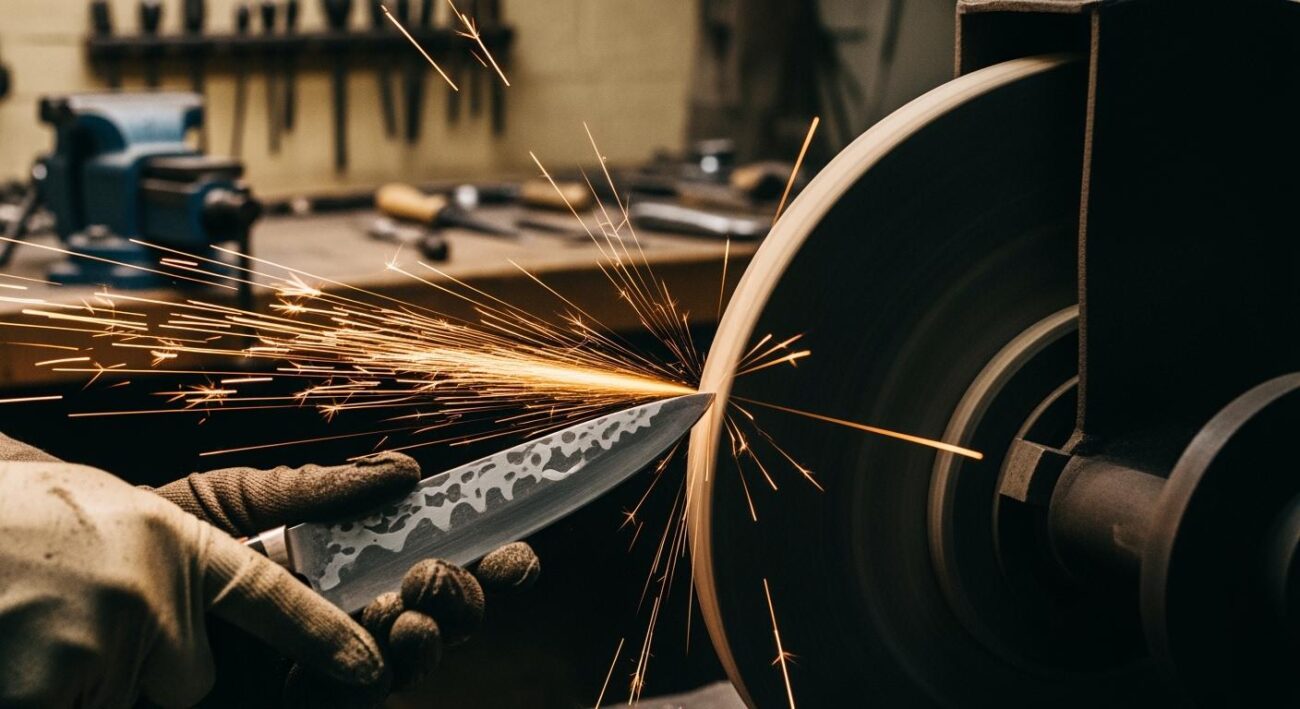
Inspect the Wheel for Damage
Shipping and handling can sometimes damage a new wheel. Even a small flaw can cause a grinding wheel vibrating issue, leading to poor results and unsafe operation. A damaged wheel can create chatter and leave chatter marks on your material.
- Look for Cracks and Chips: Carefully examine the entire surface and edges. A small crack can grow under the stress of grinding and cause the wheel to fail.
- Check for Discoloration: Any unusual spots or discoloration might indicate a manufacturing defect.
- Confirm RPM Rating: Verify the maximum RPM on the wheel’s label. It must be higher than your grinder’s RPM. Using a wheel on a machine that is too fast is extremely dangerous.
Taking these steps helps you find obvious problems before you even start the grinder. Finding a flaw now saves you from bigger headaches later.
Use the “Ring Test” for Hidden Flaws
Some cracks are too small to see. The “ring test” is an acoustic inspection method that helps you find hidden internal damage. This is one of the most effective troubleshooting techniques for ensuring wheel integrity. Performing this test is a crucial step before any grinding.
- Prepare the Wheel: Make sure the grinding wheel is clean and completely dry. Moisture or dust can deaden the sound and give you a false result.
- Suspend the Wheel: Hang smaller wheels from a pin or your finger through the center hole. You can stand larger wheels on their edge on a clean, hard floor.
- Tap the Wheel: Use a non-metallic object, like a screwdriver handle or a wooden mallet. Gently tap the wheel about 1-2 inches from the edge.
- Listen to the Sound:
- A clear, high-pitched ring means the wheel is sound and safe to use.
- A dull thud or dead sound indicates a hidden crack. This sound means the wheel is unsafe and you must discard it. The vibration from a cracked wheel will produce chatter and chatter marks.
Important Note: If you hear a dull sound, do not use the wheel. No amount of adjustment will fix an internal crack. Taking corrective actions now by replacing the wheel is essential for safe grinding. This simple test prevents a major failure and ensures a smooth, vibration-free operation, free of chatter and chatter marks.
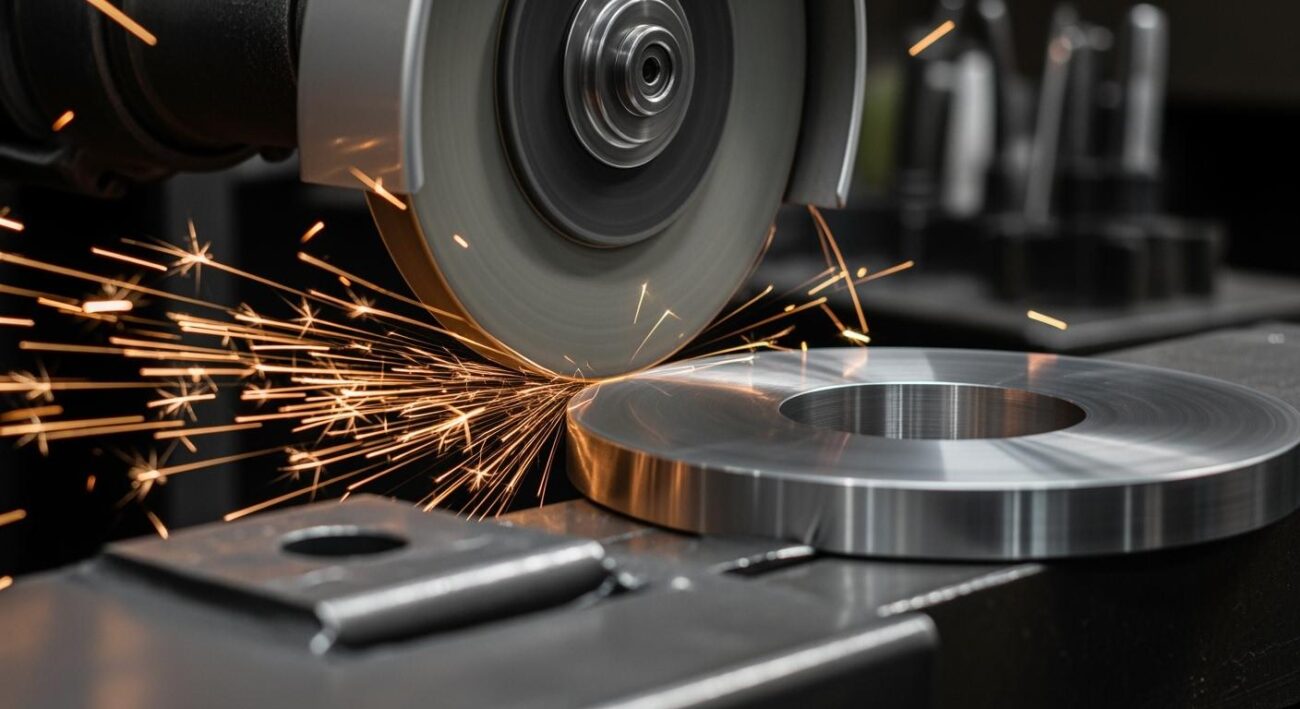
Identifying the Source of Vibration and Chatter
If you have checked the mounting and inspected the wheel with no success, the issue lies deeper. It is time for a more detailed analysis to find the true source of vibration. This vibration often appears as chatter, a rapid, rhythmic shaking that leaves tell-tale chatter marks on your workpiece. A systematic analysis of the following root causes will help you restore smooth grinding operations.
An Unbalanced Wheel as a Key Cause
A primary source of vibration is an unbalanced grinding wheel. Even a brand-new wheel can have a slight imbalance. This can come from a few places:
- An uneven distribution of abrasive particles during manufacturing.
- A slight eccentricity when you install the wheel on the spindle.
- The wheel itself having an uneven thickness.
This imbalance creates a wobble that turns into intense vibration and chatter at high speeds. The result is a poor surface finish and reduced machining accuracy. While you can use tools like balancing heads or movable weights to correct the balance, prevention is always better. Investing in high-quality, precision-engineered wheels from specialists like Aimgrind can help you avoid these issues. Their products are manufactured to strict balance and quality standards, ensuring greater stability right out of the box.
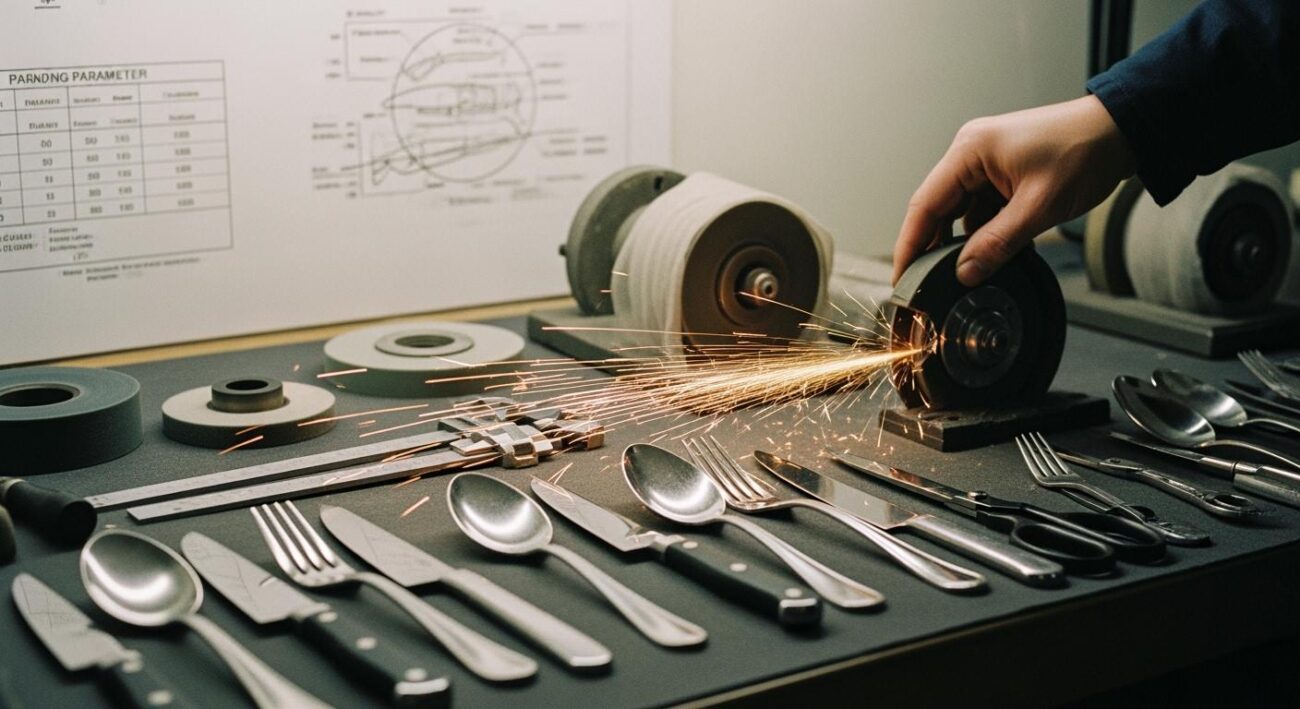
Incorrect Grinding Wheel for the Machine
You must match your grinding wheel to your machine’s specifications. The most critical factor is the RPM (Revolutions Per Minute) rating.
RPM Safety Check ⚙️
Always check the label on your wheel for its maximum safe RPM. Then, confirm your grinder’s operating speed. The grinder’s RPM must never exceed the wheel’s maximum RPM.
Using a wheel with a lower RPM rating than your tool is a dangerous mistake. This mismatch can cause the grinding wheel vibrating issue to become so severe that the wheel cracks or shatters, sending fragments flying. This poses a serious risk of injury and equipment damage. A proper match ensures both safety and optimal grinding performance, preventing chatter.
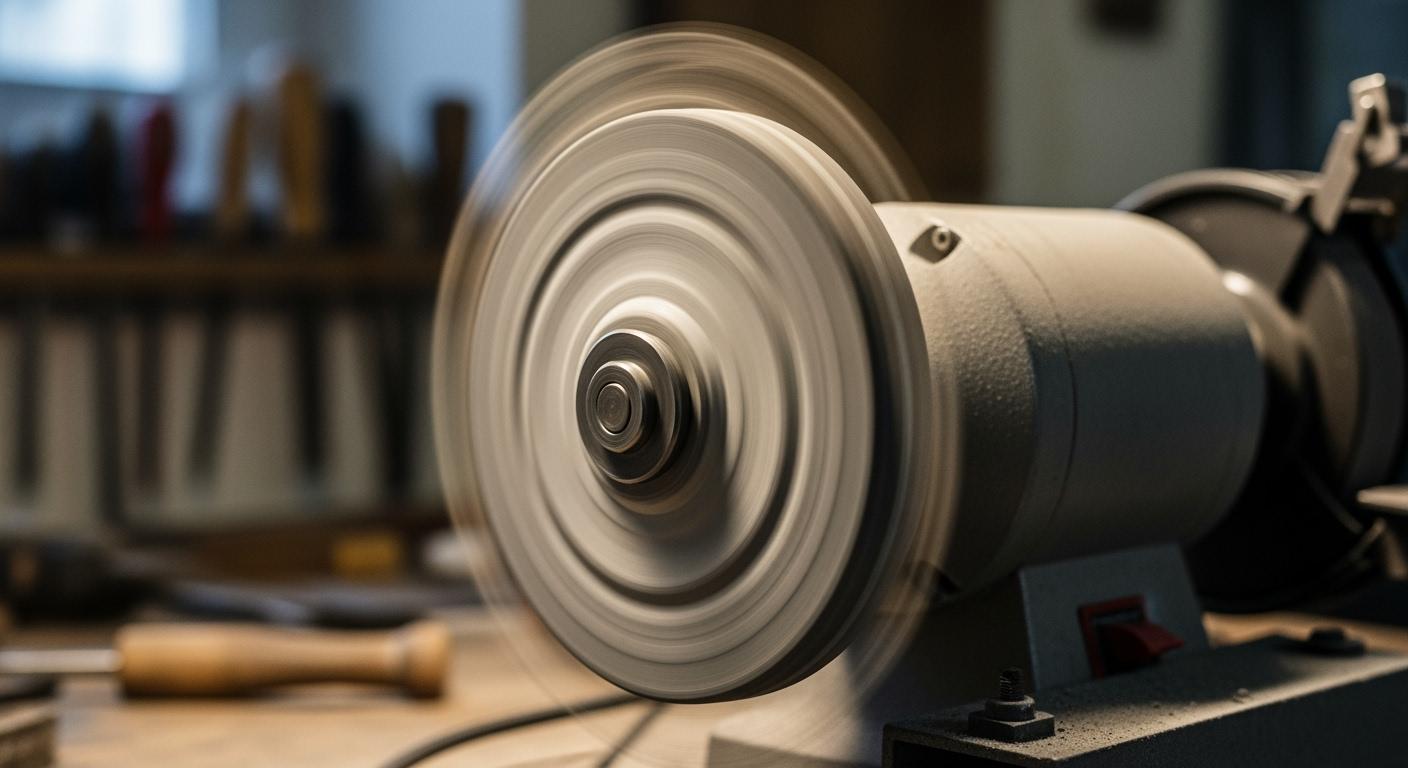
Grinder-Related Issues and Runout
Sometimes, the problem is not the wheel but the grinder itself. Over time, machine components wear out, leading to vibration. Two common culprits are worn spindle bearings and motor shaft runout. Runout is a term for a spindle that does not rotate perfectly true, causing a wobble.
Look for these symptoms of worn grinder components:
- Unusual Noises: Grinding, rattling, or high-pitched screeches from the machine point to bearing failure.
- Excessive Heat: Worn bearings create extra friction, causing the spindle housing to become unusually hot.
- Poor Finishes: If you consistently get chatter marks regardless of the wheel you use, worn bearings are a likely cause. The lack of rigidity creates instability and chatter.
A thorough analysis of your machine’s condition is essential if you suspect it is the source of vibration.
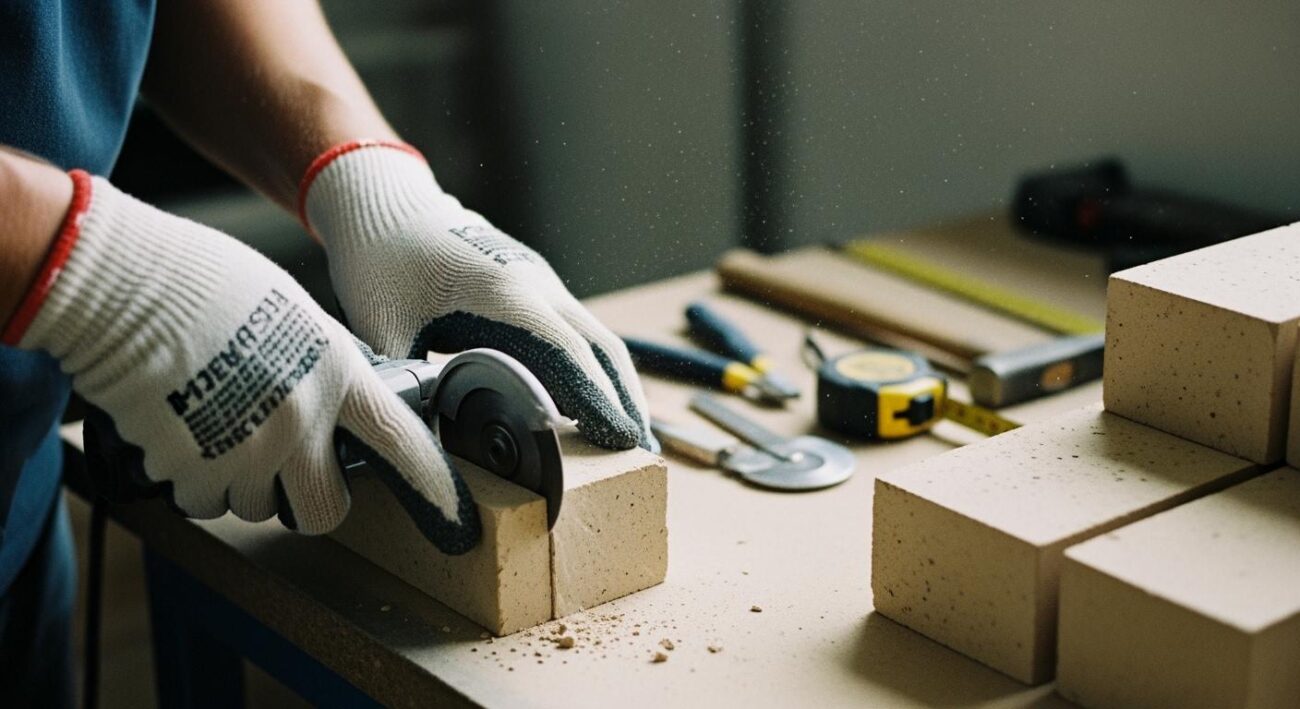
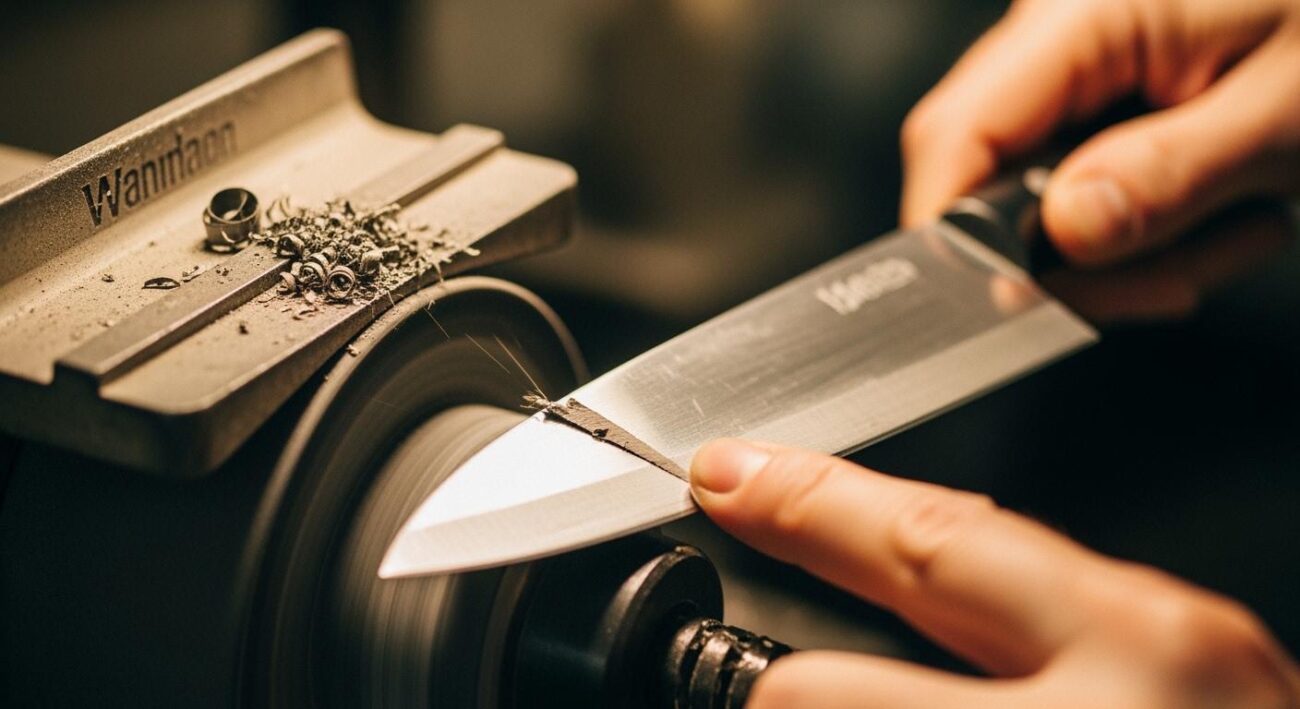
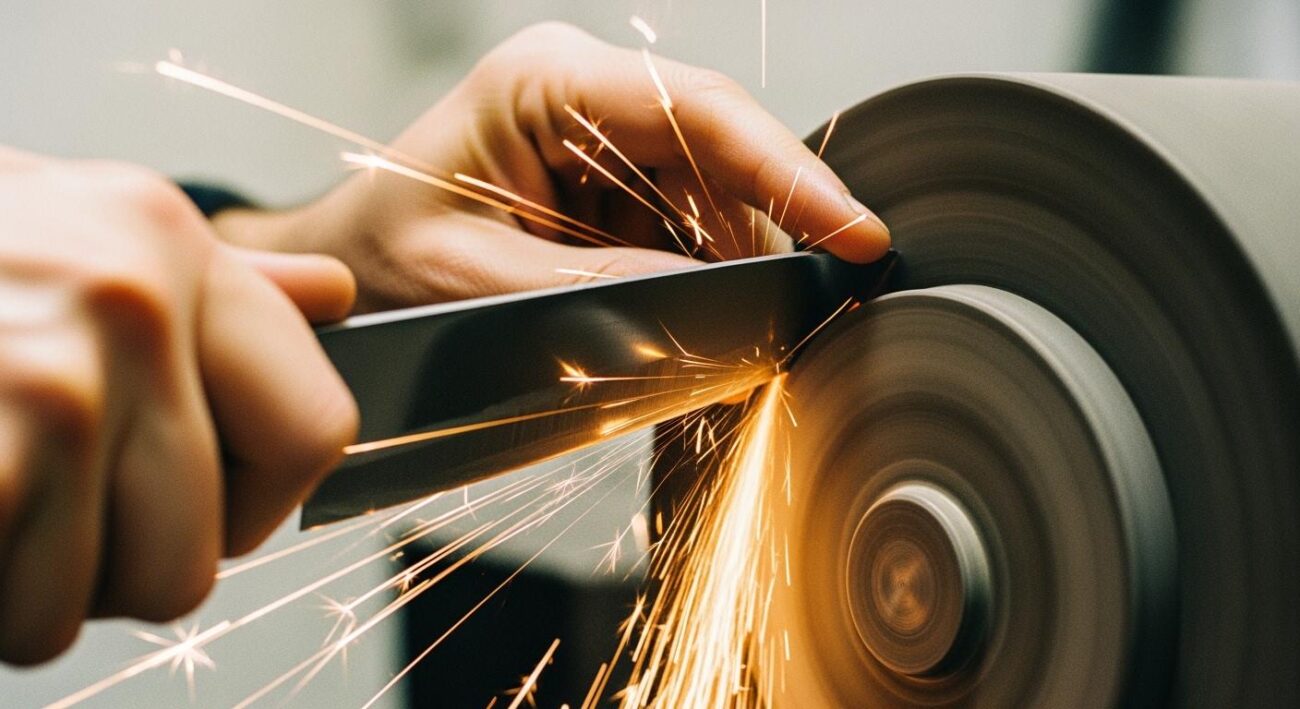
Improper Grinding Parameters
Your technique during grinding can also introduce vibration. Pushing the workpiece into the wheel too aggressively or using an excessive feed rate forces the system beyond its limits. This overload causes the wheel to bounce or deflect, creating chatter. This has a direct negative effect on surface finish, leaving ugly chatter marks.
To fix this, reduce your feed rate and apply steady, even pressure. Let the grinding wheel do the work. Finding the right parameters for your material and wheel is key to achieving stability and a clean finish without chatter.
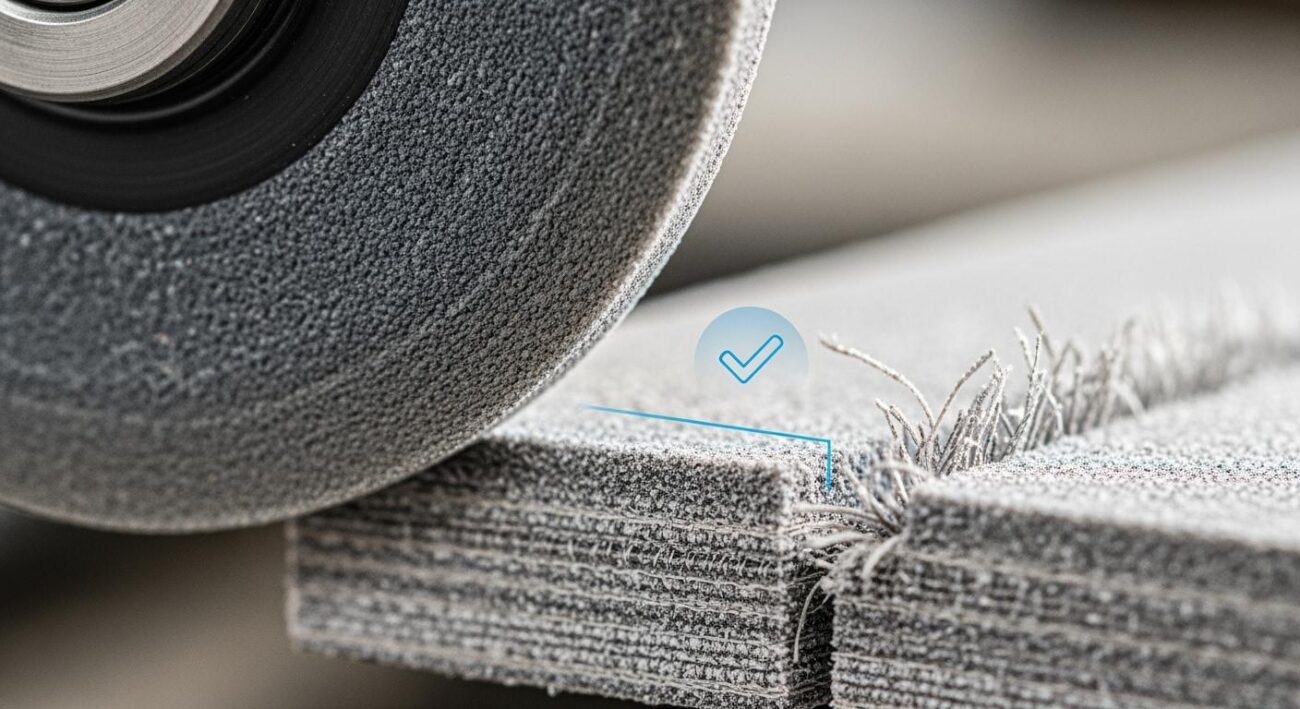
The Need for Initial Wheel Dressing
You should always dress a new grinding wheel before its first use. Dressing is the process of truing the wheel’s surface so it is perfectly concentric with the spindle. Even a new wheel may not be perfectly round or may have high spots.
Dressing accomplishes two things:
- It ensures concentricity, eliminating any inherent wobble from the wheel. This is crucial for preventing vibration and chatter.
- It sharpens the wheel’s surface, exposing fresh abrasive grains for efficient grinding.
You can use tools like a diamond dresser or a dressing stick to perform this task. A properly dressed wheel runs smoothly, cuts cleanly, and helps you avoid chatter marks from the very start.
Future-Proofing: How to Prevent Vibration
Preventing vibration is better than fixing it. You can take simple steps to ensure your grinding operations are always smooth and safe. Proper care of your tools and wheels is the key to long-term success. This helps you eliminate chatter marks and achieve perfect results every time.
Correct Storage for Grinding Wheels
How you store your grinding wheel directly affects its performance. Improper storage can cause damage that leads to vibration and dangerous failures. You can avoid these problems with good habits.
Storage Best Practices 🌡️
Store your wheels in a dry place with stable temperatures between 60-80°F (15-25°C). High humidity weakens the wheel’s bond, while temperature swings can cause microcracks. Both issues create imbalance and intense chatter.
Follow these simple storage rules:
- Store Vertically: Place wheels upright in a rack with dividers. This prevents warping and damage.
- Use Separators: If you must stack wheels, put cardboard between each one. This protects them from scratches.
- Inspect Before Use: Always check a stored wheel for damage before mounting it. This simple check helps you avoid chatter during grinding.
Routine Grinder Maintenance
Regular maintenance is your best defense against vibration. A well-maintained grinder provides the stability needed for precision work. You should perform monthly checks to catch problems early. This is essential for minimizing chatter marks.
Your maintenance routine should include:
- Checking for Loose Parts: Ensure all bolts, guards, and mounts are tight.
- Inspecting Bearings: Listen for unusual noises that signal worn bearings, a major source of chatter.
- Cleaning Components: Keep the spindle and flanges free of debris.
- Adding Support: Place your grinder on vibration-dampening pads. These absorb small movements and improve stability, which helps eliminate chatter marks.
A consistent maintenance schedule prevents the buildup of issues that cause vibration and chatter marks. This proactive approach is crucial for smooth grinding.
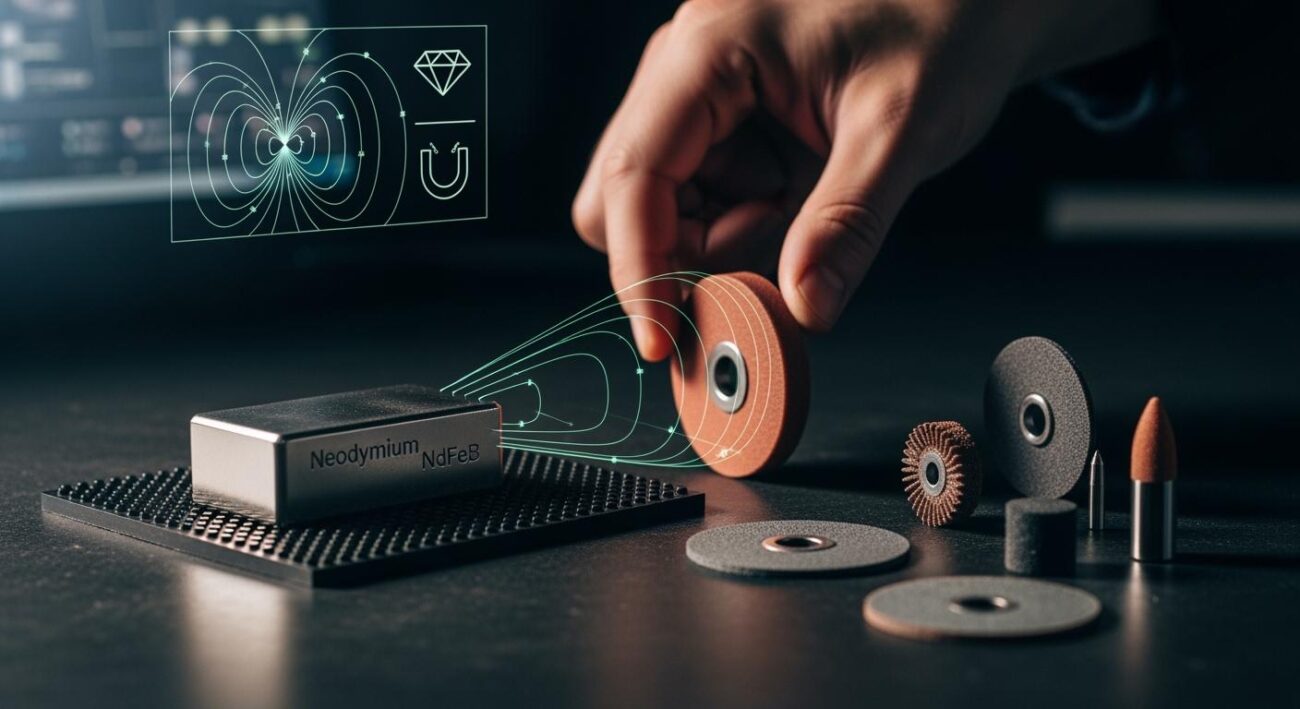
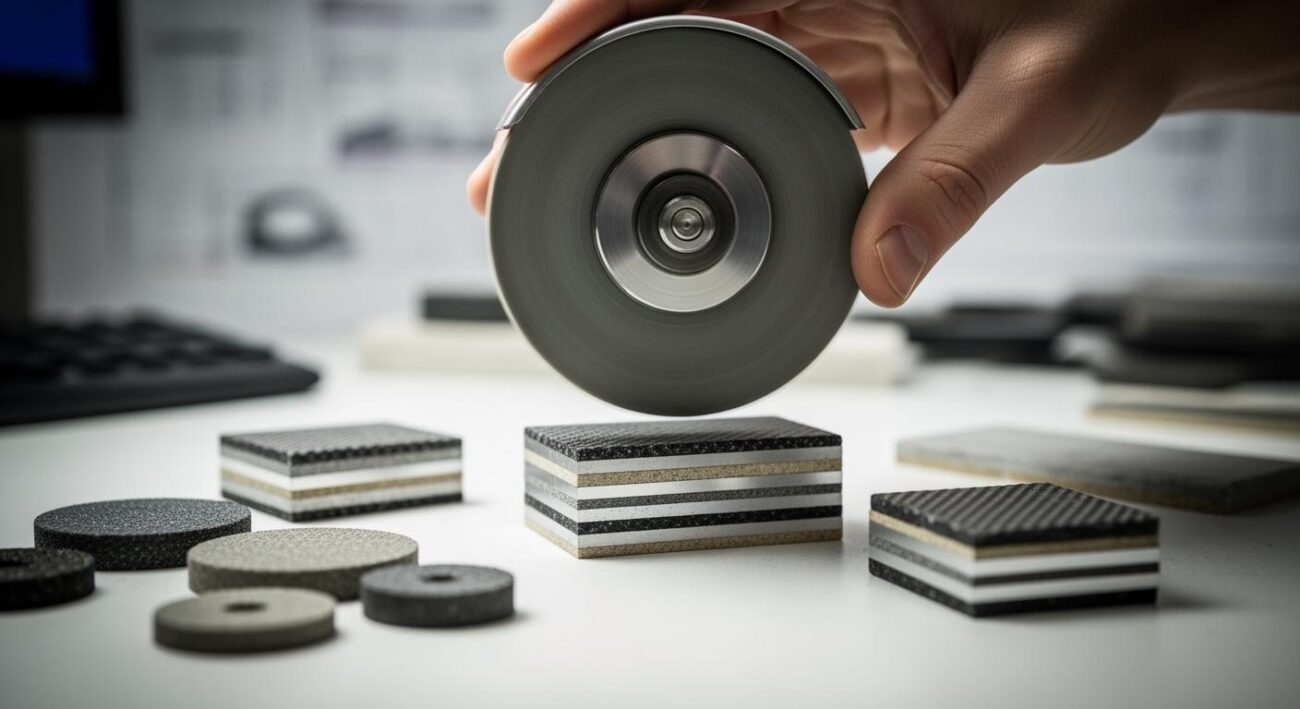
Choosing Quality Diamond Grinding Wheels
The quality of your wheel is a major factor in preventing vibration. High-quality wheels are precision-engineered for balance and stability. This helps you eliminate chatter marks from the start. The bond material in a diamond grinding wheel is especially important. A stiffer bond improves grinding efficiency and offers superior vibration-dampening qualities. This reduces the chatter felt by the abrasive grains.
Investing in premium wheels from a specialized brand like Aimgrind ensures you get a product made to strict standards. Their diamond grinding wheels are designed for optimal balance, which is critical to eliminate chatter marks. Choosing the right wheel for your grinding application is the final step to eliminate chatter marks and stop the frustrating chatter that ruins your work. You can avoid many chatter marks and achieve a flawless finish with a quality wheel.
A grinding wheel vibrating often stems from improper mounting or imbalance, causing vibration and chatter. Your first step is to fix this vibration by checking the mount to stop the chatter and prevent chatter marks. Deeper vibration issues cause more chatter and leave more chatter marks. Smooth grinding is essential for safety. It helps you avoid vibration, chatter, and ugly chatter marks for a perfect grinding finish without chatter or chatter marks.
FAQ
Why is my new wheel vibrating right away?
Your new wheel likely vibrates due to improper mounting, a slight imbalance from manufacturing, or hidden damage from shipping. You should first check that the wheel is mounted securely and is free of any cracks or chips. This simple check solves most vibration issues.
What does a dull sound during the “ring test” mean?
A dull thud means the wheel has a hidden internal crack. You must not use this wheel. Discard it immediately and use a new one. A cracked wheel is extremely dangerous and can shatter during operation, causing serious injury.
Do I really need to dress a brand-new wheel?
Yes, you should always dress a new wheel. Dressing makes the wheel perfectly round and concentric with the grinder’s spindle. It also exposes fresh abrasive grains. This step ensures a smooth, vibration-free start and better grinding performance from the beginning.
How do I know if the grinder is the problem, not the wheel?
You can suspect the grinder is the issue if you notice these signs:
- Unusual noises like rattling or screeching.
- The spindle housing feels excessively hot.
- Vibration occurs with multiple different wheels.
These symptoms often point to worn bearings or other machine-related problems.
Contact Us
For More Grinding Solution or Customized Abrasive Tools