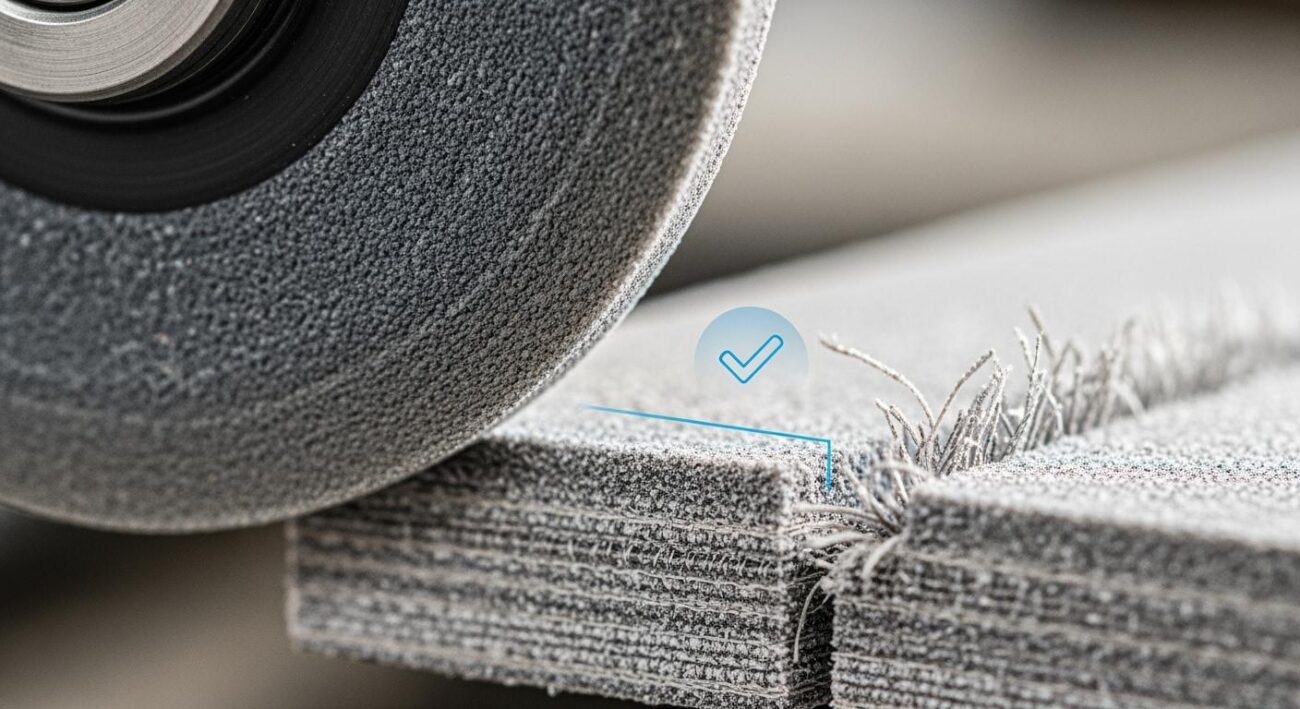
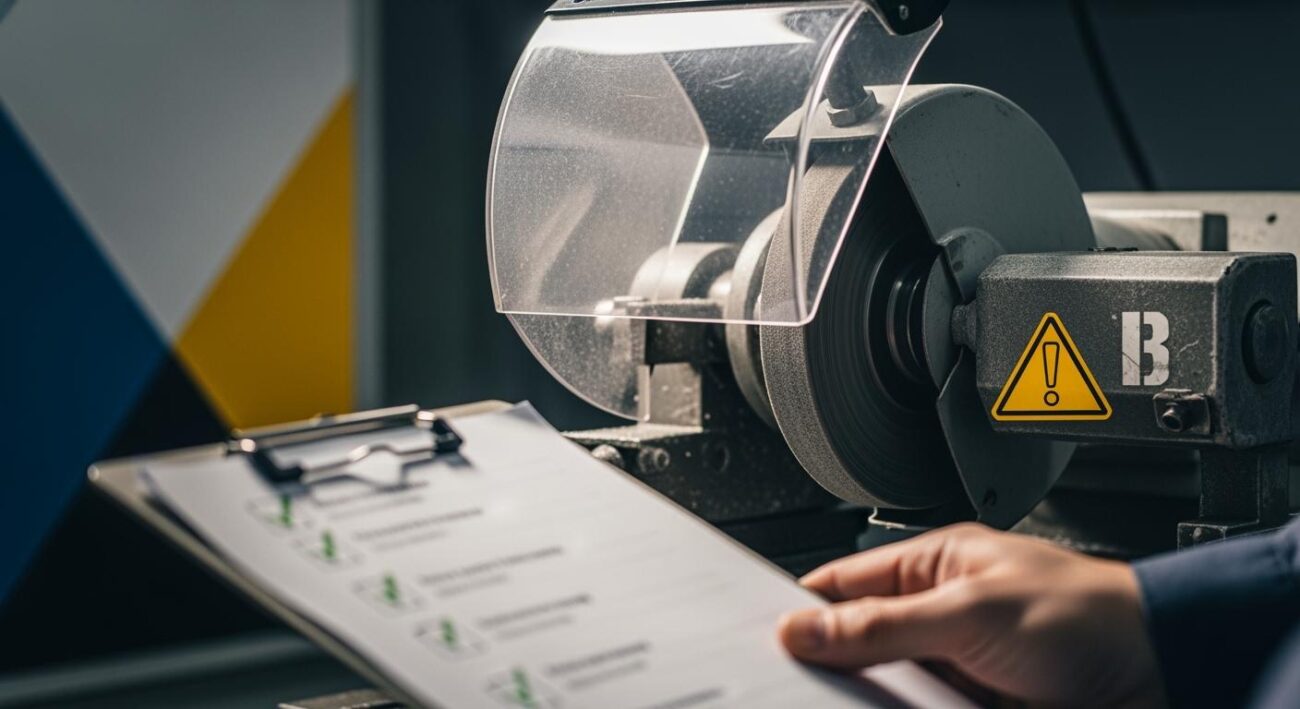
Learning how to properly and safely change grinding wheel attachments is a critical skill for any workshop. Improper maintenance can lead to severe accidents. In a single year, OSHA documented over 1,000 serious violations related to grinders.
Common injuries include loss of an eye, finger amputations, and deep cuts.
By following simple, step-by-step instructions, you can ensure the job is done right. This will not only prevent damage to your tool but also protect you from harm. This guide is designed to give you the confidence to complete the task correctly every time.
Key Takeaways
- Always unplug your bench grinder and wear safety gear before you start any work.
- Remove guards and loosen the arbor nut carefully; remember that one side has a reverse thread.
- Inspect your new grinding wheel for damage and ensure its RPM rating is higher than your grinder’s.
- Install the new wheel, flanges, and nut correctly, tightening it just enough to be firm.
- Perform a ring test on the new wheel and run the grinder for one minute from the side to check for wobbles.
Preparation: Tools and Safety First
Before you touch the grinder, proper preparation is key. Taking a few minutes to gather your tools and secure the workspace prevents accidents and makes the job go smoothly. This section covers the essential first steps.
Gather Your Essential Tools
You will need a few specific tools to change the grinding wheel. Having everything ready avoids delays and frustration. Check your workspace for the following items:
- A wrench that fits the arbor nut (an adjustable wrench often works well)
- A new, compatible grinding wheel
- Your personal protective equipment (PPE)
- A small wire brush for cleaning threads
Unplug the Bench Grinder
This is the most critical safety step. You must completely disconnect the bench grinder from its power source. Simply turning off the switch is not enough. Electrical safety standards require a reliable way to de-energize equipment before any maintenance. Unplugging the machine ensures it cannot accidentally turn on while you are working.
For an extra layer of safety in a shared workshop, use a Lockout/Tagout (LOTO) device on the plug. This physically prevents anyone else from plugging the machine back in.
Wear Your Safety Gear
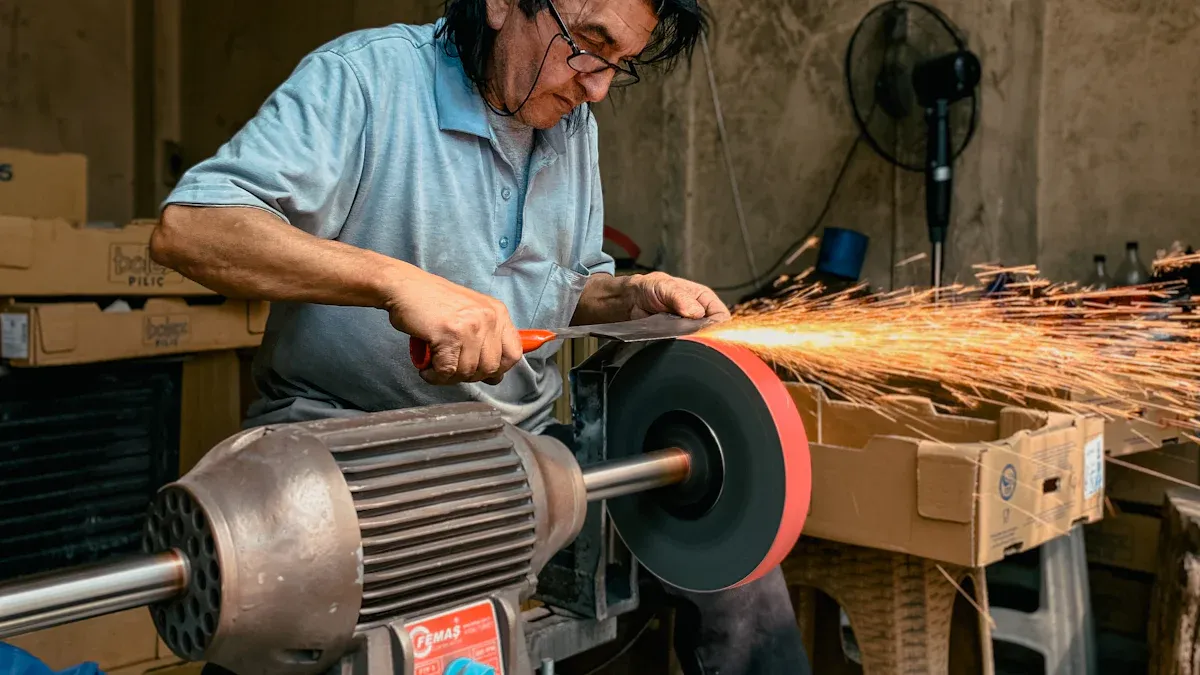
Protecting yourself is non-negotiable. A damaged grinding wheel can shatter, sending sharp fragments flying at high speeds. Always wear the proper safety gear before you begin. Your essential PPE includes:
- Safety Glasses or Goggles: Shield your eyes from dust and potential debris. A full-face shield offers even better protection.
- Gloves: Protect your hands from sharp edges and dirt.
- Dust Mask or Respirator: Prevents you from inhaling harmful abrasive dust particles.
With your tools gathered and safety precautions in place, you are ready to start the disassembly process.
How to Change a Grinding Wheel: Disassembly
With your safety gear on and the grinder unplugged, you are ready to begin the disassembly. This process involves removing the guards and hardware that secure the wheel. Follow these steps carefully to safely access and change grinding wheel components.
Remove the Outer Guards
Your first task is to remove the outer safety guards. These are the spark arrestor and the tool rest. Most bench grinders use simple screws or bolts to hold these parts in place.
- Locate the screws or bolts securing the tool rest in front of the wheel.
- Use the appropriate wrench or screwdriver to loosen and remove them.
- Set the tool rest and its hardware aside in a safe place.
- Do the same for the spark arrestor, which is the small adjustable plate at the top of the wheel opening.
Take Off the Wheel Cover Plate
Next, you need to take off the wheel cover plate. This metal housing encloses the side of the grinding wheel for safety.
- You will see several bolts on the side of the cover.
- Use your wrench to unscrew these bolts.
- Once you remove the bolts, the cover plate should come off easily.
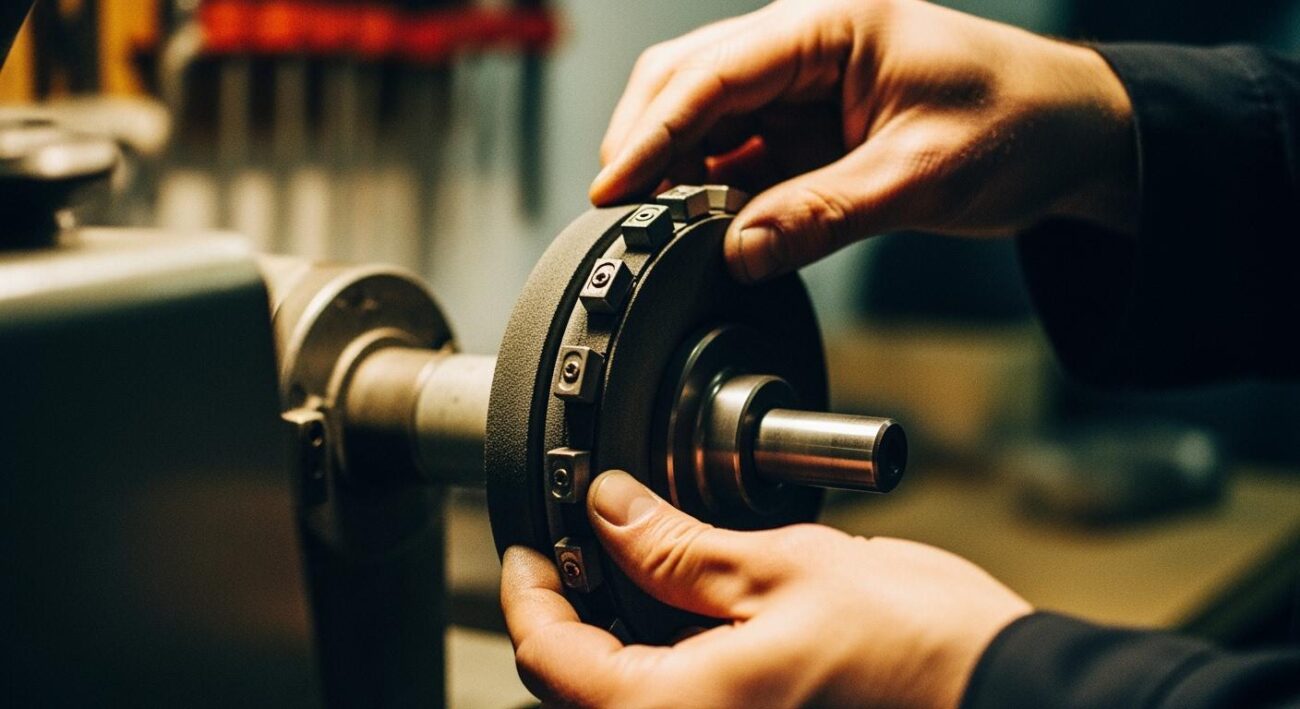
- This exposes the arbor nut, flanges, and the grinding wheel itself.
Loosen the Arbor Nut
Removing the nut that holds the wheel is often the trickiest part. The threads are designed to tighten as the wheel spins, which prevents the nut from loosening during use. This means one side is reverse-threaded.
Important Tip: The direction you turn the wrench depends on which side of the grinder you are working on.
- Left-Side Wheel: This nut has a left-hand (reverse) thread. You must turn it clockwise (to the right) to loosen it.
- Right-Side Wheel: This nut has a standard right-hand thread. You must turn it counter-clockwise (to the left) to loosen it.
Sometimes, the arbor nut can be very stubborn. If it will not budge, try one of these methods for removing the nut:
- Brace the Wheel: Wedge a small piece of scrap wood between the wheel and the housing. This prevents the wheel from turning while you apply force to the wrench.
- Use a Mallet: Place your wrench securely on the nut. Give the end of the wrench a firm, quick tap with a rubber or wooden mallet in the loosening direction. The sudden impact can break the nut free.
- Impact Wrench (Last Resort): For extremely frozen nuts, an impact wrench can be effective. Use it on the lowest setting to avoid damaging the arbor threads.
Remove the Outer Flange and Old Wheel
After you successfully remove the nut, the final steps are simple.
- Slide the outer flange off the arbor shaft. The flange is the large, cupped washer that sits directly under the nut.
- With the flange removed, you can now carefully remove the old grinding wheel. Gently pull it straight off the arbor.
- If the wheel feels stuck, do not force it. Wiggle it gently back and forth to work it loose. Forcing it could bend the arbor shaft.
You have now completed the disassembly. The next step is to prepare and install your new wheel to finish the job and change grinding wheel attachments correctly.
How to Replace a Wheel on a Bench Grinder: Installation
You have successfully removed the old wheel. Now, you will learn how to replace a wheel on a bench grinder with a new one. This installation process is just as important as the disassembly for ensuring safety and performance.
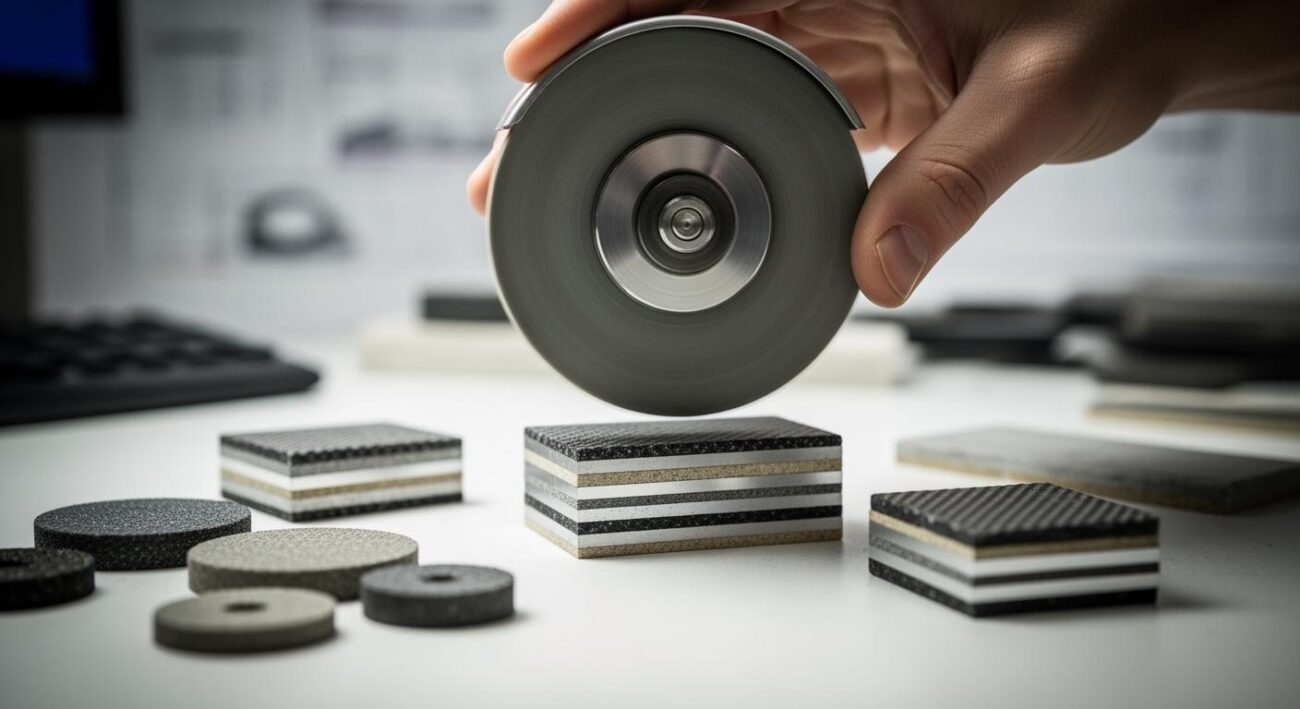
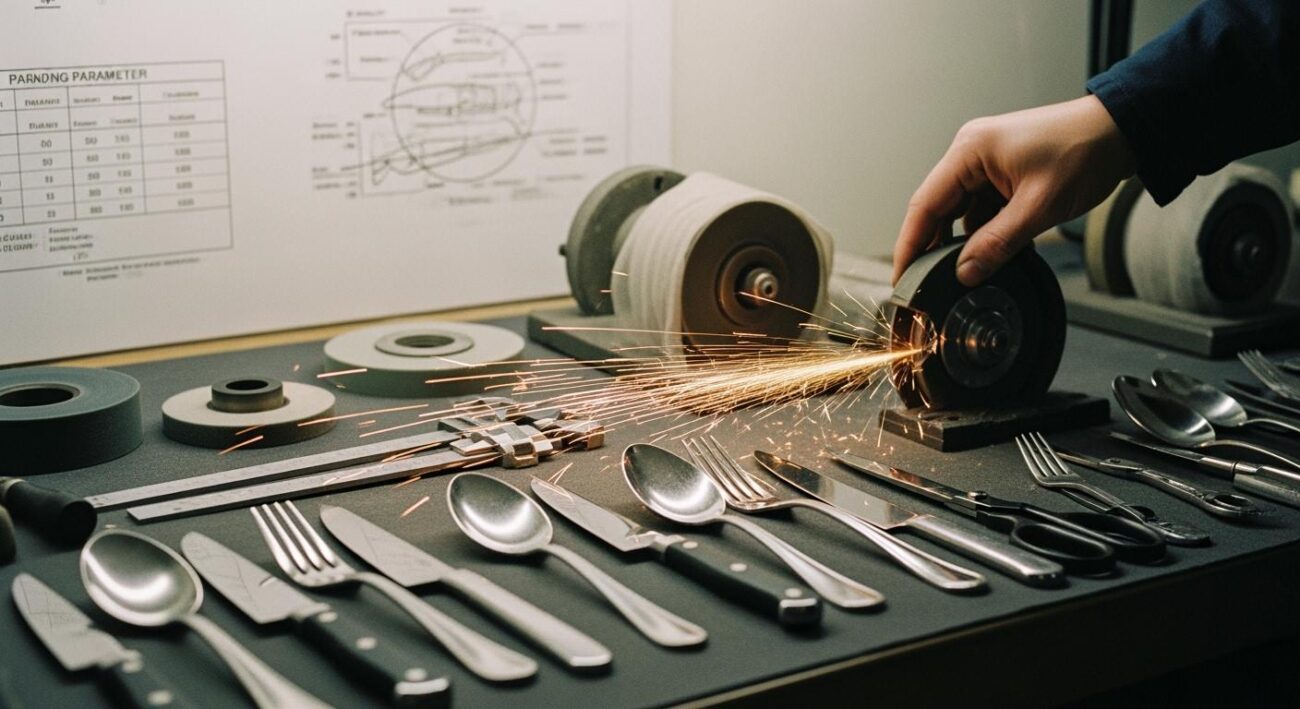
Choose Your New Aimgrind Wheel
Selecting the correct grinding wheel is the first step. Your choice depends on the material you plan to work with. For users grinding hard materials like alloys, ceramics, or composites, upgrading to a premium wheel is a smart investment.
Upgrade Your Performance with Aimgrind
For demanding jobs, consider an Aimgrind diamond grinding wheel. These wheels offer exceptional durability, precision, and a long service life. An Aimgrind wheel is a valuable upgrade that provides faster material removal and superior surface finishes, enhancing your productivity.
Use this table to help you choose the right grit size for your project:
| Grit Size | Suitable Materials | Typical Application |
|---|---|---|
| 10-24 | Stainless steel, cast iron, hard steel | Rough grinding, heavy stock removal |
| 30-60 | Mild steel, aluminum, general metals | General purpose, shaping |
| 70-220 | Carbide, high-speed steel | Precision grinding, tool sharpening |
Remember these material-specific guidelines:
- Ceramics and Carbide: Diamond wheels are the best choice for these hard, brittle materials.
- Tool Steels: Cubic Boron Nitride (CBN) wheels are ideal for ferrous metals like high-speed steel.
- Cast Iron: Use silicon carbide wheels for their hardness and sharpness.
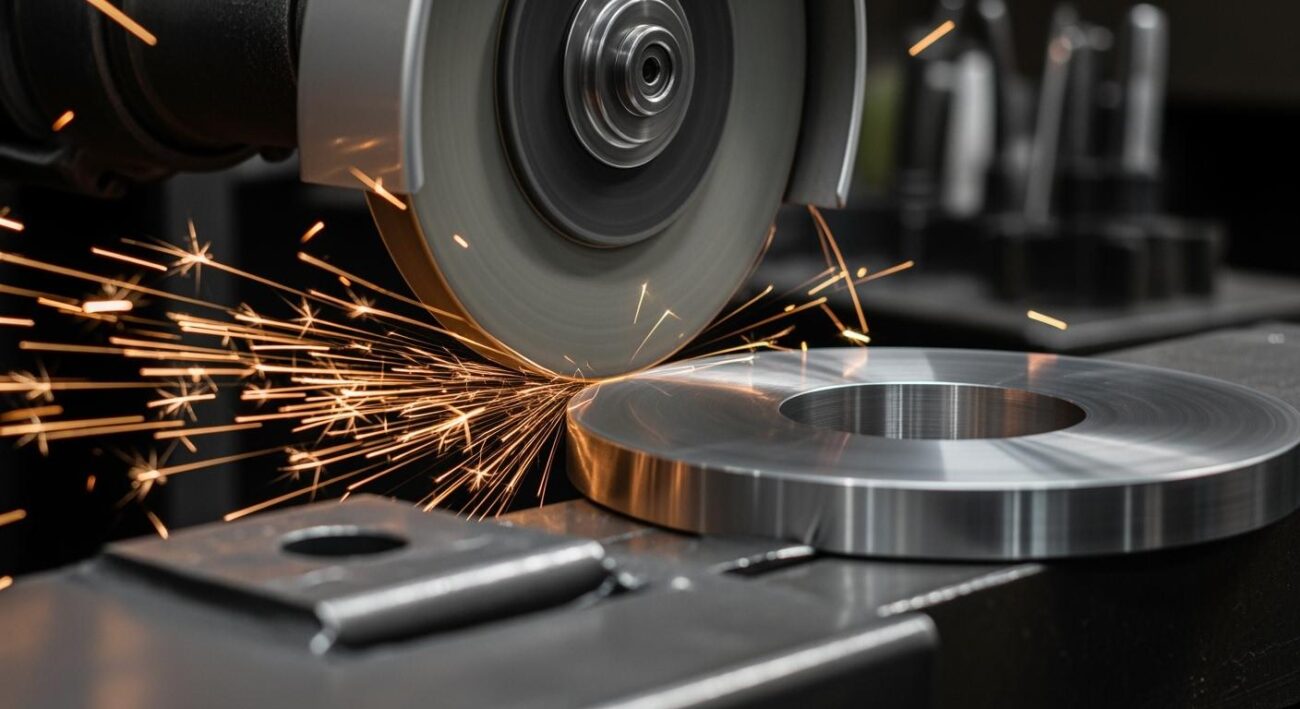
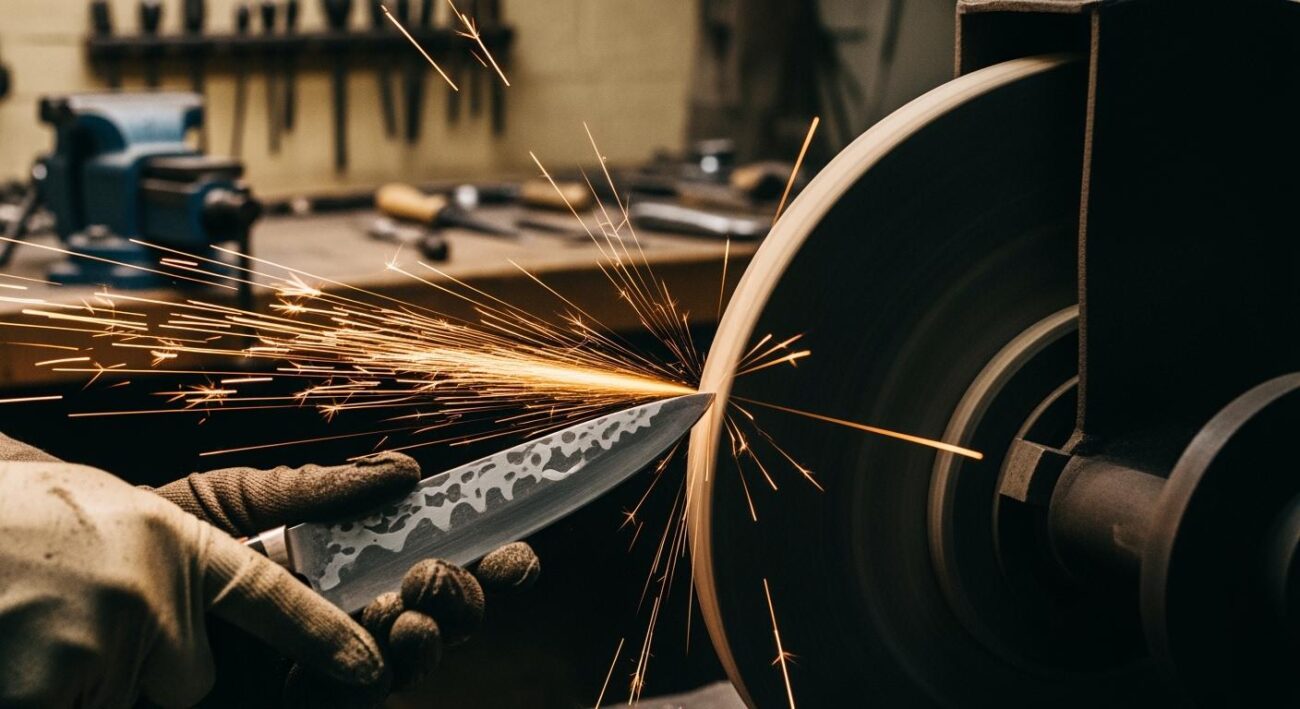
Inspect the New Wheel for Damage
Before you mount a new grinding wheel, you must inspect it for defects. A damaged wheel can shatter when it reaches full speed.
- Visual Inspection: Carefully look at the entire wheel. Check for any visible damage.
- Cracks and Chips: Fine cracks or chipped edges are serious safety hazards. Do not use a wheel with this type of damage.
- Uneven Surface: The grinding surface should be uniform. Nicks or raised areas are clear signs of a defect.
- Label Verification: Check the information printed on the wheel’s label or blotter (the paper ring).
- Confirm the arbor hole is the correct size for your grinder.
- Verify the maximum safe operating speed (RPM) on the label. This number must be higher than the RPM of your bench grinder.
If you find any damage or if the RPM rating is too low, do not use the wheel. Return it for a replacement.
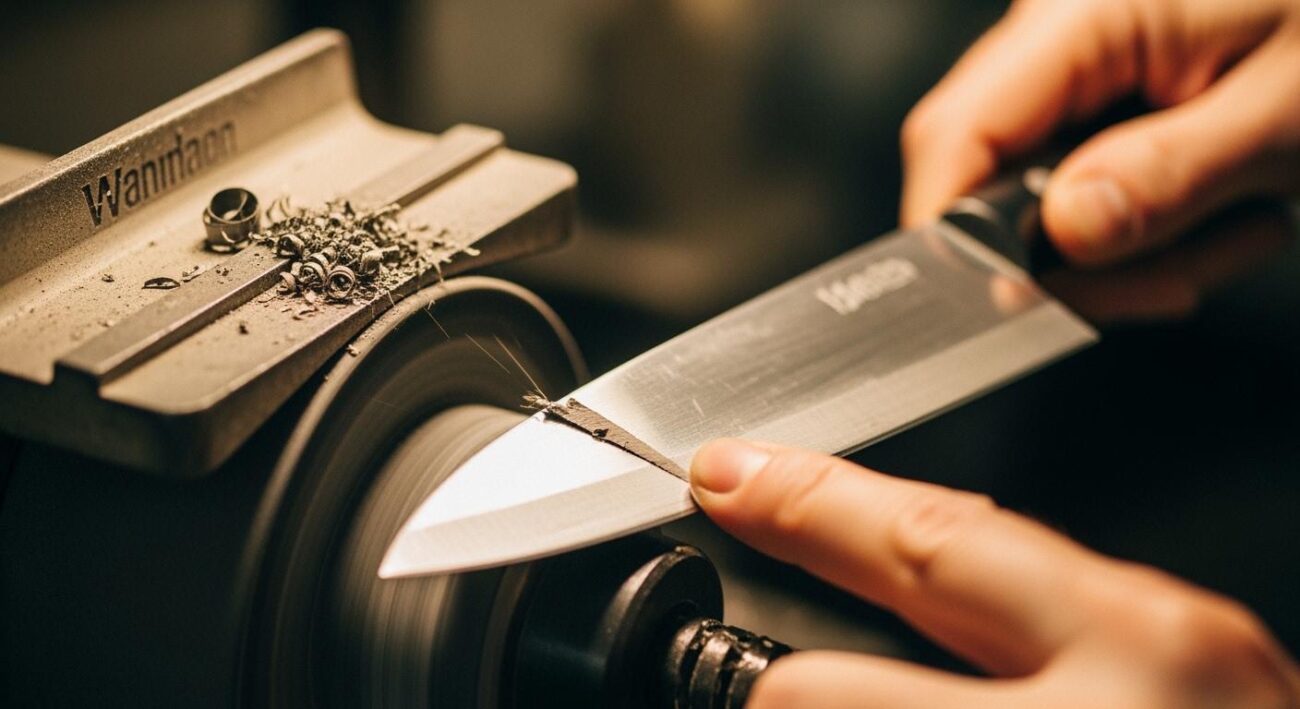
How to Replace a Bench Grinder Wheel Correctly
Properly mounting the wheel ensures it runs true and balanced. Follow these steps to replace a bench grinder wheel correctly.
- Clean the Arbor and Flanges: Use a wire brush to clean the arbor shaft and the inner and outer flanges. Remove any dust or metal shavings.
- Install the Inner Flange: Slide the inner flange back onto the arbor shaft. Make sure it sits flat against the machine.
- Use Blotters: Your new wheel should have paper blotters on each side. These blotters help distribute clamping pressure evenly. Never install a wheel without them.
- Slide the Wheel On: Gently slide the new grinding wheel onto the arbor. It should fit snugly but not require force. If it is too tight, the wheel or arbor may be the wrong size.
Reinstall the Outer Flange and Nut
With the wheel in place, you are ready to secure it. This step is critical for safe operation.
- Place the outer flange onto the arbor, against the wheel’s blotter.
- Thread the arbor nut back on by hand. Remember the thread directions:
- Left Side: Turn counter-clockwise to tighten.
- Right Side: Turn clockwise to tighten.
- Snug the nut with your wrench. It should be tight enough to hold the wheel firmly, but do not overtighten it.
⚠️ Important Safety Note Finding the right tightness is key.
- Over-tightening can crack the new grinding wheel, creating a severe failure risk.
- Under-tightening can allow the nut to come loose during operation, causing the wheel to wobble or fly off.
Reassemble All Guards and Covers
The final step to change grinding wheel attachments is to put all the safety components back. Never operate the grinder without them.
- Reinstall the side wheel cover plate and tighten its bolts.
- Reattach the tool rest. Adjust it so it is about 1/8 inch (3mm) away from the wheel.
- Reattach the spark arrestor. Adjust it to be about 1/16 inch (1.5mm) from the wheel.
You have now finished the process to replace a bench grinder wheel. The next section covers the final safety checks you must perform before use.
Final Checks and Testing Your Bench Grinder
You have successfully installed the new wheel. Before you start grinding, you must perform a few final safety checks. These steps ensure the wheel is sound and the machine is safe to operate.
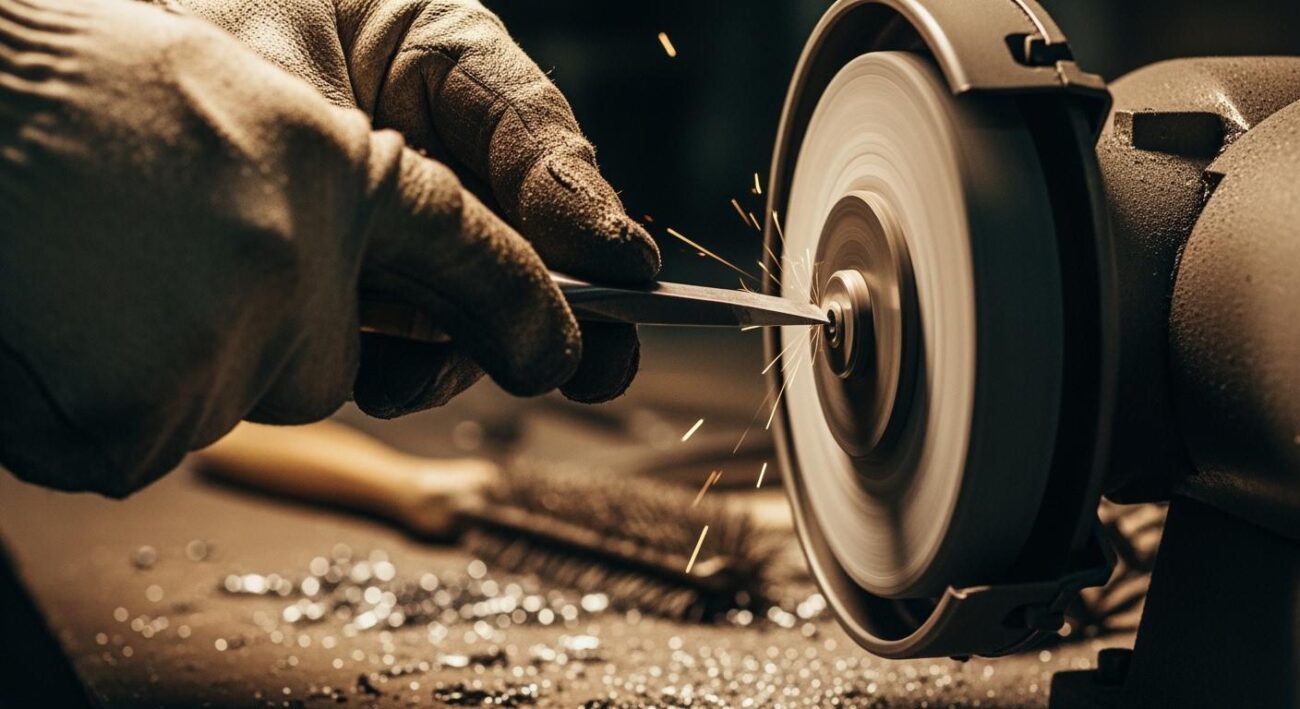
Perform the Ring Test for Wheel Integrity
The ring test helps you find hidden cracks in a new wheel before you mount it. A damaged wheel can shatter at high speed, so you should perform this test every time.
- Hold the grinding wheel by placing your finger through the center hole.
- Use the plastic handle of a screwdriver to gently tap the side of the wheel.
- Listen carefully to the sound it makes. You should tap it in a few different spots around the edge.
A clear, metallic ring means the wheel is safe to use. If you hear a dull thud or a dead sound, the wheel is likely cracked and you must not use it.
Note that resin-bonded wheels will naturally sound duller than vitrified wheels. This test is also not effective for very small or thin wheels.
Check for Proper Guard Clearances
Properly adjusted guards protect you from sparks and prevent accidents. You must check that all guards are secure and correctly positioned.
- Tool Rest: The gap between the tool rest and the wheel must be no more than 1/8 inch (3mm). This small gap prevents your workpiece from getting pulled into the machine.
- Spark Arrestor: Adjust the spark arrestor so it is about 1/16 inch (1.5mm) from the wheel.
- Covers: Make sure the side cover is securely bolted in place.
Stand Aside and Test Run the Grinder
This is the most important final test. Never start a bench grinder with a new wheel while standing in front of it.
- Make sure no one is in the direct line of the wheels.
- Stand to the side of the machine.
- Plug the grinder in and turn it on.
- Let the grinder run for at least one full minute.
- Listen for any unusual vibrations or noises.
If the machine runs smoothly, it is now ready for use.
You now understand that a correctly installed grinding wheel is a safe wheel. You have the skills to perform this essential maintenance with confidence. Upgrading to a high-performance wheel, like one from Aimgrind, makes your projects more efficient and precise.
Now you’re ready to Grind with Passion, Achieve with Aim.
FAQ
How often should I change my grinding wheel?
You should replace your wheel when it is worn, damaged, or glazed. Inspect it before each use. A wheel that is too small or has cracks is unsafe. This ensures both your safety and the grinder’s performance.
Can I use a wheel with a higher RPM than my grinder?
Yes, you can safely use a wheel with a higher RPM rating than your grinder. You must never use a wheel with an RPM rating lower than your grinder’s speed. This can cause the wheel to shatter during operation.
What should I do if my new wheel wobbles?
Immediately turn off the grinder and unplug it. You need to check your installation. Ensure the wheel fits the arbor correctly and the flanges are clean and flat. An improperly mounted wheel is dangerous and requires immediate correction.
Why is one nut on my bench grinder reverse-threaded?
The reverse thread is a safety feature. The grinder’s rotation naturally tightens the nut during use. This smart design prevents the nut from loosening and the wheel from flying off while you are working with the tool.