Before installing grinding wheel components, completing three essential steps is crucial. You must visually inspect the wheel, perform a “ring test,” and verify its compatibility with the grinder. These actions serve as your primary defense for ensuring operator safety, as grinder accidents pose a serious risk.
- In the U.S., over 5,000 injuries are linked to angle grinder use each year.
- The majority of these incidents occur when the abrasive wheel shatters.
Adhering to this protocol is a mandatory requirement for all grinding operations to prevent such accidents.
Key Takeaways
- Always check the grinding wheel for cracks or damage before you use it.
- Perform a “ring test” to find hidden flaws in the wheel; a good wheel makes a clear sound.
- Make sure the wheel’s speed and size match your grinder to prevent accidents.
- Clean the grinder’s parts and check the safety guard before putting on a new wheel.
- Use clean blotters and tighten the wheel nut gently to keep the wheel secure.
Key Checks Before Installing Grinding Wheel
Before installing grinding wheel components, you must perform several key safety checks. These steps are simple but critical for preventing wheel failure and ensuring your safety.
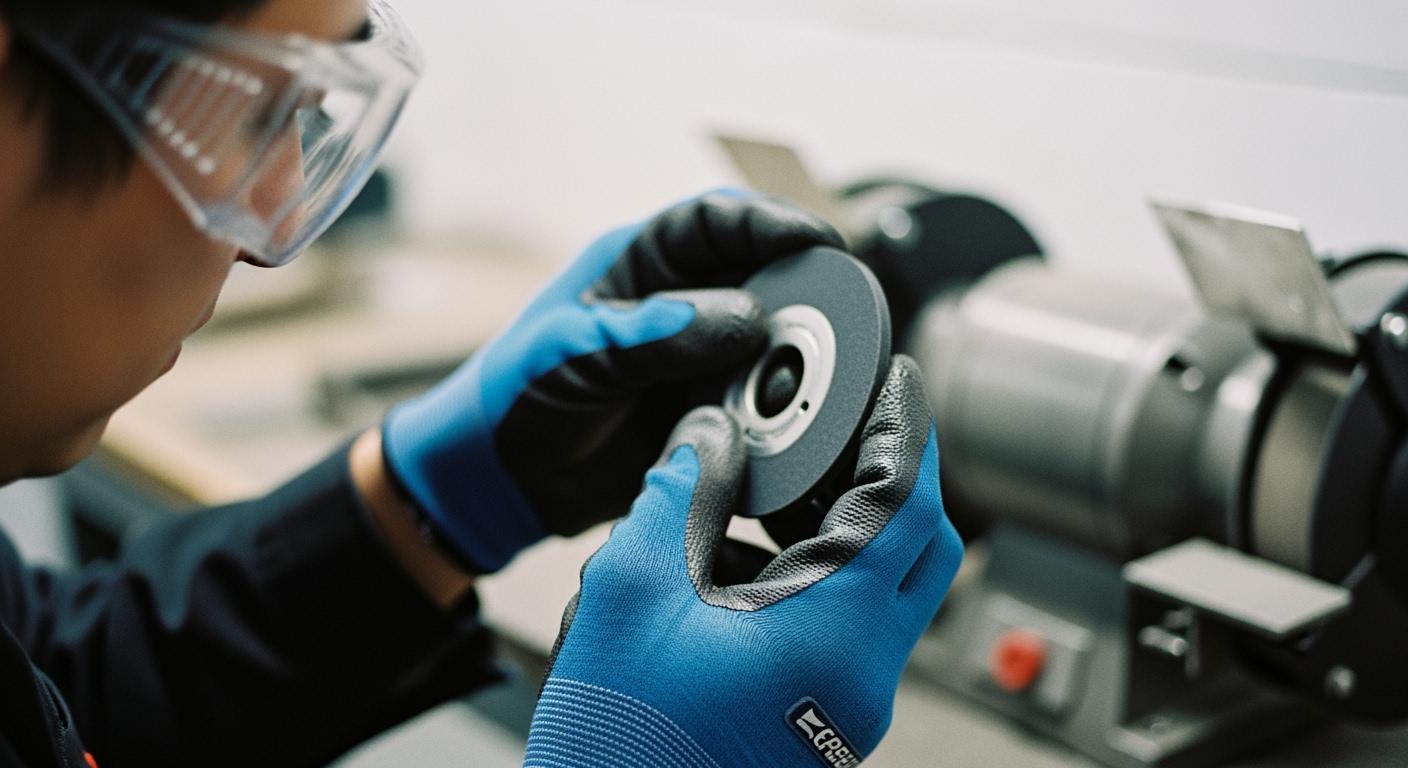
Conduct a Visual Inspection
Your first step is to carefully inspect the wheel with your own eyes. A new wheel can have hidden damage from shipping or handling. You should look for specific problems that make a wheel unsafe.
- Cracks: Even tiny hairline cracks can cause a wheel to shatter at high speed.
- Chips: Missing pieces or chips on the edge or face can create a dangerous imbalance.
- Discoloration: Burn marks or dark spots may indicate heat damage that weakens the wheel’s structure.
- Warping: The wheel should be perfectly flat. Any uneven surfaces or warping are signs of a defect.
OSHA rules require you to complete a thorough inspection before mounting any abrasive wheel. This simple action confirms the wheel is free from defects.
Perform the “Ring Test”
After the visual check, you must perform a “ring test.” This test helps you find hidden cracks that you cannot see. The process is straightforward.
- Make sure the wheel is dry and clean.
- Suspend the wheel through its center hole using a pin or your finger.
- Gently tap the wheel with a light, nonmetallic object, like a screwdriver handle. Tap it about 1-2 inches from the edge.
- Listen to the sound.
A good wheel will make a clear ringing sound, like a bell. A damaged wheel will produce a dull “thud” or “thunk” sound. A wheel that does not ring is junk and you must discard it immediately. This test is especially important for vitrified bond wheels, which have a glass-like structure.
Check the Wheel’s Expiration Date
Finally, you need to check the wheel’s expiration date. Many bonded abrasive wheels have a shelf life because the bonding agents can break down over time. Using an expired wheel is risky, as it may not have the strength to handle grinding forces. Before installing grinding wheel parts, always confirm the date printed on the wheel or its packaging is still valid. This final check ensures the wheel’s structural integrity.
Verify Wheel and Grinder Compatibility
After inspecting the wheel, you must confirm it is compatible with your grinder. A mismatch between the wheel and the machine is a direct path to equipment damage and serious injury. You can ensure a safe fit by verifying three key areas.
Match Wheel RPM to Grinder Speed
Every grinding wheel has a maximum safe speed listed in Revolutions Per Minute (RPM). You must ensure the grinder’s operating RPM does not exceed the wheel’s maximum RPM.
Warning: Never Exceed Maximum RPM
Operating a wheel above its rated speed can cause it to burst, launching fragments at speeds over 300 mph. This can also lead to dangerous kickback, causing you to lose control of the tool.
Always check the RPM rating on both the wheel and the grinder’s nameplate. For extra safety, you can use a tachometer to check rpm on the grinder, as labels can be worn or inaccurate. The grinder’s no-load speed may be slightly higher than its listed RPM, which is normal.
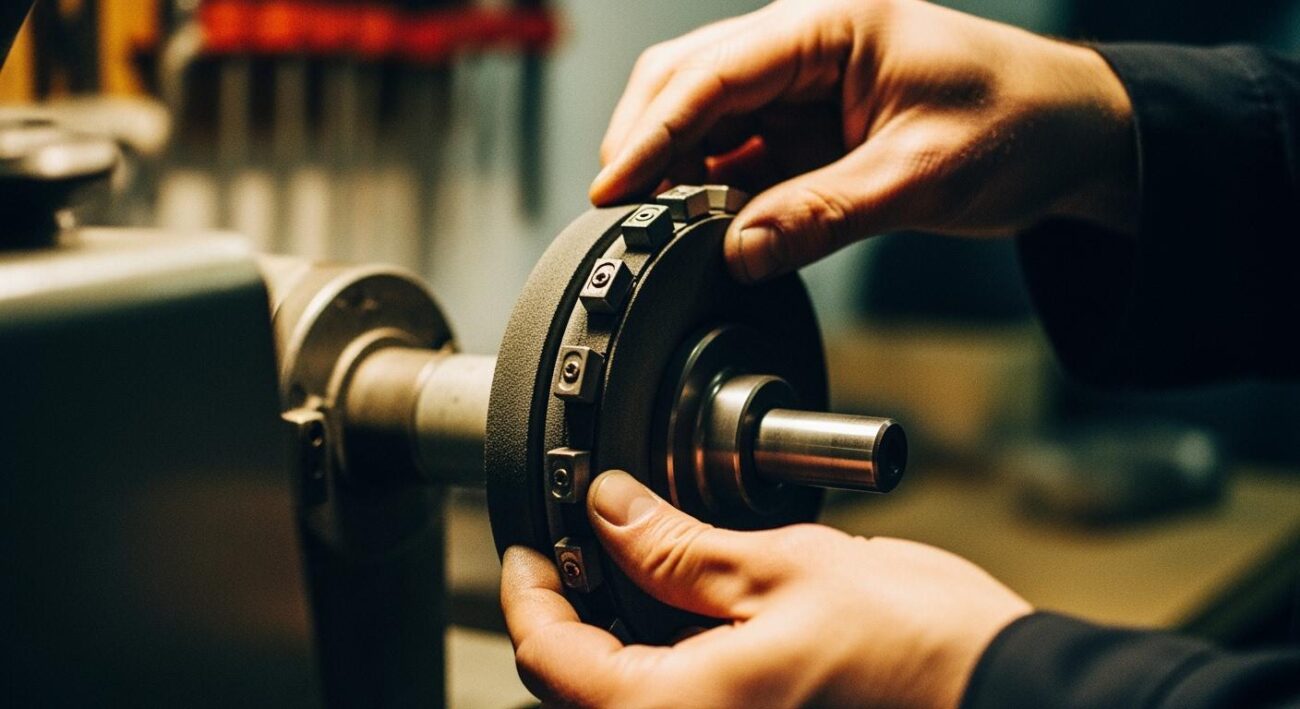
Confirm Arbor Hole and Spindle Fit
The arbor hole is the center hole of the grinding wheel that mounts onto the grinder’s spindle. The fit must be snug but not forced.
- Too Loose: A loose fit will cause the wheel to vibrate, leading to an uneven grind and potential shattering.
- Too Tight: Forcing a wheel onto a spindle can crack the wheel, creating a severe failure risk.
Many wheels use a standard arbor size, such as 7/8 inch, to fit most grinders. However, you must always confirm the hole size matches your specific machine before mounting.
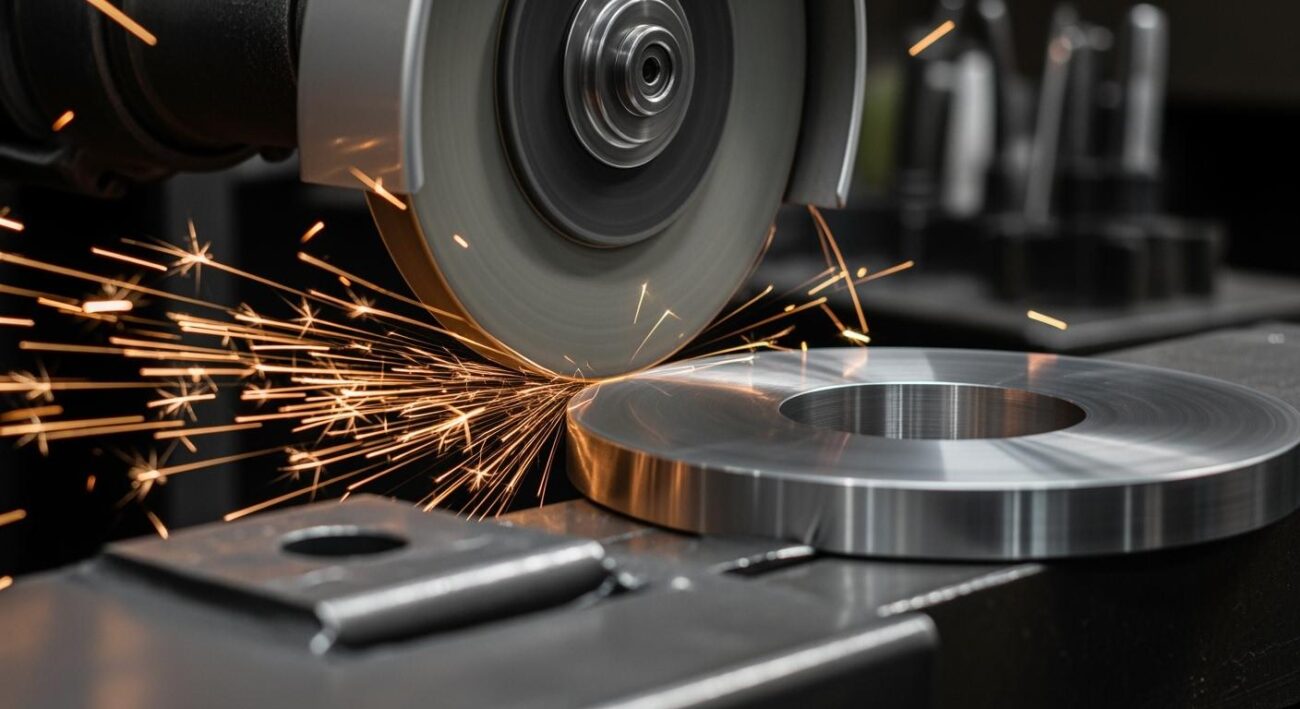
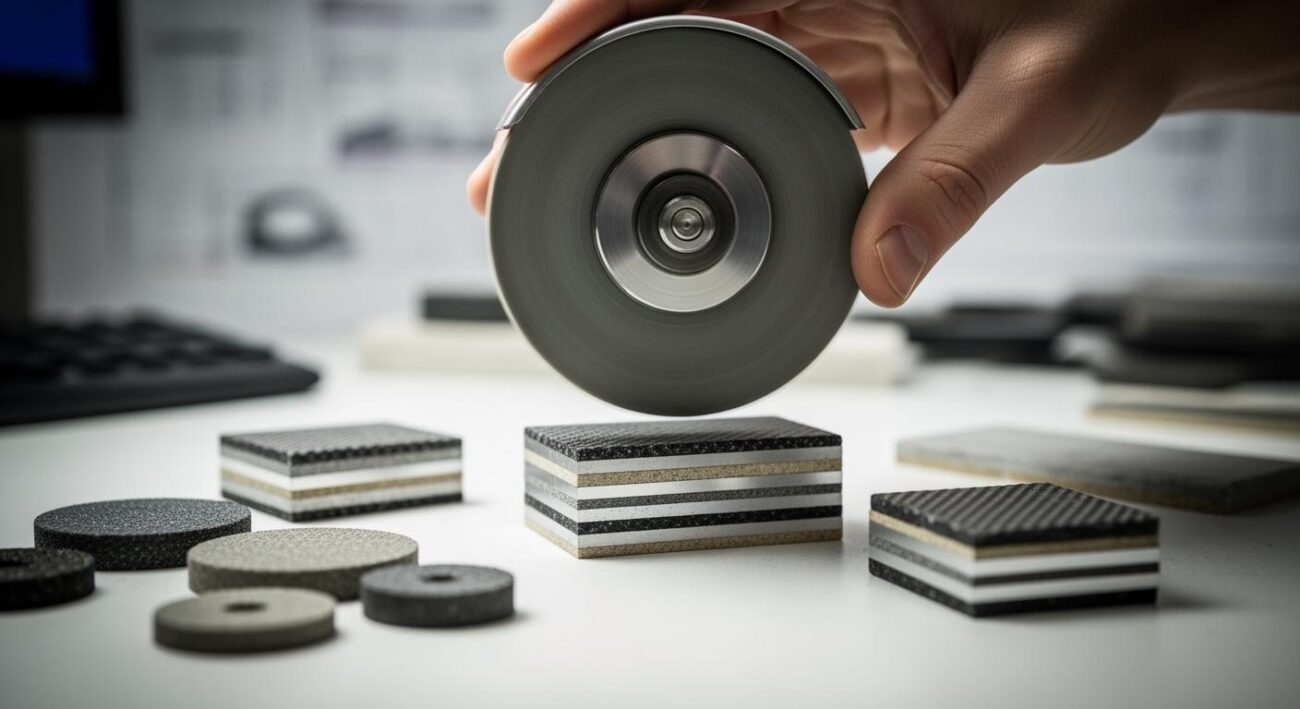
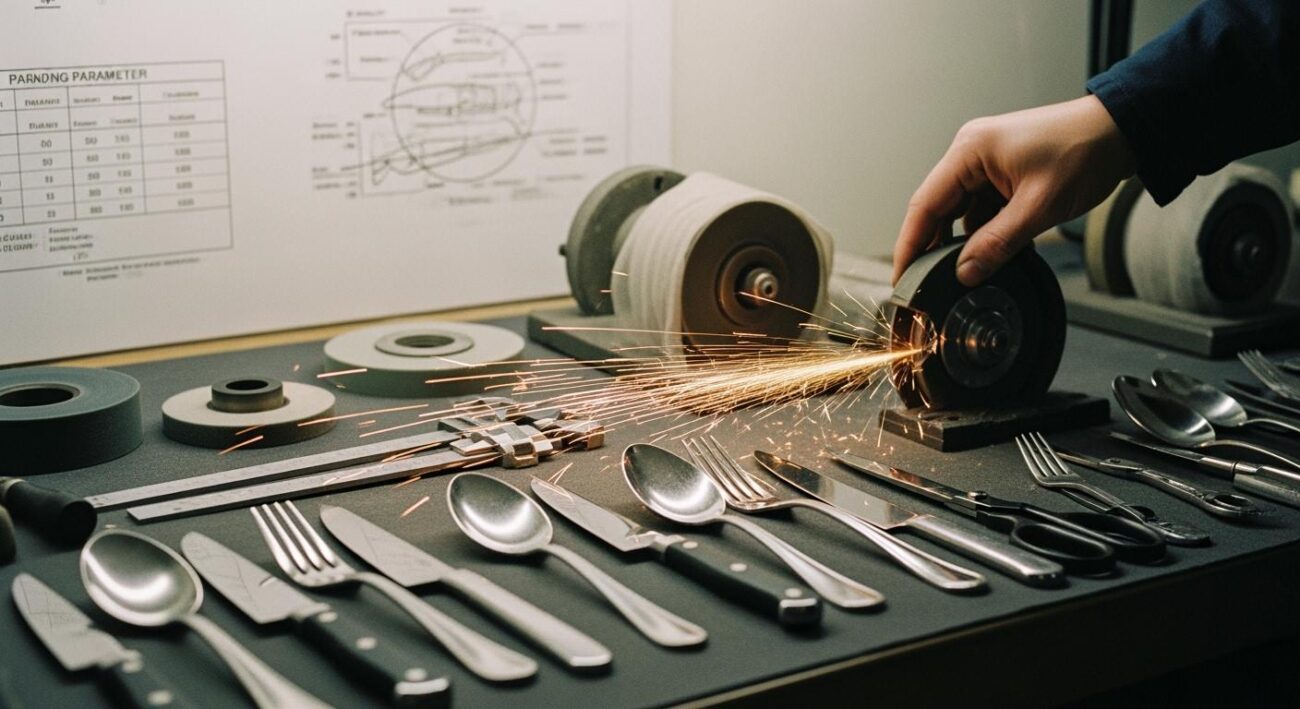
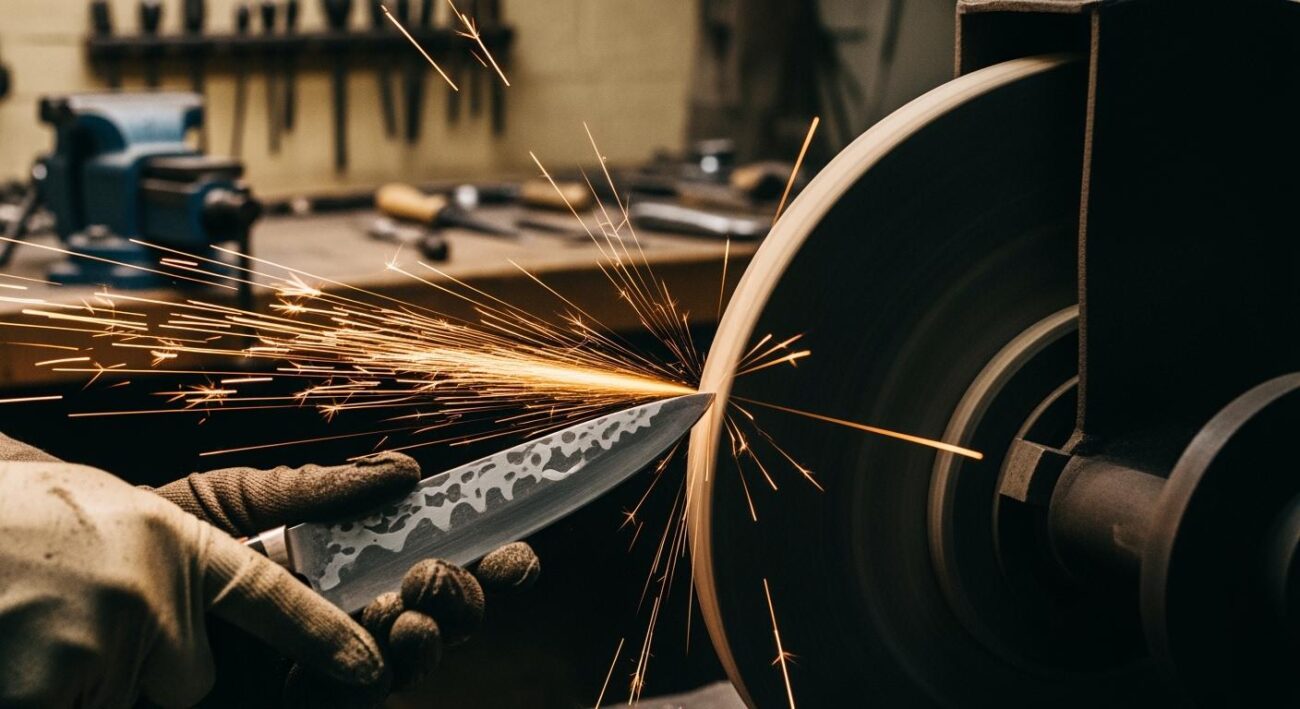
Select the Correct Wheel Type
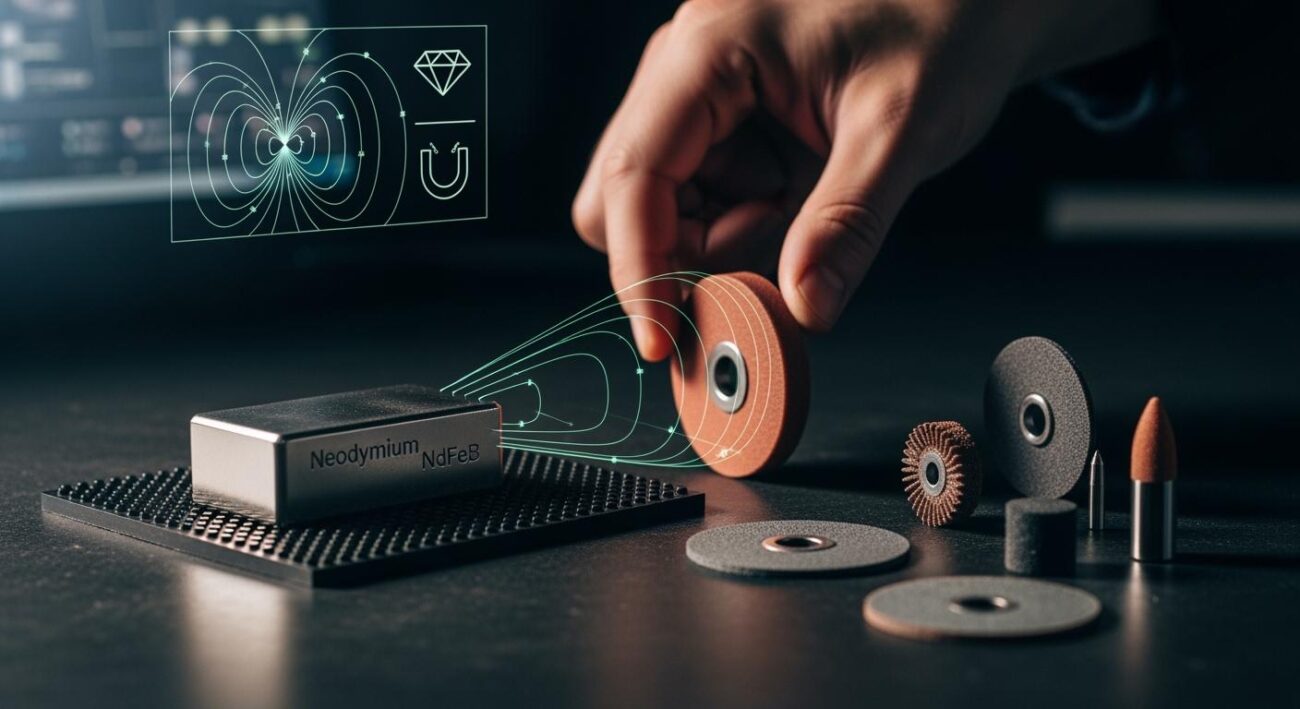
Using the right wheel for the material you are grinding is essential for both safety and performance. Conventional abrasive wheels work well for general-purpose grinding on softer metals.
However, specialized materials demand specialized wheels. Grinding hard alloys, ceramics, or composites with the wrong wheel is inefficient and unsafe. For these demanding applications, you need a wheel designed for the job. For example, Aimgrind‘s high-performance diamond grinding wheels are engineered for the precision and durability required in tough industries. Unlike conventional wheels with abrasives mixed throughout, diamond wheels have the abrasive concentrated on the cutting edge, making them perfect for grinding the hardest materials with superior results.
Grinder Preparation and Safety Checks

A clean and well-maintained grinder is just as important as a perfect wheel. Before you mount a new wheel, you must prepare your grinder. These checks ensure the machine itself is safe and ready for operation.
Clean the Spindle and Flanges
You need to start with a clean mounting surface. Dirt, rust, or old debris on the spindle and flanges can prevent the wheel from sitting flat. This creates an imbalance that can lead to vibration or even wheel failure. Contaminants like dirty lubricant, unclean coolant, or airborne particles can damage the grinder’s internal parts over time.
Always disconnect the power before cleaning. Use a cloth or a soft brush to wipe the spindle and the inner and outer flanges. You want to remove any grime or metal shavings.
Do not clean precision ground surfaces with aggressive abrasives. A wire brush or sandpaper can scratch the flanges, causing mounting problems later.
A clean surface helps you properly secure the wheel and ensures it runs smoothly.
Inspect Flanges for Damage
Next, you must inspect the flanges for any damage. Flanges are the discs that hold the grinding wheel on the spindle. They apply even pressure to the wheel’s surface. Look closely for any burrs, rust, warping, or deep scratches. Damaged flanges cannot grip the wheel correctly.
According to the ANSI B7.1 safety standard, flanges should have a diameter of at least one-third of the wheel’s diameter. This size ensures they provide enough support. If you find any damage, you must replace the flanges before installing a new wheel. Using damaged flanges is a major safety risk.
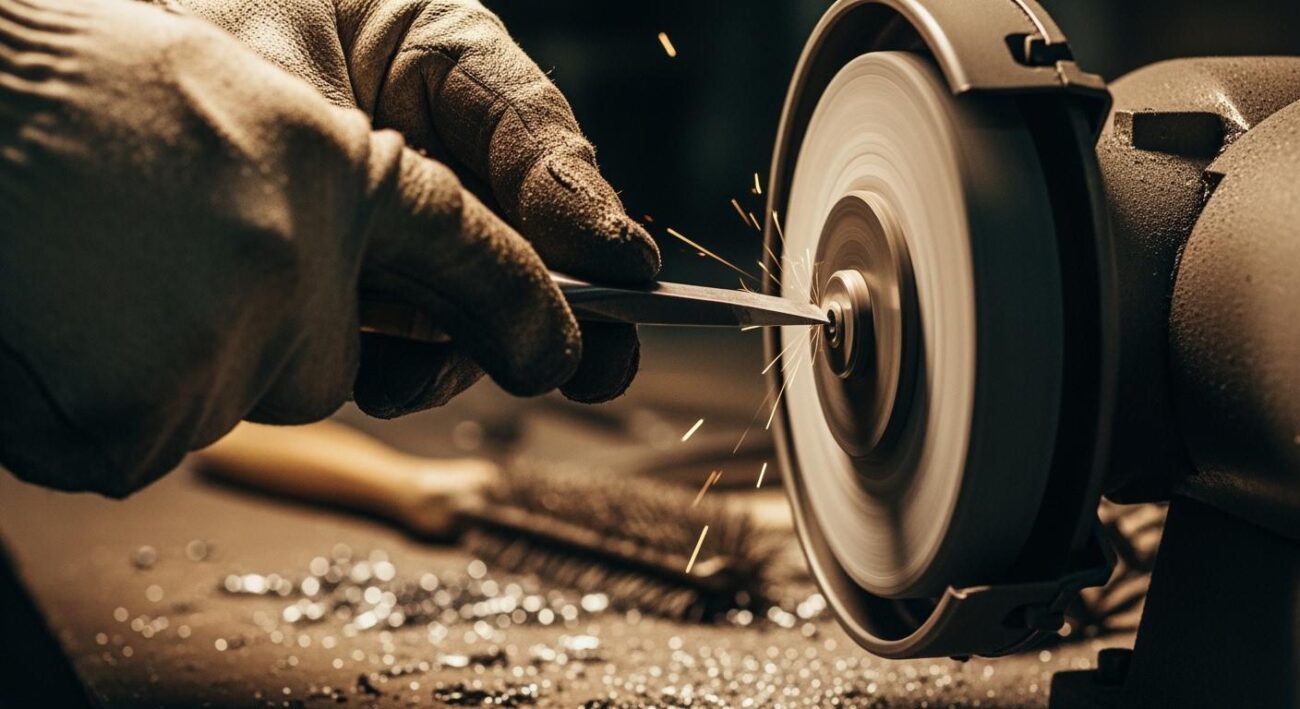
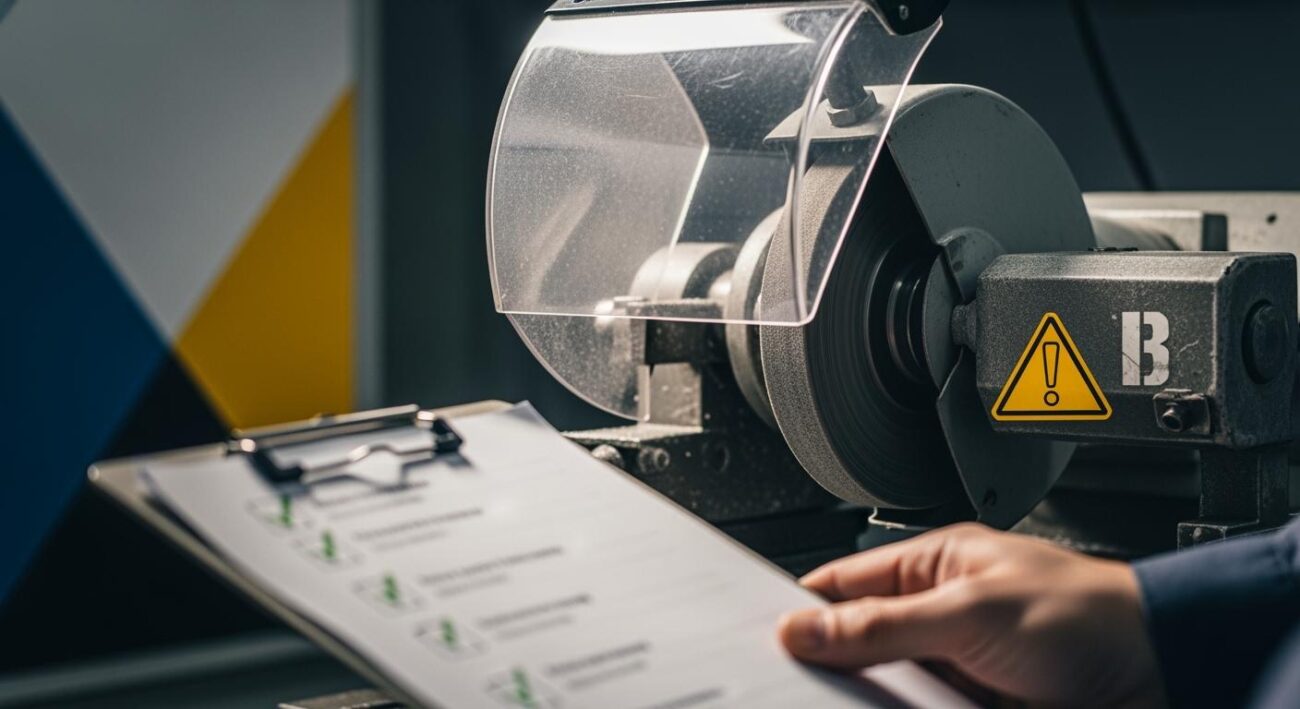
Ensure the Safety Guard is Secure
Finally, you must check the grinder’s safety guard. The guard is your most important piece of protection. It is designed to contain fragments if a wheel breaks during use. Make sure the guard is in place and tightly secured.
For bench grinders, you need to check two key adjustments:
- Work Rest: This platform supports your workpiece. You must adjust it to be within 1/8-inch of the grinding wheel. This small gap prevents the workpiece from getting jammed.
- Tongue Guard: This adjustable plate at the top of the guard stops sparks. You should position it no more than 1/4-inch from the wheel.
You must make these adjustments while the power is off. A properly adjusted guard and work rest are essential before you true the wheel or begin any grinding task.
Final Steps for Proper Installation of Grinding Wheel
You are now at the final stage of installing grinding wheel components. These last steps ensure the wheel is mounted securely and safely. Paying close attention here is essential for a successful and correct installation.
Use Clean, Undamaged Blotters
Blotters are the paper or cardboard discs that go between the wheel and the flanges. You must always use new, clean blotters when you mount the wheel. They perform several critical functions:
- Vibration Dampening: They absorb vibrations, which leads to a better finish on your workpiece.
- Pressure Distribution: They help the flanges apply even pressure across the wheel’s surface.
- Prevention of Contact: They create a protective barrier between the metal flanges and the abrasive wheel.
Never reuse old blotters. Damaged or dirty blotters can create an uneven surface, causing the wheel to crack. Foreign particles on a dirty blotter can also prevent a secure fit, leading to instability.
Ensure Symmetrical Flange Pressure
The flanges must apply equal pressure on both sides of the wheel. Uneven pressure can cause the wheel to wear down incorrectly and become unbalanced. This imbalance can damage the grinder’s bearings and may even cause the wheel to fracture during use. A correct installation requires you to check that both flanges are identical in size and shape and are positioned correctly. This simple check is a key part of the proper installation of grinding wheel components.
Follow Correct Tightening Procedures
Finally, you need to secure the wheel with the mounting nut. The goal is to make the wheel snug, not overly tight.
Caution: Do Not Overtighten
Overtightening the nut can deform or crack the wheel. This creates a dangerous imbalance that can cause the wheel to break apart during operation, leading to serious injuries.
You should tighten the nut just enough to hold the wheel firmly in place. Check the tightness of the wheel by hand; it should not be able to move. After you secure the wheel, you can reattach the power and true the wheel before starting your work.
Your safety depends on a simple pre-installation checklist. These essential steps ensure you work safely and effectively.
- Inspect: Check the wheel for any cracks or damage.
- Ring Test: Listen for a clear ring to find hidden flaws.
- Verify: Match the wheel’s RPM and size to your grinder.
- Clean: Ensure all mounting components are free of debris.
Following this process helps you verify installation is correct and prevents accidents. When installing grinding wheel components, pairing these safety checks with a high-performance wheel from Aimgrind delivers both security and superior results.
FAQ
What should I do if I can’t find an expiration date on a wheel?
If you cannot find an expiration date, you should not use the wheel. Contact the manufacturer for more information. Using a wheel with an unknown age is a safety risk because its bonding material may have degraded over time.
Can I use a grinding wheel that has a very small chip?
No, you must never use a wheel with any chips or cracks, no matter how small. A small chip creates a serious imbalance. This imbalance can cause the wheel to shatter at high speeds, creating a significant safety hazard.
Why is the ring test necessary if I already did a visual check?
The ring test helps you find hidden internal cracks that your eyes cannot see. A visual inspection only finds surface-level damage. The ring test confirms the wheel’s structural integrity, providing an essential layer of safety before you mount it.
What happens if I don’t use blotters when installing a wheel?
Without blotters, the metal flanges press directly on the wheel. This creates uneven pressure and stress points. The lack of a cushion can cause the wheel to crack and fail during operation, leading to a dangerous accident.
How do I choose the right wheel for a specific material?
You must match the wheel’s abrasive type to your material. For specialized materials like hard alloys or ceramics, you need a high-performance wheel. For expert guidance, you can consult a specialist like Aimgrind to ensure a perfect match.
See Also
Mastering Your Dremel Grinding Wheel: Safe and Effective Techniques
Selecting the Perfect Metal Grinding Wheel for Every Project
Optimal Grinding Wheels: A Guide for Your Carbide Tool Needs
Finding Your Ideal Grinding Wheel Dresser: A Comprehensive Guide
Selecting the Best Bench Grinding Wheel Material for Your Workshop