You know it is time to replace your electroplated grinding wheels when you see clear signs of wear. Look for significant abrasive loss (“bald spots”) on the electroplated surface. A drop in grinding speed or poor surface finishing also signals a needed change.
The replacement process for your electroplated grinding wheel is a straightforward procedure. It requires safe machine lockout, cleaning mounting flanges, and correctly installing the new electroplated wheel to resume efficient grinding.
Key Takeaways
- Replace your grinding wheel when you see bald spots, feel slower cutting, or get bad surface finishes. These signs mean the wheel is worn out.
- A dull wheel makes too much heat. This heat can destroy the diamond on the wheel, especially when grinding steel.
- Always follow safety steps when changing a wheel. Turn off the machine, clean parts, and check the new wheel for damage.
- Choose the right new wheel for your material. Diamond wheels work best for hard materials like glass. CBN wheels are good for hard steels.
- Install the new wheel carefully. Make sure it is straight and tight. This helps your machine work well and makes your parts look good.
Signs of a Worn Wheel
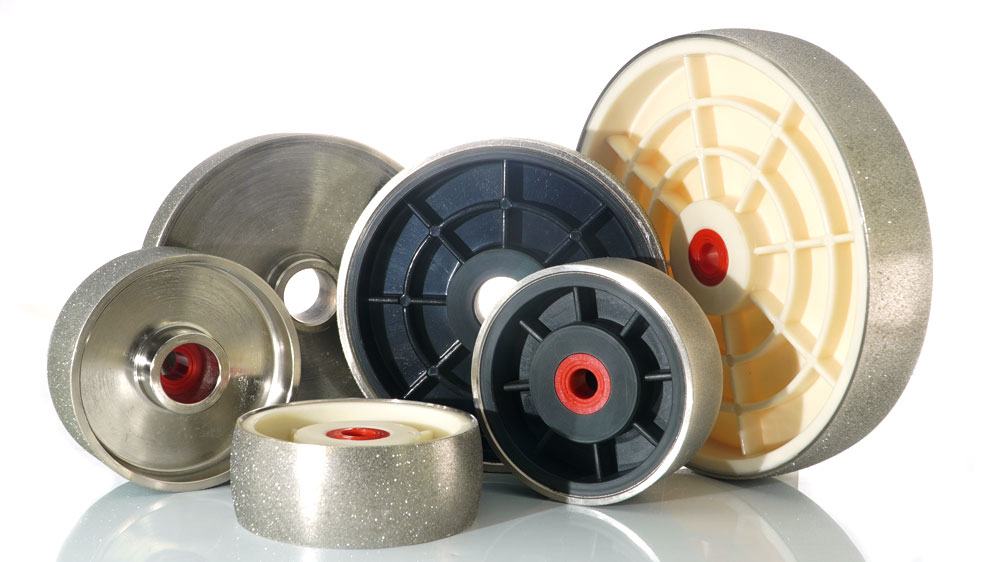
Electroplated grinding wheels are unique. They have a single, powerful layer of diamond abrasive bonded to a core. Once this layer wears away, the wheel’s life is over. You cannot dress or re-sharpen these wheels. Recognizing the signs of wear early helps you maintain safety and efficiency in your workshop.
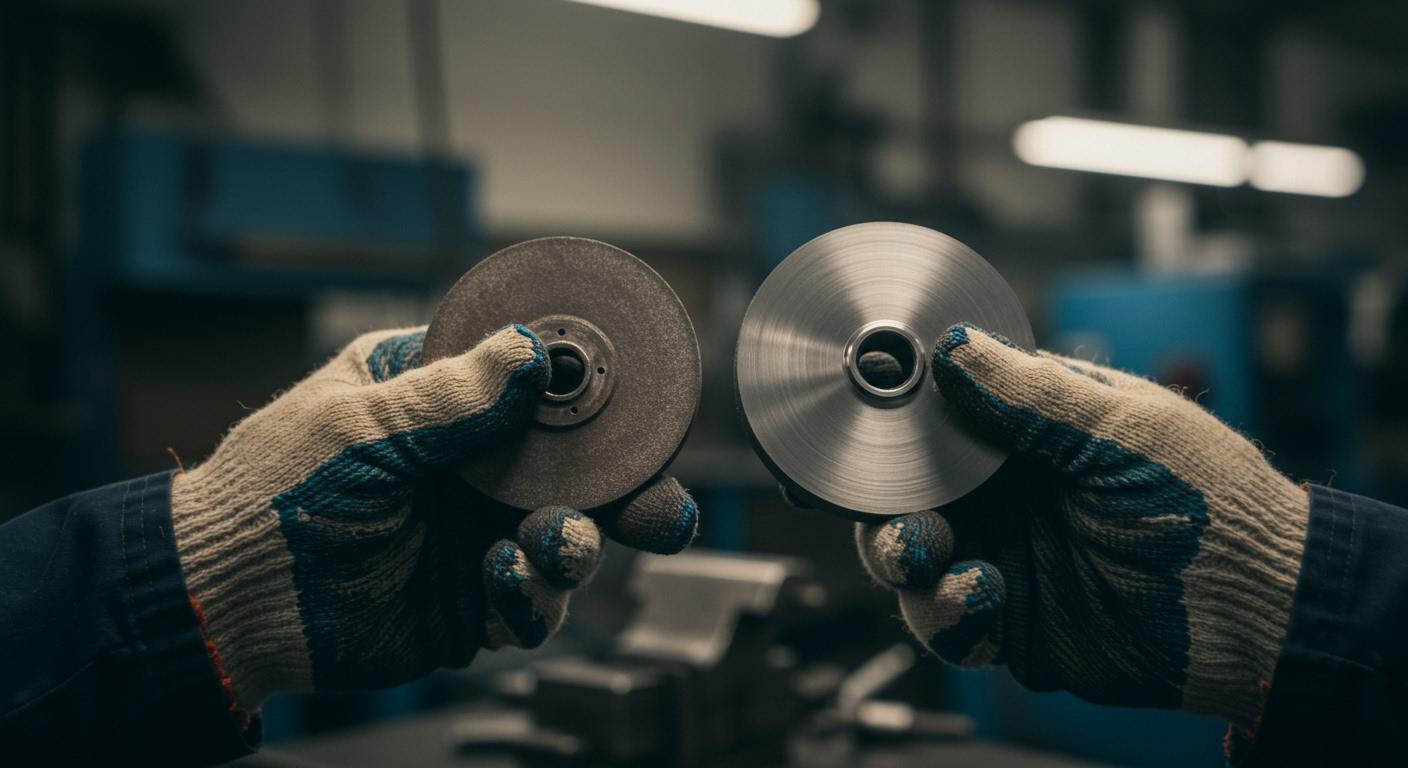
Visual Abrasive Loss
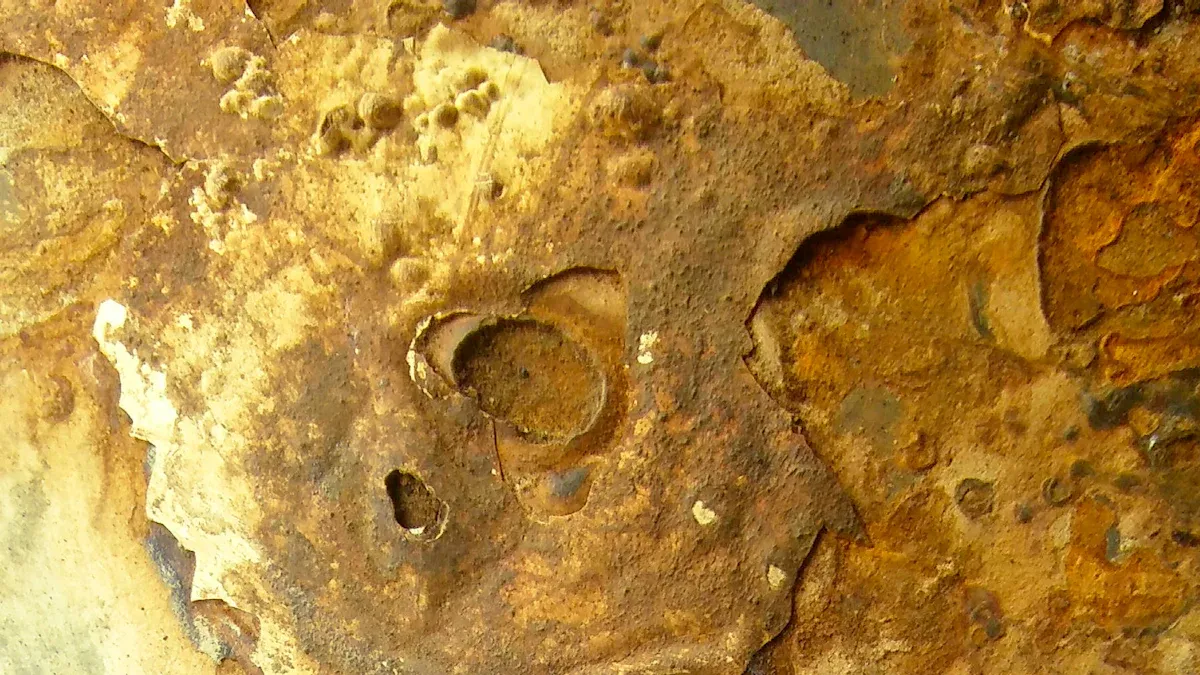
The most obvious sign of a worn wheel is visible damage. You should inspect your electroplated diamond wheels regularly. Look for:
- “Bald Spots”: These are areas where the nickel plating and diamond abrasive have completely worn away, exposing the smooth metal core underneath.
- Rounded Profiles: A new wheel has sharp, defined edges and profiles for precise grinding. A worn wheel will show rounded or flattened edges, which reduces its ability to cut sharp corners or hold a specific shape.
Decreased Cutting Performance
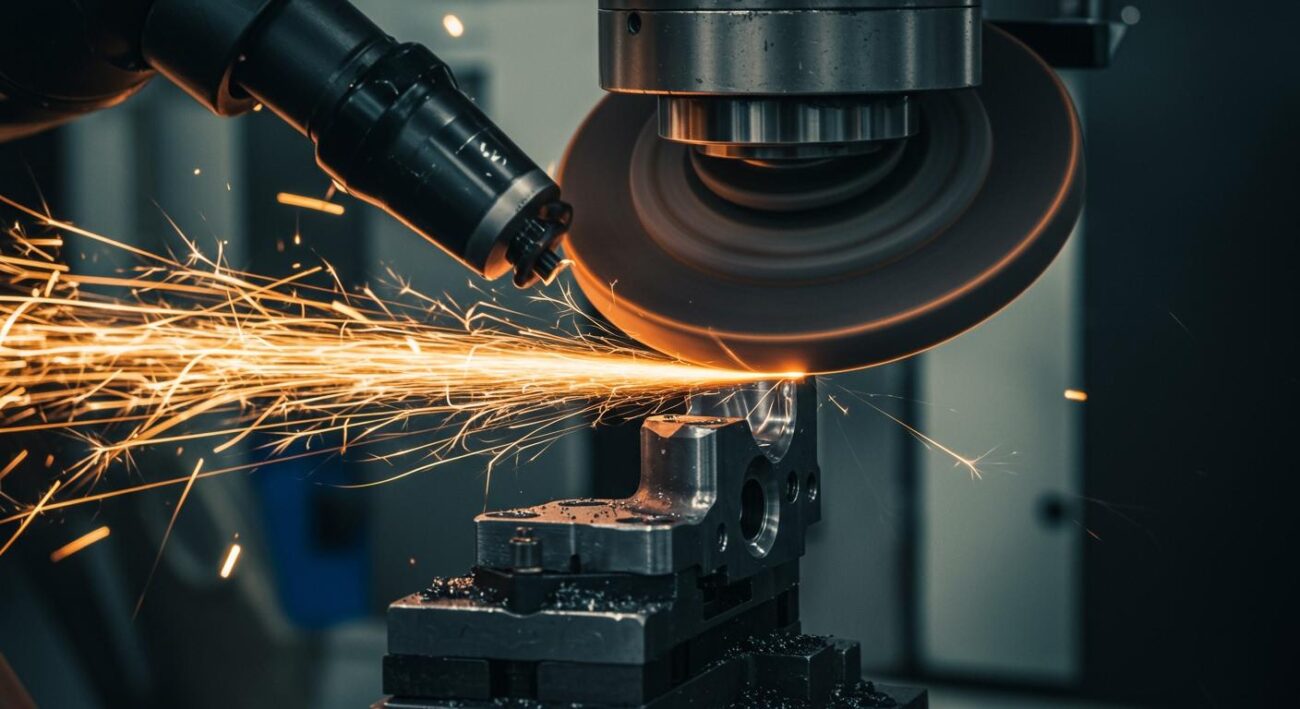
You will feel a change in performance as your wheel wears. A new electroplated wheel cuts aggressively with minimal pressure. A worn one struggles. You may notice that you need to apply more force to make a cut. This increased feed pressure can cause severe clogging and rubbing, which further reduces cutting efficiency.
| Metric | Sharp Wheel (Example) | Dull Wheel (Example) |
|---|---|---|
| Specific Normal Grinding Force (F′n) | 9.5 N/mm | 25.7 N/mm |
| Specific Tangential Grinding Force (F′t) | 4.1 N/mm | 7.9 N/mm |
| Grinding Force Ratio (F′n/F′t) | 2.35 | 3.24 |
⚠️ Important Warning: Forcing a dull wheel creates excessive heat. This heat is a serious problem when grinding steel with a diamond wheel. Diamond has poor thermal stability. When the temperature rises above 700°C (about 1300°F), the carbon in the diamond can react with the iron in steel. This chemical reaction destroys the diamond, rapidly ruining your wheel. A sharp diamond wheel cuts coolly, protecting the precious diamond from heat damage.
Poor Part Quality
A worn wheel directly impacts the quality of your work. If you are struggling to achieve the required precision, your wheel is likely the problem. Signs of poor part quality include:
- Bad Surface Finish: Instead of the smooth surface finishes you expect, you might see scratches, burn marks, or an uneven texture.
- Processing Burrs: A dull wheel pushes material instead of shearing it, leading to burrs and rough edges on your workpiece.
- Inaccurate Dimensions: Tool wear makes it difficult to hold tight tolerances. A worn wheel can cause dimensional shifts, ruining parts that require high precision. Achieving excellent precision finishing is impossible with a compromised wheel.
Your goal is a perfect part every time. A worn grinding wheel makes that goal much harder to reach.
Increased Vibration and Noise
Your grinding machine should run smoothly. If you notice new or increased vibration, a worn wheel is a common cause. As the electroplated layer wears unevenly, the wheel becomes unbalanced. This imbalance creates vibration and a loud humming or chattering noise during operation.
According to machine experts, an unbalanced or dull grinding wheel is a primary internal source of forced vibration. This not only affects your finishing quality but also puts extra strain on the machine’s spindle and bearings. Listening to your machine is a key part of good maintenance for your electroplated grinding wheels. A change in sound often signals a need for inspection and replacement of your electroplated grinding wheels.
Replacement Procedure for Electroplated Grinding Wheels
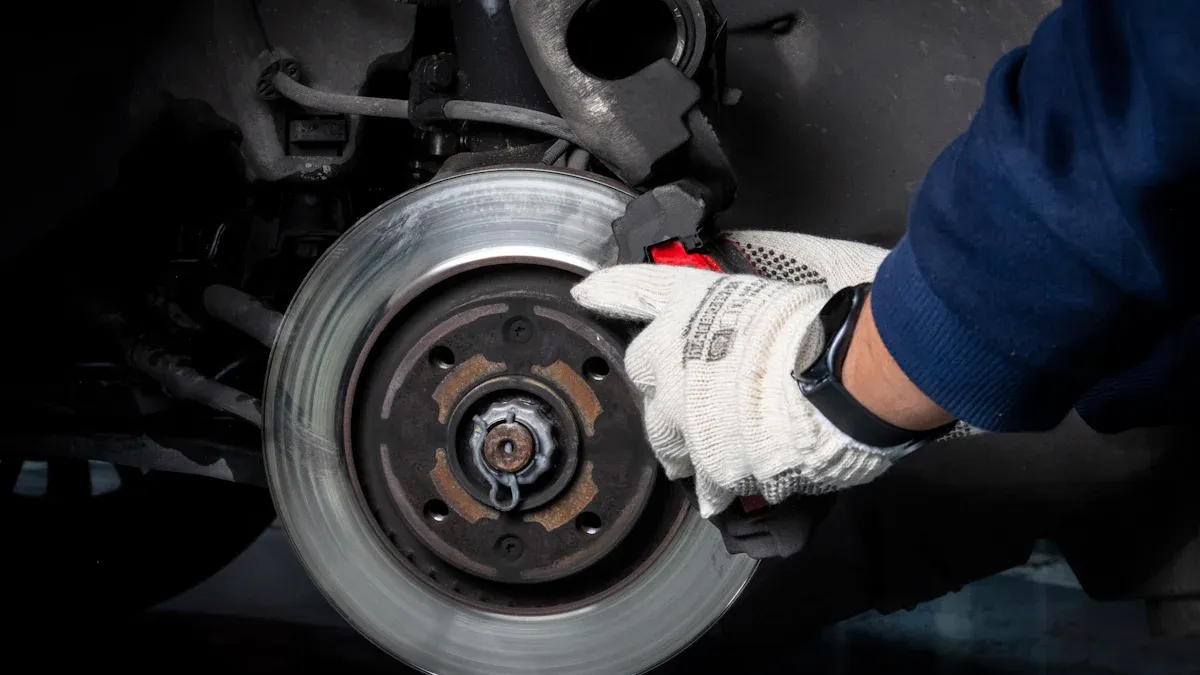
Replacing your electroplated grinding wheels is a critical maintenance task. Following a precise procedure ensures safety and restores your machine’s high performance. This guide walks you through each step, from removing the old wheel to installing the new one.
Safety and Preparation
Your safety is the top priority. Before you begin any work, you must prepare your workspace and equipment correctly.
- Lockout/Tagout: Completely disconnect the grinding machine from its power source. Follow your facility’s lockout/tagout procedures to prevent accidental startup.
- Gather Tools: Collect all necessary tools, such as wrenches, a nonmetallic mallet, cleaning solvents, clean rags, and a dial indicator.
- Inspect the New Wheel: Before mounting, you should inspect your new electroplated diamond wheels for damage. Perform a “ring test” to check for hidden cracks.
Removing the Old Wheel
Once the machine is safe, you can remove the worn wheel. Sometimes, a wheel can get stuck on the spindle.
- First, try to loosen the mounting nut with the correct wrench. Remember to check if the spindle has a left-hand or right-hand thread.
- If the nut is stuck, apply a penetrating oil and let it sit. You can also apply gentle heat to the nut to help it expand.
- For very stubborn wheels, an impact gun is often effective. The quick impacts can break the nut free without damaging the spindle. Hold the spindle securely with soft jaws in a vise to prevent it from spinning.
Cleaning and Inspection
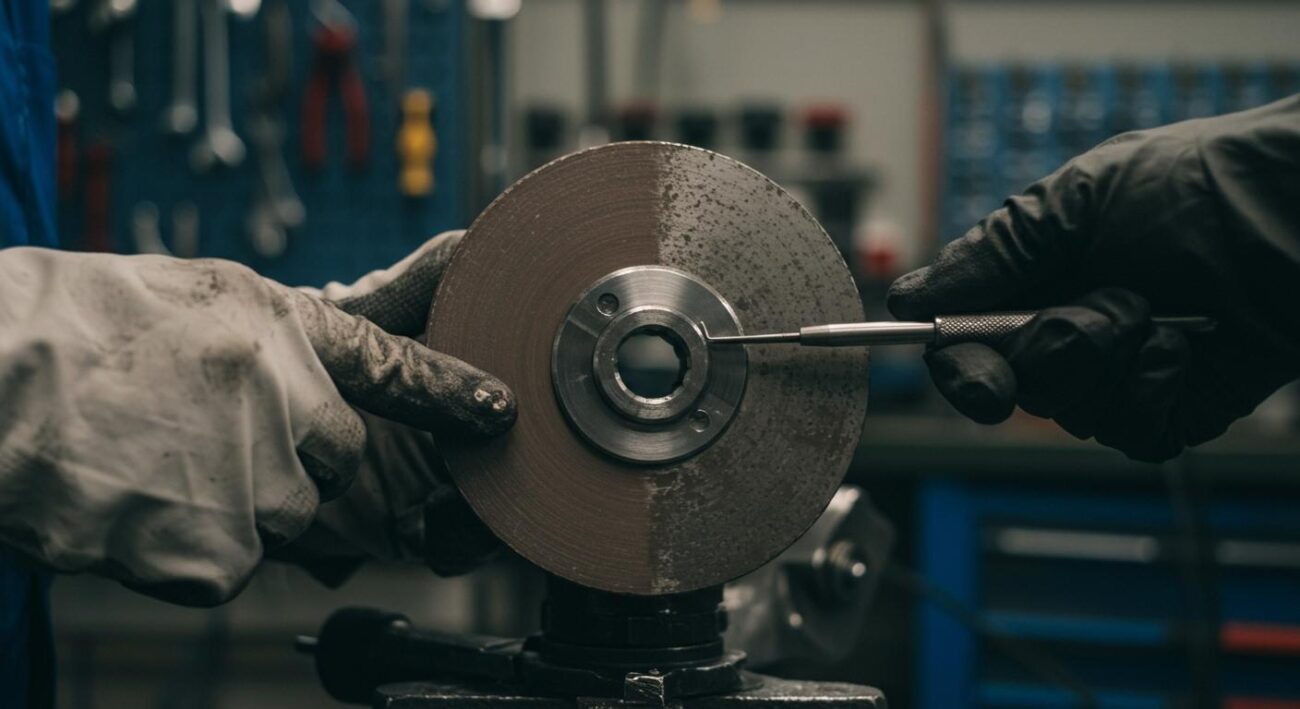
With the old wheel removed, you have a perfect opportunity to clean and inspect the machine’s mounting components. This step is vital for achieving precision.
- Clean the Flanges: Use a clean rag and a suitable solvent to wipe down the mounting flanges and the machine arbor. Remove all oil, grease, and grinding residue. A clean surface is necessary for proper mounting.
- Inspect for Damage: Carefully examine the flanges for any signs of damage. Look for cracks, warping, deep scratches, or corrosion. Damaged flanges can cause poor wheel balance and create a safety hazard. You must replace any damaged parts before installing new electroplated diamond wheels.
- Check Spindle Runout: Use a dial indicator to check the machine spindle’s runout. A high runout will prevent even the best electroplated diamond wheels from running true. Mount the indicator and rotate the spindle by hand. If the total indicated runout (TIR) is high, your machine may need service to restore its precision.
Choosing New Electroplated Diamond Wheels
Selecting the right replacement is key to restoring your grinding efficiency. The material you are grinding determines the best abrasive to use.
| Work Material | Recommended Abrasive | Why? |
|---|---|---|
| Carbide, Ceramics, Glass, Quartz | Diamond | Diamond is the hardest material and provides excellent performance on these non-ferrous materials. |
| Hardened Steels (45 HRC+), Nickel Alloys | CBN (Cubic Boron Nitride) | CBN is thermally stable and does not react with iron, making it ideal for grinding hard ferrous metals. |
You also need to consider the grit size. A larger grit removes material faster but leaves a rougher surface. A finer grit provides a better surface finish but cuts more slowly. For optimal performance and longevity, you should choose high-quality electroplated diamond wheels from a specialized supplier.
For superior cutting performance and a long lifespan, explore Aimgrind‘s range of electroplated bond grinding wheels. Our electroplated diamond wheels are engineered for precision and efficiency, making them a valuable tool for your operations. Find the perfect wheel for your application here: https://aimgrind.com/product-category/electroplated-bond-grinding-wheels/
Installation and Final Checks
Proper installation ensures your new wheel runs smoothly and delivers the precision finishing you expect.
- Mount the Wheel: Carefully place the new grinding wheel onto the clean spindle and against the back flange. Ensure it sits flat.
- Install the Flange and Nut: Place the outer flange against the wheel and hand-tighten the nut. Do not use excessive force.
- Indicate for Runout: Mount a dial indicator against the wheel’s cutting surface. Gently tap the wheel into position until the runout is as low as possible, ideally under 0.0005 inches. This step is crucial for achieving the best surface quality and maximizing the life of your electroplated diamond wheels.
- Torque the Bolts: Tighten the mounting bolts in a star pattern to ensure even pressure. Start with a low torque (e.g., 15 ft-lbs) and then repeat the pattern to the final recommended torque. Always consult your machine builder’s manual for specific torque values.
- Re-check After Use: After about eight hours of operation, re-torque the flange bolts. This accounts for any settling of the components and ensures your electroplated diamond wheels remain secure.
Following these steps will help you safely replace your electroplated grinding wheels and maintain the high efficiency and precision of your grinding operations.
You can maintain peak performance by regularly inspecting your wheels for wear. A safe and precise replacement process using a high-quality new wheel is essential. This practice prevents costly downtime and protects your part quality. Following these steps boosts your operational efficiency and leads to significant savings. Improve your grinding efficiency and get the job done right.
Grind with Passion, Achieve with Aim.
FAQ
Can I re-sharpen or “dress” my electroplated wheel?
No, you cannot dress an electroplated wheel. These wheels have a single layer of abrasive. Once this layer wears away, the wheel’s life is over. You must replace it to continue getting precise results.
How often should I inspect my electroplated wheels?
You should inspect your wheel before every use. Look for visible wear like “bald spots.” A quick visual check helps you catch problems early. This simple habit ensures both safety and quality in your work.
What is the “ring test” and why is it important? 💡
The ring test helps you find hidden cracks in a new wheel. You tap the wheel gently. A clear ringing sound means the wheel is safe. A dull thud indicates a dangerous crack, so you must not use it.
Why choose an electroplated wheel over other types?
You should choose electroplated wheels for their superior cutting performance on hard materials. They hold a sharp edge for high-precision tasks. This makes them ideal for grinding ceramics, glass, and hard alloys with minimal material waste.
See Also
Selecting the Perfect Metal Grinding Wheel for Your Specific Project Needs
Choosing the Optimal Grinding Wheel for Flawless Stainless Steel Fabrication
Mastering Your Dremel Grinding Wheel: Safe and Effective Usage Techniques
Selecting the Ideal Bench Grinding Wheel Material to Suit Your Requirements
Exploring Various Grinding Wheel Types and Their Real-World Practical Uses