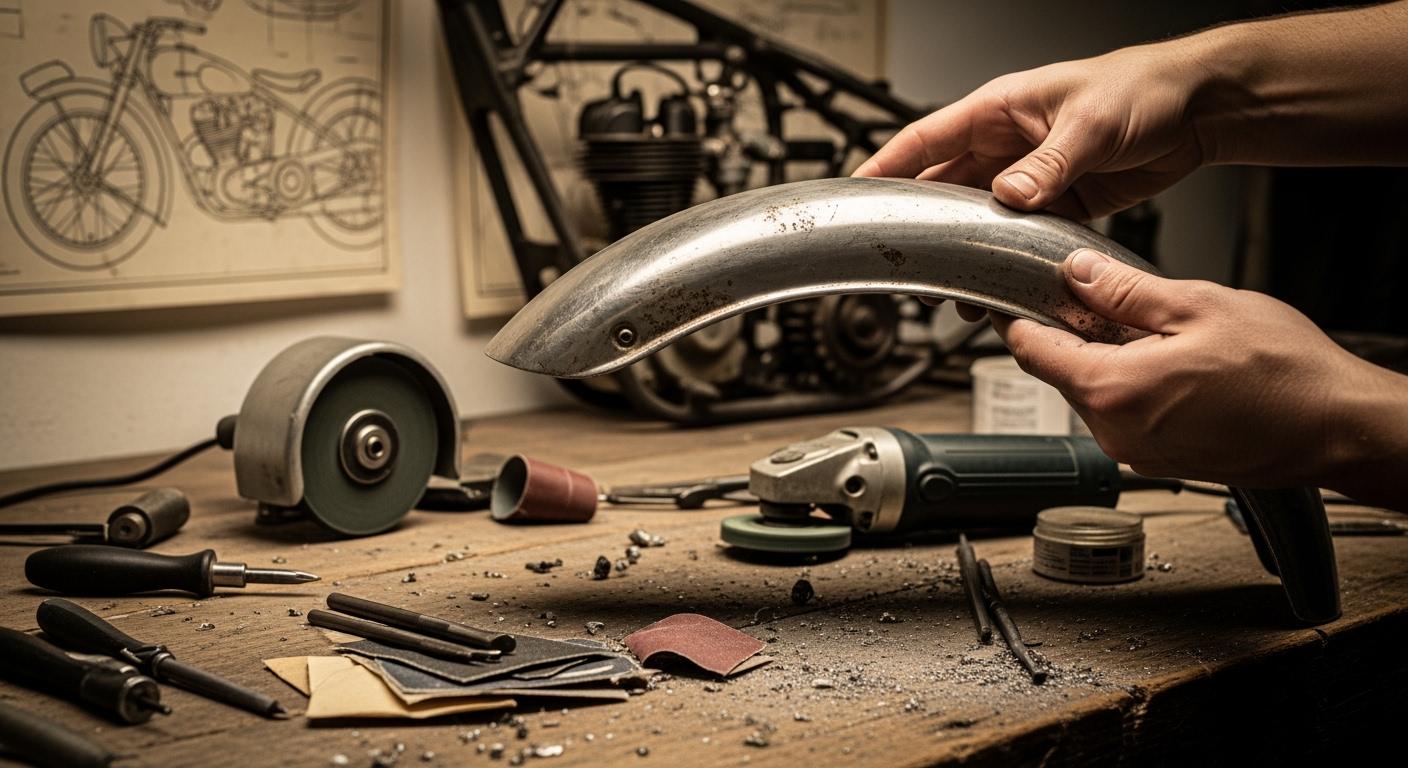
You can bring vintage motorcycle metal parts back to life with surface reconstruction grinding. This process removes damage and restores the original look and function. Aimgrind offers expert solutions with metal bond grinding wheels that deliver precision and durability. When you choose professional-grade tools, you get results that last. Consider using Aimgrind’s products to make your restoration projects easier and more effective.
Key Takeaways
- Surface reconstruction grinding restores vintage motorcycle parts, enhancing both appearance and functionality.
- Preserve the original patina during restoration to maintain the unique character of vintage metal parts.
- Use Aimgrind’s metal bond grinding wheels for precision and durability in your restoration projects.
- Regular cleaning and proper storage can prevent rust and corrosion on vintage motorcycle parts.
- Always prioritize safety by wearing protective gear and checking tools before starting the grinding process.
Surface Reconstruction Basics
What Is Surface Reconstruction
You can restore vintage motorcycle metal parts with surface reconstruction. This process helps you fix damage and bring back the original look. You start by preserving the original surface patina. This step keeps the unique character of vintage parts while stopping oxidation. You clean the surface using high-pressure water or wet-media blasting. These methods reveal the best visual qualities and remove dirt. You apply touch-up paint to areas with moderate damage. This improves the appearance but keeps the original patina. You finish by using modern metal preservatives and treatments. These products protect and enhance the metal parts for long-lasting results.
Steps in surface reconstruction for vintage motorcycle metal parts:
- Preserve the original surface patina while addressing oxidation to prevent further deterioration.
- Clean the surface using methods like high-pressure water or wet-media blasting to reveal the best visual qualities.
- Apply touch-up paint to moderately damaged areas to enhance appearance while maintaining the original patina.
- Use modern metal preservatives and treatments to protect and enhance the metal parts.
Tip: Always use gentle cleaning methods to avoid removing the patina from vintage motorcycle parts.
Importance for Vintage Motorcycles
Surface reconstruction is important for vintage motorcycles. You keep the value and function of your bike by restoring metal parts. Authentic NOS parts maintain the original engineering specifications and quality. This is essential for preserving the value of vintage motorcycles. Concours-level restoration focuses on absolute authenticity in every detail. This impacts the historical accuracy and market value of your motorcycle. Component refurbishment by specialists brings used parts back to their original functionality. This is vital for keeping both performance and value.
- Authentic NOS parts maintain original engineering specifications and quality.
- Concours-level restoration requires absolute authenticity for historical accuracy and market value.
- Component refurbishment restores used parts to original functionality, keeping performance and value.
Surface reconstruction helps you protect your vintage motorcycle. You make sure it looks great and works well for years to come.
Common Metal Part Issues
Vintage motorcycle metal parts face many challenges over time. You need to know the most common problems before starting any restoration project. Understanding these issues helps you choose the right grinding process and tools.
Corrosion and Rust
Corrosion and rust are the most frequent problems you will see on vintage motorcycle parts. Many older motorcycles do not have modern rust-preventive coatings. This makes them more likely to develop rust, especially if you store them in damp or humid places. You may notice two main types of corrosion:
- Surface rust forms on the outer layer of metal. It often looks like a reddish-brown coating.
- Pitting corrosion creates small holes or pits in the metal. This type of damage can weaken the part over time.
Tip: Regular cleaning and proper storage can help you prevent rust from forming on your vintage motorcycle parts.
Pitting and Wear
Pitting and wear happen when metal surfaces rub against each other or face harsh conditions. You may see tiny craters or rough spots on the surface. In some restorations, mechanics use oversize big-end rollers to fix crankpins that have pitting. This method helps restore the part’s function after removing damaged material.
- Pitting can make the surface uneven.
- Wear can change the shape and size of the part.
- Both issues can affect how well your motorcycle runs.
Deformation
Deformation means the metal part has changed shape. You might see bends, twists, or dents. This usually happens after an accident or from long-term stress. Deformed parts may not fit or work as they should. You need to fix these problems before you start grinding or polishing.
Note: Always check for deformation before you begin any restoration work. Fixing the shape first makes grinding and finishing much easier.
By understanding these common issues, you can plan your restoration steps and select the best Aimgrind metal bond grinding wheels for the job.
Grinding Process Overview
Assessment and Preparation
You start the grinding process by preparing the vintage motorcycle parts. This step helps you achieve the best results. Follow these steps to get ready:
- Clean the part using a chemical de-rusting solution like Krud-Kutter. This removes rust and prepares the surface.
- Use a small variable speed rotary grinder or pneumatic die grinder for de-burring and blending. This tool helps you smooth out rough spots.
- Choose flexible abrasive discs to remove old paint and rust from tubing. These discs work well on curved surfaces.
- Inspect and sand sharp edges on flat steel pieces. This prevents paint buildup and makes the surface safer.
- Run taps through any poorly tapped or rusty bolt holes in the frame. Use cutting lubricant to make this easier.
Tip: Careful preparation makes the grinding process smoother and helps you avoid mistakes later.
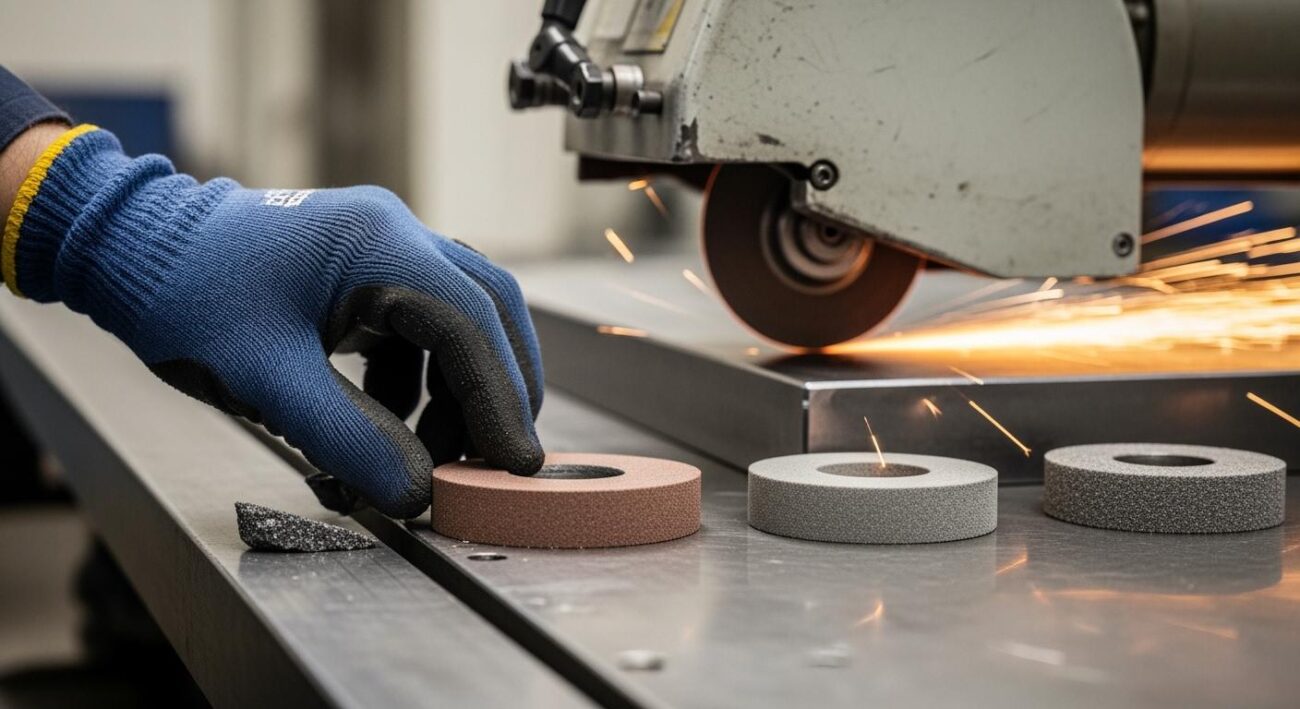
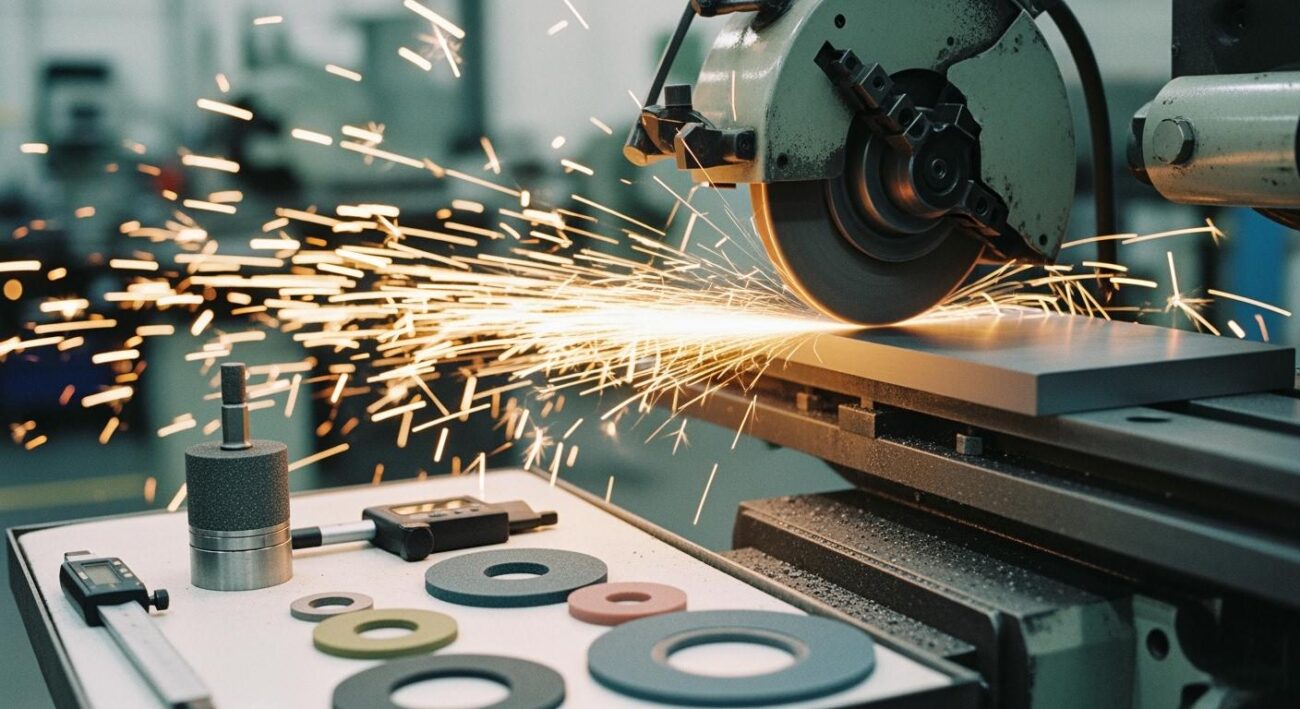
Tool Selection (Aimgrind Metal Bond Grinding Wheels)
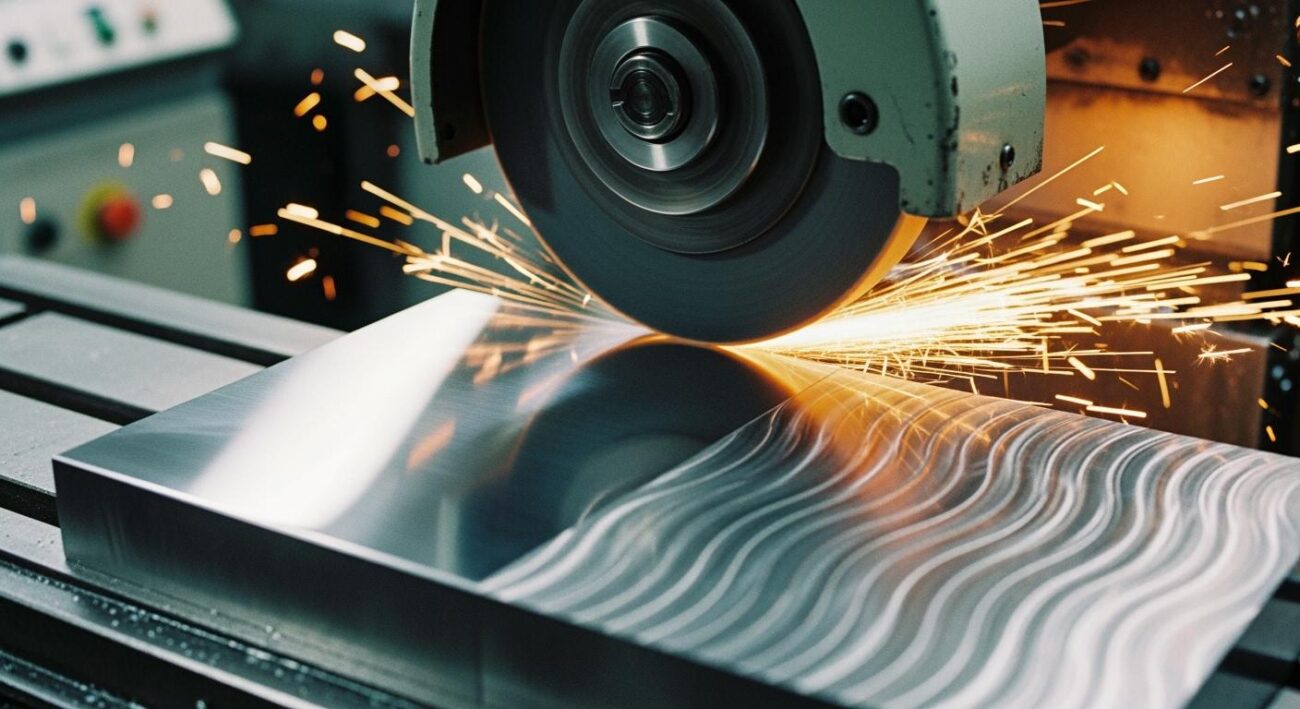
You need to select the right grinding tool for each metal part. Aimgrind’s metal bond grinding wheels offer precision and durability. These wheels use diamond or CBN abrasives in a metal bond matrix. The metal bond withstands high-pressure conditions, so the wheel lasts longer and keeps its shape. You get consistent performance and accurate results.
Use the table below to help you choose the best grinding tool for your custom restoration project:
| Criteria | Description |
|---|---|
| Power Source | Electric (220V/230V) for fixed stations; pneumatic for explosion-safe zones. |
| Speed Range | Adjustable RPM (1,000–3,500) allows fine control over material removal rate. |
| Valve Stem Compatibility | Must support diameters from 3.5 mm to 20 mm. |
| Grinding Wheel Type | Silicon carbide for cast iron; diamond for hardened alloys. |
| Precision Tolerance | Runout < 0.02 mm ensures uniform contact surface. |
| Surface Finish Quality | Achieves Ra ≤ 1.6 μm for effective sealing. |
| Build Material | Cast iron base reduces vibration; aluminum housings aid portability. |
Note: Aimgrind’s custom grinding wheels match your equipment and process needs. You can choose the right wheel for each metal part.
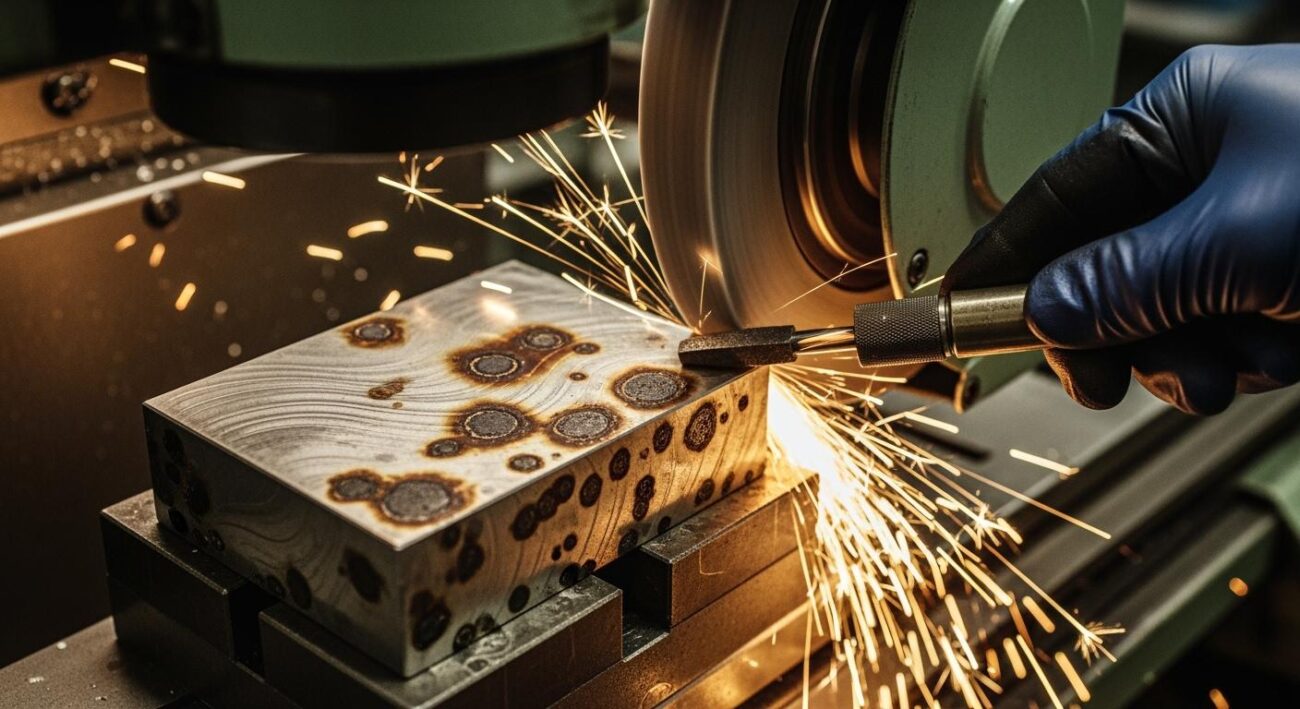
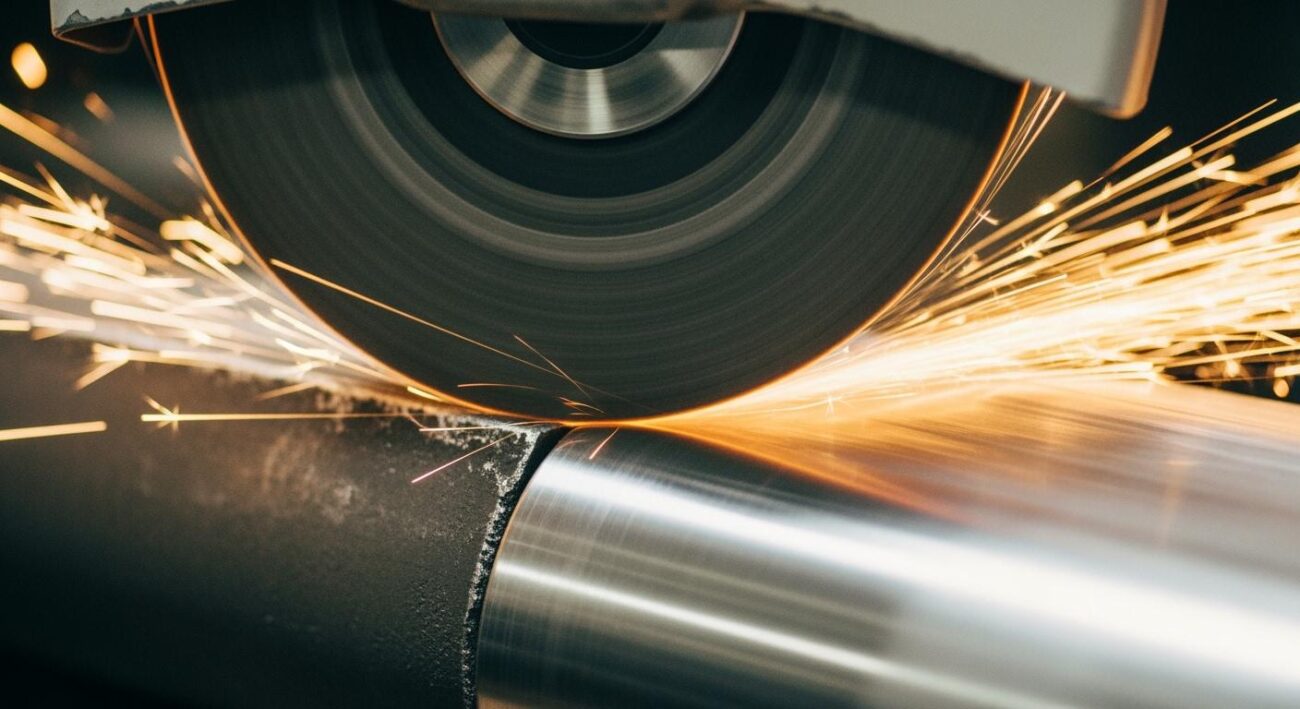
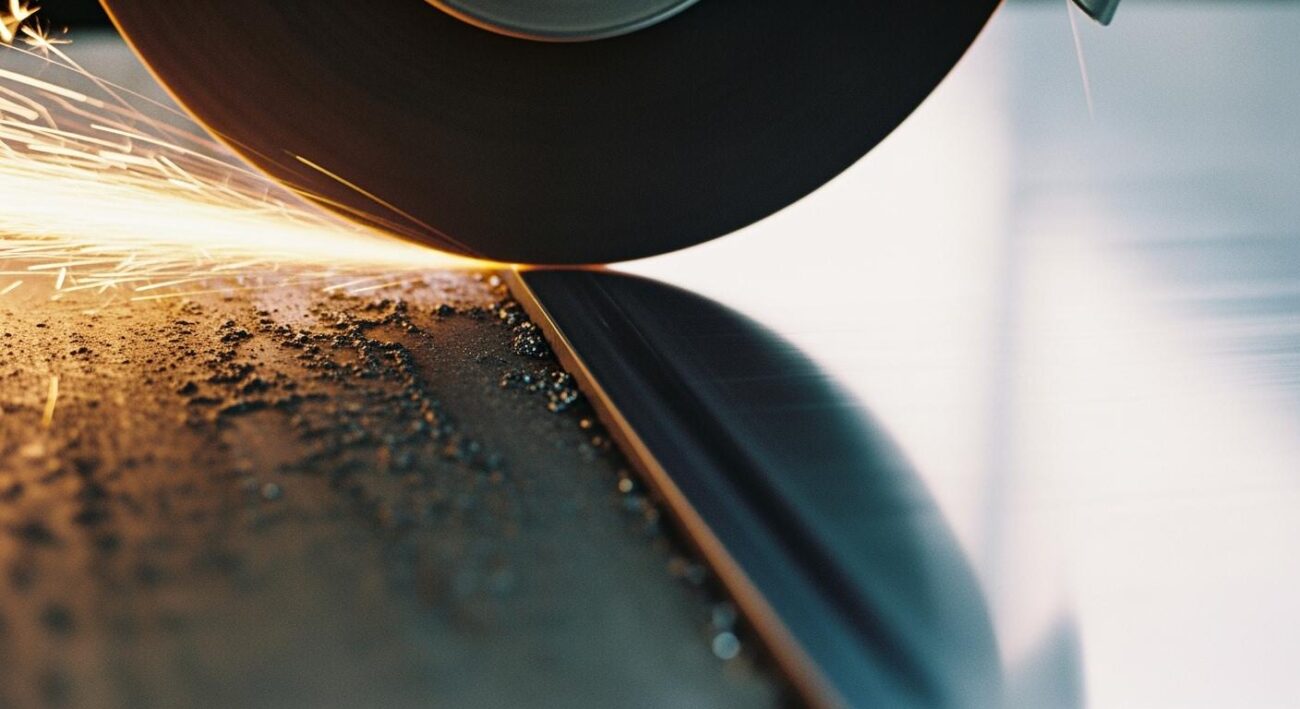
Grinding Techniques
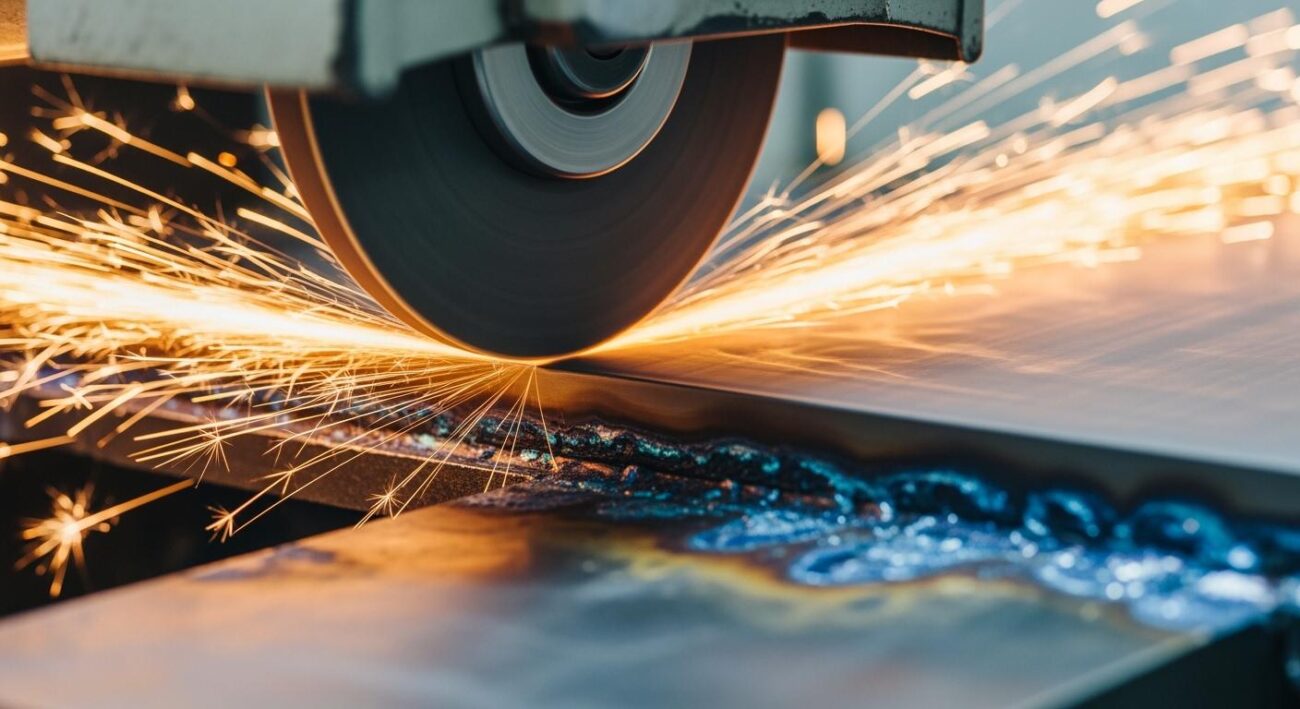
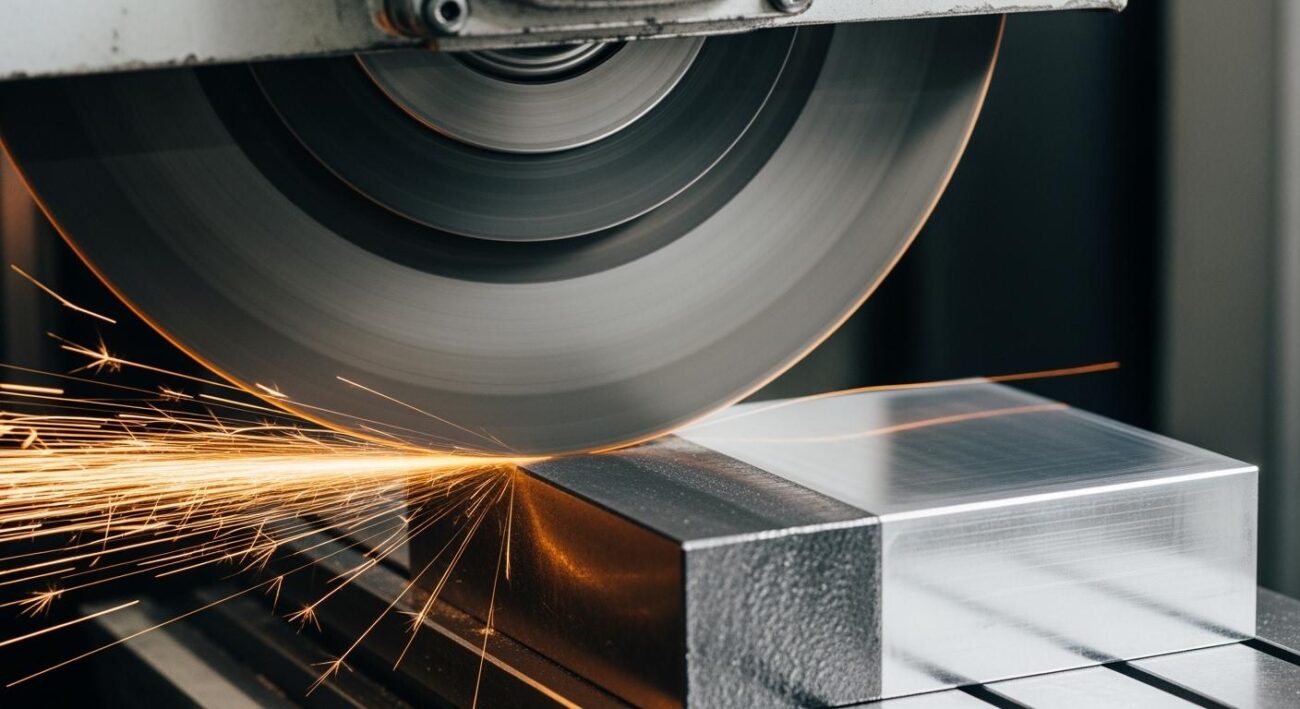
You use grinding to remove defects and smooth metal surfaces. Grinding uses abrasive particles and tools like wheels or belts. You can do this manually or with machines. The process removes old paint, rust, and powder residue. You must control the speed and pressure to avoid overheating the metal. Sometimes, you need cooling systems to keep the part safe.
Aimgrind’s metal bond grinding wheels help you achieve a uniform finish. The powder in the wheel’s bond keeps the abrasive particles in place. This gives you a steady removal rate and precise results. The operator’s skill affects the quality of the finished surface. You should practice to improve your technique.
Tip: Always check the grinding wheel for damage before you start. A damaged wheel can break and cause injury.
Finishing and Inspection
After grinding, you finish and inspect the metal part. You remove any leftover powder or dust from the surface. Use a soft brush or compressed air to clean the part. Check for smoothness and uniformity. Look for any missed spots or defects.
You can apply a custom finish to protect the metal. Use powder coating or paint for extra durability. Inspect bolt holes and edges to make sure they are clean and ready for assembly. If you find any problems, repeat the grinding process as needed.
Callout: Careful inspection ensures your custom restoration meets high standards. You protect the value and function of your vintage motorcycle.
Best Practices & Safety
Tips for Surface Reconstruction
You can achieve great results with vintage motorcycle upgrades when you follow smart practices. Start by cleaning every material before you begin. Dirt, oil, and residue can weaken adhesives and affect the finish. Take digital pictures during disassembly. These photos help you remember the wiring layout and the order of upgrades. Label each part and draw diagrams for complex assembly steps. This makes reassembly easier and prevents mistakes.
Use careful touch-up paint to restore damaged surfaces. Try to keep the original patina. Lightly sand each material with fine-grit paper before applying resins or fillers. This step improves adhesion and helps the cerakote finish last longer. Always check the steel parts for hidden cracks or weak spots. If you plan to drill new holes for wiring upgrades, mark the material clearly and use the right drill bit. When you add laser-etched details, test on a scrap piece first to avoid damaging the main material.
Tip: Organize your workspace and keep all tools, including drill bits and wiring guides, within reach. This reduces errors during upgrades and assembly.
Safety Measures
Grinding vintage motorcycle parts can be dangerous if you do not follow safety rules. You should always wear a full-face shield to protect your eyes from flying material. Ear muffs help guard your hearing from loud tools. Long sleeves and gloves protect your arms and hands from steel splinters and burns. Use a dust mask to avoid breathing in harmful particles, especially when working with cerakote or laser upgrades.
Stand clear of the flight path of any part you grind. Hold each material firmly, but never risk your hand near the grinder. Wear steel-toed boots to protect your feet from heavy objects. Keep all safety gear, like gloves and eye protection, close by. Common injuries include cuts, bruises, burns, and even more serious accidents like fractures or crush injuries. Stay alert and check your tools before each use.
Note: Safe habits protect you and help you finish your upgrades without delays.
Restoration Example
Problem Identification
You start your restomod project by checking each part for damage. Many vintage motorcycles have rusted fork tubes. You may find seized swing-arm pivot bolts that do not move because they lack lubrication. Old seals and gaskets often shrink and harden. These problems can stop you from riding safely. You also see deep scratches, overspray, or rust on the frame and smaller parts. Sometimes, you notice worn clutch plates that slip during use. Each issue needs a different solution before you rebuild your motorcycle.
Tip: Take clear photos of every part before you begin. This helps you remember where each piece belongs.
Grinding Steps
You must remove rust and old paint to get a smooth, flat surface. Start with mechanical removal using wire brushes and sandpaper. For stubborn rust, try chemical removal with WD-40 or vinegar. If you want a more advanced method, use electrolysis to clean the metal without damage. After cleaning, use Aimgrind’s metal bond grinding wheels to smooth out deep scratches and pitting. These wheels help you control the finish and keep the surface even. For aluminum parts, you often need less grinding because they resist severe corrosion. When you finish grinding, install rivets where needed to secure panels or brackets. Always check that each part fits well before moving to the next step.
Note: Use a soft brush to clean away dust after each grinding session.
Final Results
You see a big change after the restoration process. The metal parts look clean and shiny. The flat surface helps each part fit together perfectly. The clutch plates work smoothly, and the swing-arm moves freely. You have rebuilt your vintage motorcycle with care. The new finish protects the metal and keeps the bike looking great. You can ride with confidence, knowing you used the right tools and steps for a safe and lasting result.
Callout: Careful grinding and inspection make your restomod project a success.
You gain many benefits when you use surface reconstruction grinding for your vintage motorcycle part.
- You achieve closer tolerances for precision work.
- You improve the surface finish, which helps performance.
- You can handle different sizes and materials.
- You correct combustion chambers for better power.
Aimgrind’s metal bond grinding wheels give you the durability and accuracy you need. Try these tools and processes for your next custom laser cutting or restoration project.
FAQ
How do you know when vintage motorcycle parts need grinding?
You see rust, pitting, or uneven surfaces on your parts. The clutch may slip or stick. A loose rivet can cause noise. If you notice these signs, you should inspect all parts. Grinding helps restore the clutch and tightens every rivet.
Can you reuse old rivet holes during restoration?
You can reuse old rivet holes if they are not worn out. Check each hole for cracks. If you see damage, drill a new hole. Secure all parts with a new rivet. This keeps the clutch and other parts safe.
Why does the clutch slip after grinding the parts?
You may grind too much material from the clutch or other parts. This makes the clutch lose grip. Check every rivet for tightness. Replace worn parts. Always test the clutch after grinding. A strong rivet helps the clutch work well.
What is the best way to clean parts before installing a new rivet?
You should wash all parts with soap and water. Dry them well. Remove old grease from the clutch. Clean each rivet hole. Use a brush for small parts. Clean parts help the rivet hold tight and keep the clutch working.
How do you keep the clutch and rivet secure after grinding?
You must check all parts for fit. Use the right size rivet for each hole. Tighten every rivet with care. Test the clutch for smooth action. If you hear noise, check the rivet and all parts again. Good parts and a strong rivet keep the clutch safe.
Contact Us
For More Grinding Solution or Customized Abrasive Tools