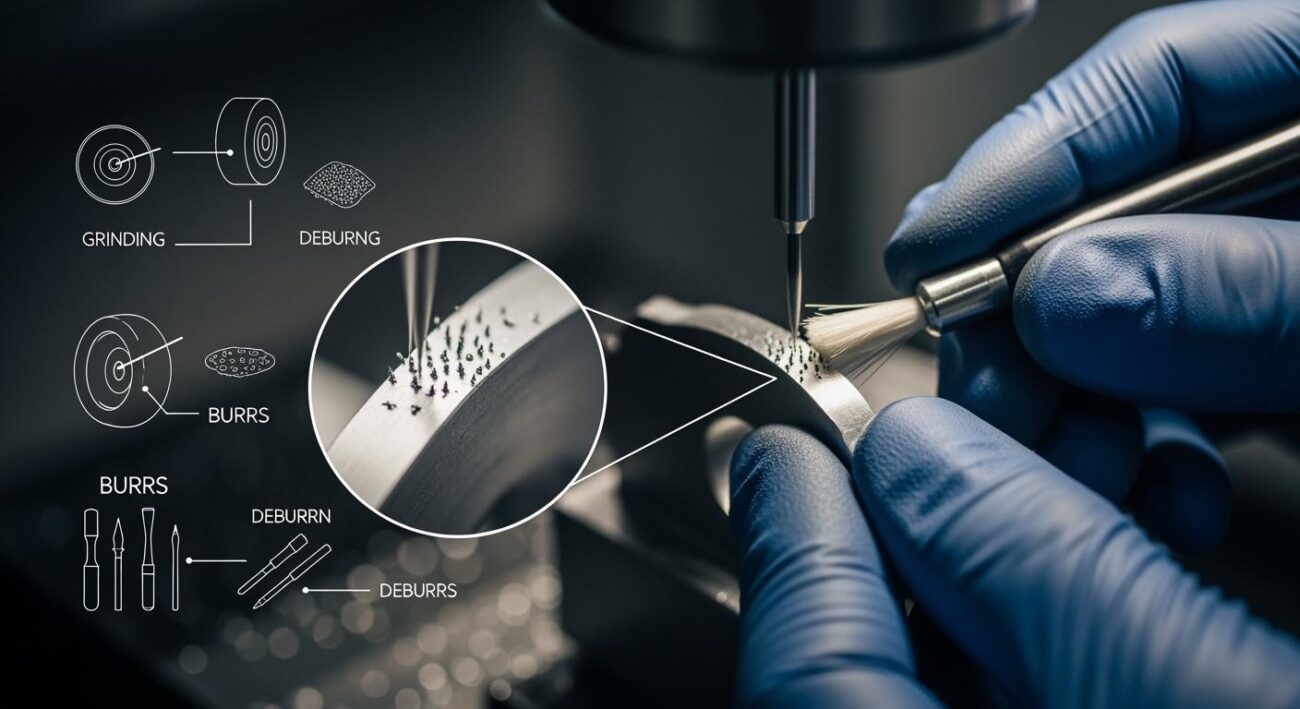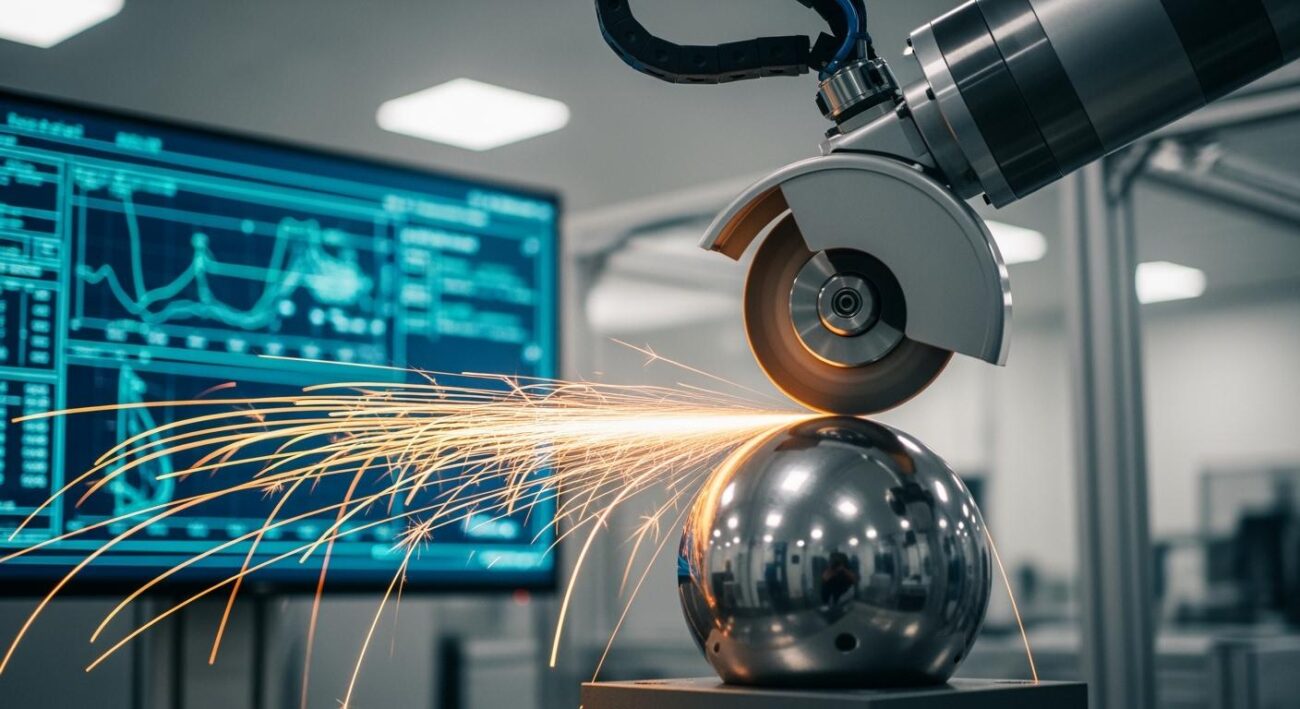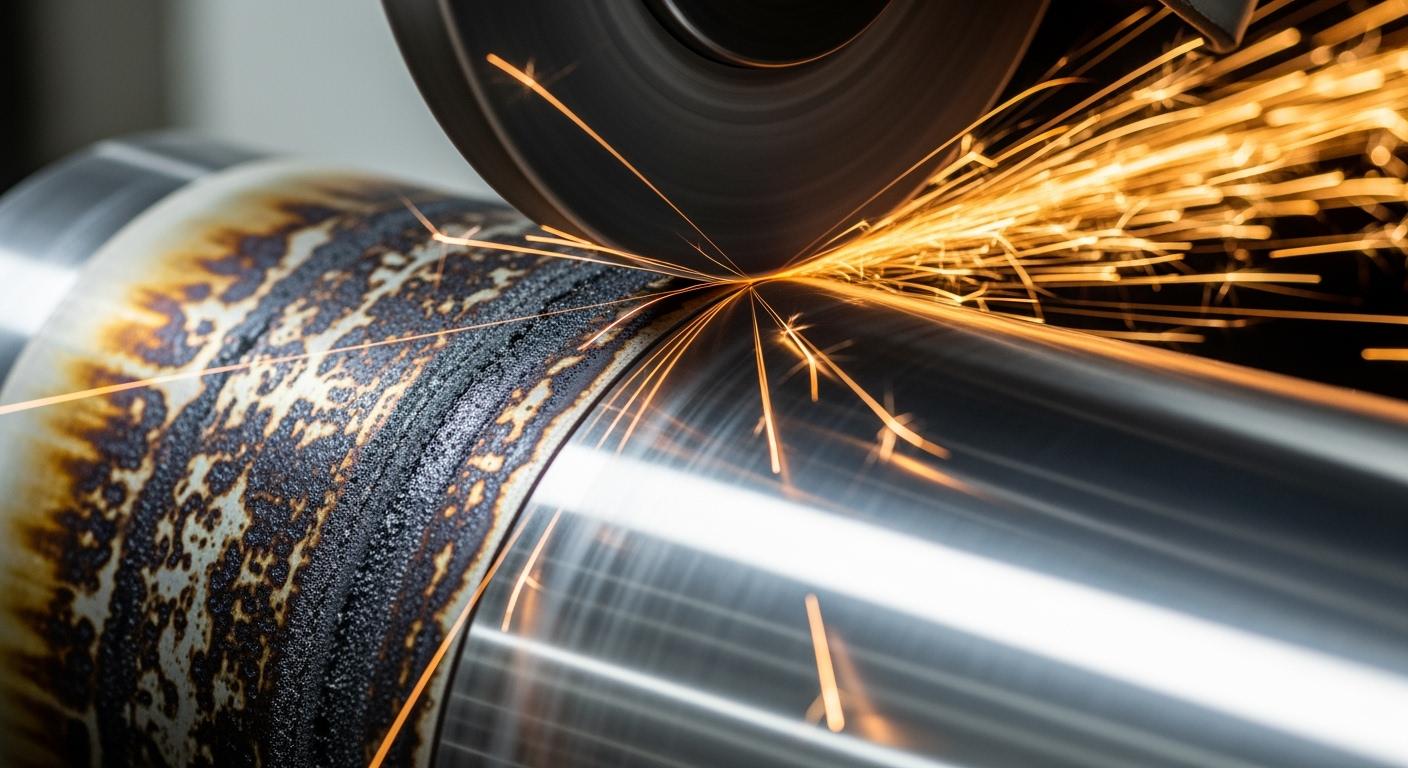
Grinding burn is thermal damage from high temperatures during your grinding process. You see this grinding burn as a visible burn, often as a blue or brown mark on the workpiece. The excessive temperature from grinding causes this burn.
Note: Finding a solution to stop this burning requires a systematic check. The main causes of grinding burn relate to three critical areas: your coolant system, grinding parameters, and the grinding wheel’s condition.
This guide provides practical troubleshooting tips for your precision grinding. Proper troubleshooting helps you prevent grinding burn. You can eliminate this frustrating grinding burn and every future burn from your grinding.
Key Takeaways
- Ensure your cooling system works well. Proper coolant flow and clean coolant prevent high heat during grinding.
- Adjust grinding settings carefully. Increase workpiece speed and reduce infeed to spread heat and prevent burns.
- Keep your grinding wheel in good shape. Dress loaded wheels and choose the right wheel type to avoid too much friction.
- Learn to spot grinding burn. Look for color changes on the surface or use special tests for hidden damage.
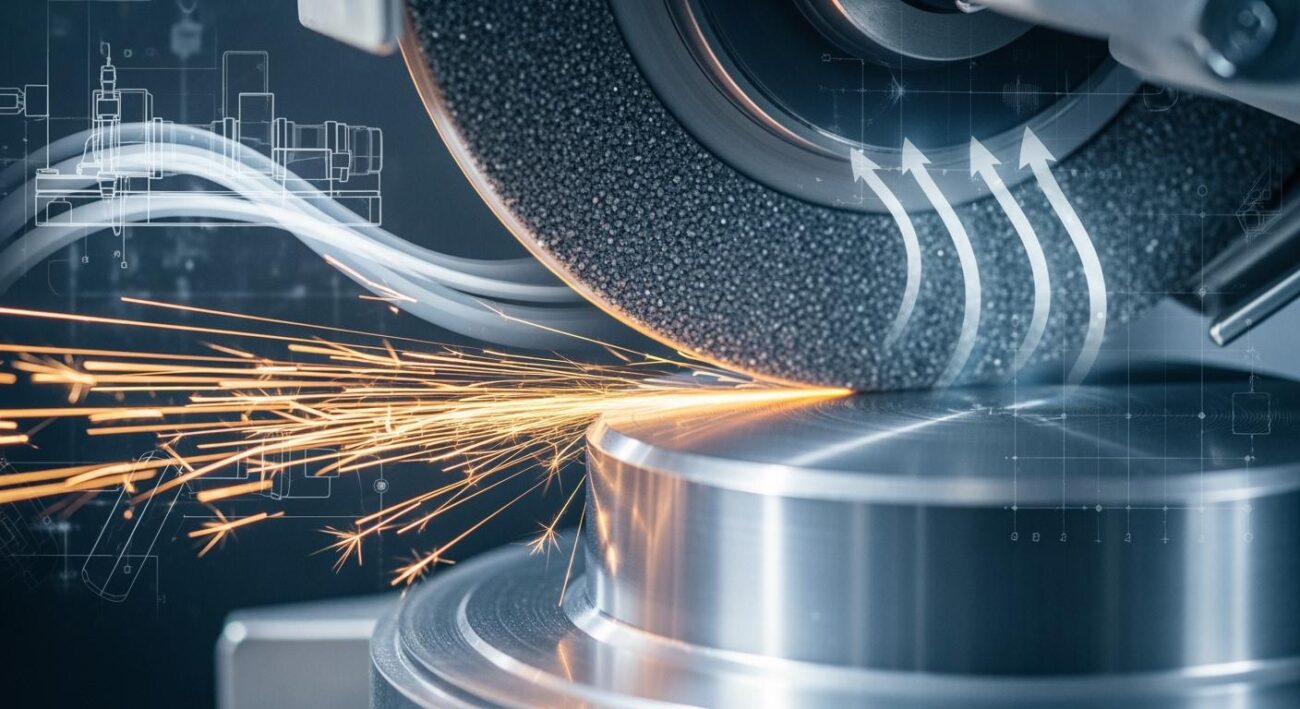
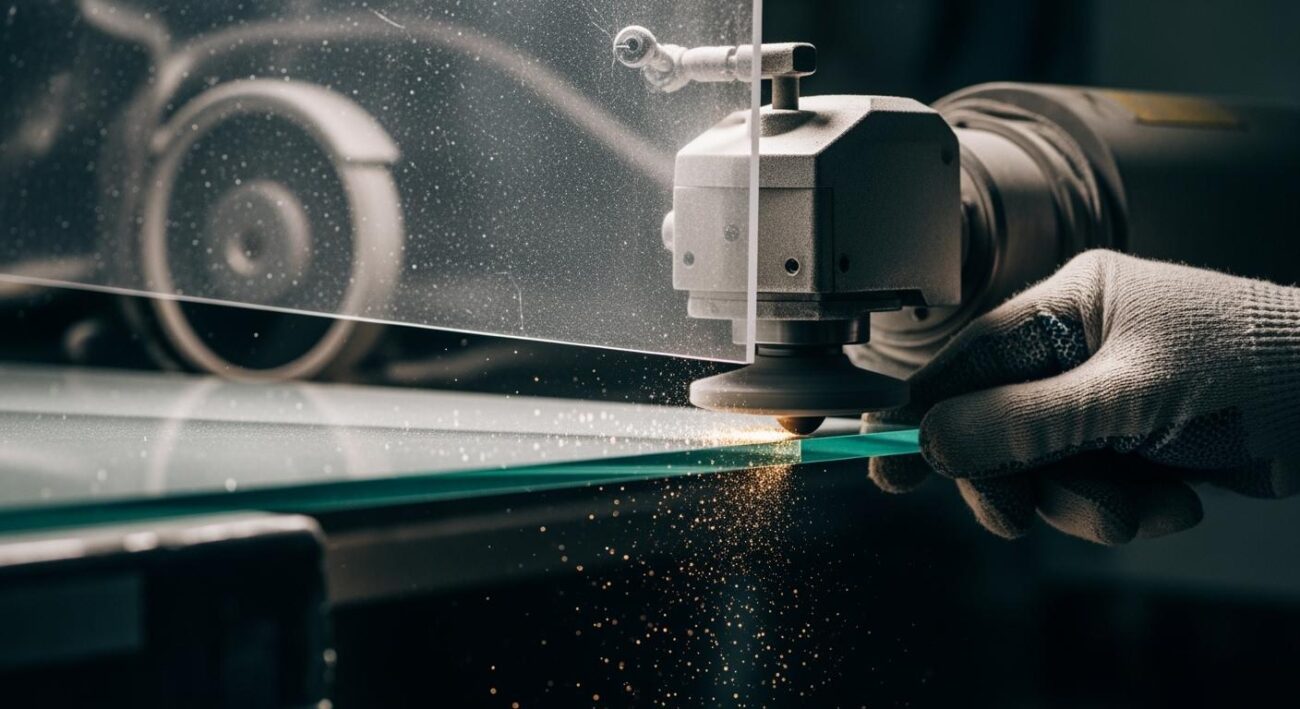
Optimize Your Coolant System
Your cooling system is the first line of defense against grinding burn. An inadequate supply of cooling lubricant directly causes the high temperatures that burn your workpiece. Effective cooling is essential for any successful grinding operation. Let’s review how you can ensure your cooling system prevents this damaging burn.
Ensure Proper Coolant Flow
You must supply the optimum amount of cooling lubricant to the grinding zone. Poor coolant flow is a common reason for grinding burn. A good starting point for many grinding jobs is a flow rate between 10 to 20 gallons per minute (GPM). Insufficient cooling lubricant leads to workpiece overheating and can even cause cracking or warping. This thermal expansion affects the final dimensions and causes a burn. Proper cooling is critical to avoid this burn.
Correct Coolant Jet Application
How you apply the cooling lubricant is just as important as how much you use. Incorrect nozzle placement can prevent the cooling lubricant from reaching the grinding point, causing a burn.
Quick Tip for Nozzle Placement 🎯
- Position the nozzle above the grinding wheel’s center line.
- Angle the jet to strike the wheel’s surface at about 20 degrees.
- Match the jet’s speed to the wheel’s speed for better cooling.
Using a high-pressure cooling system directs the cooling lubricant precisely into the cutting zone. This method is excellent for heat dissipation during grinding and helps prevent the excessive temperatures that lead to tool wear and burn. This focused cooling helps you avoid grinding burn.
Maintain Coolant Quality
Your cooling lubricant loses its effectiveness when it becomes contaminated. Dirty cooling lubricant cannot provide the necessary cooling, which leads to burning and a bad burn on your part. You should regularly check your cooling lubricant for signs of degradation. Watch for these issues:
- A visible oil slick on the surface
- A strong, foul odor (like rotten eggs)
- A drop in the fluid’s pH level below 8.5
- Persistent foaming during the grinding process
Contaminated cooling lubricant fails to do its job, making grinding burn much more likely. Maintaining clean cooling lubricant is a simple step to prevent this type of burn.
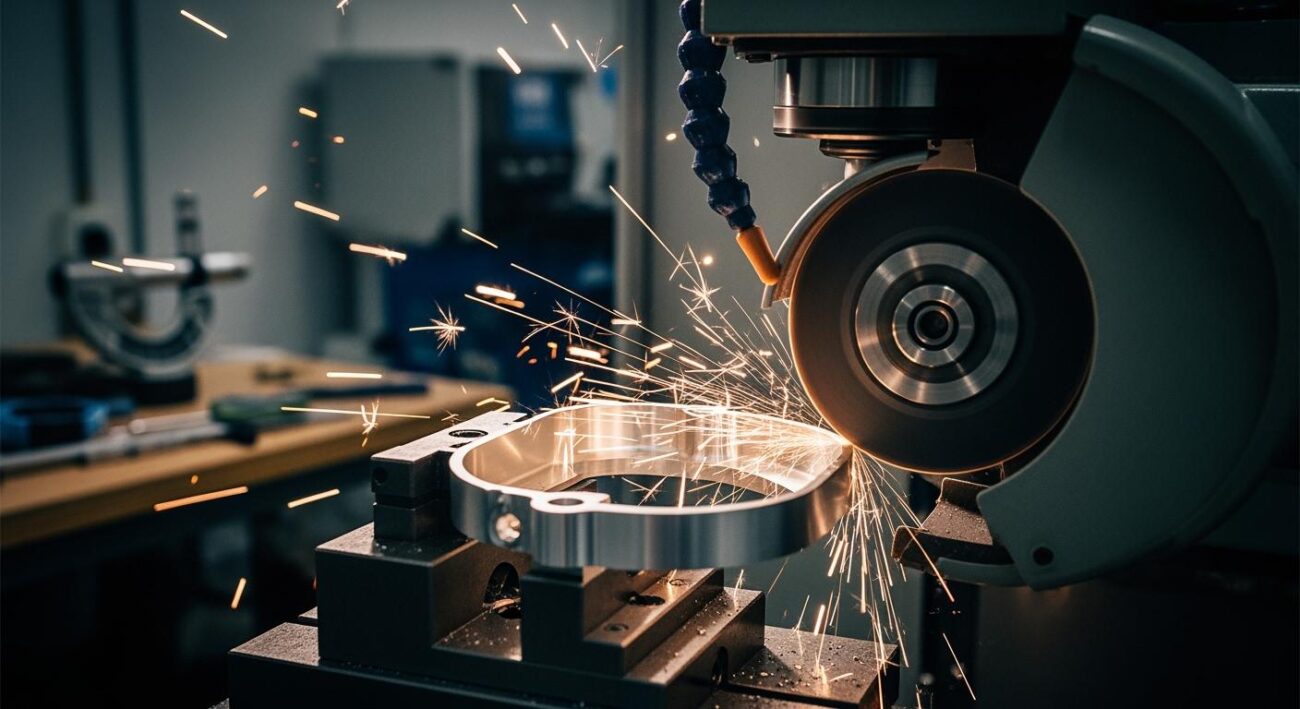
Adjust Parameters for Precision Grinding
Your grinding parameters directly control the amount of heat generated at the point of contact. An incorrect setting is a frequent source of grinding burn. Fine-tuning these settings is a powerful way to eliminate burn and achieve consistent results in precision grinding. Let’s look at three key parameters you can adjust.
Increase Workpiece Speed
You might think slowing things down reduces heat, but the opposite is often true in grinding. When your work speed is too slow, the grinding wheel spends too much time on one area. This concentrates heat and causes a burn. Increasing the workpiece speed spreads the grinding energy over a larger surface area, which helps dissipate heat and prevent a burn.
Pro Tip: To avoid burning, try adjusting your wheel’s Surface Feet Per Minute (SFPM) toward the lower end of the recommended range. This reduces friction and heat.
The ideal speed often depends on your wheel’s bond type. You can use this table as a starting point for your grinding operation:
| Bond Type | Wet Grind SFPM Range | Dry Grind SFPM Range |
|---|---|---|
| Resin Bond | 3937-9843 | 3937-7874 |
| Metal Bond | 3937-15748 | 3937-9843 |
| Vitrified Bond (OD) | 4921-31496 | N/A |
| Electroplated Bond | 3940-9850 | 3940-9850 |
Reduce Wheel Infeed Rate
A wheel infeed too fast is a primary cause of grinding burn. A high infeed rate forces the wheel to remove too much material at once. This action dramatically increases grinding forces and releases excessive heat into the workpiece, resulting in a severe burn. Reducing the infeed rate is a direct solution to prevent grinding burn and thermal cracking.
For hard materials, a small adjustment makes a big difference. Slower infeeds give the coolant time to work and keep temperatures under control.
| Material Type | Roughing Infeed per Revolution (inches) |
|---|---|
| Plain carbon steel, hardened | 0.0002 |
| Alloy and tool steel, hardened | 0.0001 |
Optimize Traverse Speed
Traverse speed is how fast the grinding wheel moves across the workpiece. This parameter requires a careful balance. For finishing passes in precision grinding, a slower traverse speed helps improve the surface finish. A lower feed rate, such as in the 0.01–0.05 mm/rev range, can significantly reduce surface roughness and the risk of a final burn. A slow, controlled pass ensures a high-quality finish without the thermal damage of a grinding burn. This final step in your grinding process helps you avoid a last-minute burn.
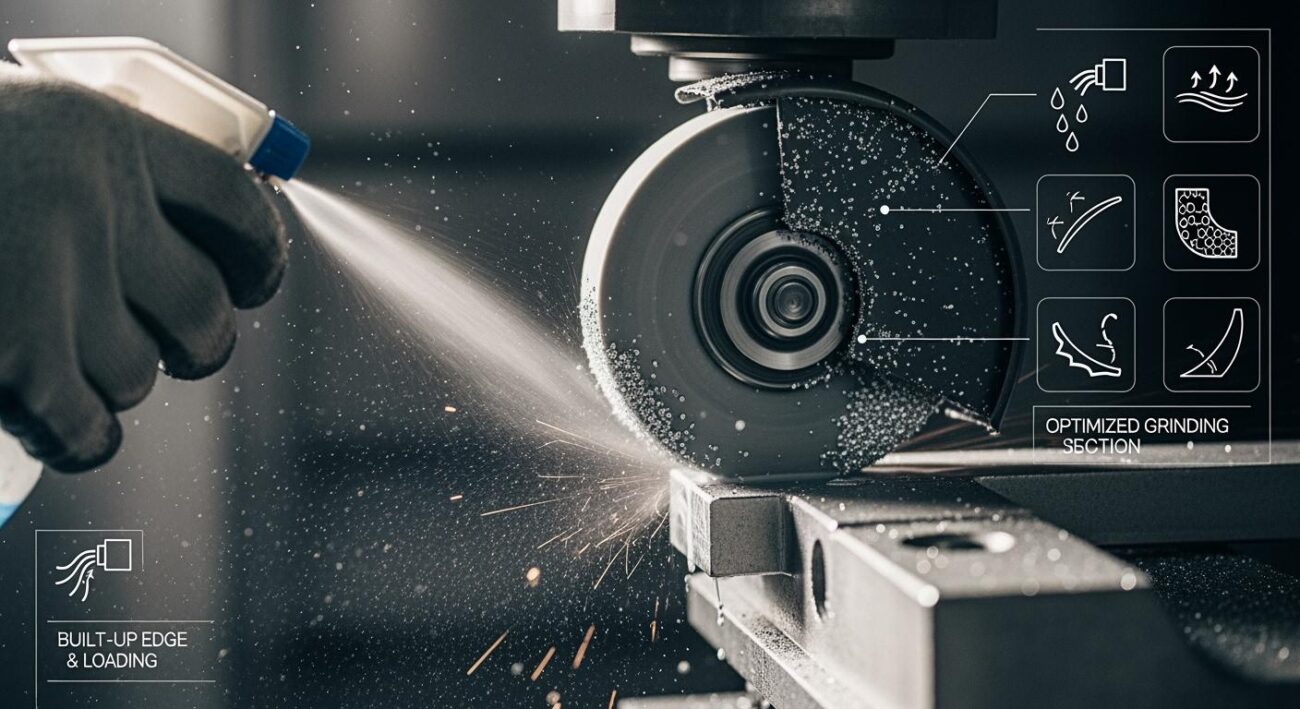
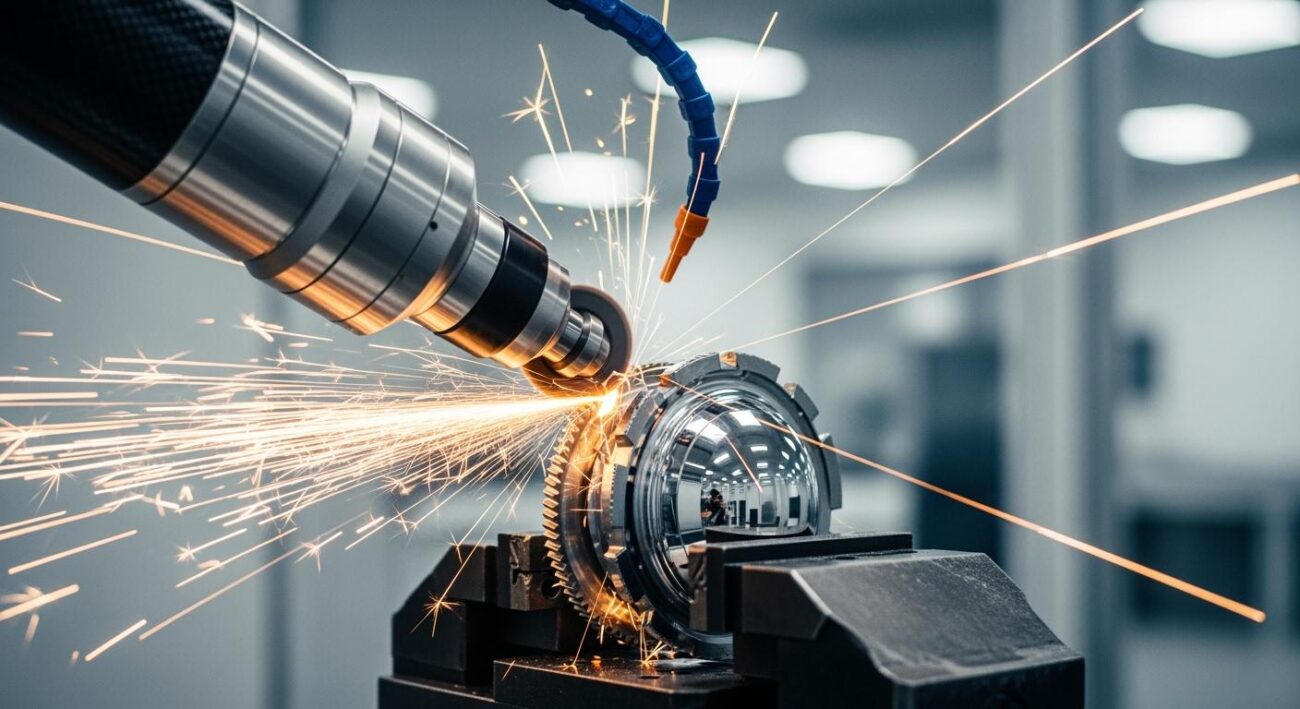
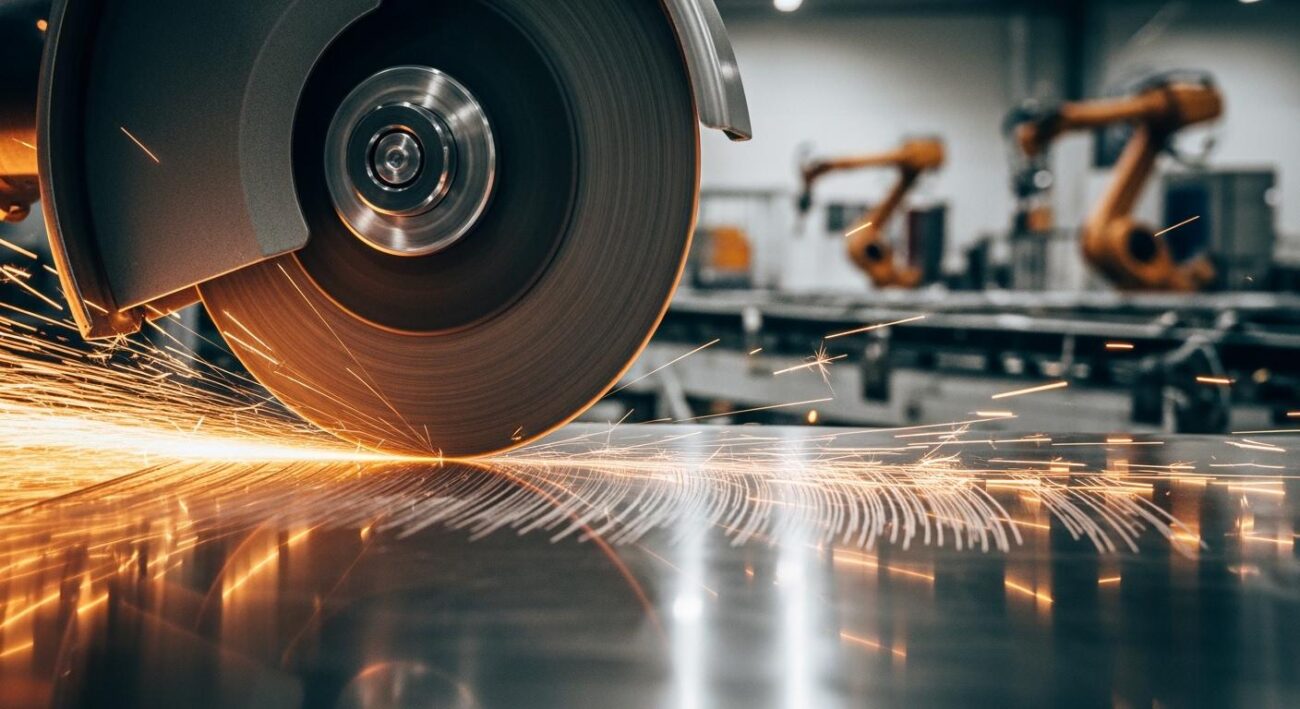
Manage Your Grinding Wheel
Your grinding wheel’s condition is a major factor in heat generation. A dull or improperly selected wheel works harder, creates more friction, and is one of the leading causes of grinding burn. Proper wheel management is essential for any precision grinding job to prevent a burn.
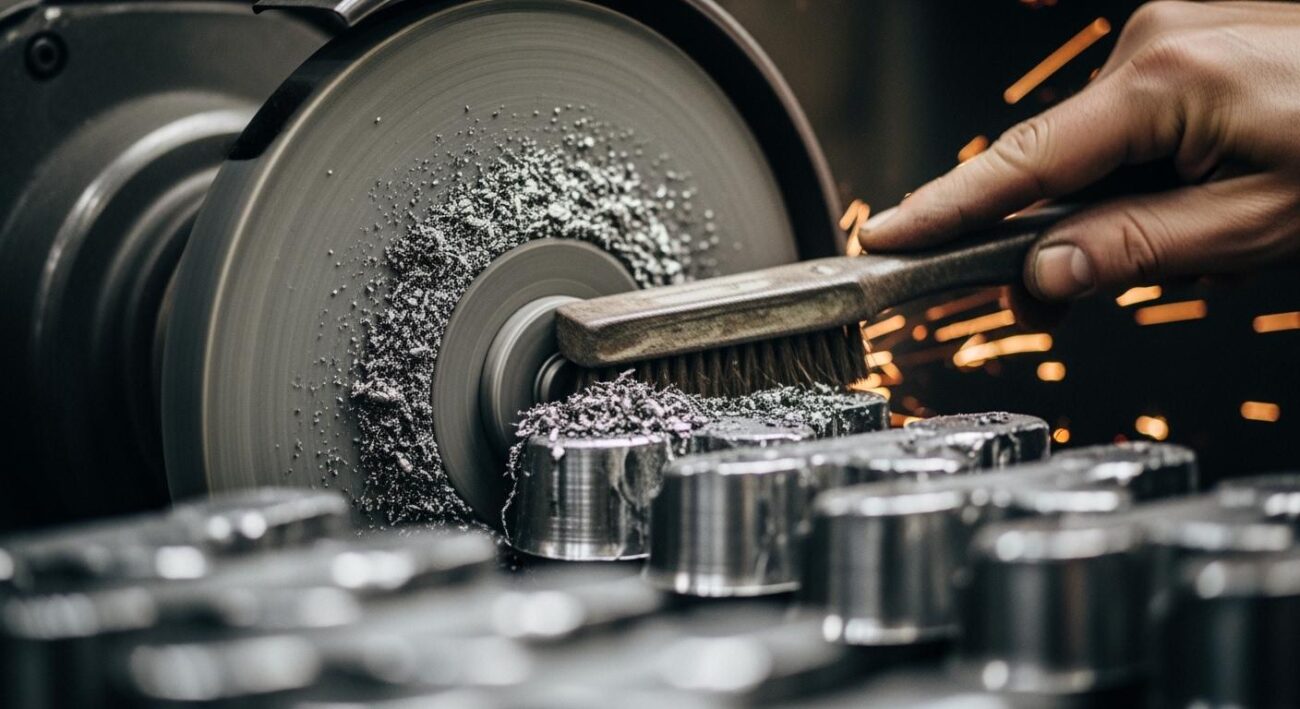
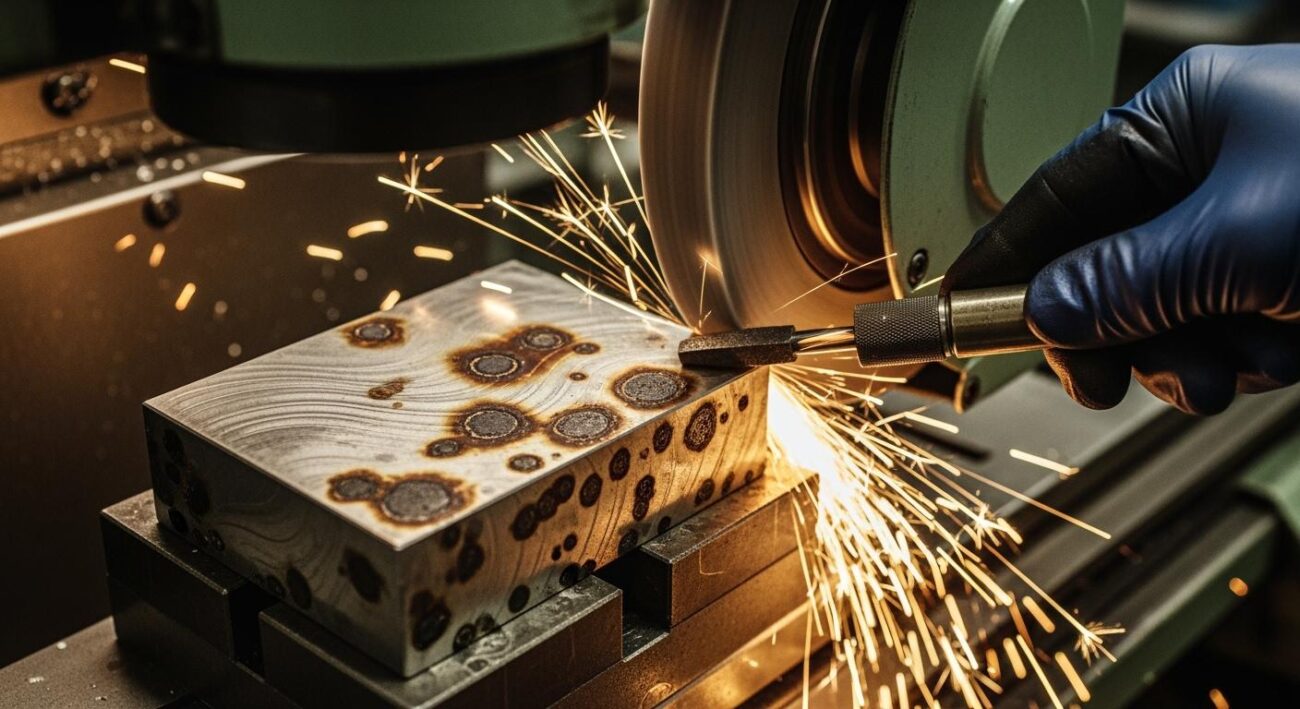
Dress a Loaded or Glazed Wheel
Your grinding wheel can become “loaded” with material or “glazed” from wear. A loaded wheel has metal chips stuck to it. A glazed wheel has dull abrasive grains. Both conditions stop the wheel from cutting freely. This causes rubbing instead of cutting, which creates intense heat and a bad burn. You must dress the wheel to expose sharp, new abrasive grains. This simple action restores its cutting ability and is a direct fix for this type of grinding burn.
Refine Your Dressing Strategy
Your dressing strategy affects how the wheel performs. An aggressive dress makes the wheel cut more freely, which reduces heat and the risk of a burn. However, an overly aggressive dress can damage the wheel.
Dressing Tip: A more aggressive dress exposes more of the grinding grain. This helps lower grinding power and reduces heat. But, it can also leave a rougher surface finish.
- Aggressive Dressing:
- Lowers grinding power and reduces heat.
- Improves cutting efficiency and prevents a burn.
- Can cause deeper scratch patterns on the workpiece.
- Overly Aggressive Dressing:
- Rips abrasive grains from the wheel.
- Damages the bond structure, especially in brittle vitrified bonds.
- Reduces wheel life significantly.
Select the Right Wheel for Avoiding Grinding Burns
Using the wrong wheel is one of the most common causes of grinding problems. The wheel’s material, grit, and bond type must match your specific grinding application to prevent burning. This is where a specialist like Aimgrind can help you solve grinding burn.
Aimgrind specializes in customized grinding solutions. For high-performance grinding, Aimgrind’s super hard abrasives like diamond and CBN wheels are excellent choices. These wheels are designed to cut hard-to-grind materials with less heat. CBN, for example, has high thermal stability, making it ideal for grinding steel alloys without causing a burn. Diamond wheels efficiently remove heat from the cutting zone when grinding non-metals and non-ferrous alloys.
Aimgrind also diagnoses grinding problems and provides personalized wheel recommendations. Matching the wheel to your process is the best way to prevent issues like grinding burn from the start.
How to Correctly Identify Grinding Burn
You must correctly identify grinding burn to solve it. A simple visual check is not always enough. Some damage from grinding hides below the surface. Learning to spot both visible and hidden damage is key to ensuring part quality. This involves looking for color changes and using special tests for a deeper look.
Perform a Visual Inspection
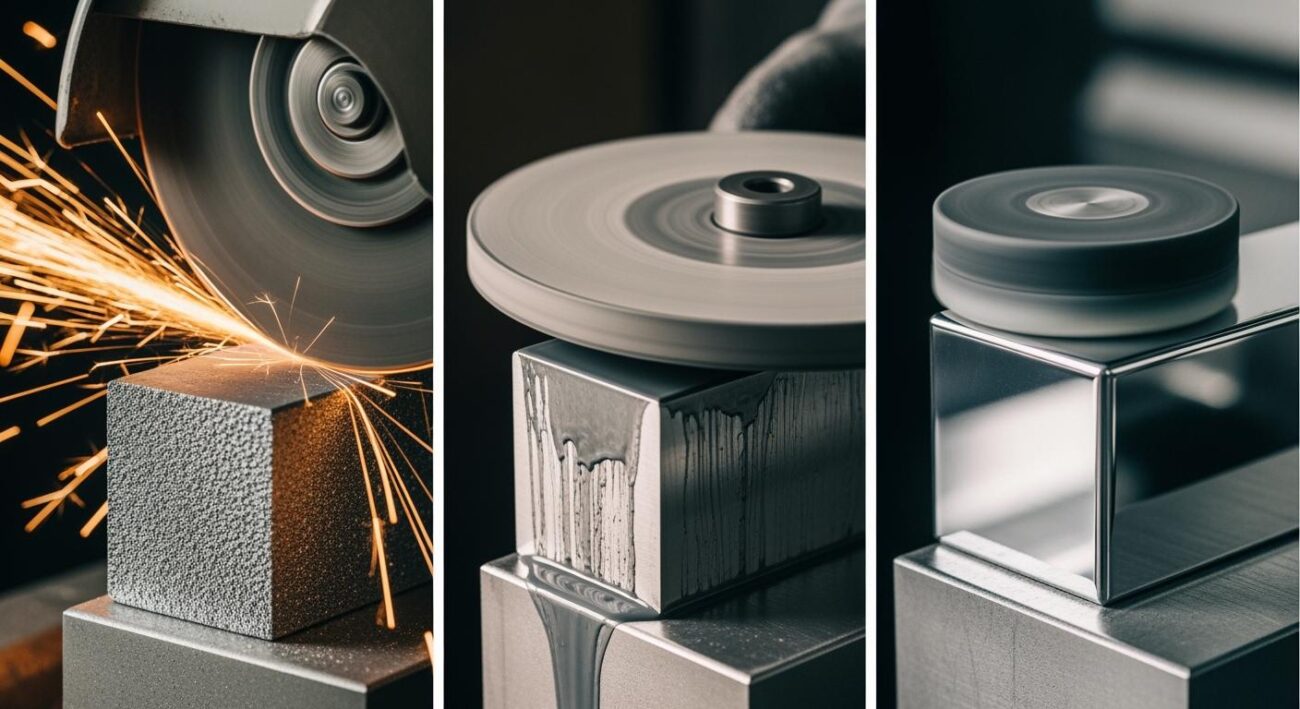
Your first step is to look for an oxidation burn. This type of burn appears as discoloration on the workpiece surface. The color tells you how hot the part became during the grinding process. A light straw color indicates lower heat, while a dark blue color signals a severe oxidation burn. This discoloration is a clear sign of grinding burn and often points to a poor surface finish.
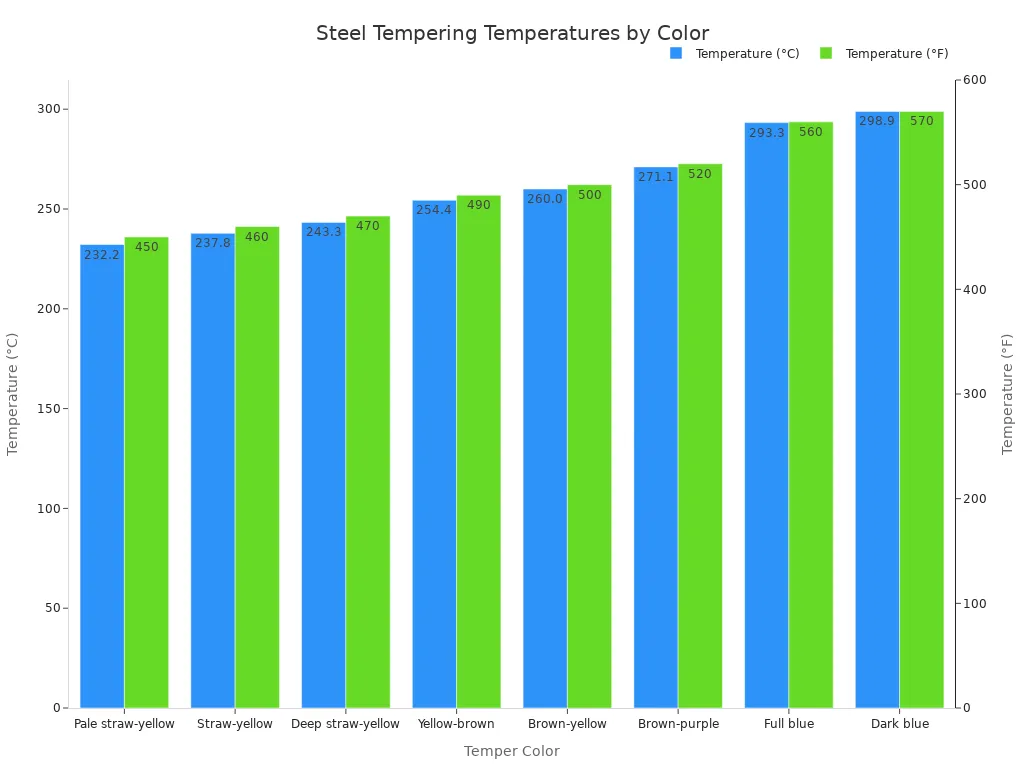
You can use this table to understand the temperatures that cause an oxidation burn on steel:
| Temper Color | Temperature (°C) | Temperature (°F) |
|---|---|---|
| Pale straw-yellow | 232.2 | 450 |
| Brown-yellow | 260.0 | 500 |
| Brown-purple | 271.1 | 520 |
| Full blue | 293.3 | 560 |
| Dark blue | 298.9 | 570 |
An oxidation burn means the grinding created too much heat. This can lead to a poor surface finish and affect the part’s hardness.
Use Nital Etching for Detection
Sometimes, an oxidation burn is removed by later grinding passes, but the damage remains. Nital etching is a method you can use to reveal hidden grinding burn. This process uses a mild acid solution to show different grinding burn zones. A light oxidation burn will appear as a dark gray area, while a severe oxidation burn looks white.
Safety First When Handling Nital ⚠️ You must handle nital solutions with extreme care.
- Always wear proper PPE, including safety goggles, gloves, and an apron.
- Mix chemicals in a well-ventilated area.
- Never mix nitric acid with isopropyl alcohol, as it can cause an explosion.
- Store flammable solvents and acids in separate, approved fireproof cabinets.
The standard nital etch process for your grinding inspection involves these steps:
- Clean the part thoroughly.
- Dip it in a 3%-5% nitric acid solution.
- Rinse the part with water, then alcohol.
- Neutralize it with an alkali solution.
- Apply a rust preventative oil.
- Inspect the surface for signs of burning.
Detect Subsurface Damage with Barkhausen Noise
The most severe grinding burn is not visible. It happens below the surface. Barkhausen Noise Analysis (BNA) is a non-destructive test you can use to find this damage. The BNA method uses a magnetic sensor to detect changes in stress and microstructure caused by heat from grinding. The sensor measures magnetic “noise” in the material. A change in the noise signal indicates subsurface damage from the grinding. This advanced technique helps you find issues like re-hardening or softening that a visual or nital inspection might miss. It is an excellent way to confirm your grinding process is free from any hidden burn.
You can stop grinding burn in your precision grinding. Your troubleshooting should check your cooling, grinding parameters, and grinding wheel. This troubleshooting solves grinding problems and stops the burning. Mastering your grinding and cooling prevents grinding burn. Proper cooling and grinding stop grinding burn. Partnering with experts like Aimgrind for your grinding helps solve grinding problems and improves your precision grinding. Good cooling and grinding prevent grinding burn.
FAQ
What is the main cause of grinding burn?
Excess heat from your grinding process causes grinding burn. This heat comes from friction between the grinding wheel and your workpiece. Your grinding setup must manage this heat. A poor grinding setup leads to grinding burn.
Can the wrong grinding wheel cause grinding burn?
Yes, an incorrect wheel is a common reason for grinding burn. Your grinding wheel must match the material you are grinding. The wrong choice creates too much friction. This extra friction from the grinding process causes burning.
How does coolant stop grinding burn?
Coolant removes heat from the grinding zone. It keeps the workpiece cool during the grinding operation. Proper coolant flow is essential for your grinding. It prevents the high temperatures that lead to grinding burn during precision grinding.
Is grinding burn only a surface problem?
No, grinding burn can be more than a surface issue. Severe heat from grinding can damage the material below the surface. This subsurface damage weakens the part’s structure. Your grinding process should avoid this deep damage.