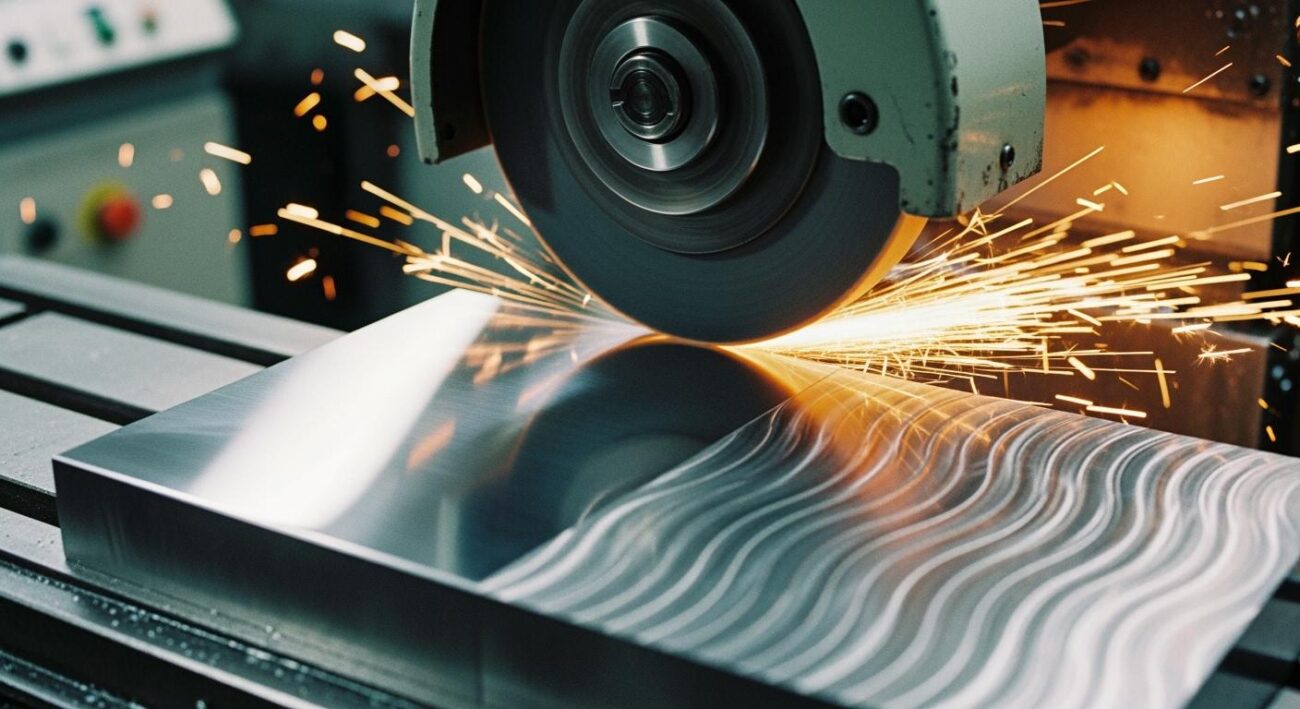
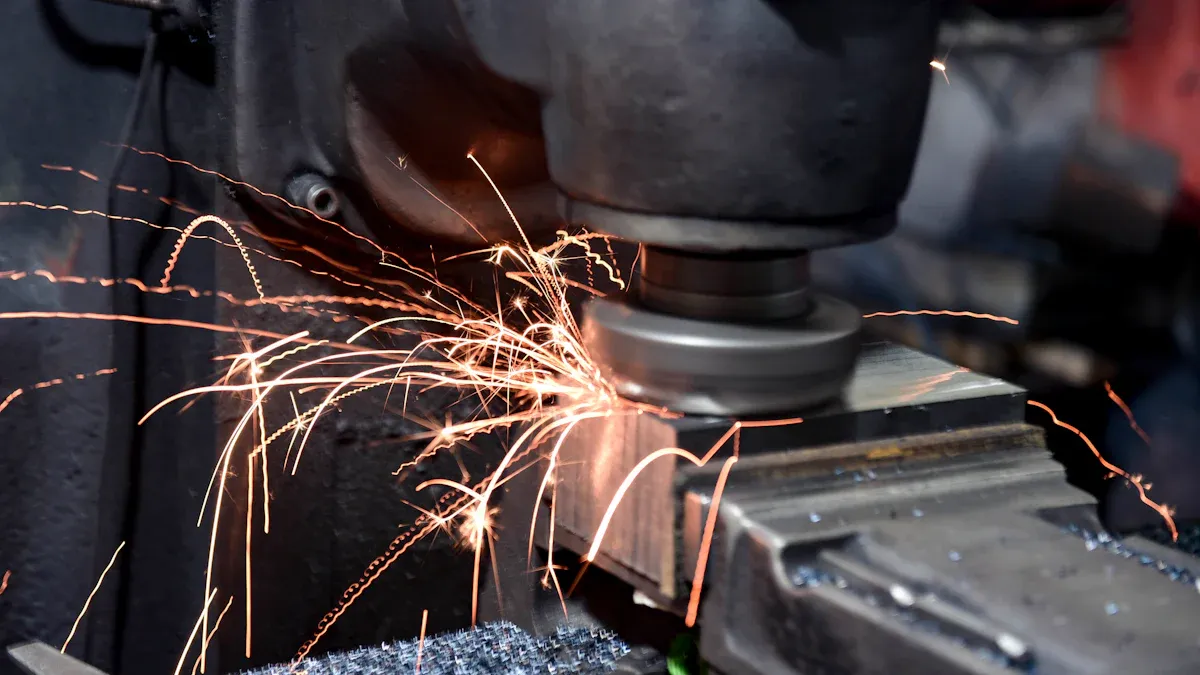
You want to master surface grinding. This skill is vital in a market projected to surpass USD 4 billion by 2030. True mastery combines three key areas. You need the right tools for precision grinding. You must apply the correct grinding technique. You also need a strong commitment to safety. This guide gives you the knowledge for every grinding operation. You will achieve a superior surface finish and safe grinding results.
Mastery Tip: Your success in surface grinding depends on integrating tools, technique, and safety into every grinding task.
Key Takeaways
- Mastering surface grinding needs the right tools, correct techniques, and strong safety habits.
- Choose the correct grinding wheel and cutting fluids for your material. Secure your workpiece firmly for safety and accuracy.
- Prepare your grinding wheel by truing and dressing it. Control wheel speed, feed rate, and depth of cut for good results.
- Deliver coolant effectively to prevent heat damage. Maintain your machine regularly to keep it working well.
- Always wear safety gear. Perform safety checks like the ‘ring test’ before you start grinding.
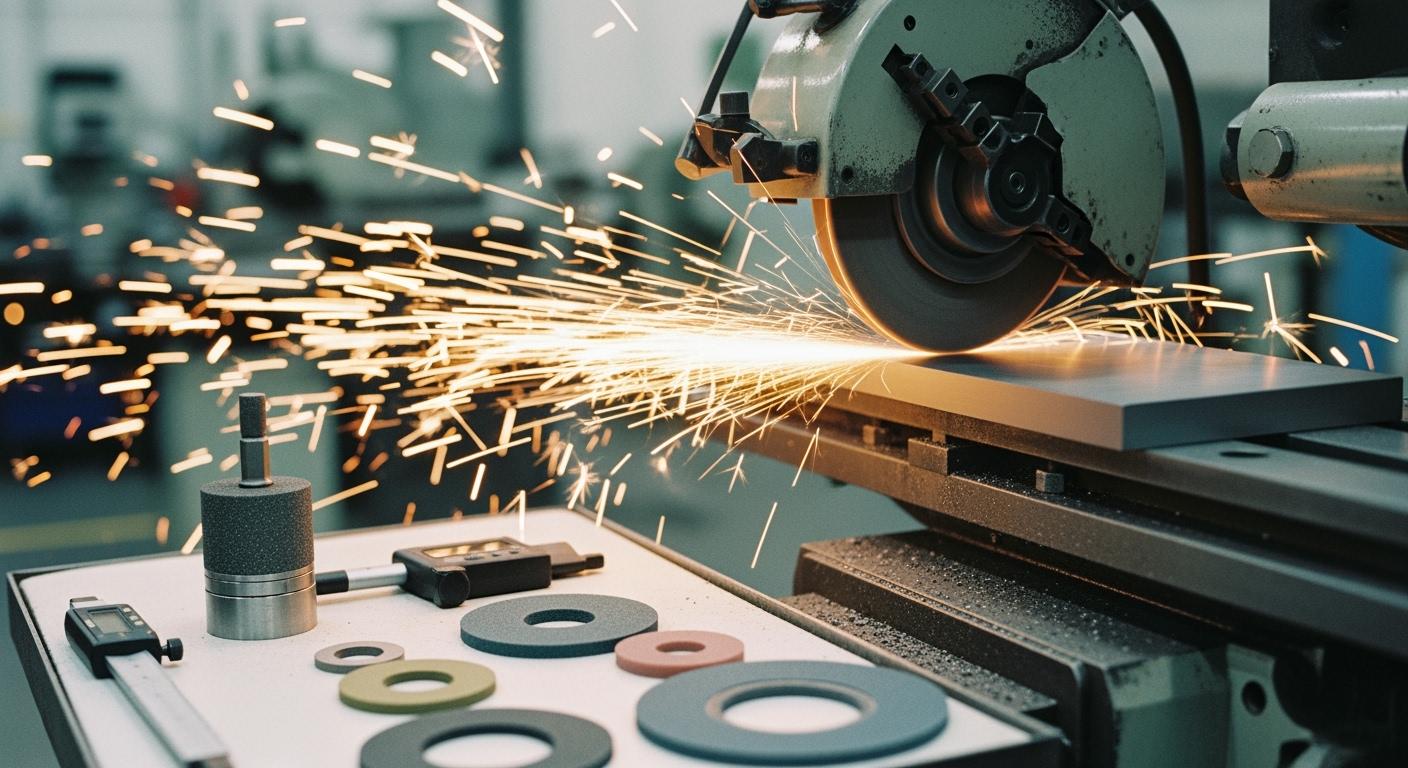
Essential Tools for Precision Grinding

Your journey to mastery starts with your tools. The right equipment is the foundation for every successful surface grinding project. You must select the correct grinding wheel, use the proper fluids, and secure your workpiece. These elements work together to deliver precision and safety.
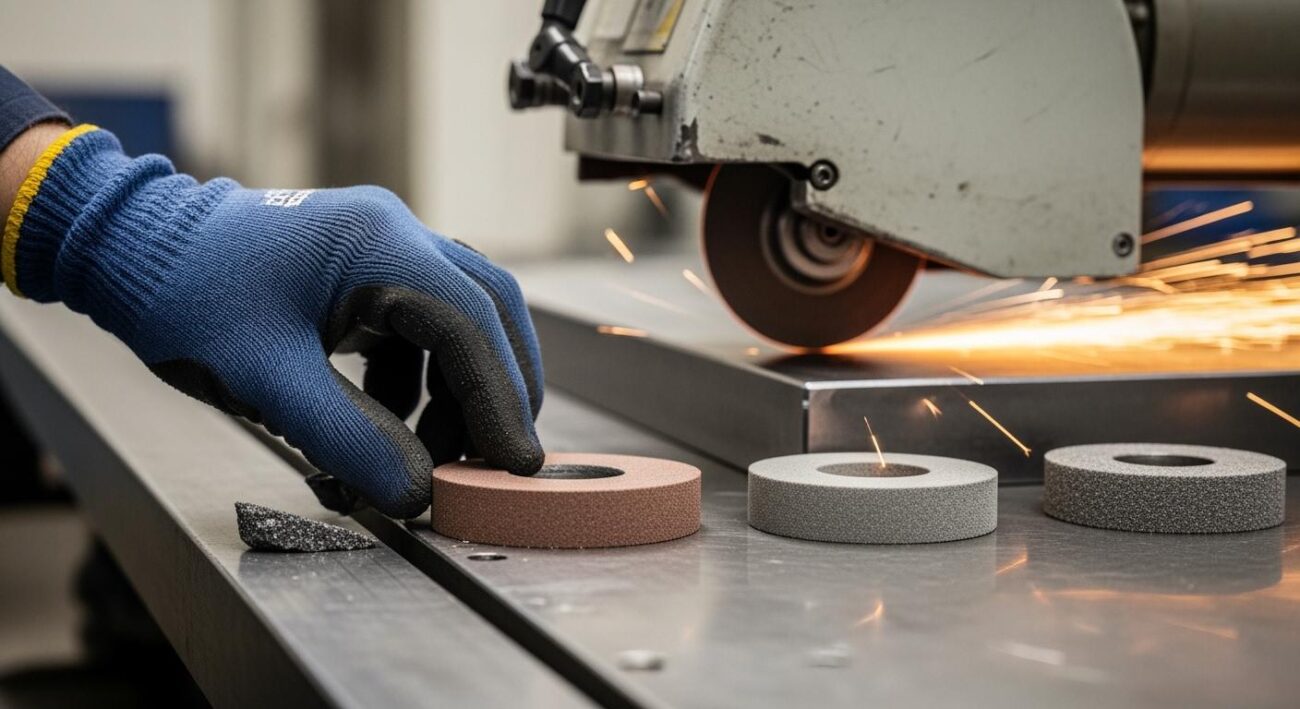
Choosing the Right Grinding Wheel
The grinding wheel is the heart of your operation. Its performance directly impacts your results. For tough materials like metals, ceramics, and composites, you need a specialized solution. Aimgrind provides customized grinding solutions for these demanding jobs. High-performance wheels offer significant advantages. Aimgrind’s diamond grinding wheels, for example, provide exceptional durability and precision for grinding hard materials.
When selecting a wheel, you should consider several factors:
- Material Properties: Evaluate the hardness and composition of your workpiece.
- Abrasive Type: Diamond abrasive is best for hard, non-metallic materials.
- Grit Size: Use a larger abrasive grit for faster material removal and a finer abrasive grit for a smoother finish.
- Bond System: The bond holds the abrasive particles together.
The bond type is crucial for different grinding applications. A resin bond is versatile and easy to use. A metal bond offers long life, perfect for grinding glass and ceramic. A vitrified bond provides high efficiency for fine grinding tasks. You can explore these options on Aimgrind’s diamond grinding wheels page.
| Feature | Diamond Grinding Wheels | Conventional Grinding Wheels |
|---|---|---|
| Efficiency | High material removal rate | Lower material removal rate |
| Lifespan | Longer wheel life, less dressing | Shorter wheel life, more dressing |
| Finish | Superior surface finish | Good for general-purpose finish |
| Cost | Higher initial investment | Lower initial cost |
| Materials | Ideal for hard, brittle materials | Best for softer metals |
The Critical Role of Cutting Fluids
Cutting fluids are essential for high-quality grinding. They perform several key functions that protect both your tool and your workpiece. Using the right fluid makes your grinding process smoother and more efficient.
Key benefits include:
- Corrosion Protection: Fluids form a protective layer to prevent rust.
- Temperature Control: They cool surfaces, preventing thermal damage like micro-cracking.
- Enhanced Surface Finish: Fluids reduce tool chatter for a smoother result.
- Extended Tool Life: Lower temperatures and less friction help your abrasive tools last longer.
For high-speed grinding, synthetic fluids are an excellent choice. They contain no mineral oil and offer the best cooling capacity. This makes them ideal for precision grinding where heat control is critical.
Workholding for Stability and Safety
You must secure your workpiece to the grinding machine before starting any job. A stable workpiece is critical for safety and accuracy. Any movement during the grinding process can ruin the part and create a hazard.
Magnetic chucks are the most common method for holding parts. You can choose from permanent, electromagnetic, or electro-permanent types. Electro-permanent chucks offer a strong hold without generating heat, making them a reliable option. For non-magnetic materials, a vacuum chuck is a great alternative. Always support tall workpieces with angle plates. You should also use a fine pole chuck or build a fixture to secure small parts during grinding.
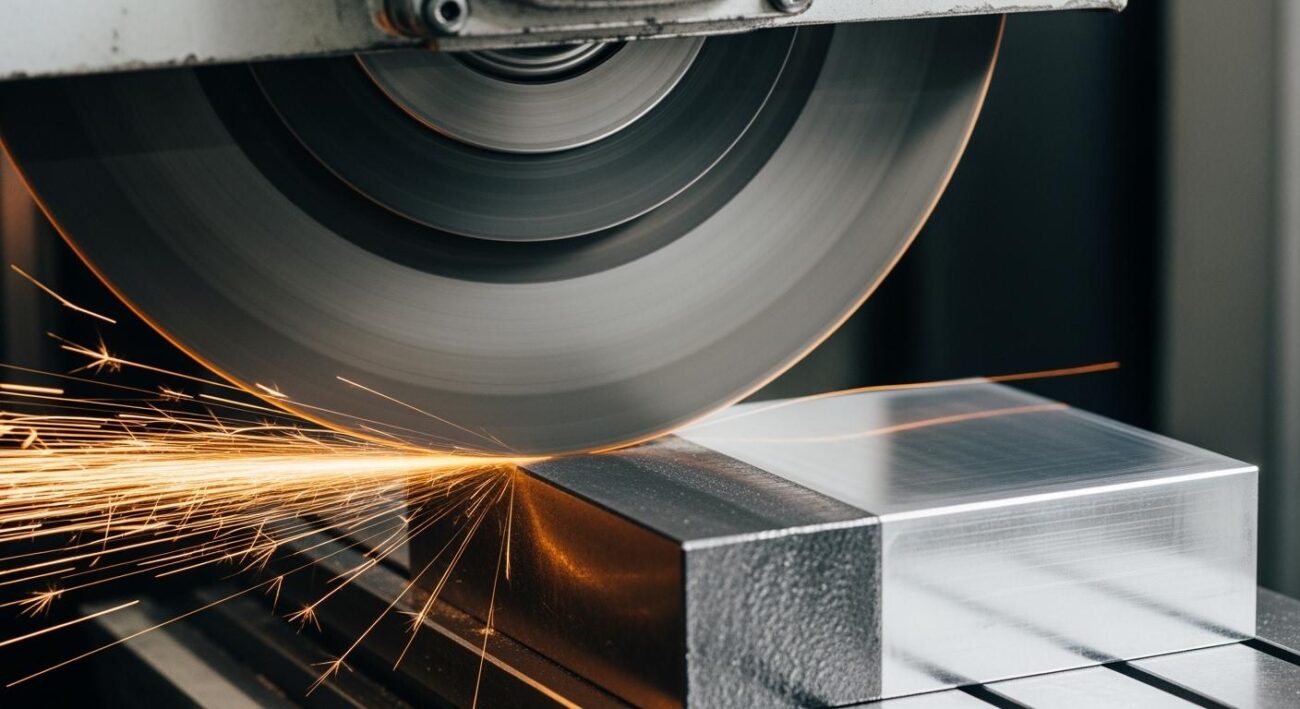
Techniques to Master Surface Grinding
With the right tools in hand, your next step is to refine your grinding techniques. Proper technique transforms a good setup into a great result. It ensures your wheel performs optimally, your workpiece meets specifications, and your entire process is efficient. To master surface grinding, you must focus on three critical areas: preparing the wheel, executing the grind, and delivering coolant effectively.
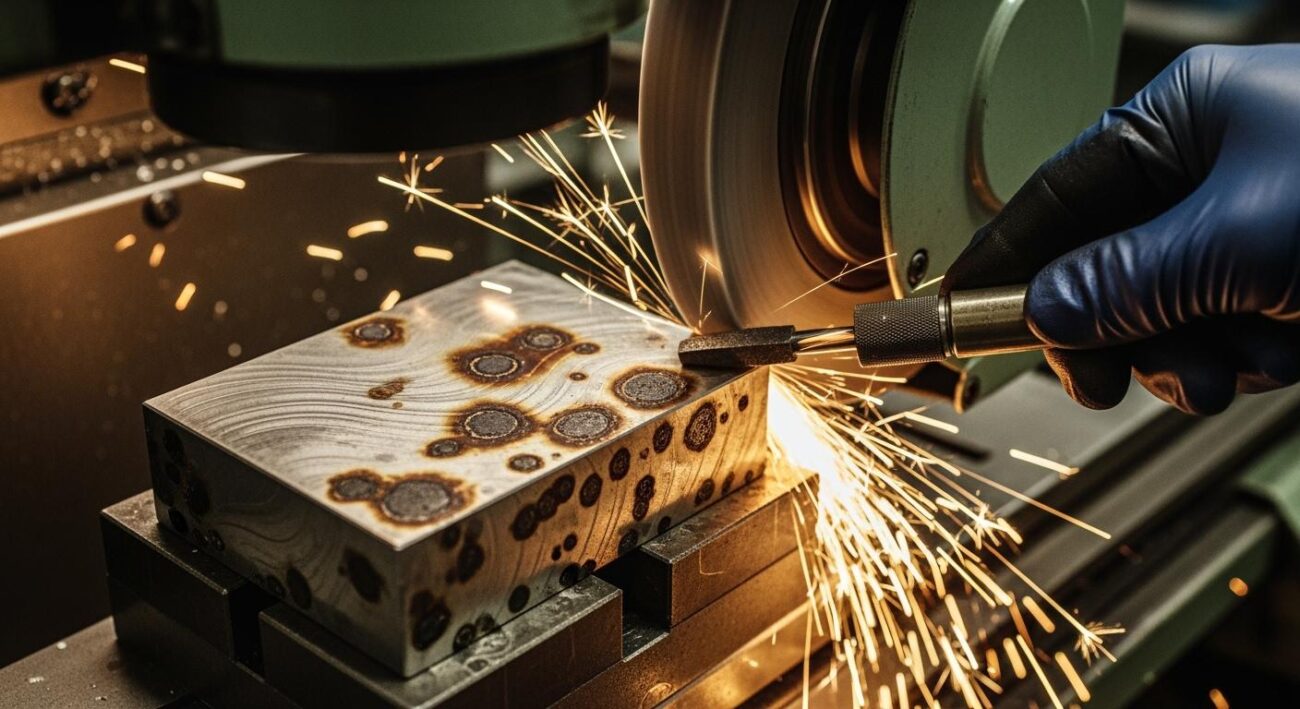
Wheel Preparation and Management
Before you begin any grinding operation, you must prepare your grinding wheel. A well-prepared wheel is balanced, true, and sharp. This preparation involves two distinct processes: truing and dressing.
You must understand the difference between these two actions. Truing is a machining process. It restores the wheel’s perfect geometric shape, making it round and concentric. Dressing is a cleaning process. It removes loaded material from the abrasive and exposes fresh, sharp abrasive grits.
You must always true the wheel first, and then dress it. This sequence is mandatory. Truing is an aggressive action that can smear the bond and dull the abrasive grits. It fixes the wheel’s geometry. Dressing then sharpens the wheel by exposing its cutting edges. Dressing an untrue wheel results in a lumpy, vibrating tool. Truing without dressing leaves a perfectly round but non-cutting wheel that will burn your part.
You should true your wheel when you notice vibration, chatter, or an inability to hold tight tolerances. The truing process involves these steps:
- Inspect the grinding wheel for any visible damage.
- Securely mount the wheel and your truing tool.
- Set the machine’s speed and feed rate.
- Traverse the truing tool slowly and consistently across the wheel surface.
- Inspect the wheel for evenness after you finish.
After truing, you must dress the wheel to restore its cutting ability. For a diamond abrasive wheel, you should use a dressing stick made of silicon carbide or aluminum oxide. Never use single-point diamond dressers on a superabrasive wheel, as this will cause severe damage.
The proper dressing technique for a diamond abrasive wheel is:
- Start the grinder and let it reach full speed.
- Turn off the machine.
- Gently apply the dressing stick across the surface of the spinning wheel.
- Allow the stick to slow the wheel to a stop as it cleans the abrasive.
- Repeat this process until the abrasive wheel is clean.
Finally, you must ensure your wheel is balanced. An unbalanced wheel causes vibrations that create chatter marks on your workpiece. This vibration also puts stress on machine components, leading to increased wear and a shorter lifespan for your equipment and your abrasive wheel. A balanced wheel rotates smoothly, which is essential for a superior surface finish.
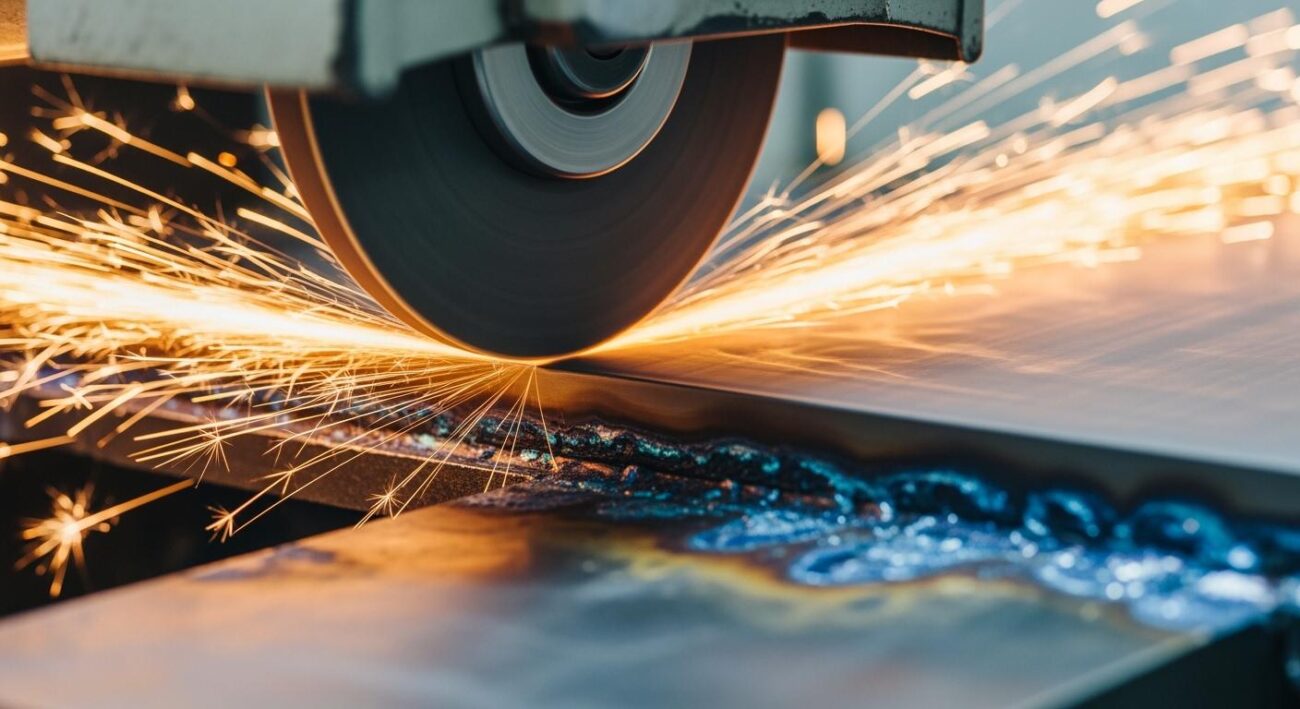
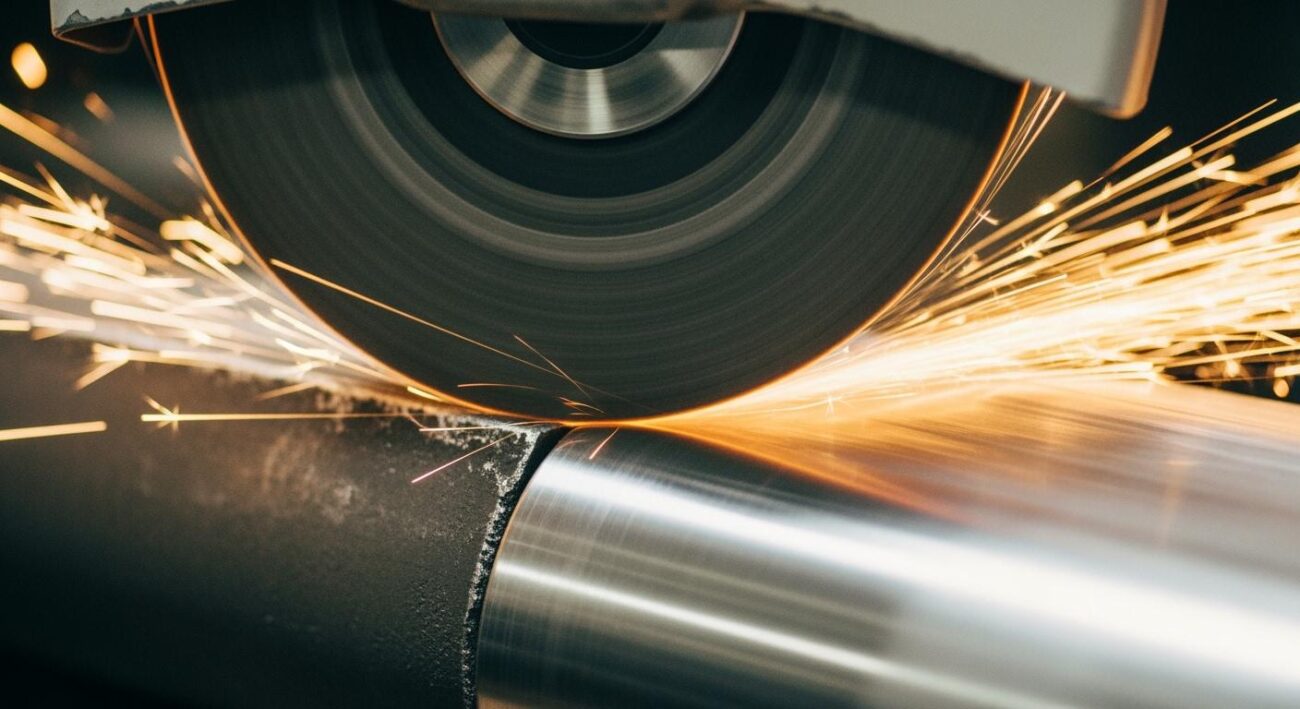
Executing the Grind
With a prepared wheel, you are ready to begin the grinding process. Your success here depends on controlling speed, feed, and depth of cut. These parameters work together to achieve efficient material removal without causing thermal damage.
Wheel speed is one of the most important factors in surface grinding. You measure speed in surface feet per minute (SFPM), not just revolutions per minute (RPM). For general surface grinding, you should aim for a speed between 4,000 and 6,500 SFPM. Increasing the peripheral speed makes the abrasive wheel act harder because more abrasive grains engage the workpiece.
Your feed rate and depth of cut also require careful control.
- Feed Rate: This is the speed at which the workpiece moves past the grinding wheel. A consistent feed rate prevents uneven wear on the abrasive.
- Depth of Cut: This is how much material you remove in a single pass. Start with a shallow “spark-out” pass to ensure the wheel is contacting the surface evenly before you begin heavy grinding.
This technique is a core part of the grinding process. Applying too much pressure can damage the wheel or workpiece, while too little pressure is inefficient. Your goal is to find the right balance for your specific material and abrasive type. This is a key skill you develop on your path to master surface grinding.
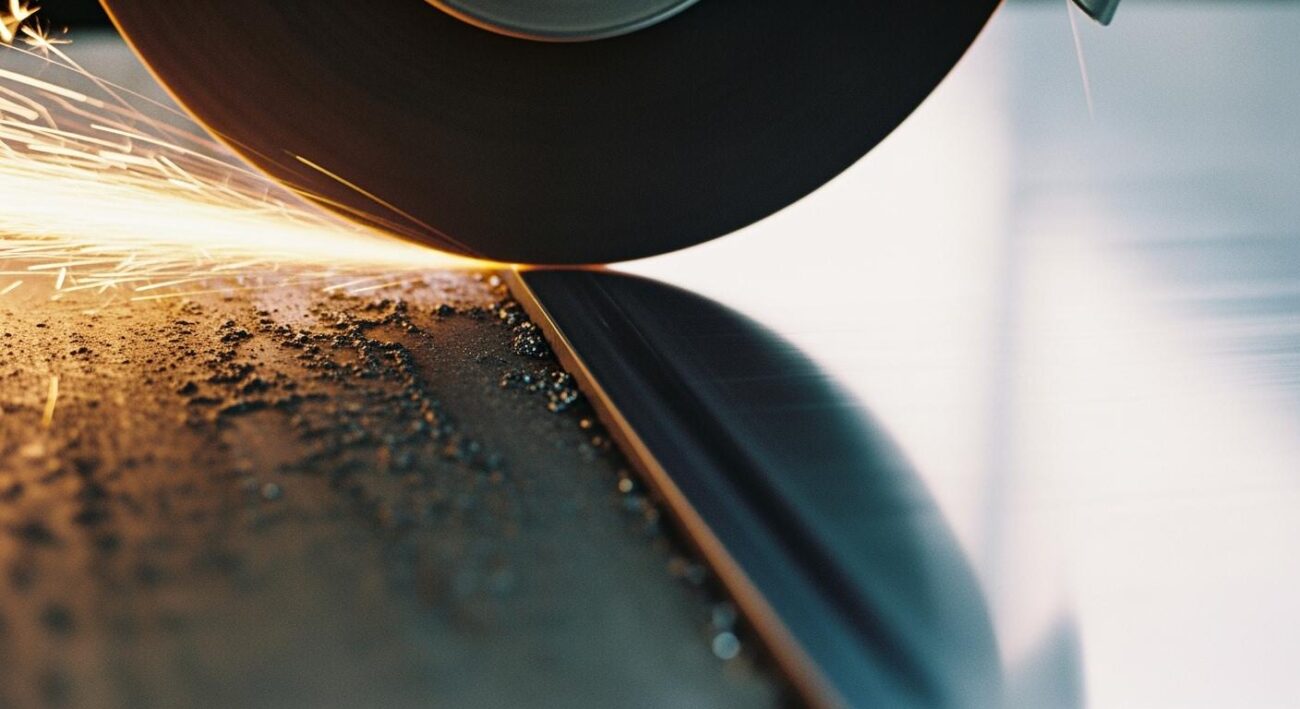
Optimizing Coolant Delivery
Coolant is not just for cooling; it is essential for cleaning and lubricating the grinding zone. How you apply it is just as important as the fluid you choose. Optimizing coolant delivery helps prevent thermal damage, improves wheel life, and is one of the most effective grinding techniques.
The pressure, flow rate, and direction of the fluid all influence its cooling ability. High-pressure coolant systems are very effective. They deliver a focused, laser-like stream of fluid that can penetrate the superheated steam barrier that forms during high-speed grinding. This ensures the coolant reaches the critical point of contact.
For the best results, follow these guidelines for nozzle placement:
- Use Dual Nozzles: A dual-nozzle arrangement is much more effective than a single nozzle. It ensures coolant reaches both sides of the wheel and the cutting edge.
- Position Nozzles Closely: Install nozzles as close to the wheel as possible. This prevents pressure drops and stops air from getting trapped in the coolant stream.
- Aim Correctly: Direct the coolant at the interface between the wheel and the material. The goal is to create intimate contact with all critical areas.
Maintaining your coolant system is also vital. Dirty coolant can clog nozzles, reducing flow and pressure. This leads to uneven cooling, hot spots, and defects in your workpiece. A clean, optimized coolant system is a hallmark of a professional grinding operation.
Best Practices for Maintenance and Safety
Mastery of surface grinding extends beyond technique. It includes a deep commitment to machine care and safety protocols. You protect your investment and ensure a safe working environment with regular maintenance. These practices also set the stage for the final touches of grinding and polishing.
Routine Machine Care
A well-maintained grinding machine performs reliably. You should follow a consistent maintenance schedule to prevent unexpected downtime. Proper care ensures your equipment operates at peak efficiency.
Your weekly tasks should include:
- Checking coolant and hydraulic systems for any leaks.
- Inspecting filters and evaluating coolant quality.
- Cleaning the coolant tank to remove sludge and chips.
For a more detailed schedule, you can follow this guide:
| System/Component | Task | Frequency |
|---|---|---|
| Hydraulic Power Unit | Check oil levels | Daily |
| Coolant | Verify concentration and condition | Weekly |
| Coolant Tank | Clean thoroughly | Monthly |
| Hydraulic Tank | Drain oil and change filters | Every 6 months |
Critical Safety Inspections
Safety is your top priority in any grinding operation. You must perform critical inspections before you start work. A simple but vital check is the “ring test.” You tap a new abrasive wheel gently with a non-metallic object. A clear ring means the wheel is intact, while a dull thud indicates a hidden crack. Never use a damaged abrasive wheel.
You must also use the correct Personal Protective Equipment (PPE).
OSHA regulations require eye protection for all employees using abrasive wheels. You should always wear safety goggles or a face shield. Other recommended PPE includes hearing protection, safety gloves, and respiratory protection against dust from the grinding and polishing process.
For maintenance, you must follow Lockout/Tagout (LOTO) procedures. This ensures the grinding machine is completely de-energized, protecting you from accidental startups.
Final Touches: Grinding and Polishing
The final steps of grinding and polishing transform your workpiece. After the main grinding is complete, you will likely need to deburr the part. This removes sharp edges left by the abrasive. The goal of grinding and polishing is to achieve the desired surface finish. You can measure this finish using the Roughness Average (Ra). This metric calculates the average height of microscopic peaks and valleys on the surface. A lower Ra value indicates a smoother finish. The final polishing process is key. A good polishing technique for final polishing involves using the right abrasive compounds. For a mirror finish, you might use a felt flap disc with a final polishing cream. This final polishing step is crucial. The process of grinding and polishing requires patience. Your final polishing work shows your skill. This final polishing is an art. The grinding and polishing process concludes with a final polishing pass. This final polishing defines the quality. Grinding and polishing is a two-step process. The final polishing is the last touch. This final polishing makes the part shine.
Your journey to master surface grinding is a continuous process. It combines the right tools, precise technique, and diligent maintenance. Focusing on wheel selection and safe operational methods is your key to achieving high-quality outcomes, like finer surface finishes and increased production. Proper surface grinding practices also prevent common injuries from sparks or wheel failure. You can master surface grinding with dedication. Grind with Passion, Achieve with Aim.
FAQ
How do I choose the right grit size for my wheel?
You should select a grit size based on your goal. Use a coarse grit (lower number) for fast material removal. Choose a fine grit (higher number) for a smooth surface finish. This is especially important for final polishing passes.
What is the “ring test” and why is it important?
The ring test checks a new wheel for hidden cracks. You tap the wheel gently. A clear, ringing sound means the wheel is safe to use. A dull thud indicates damage. You must never use a damaged wheel.
Can I use the same wheel for different materials?
You should use wheels designed for specific materials. Using the wrong wheel can cause poor performance, damage the workpiece, or create a safety hazard. For example, diamond wheels are best for very hard materials like ceramics.
What causes burn marks on my workpiece?
Burn marks usually come from too much heat. This can happen if your wheel is dull or loaded. It can also result from incorrect speeds, feeds, or poor coolant flow. Dressing your wheel often prevents this issue.