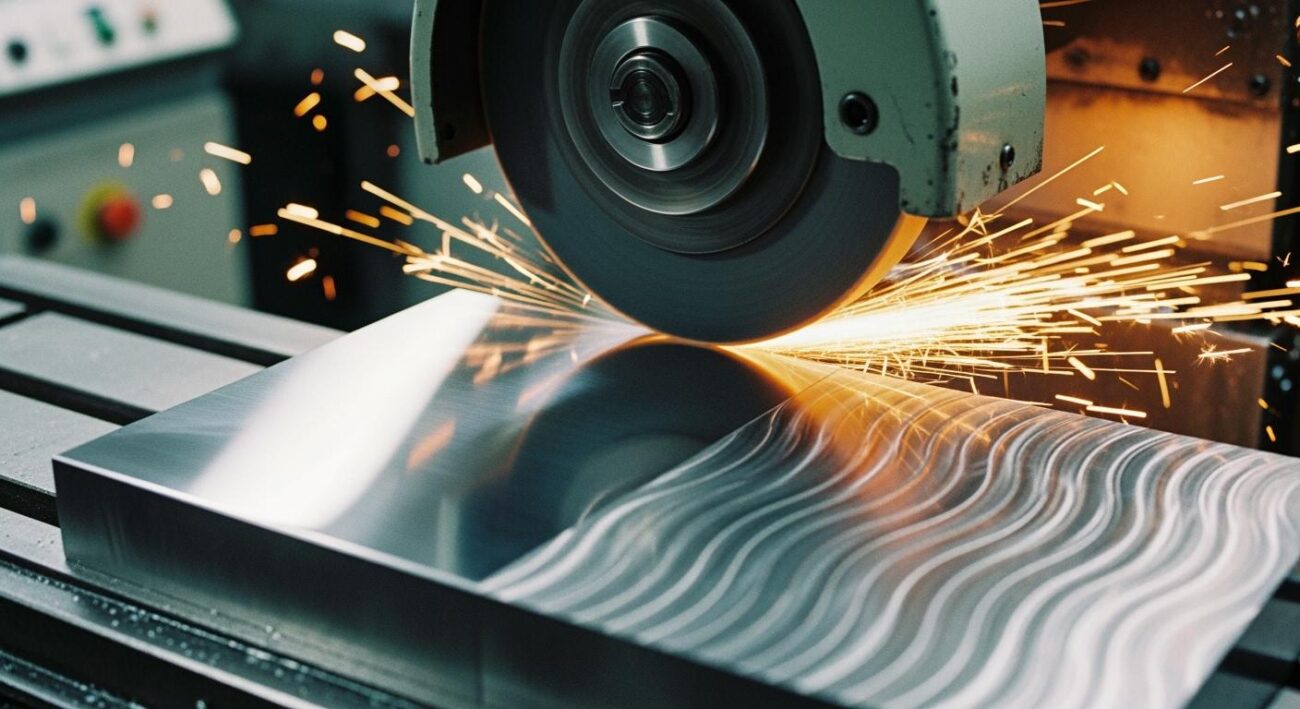
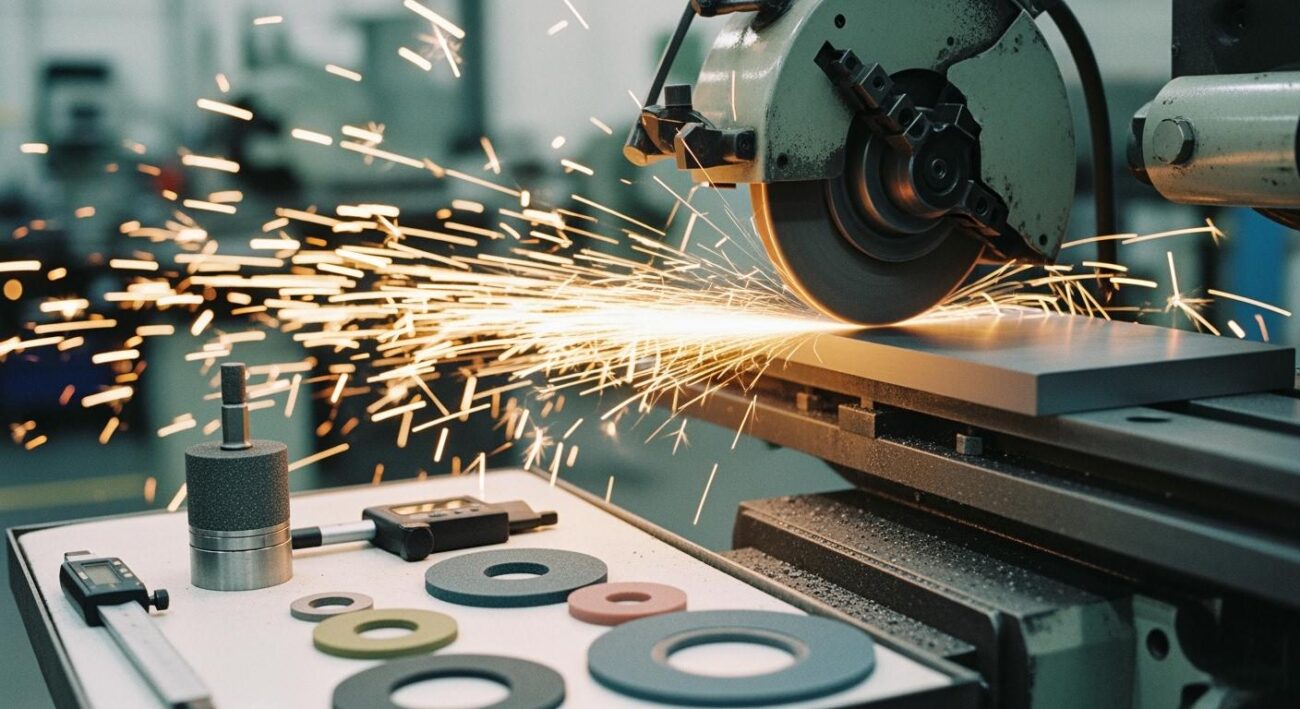
You can improve surface finish in your grinding operations. This is achieved by systematically controlling several key variables. A poor surface finish often points to a specific issue within the grinding process. Think of this guide as a practical checklist to diagnose and solve problems with your grinding wheel or setup. The goal is a flawless surface, and different grinding applications have distinct targets.
🎯 Target Surface Finish (Ra) Examples:
- Surface Grinding: Can achieve finishes around 2 microinches.
- Cylindrical Grinding: Aims for approximately 4 microinches.
- Hardened Steel (62 HRC): Often requires a finish below 10 microinches.
Key Takeaways
- Choose the right grinding wheel. Pick the correct abrasive grain and size. This helps make the surface smooth.
- Set your machine correctly. Adjust the wheel speed, how fast the workpiece moves, and how deep the cut is. This makes the grinding process better.
- Keep your grinding wheel sharp. Dress the wheel often. This cleans it and makes it cut well. A sharp wheel gives a good finish.
- Use coolant the right way. Coolant keeps things cool and clean. Make sure the coolant hits the right spot. This stops damage and makes the surface smooth.
- Stop machine shaking. Shaking causes bad marks. Balance the grinding wheel. Make sure the machine and workpiece are steady. This helps get a perfect finish.
How to Improve Surface Finish with the Right Wheel
Your grinding wheel is the single most important factor in achieving a superior surface finish. Selecting the right wheel is the foundation of any successful grinding operation. For customized grinding solutions, brands like Aimgrind specialize in matching the perfect wheel to your specific application. For many jobs, you will find that high-quality conventional bonded abrasives offer a cost-effective path to an excellent finish.
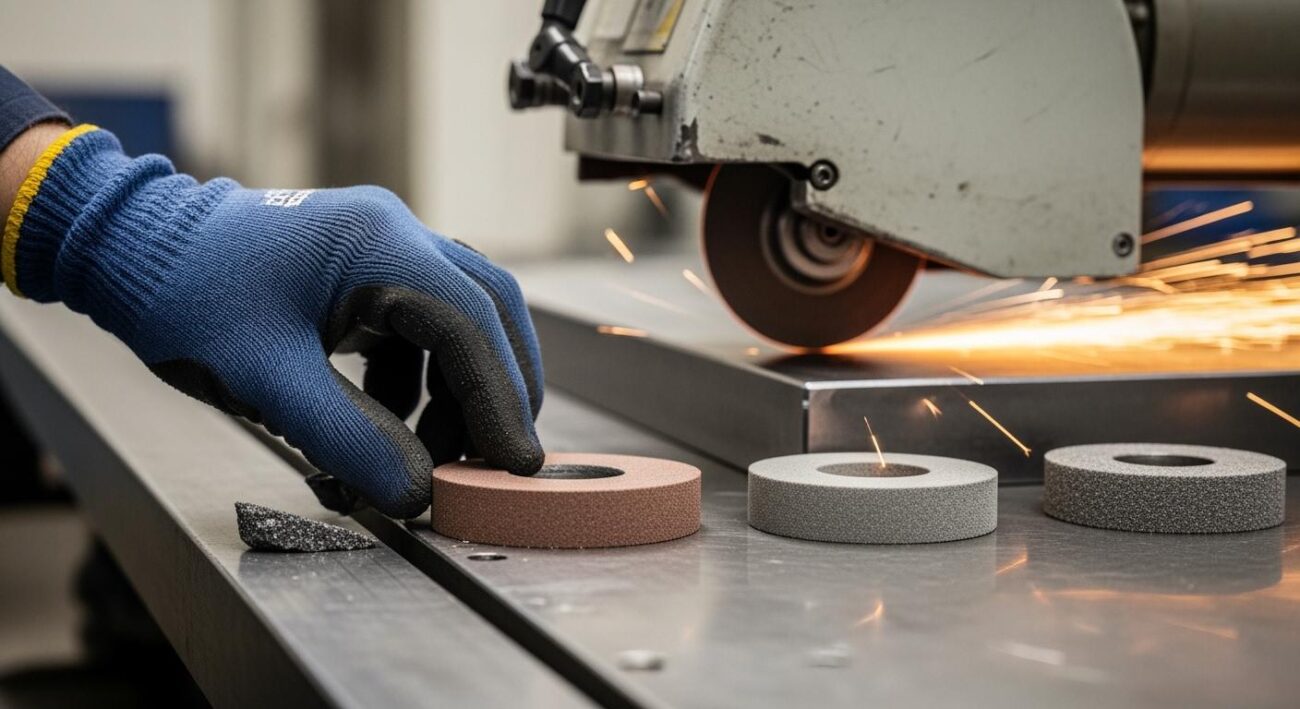
Choose the Right Abrasive Grain and Size
The abrasive material and its grit size directly control the final texture of your workpiece. You must choose both correctly to improve surface finish.
Abrasive Grain: The type of abrasive determines its cutting action. For example, silicon carbide is excellent for brittle materials, while aluminum oxide is a versatile choice. Aimgrind’s conventional bonded abrasives, made from aluminum oxide and silicon carbide, provide reliable performance for surface grinding. For the best results in surface grinding, look for a friable grain. Friable grains break down under pressure, constantly exposing new, sharp edges. This self-sharpening action prevents burning and ensures a consistent, smooth surface.
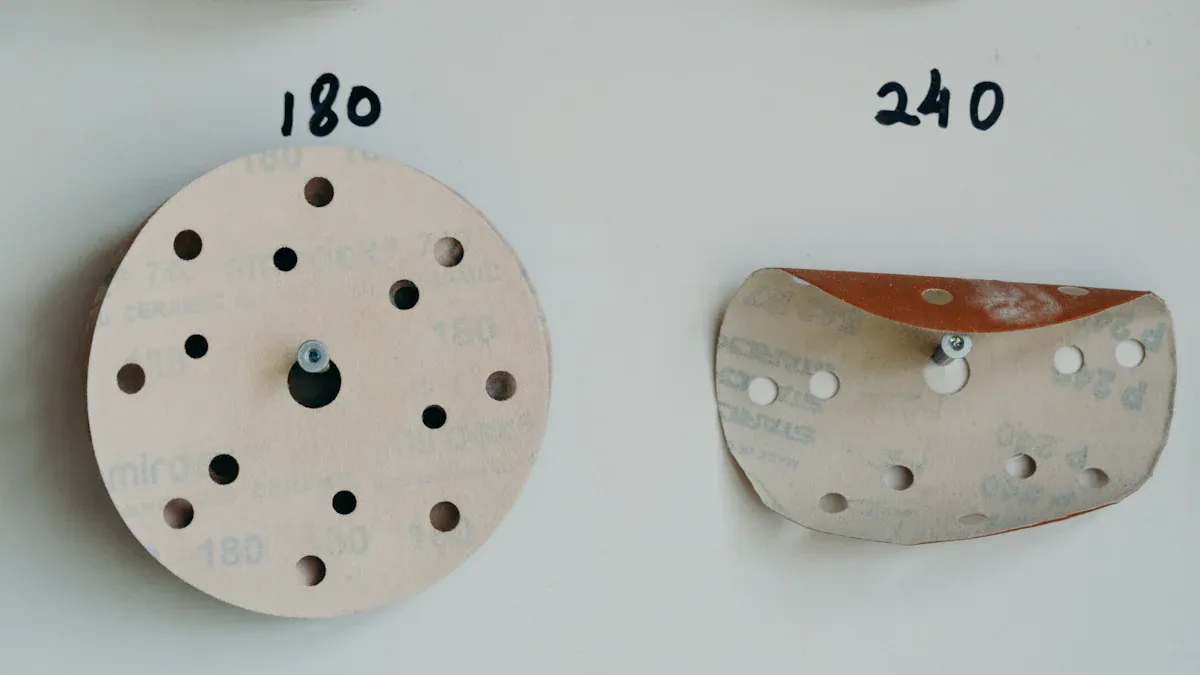
Grit Size: This is a simple rule: a finer grit creates a smoother finish. Grit size is measured with a number; a higher number means smaller abrasive particles and a finer surface.
💡 Pro Tip: For a final finishing pass, you should select a finer grit. As the chart shows, a higher grit number directly correlates to a lower Ra, or a smoother surface.

Here is how standard grit sizes relate to the final surface roughness (Ra):
| Standard Grit | Ra µm |
|---|---|
| 150 | 0.68 – 0.80 |
| 180 | 0.46 – 0.58 |
| 240 | 0.34 – 0.46 |
| 320 | 0.21 – 0.25 |
Select the Appropriate Bond and Hardness
A grinding wheel’s “hardness” does not refer to the abrasive grain. It describes the strength of the bond holding the grains together. This is graded on a scale from A (soft) to Z (hard).
Choosing the right hardness is critical for part quality. A bond that is too hard won’t release dull grains, causing rubbing and heat. A bond that is too soft will wear down too quickly.
Key Principle for Hardness Selection:
- Hard Materials (e.g., tool steel) require a softer grade grinding wheel. The wheel breaks down faster, exposing fresh, sharp abrasives for efficient cutting.
- Soft Materials (e.g., aluminum) need a harder grade grinding wheel. The stronger bond prevents the grains from being stripped away too soon.
Getting this balance right ensures the grinding wheel works efficiently, leading to better quality and a consistent finish in your surface grinding process.
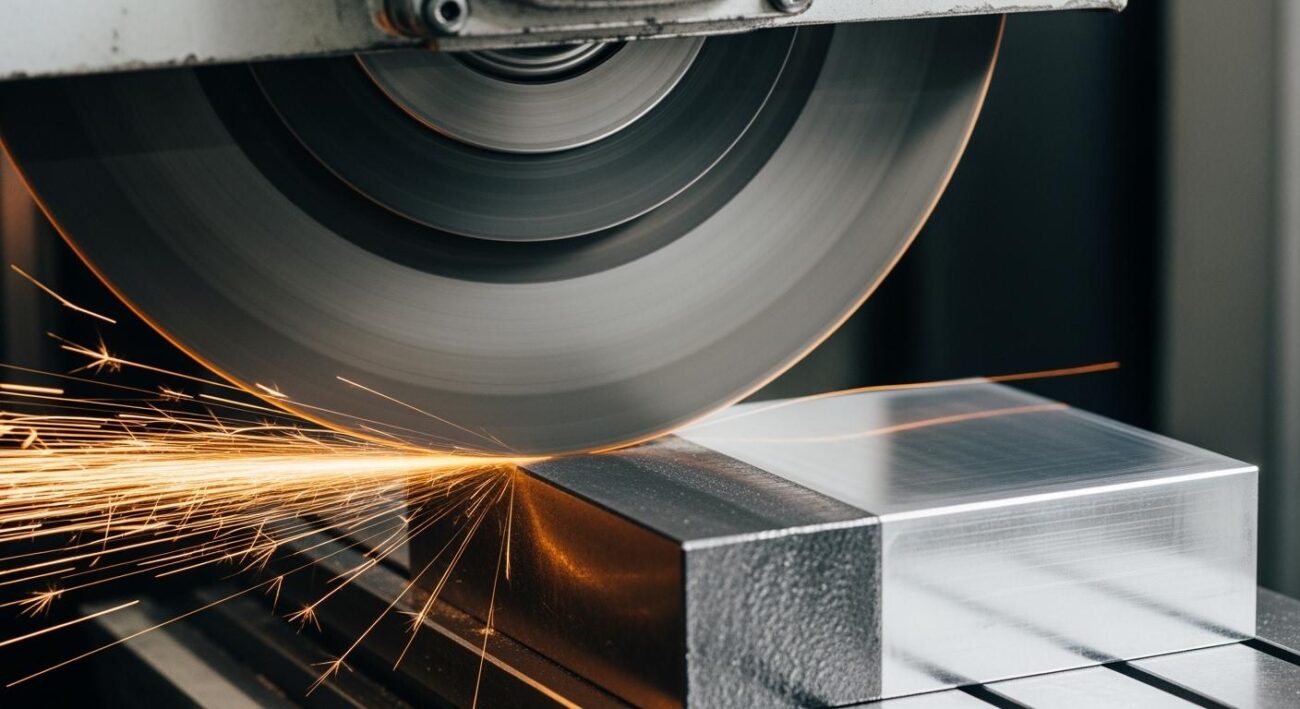
Optimize Parameters for Better Grinding
Once you have the right grinding wheel, you must fine-tune your machine’s parameters. The speed, feed, and depth of cut all work together. Adjusting them correctly is essential to improve surface finish and perfect your grinding process.
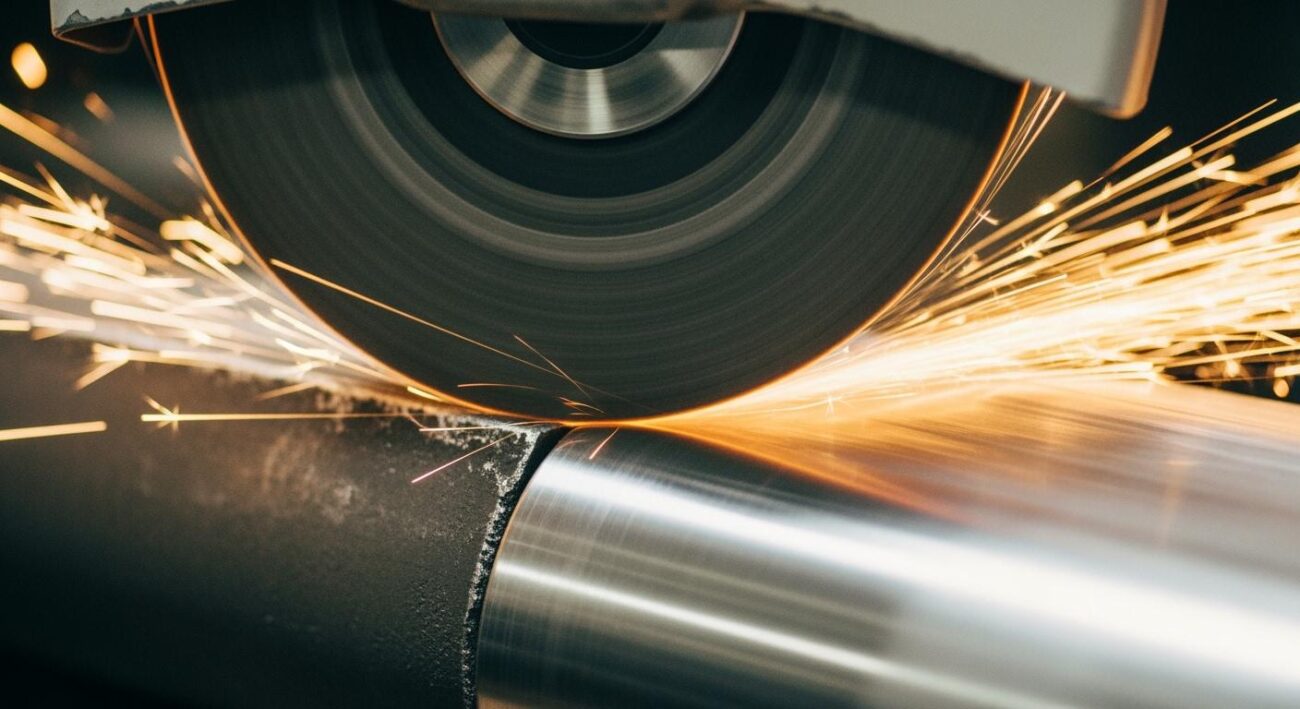
Adjust Wheel and Workpiece Speed
The speed of your grinding wheel and workpiece must be balanced for optimal results. Wheel speed is often measured in Surface Feet Per Minute (SFPM). Different materials require different speeds for the best grinding performance.
- General Surface Grinding: 4,000 – 6,500 SFPM
- Harder Steels (with Aluminum Oxide wheels): 4,500 – 6,500 SFPM
- High-Alloy Materials: 3,000 – 4,000 SFPM to minimize heat.
While wheel speed is important, you should also reduce the workpiece speed for finishing passes. A slower workpiece allows the grinding wheel more time to act on the surface, creating a smoother result.
Control Feed Rate and Stepover
Your feed rate and stepover control how the wheel moves across the workpiece. For a fine finish, you should decrease both. A smaller stepover is particularly crucial for surface grinding. It reduces the size of the uncut strips, or “cusps,” left between each pass. A smaller cusp height directly results in a smoother surface texture. Reducing the stepover is an effective strategy for a better finish in any grinding operation.
Manage Depth of Cut for Surface Grinding
The depth of cut is how much material you remove in a single pass. While roughing passes remove a lot of material, finishing passes require a much lighter touch. A shallow depth of cut prevents heat buildup and wheel deflection, which are enemies of a good finish.
💡 Expert Tip for Finishing: For your final pass in surface grinding, remove only a tiny amount of material. A depth of cut between 0.0001 and 0.0003 inches is ideal for achieving a superior surface.
To take your grinding process one step further, use the “spark-out” technique. This involves performing one or two final passes without any additional infeed. This final step allows the wheel to “spark out,” removing any remaining high spots and relieving stress in the part. This simple action significantly refines the finish and improves dimensional accuracy.
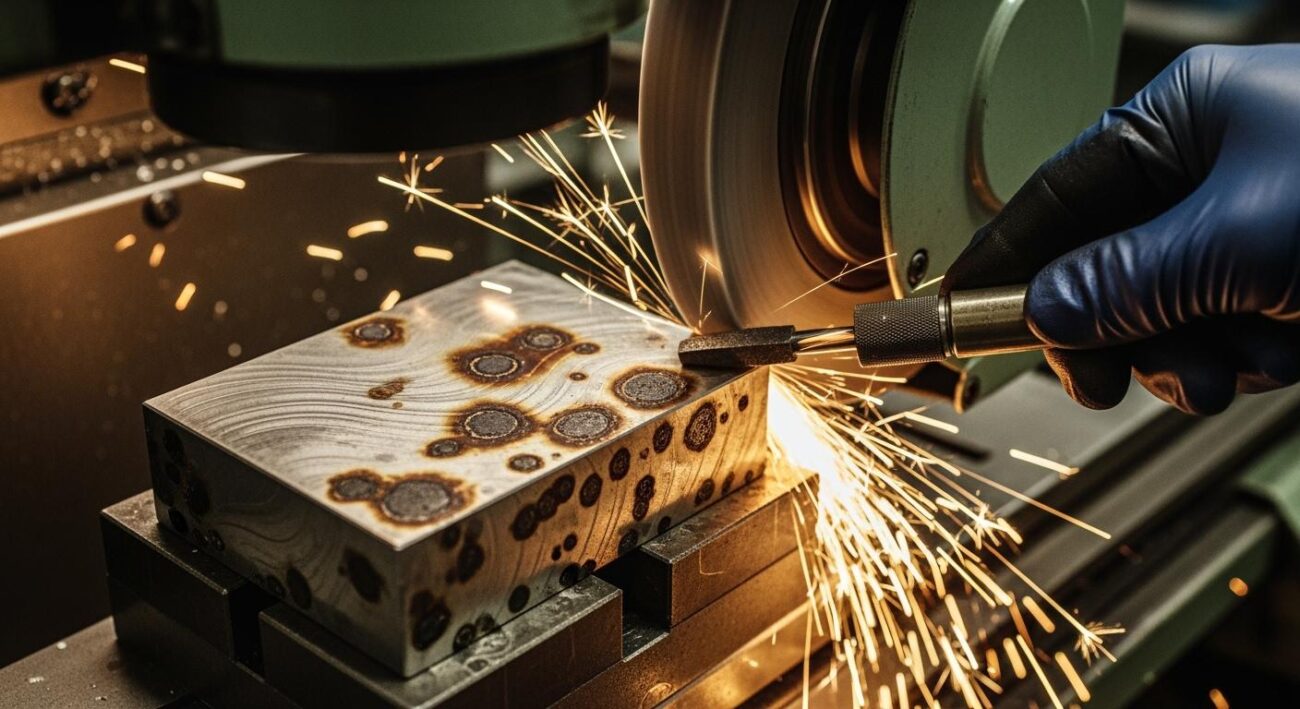
Master Wheel Dressing and Truing
A sharp, clean grinding wheel is essential for a fine finish. Over time, your wheel can become loaded with material or its abrasive grains can become dull. Wheel dressing is the process of cleaning the wheel’s surface and sharpening its grains. Mastering dressing is a critical step in any high-precision grinding operation.
Set a Consistent Dressing Frequency
You should not wait for problems to appear before dressing your wheel. Regular and skilled wheel dressing is a strategic investment that improves the quality and efficiency of your grinding process. Neglecting dressing leads to poor performance.
So, how often should you perform dressing? The ideal frequency depends on your material, the required finish, and the amount of material you are removing. You can also watch for clear signs that your grinding wheel needs attention.
Signs Your Wheel Needs Dressing:
- You notice unevenness, grooves, or rounded edges on the wheel face.
- The sound of the grinding changes, either from the spindle or at the point of contact.
- The surface of the wheel appears dirty, loaded, or has changed color.
Establishing a consistent dressing schedule for your surface grinding tasks prevents these issues and ensures predictable results.
Use the Correct Dressing Tool
The tool you use for dressing directly impacts the wheel’s cutting action. The most common tools are single-point and multi-point diamond dressers.
- Single-Point Dressers: These offer you the most control. You can change the wheel’s cutting action by adjusting the traverse speed. A slower traverse creates a finer finish, while a faster traverse creates a more open, aggressive wheel face for roughing.
- Multi-Point Dressers: These can perform dressing faster but offer less control. As they wear, the diamonds can flatten, which may crush the abrasive grit rather than cutting it cleanly.
For most surface grinding applications, a single-point diamond is preferred for its versatility. When dressing, use light cuts to avoid damaging the diamond or the wheel.
💡 Dressing Best Practices:
- Finishing Dress: Use a depth of 0.0005 to 0.001 inch.
- Roughing Dress: Use a depth of 0.001 to 0.002 inch.
- Traverse Speed: A slower speed produces a smoother finish for your final grinding pass.
Proper dressing restores your wheel’s geometry and creates a sharp cutting surface, which is fundamental to achieving a superior finish.
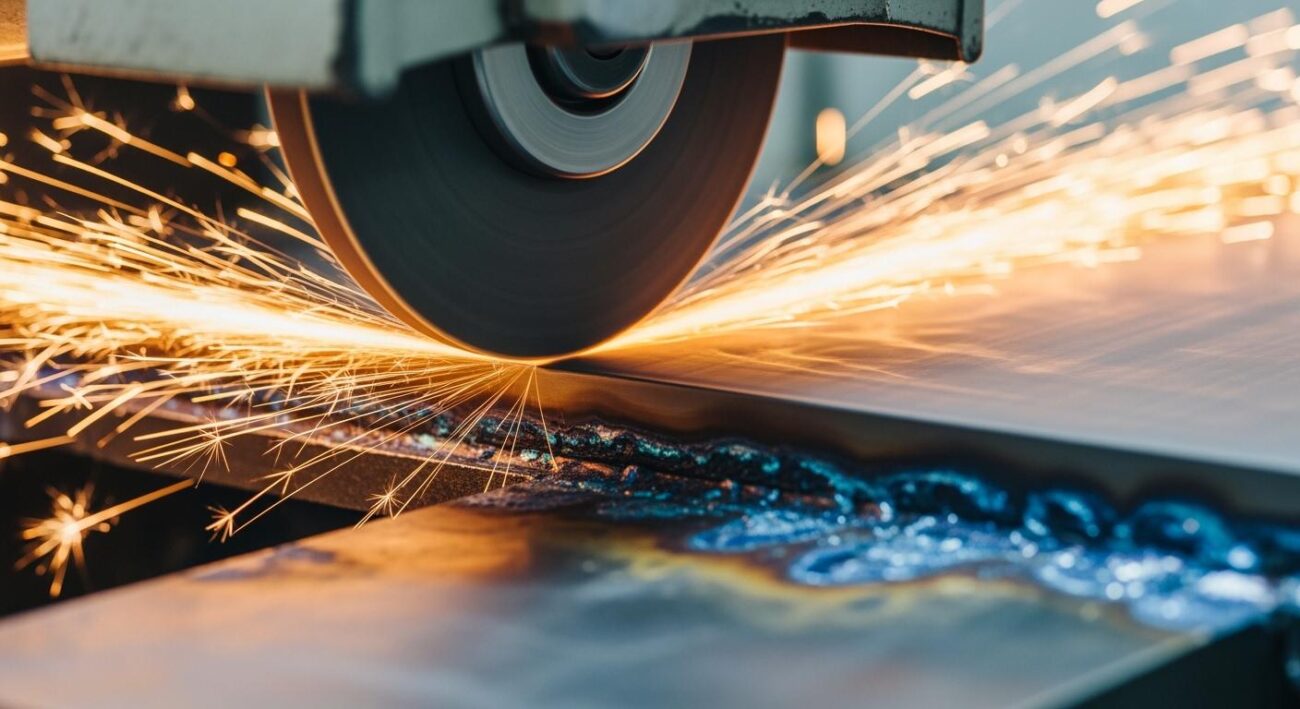
Manage Coolant Application
Coolant, or grinding fluid, does more than just cool your workpiece. Proper coolant application is a powerful tool in your grinding process. It manages heat, lubricates the cut, and clears away debris. Using it correctly is essential for achieving a flawless finish in surface grinding.
Use the Right Coolant and Concentration
The type of coolant you choose impacts your results. Each type offers unique benefits for your grinding operation.
- Synthetic Coolants: These provide excellent cooling. They are a great choice for high-speed grinding where heat removal is your top priority.
- Semi-Synthetic Coolants: These offer a balance of cooling and lubrication. They protect your machine from rust and create less foam.
- Oil-Based Coolants: These provide superior lubrication. The oil creates a cushion between the wheel and the workpiece, which is ideal for grinding with diamond and CBN wheels.
Once you select a coolant, you must mix it to the right concentration. Too much water can lead to rust, while too much coolant concentrate can be less effective at removing heat.
🎯 Coolant Concentration Tip: For most water-soluble coolants, a 50% concentration provides the best balance of cooling and corrosion protection. This ensures your grinding operation runs smoothly without causing thermal damage to the part.
Ensure Proper Nozzle Placement
How you deliver coolant is just as important as what you deliver. Your goal is to get an effective stream of fluid directly into the grinding zone. Poor nozzle placement can cause the coolant to splash away before it does its job.
For the best results in surface grinding, you should aim the nozzle to strike the wheel tangentially. An angle of around 20-30 degrees is often most effective. This allows the wheel’s rotation to carry the fluid directly into the cut. High-pressure coolant systems are especially effective. They blast away chips from the cutting area, which prevents them from scratching your workpiece. This efficient chip removal can reduce surface roughness and significantly improve the quality of your finish. Proper nozzle setup is a simple adjustment that makes a big difference in any surface grinding task.
Minimize System Vibration
Vibration is a major enemy of a good surface finish. Even the smallest shake can leave chatter marks and ruin your workpiece. You can achieve a smoother finish by finding and eliminating the sources of vibration in your grinding setup. Common causes include an unbalanced grinding wheel, worn machine parts, or a workpiece that is not held securely.
Balance the Grinding Wheel
An unbalanced grinding wheel is a primary source of vibration. As the wheel spins, an uneven weight distribution creates forces that shake the machine. You must balance your wheel to ensure a smooth grinding operation.
You can balance a wheel in a few ways:
- Adding Weight: You can attach small weights to the wheel adapter to counteract any heavy spots.
- Removing Mass: In some cases, you can drill tiny holes to remove material and achieve balance.
- Adjusting Components: Some wheel adapters have built-in balancing rings or screws that you can adjust.
🎯 Precision Balancing Goal: For high-precision grinding, you should aim for a balance grade of G 1 or better. Top-tier applications may even require a G 0.4 grade, with vibration levels below 0.03 mils. This level of precision is key for flawless surface grinding results.
Ensure Machine and Workpiece Rigidity
A rigid setup is a stable setup. Your machine and workpiece must be completely firm to resist the forces of grinding. Any movement can lead to a poor finish.
First, check your machine’s foundation. The machine should be perfectly level on a solid base. A twisted or stressed machine frame will compromise rigidity and affect your surface grinding quality.
Next, secure your workpiece properly. A part that deflects or moves during surface grinding will never have a good finish. You can improve rigidity with effective workholding techniques.
- Use precision chucks or collets for a tight grip.
- Employ a tailstock or steady rests to support long parts.
- Consider hydraulic workholding devices for exceptional accuracy and clamping force.
A stable machine and a securely held workpiece are fundamental to preventing vibration and achieving the best possible grinding results.
You can consistently improve surface finish in your grinding operations. Success comes from controlling five key areas: your wheel, machine parameters, dressing, coolant, and system stability. A methodical approach to this grinding process is the best way to prevent a poor surface finish. Mastering your cutting parameters is a great first step to boost part quality. By controlling these variables, you can solve almost any grinding challenge and deliver superior quality for every surface.
You now have the knowledge to take control of your grinding. Go ahead and achieve that perfect finish!
FAQ
What is the quickest way to improve my finish?
You can make a big impact by adjusting your final pass. Use a very light depth of cut and slow down the workpiece speed. Also, perform a “spark-out” pass. These simple changes will refine the final surface.
Why does my workpiece have chatter marks?
Chatter marks often indicate vibration. You should check your wheel balance first. Also, ensure your workpiece is held rigidly. A loose setup or an unbalanced wheel will ruin the part’s surface.
💡 Remember: A stable system is essential for a smooth cut. Any movement can transfer directly to your workpiece.
How does wheel dressing affect the finish?
Dressing sharpens your wheel’s cutting face. A slow dressing speed creates a fine wheel texture. This fine texture produces a smoother workpiece surface. Regular dressing is key for consistent quality.
Can I use the same wheel for roughing and finishing?
Yes, you can often use one wheel for both tasks. Use a fast, deep dress for aggressive roughing. Then, you can re-dress the wheel slowly for a fine finish. This prepares the wheel for a delicate final pass.