You can achieve a perfect finish in your grinding operations. This goal requires a systematic approach, not a single trick. Your success depends on four key pillars: choosing the right grinding wheel, optimizing machine settings, maintaining your wheels, and solving problems effectively. Mastering these steps in your finishing process leads to consistent, high-quality results. Poor finishing quality can have serious consequences.
Research shows that a rough surface finish can significantly reduce a component’s lifespan. Better grinding quality with the correct wheel helps create stronger parts and better results. Your grinding wheels are critical tools for success.
Key Takeaways
- Choose the right grinding wheel. Match the abrasive material to your workpiece. Use diamond wheels for very hard materials.
- Adjust machine settings carefully. Increase wheel speed and decrease workpiece speed for a smoother finish. Use shallow cuts for final passes.
- Maintain your grinding wheels. True your wheel to make it round. Dress your wheel to keep it sharp and clean.
- Fix common problems. Use enough coolant to stop burn marks. Balance your wheel to prevent chatter. Dress your wheel to avoid scratches and clogging.
Select the Right Wheel for a Perfect Finish
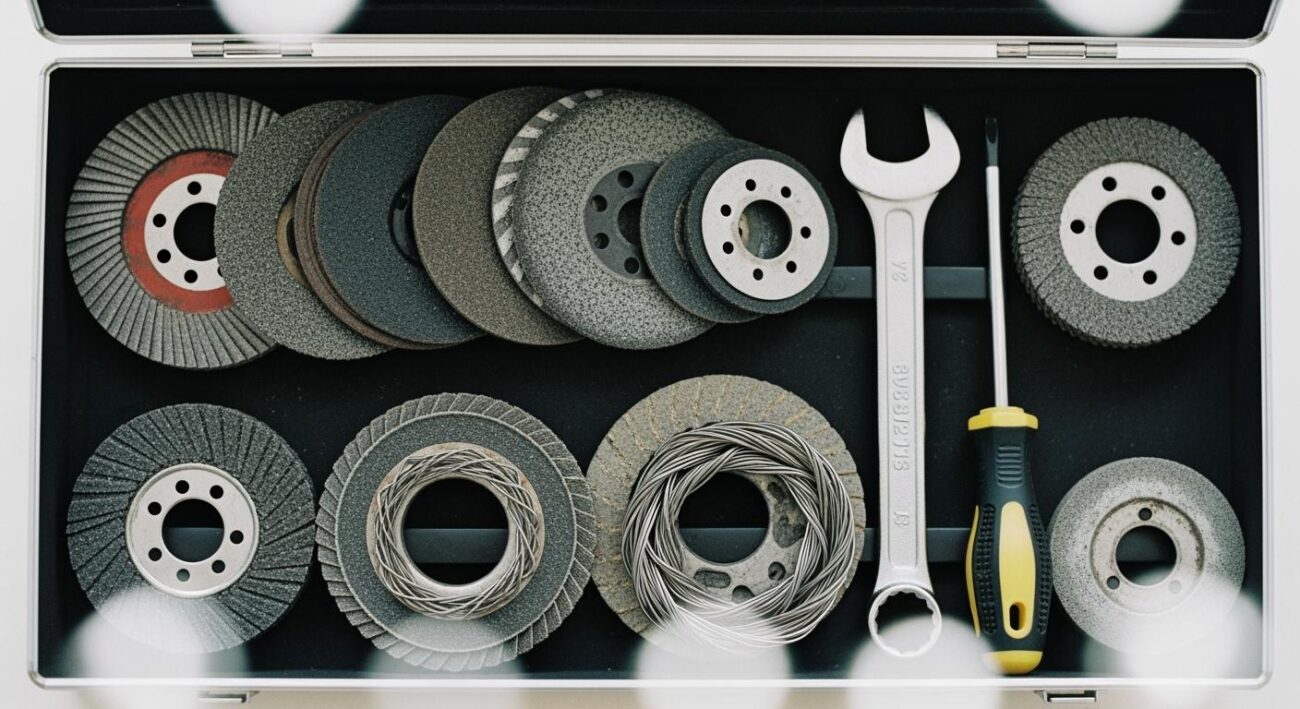
Selecting the correct grinding wheel is the most important step toward achieving a perfect finish. The right abrasive product acts as your foundation for quality work. You must consider the abrasive material, its grit size, and the bond that holds it all together. Each choice directly impacts your final material finish.
Choose the Right Abrasive Material
The abrasive material does the actual cutting. You need to match this material to your workpiece. Common abrasives like Aluminum Oxide work well for general-purpose grinding on most steels. For harder materials, you need a more advanced abrasive product. Cubic Boron Nitride (CBN) and diamond are “superabrasives” designed for tough jobs.
You can see how these materials compare for grinding hard metals:
| Feature | Aluminum Oxide | CBN (Cubic Boron Nitride) |
|---|---|---|
| Hardness | General-purpose abrasive | Second hardest material |
| Heat Resilience | Not ideal for high-speed grinding | Excellent thermal toughness |
| Tolerances | Not ideal for tight tolerances | Ideal for tight tolerances |
| Material Suitability | Most steels and ferrous alloys | Hardened ferrous materials (steel) |
| Cost | Highly economical | Higher upfront investment |
When you work with extremely hard or brittle materials, even CBN may not be enough. For the most challenging applications, you need the ultimate abrasive product.
Aimgrind‘s Expertise
We specialize in customized grinding solutions. For superior surface finishing on difficult materials, we recommend our diamond grinding wheels. This abrasive product provides the best performance and a cleaner cut, minimizing subsurface damage.
A diamond grinding wheel is the ideal choice for grinding materials such as:
- Ceramics, glass, carbide, and stone
- Tungsten carbide and other hard metals used in aerospace
- Silicon and sapphire for the electronics industry
Using the right abrasive product ensures you get a clean cut instead of just scratching the surface. This is one of the most effective techniques for enhancing surface finish quality.
Select the Appropriate Grit Size
Grit size refers to the size of the individual abrasive particles on your wheel. You can think of it like sandpaper. A lower number means a coarser grit, while a higher number means a finer grit.
- Coarse Grits (e.g., 36, 60): These remove material quickly. Use a coarse grit disc for initial shaping and removing large amounts of stock.
- Fine Grits (e.g., 120, 240): These remove less material but create a much smoother surface. Use a fine grit disc for the final finishing passes.
For a perfect finish, you should use a multi-step process. Start your grinding with a coarser abrasive product to get close to your final dimension. Then, switch to a finer abrasive product for the final passes. This approach gives you both efficiency and a high-quality finish. This process reduces the need for aggressive dressing later.
Match the Bond Type to Your Application
The bond is the glue that holds the abrasive grains onto the wheel. The bond type affects the wheel’s durability, heat resistance, and how it wears. The three main bond types for these wheels are resin, vitrified, and metal.
- Resin Bonds: These wheels are softer. They generate less heat during grinding, which is good for sensitive parts. However, they wear out faster than other wheels.
- Vitrified Bonds: This type of abrasive product offers a good balance of cutting ability and form holding. However, these wheels are more brittle and can chip under high stress.
- Metal Bonds: These are the most durable wheels available. A metal bond grinding wheel excels in durability and heat resistance because its strong metal matrix securely holds the abrasive particles. This robust construction leads to a much longer usable life. A long-lasting wheel reduces the frequency of dressing, lowers tooling costs, and increases machine uptime.
You should choose a metal bond abrasive product for:
- High-volume production runs where you need consistency.
- High-precision grinding tasks in aerospace or medical manufacturing.
- Grinding extremely hard materials like tungsten carbide or industrial ceramics.
Aimgrind offers a complete range of bond options for its wheels. We help you select the right abrasive product and bond combination to match your equipment and process needs. A well-matched cutting wheel or grinding disc ensures top-tier quality and performance in every finishing job. Proper wheel selection minimizes the need for frequent dressing and ensures a consistent result.
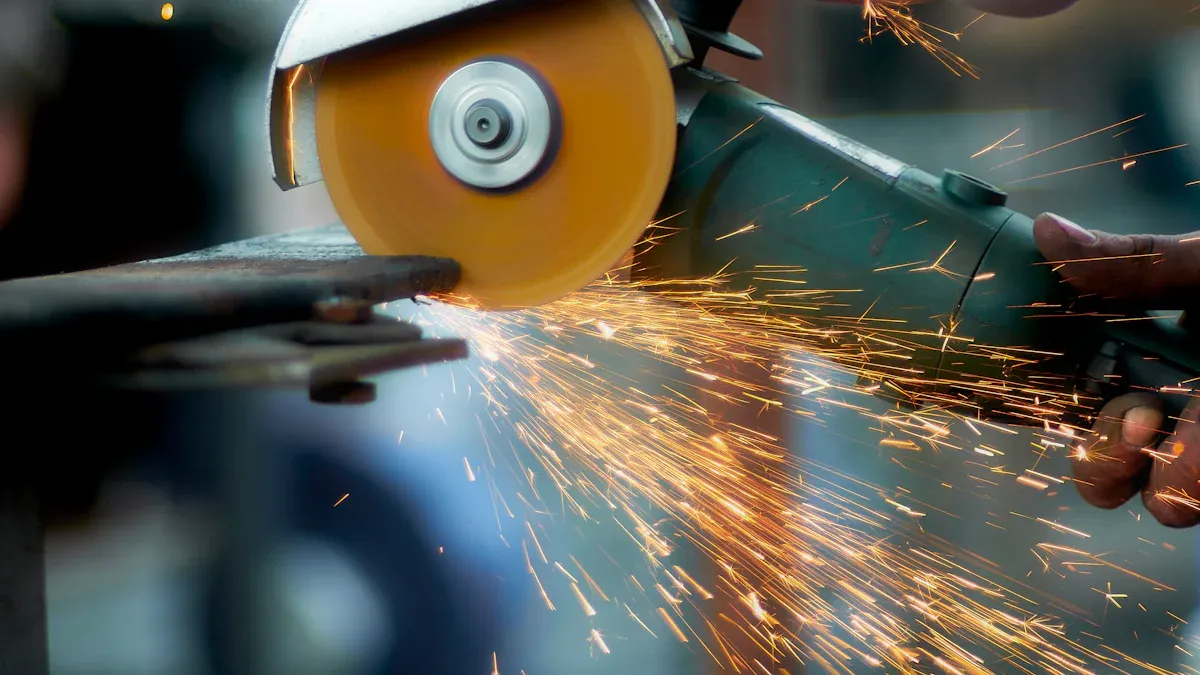
Optimize Grinding Parameters for Best Results
You selected the right wheel. Now, you must dial in your machine’s settings. Your grinding parameters—speed, feed, and depth of cut—are just as important as your choice of wheels. Fine-tuning these settings is one of the most effective techniques for turning a good finish into a great one. Optimizing your process unlocks optimal performance and delivers the best results every time.
Control Wheel and Workpiece Speed
You can control the final surface quality by managing speed. The relationship between the wheel speed and the workpiece speed directly impacts your surface finishing. For the best results, you should follow a simple rule:
- Increase the grinding wheel speed. A faster-moving abrasive cuts more efficiently and leaves smaller, finer scratches on the surface.
- Decrease the workpiece speed. A slower-moving workpiece allows the wheel to make more cutting contact over a given area, smoothing the surface more effectively.
Think of it like polishing a car. You get a better shine when the polishing wheel spins quickly, but you move it slowly and deliberately across the paint. This same principle applies to grinding. Finding the right balance between these two speeds is essential for improving cutting performance and achieving a flawless surface.
Adjust Feed Rate and Depth of Cut
Aggressive settings are great for removing material quickly, but they are the enemy of a fine finish. For the final finishing passes, you must reduce your feed rate and depth of cut. This careful approach helps you manage heat, prevent defects, and achieve precision.
Pro Tip: When you switch from rough grinding to finishing, a good practice is to reduce your downfeed per pass by half. This 50% reduction gives you more control as you approach the final dimension.
For heat-sensitive materials, managing the depth of cut is critical to avoid thermal damage. To get the best results without causing burns or warping, you should aim for a very shallow cut.
- An optimal depth of cut for finishing is typically between 0.002–0.03 mm per pass.
This gradual material removal allows the workpiece and wheel to stay cool, ensuring the integrity of your part and the quality of the finish.
Use Spark-Out Passes for the Desired End Result
A spark-out is your final step to achieve a perfect finish. After your last dimensioned pass, you perform one or two additional passes without any further infeed. During these passes, the remaining sparks will diminish until they “spark out.” This process does two things: it removes any tiny remaining irregularities on the surface and relieves stress from the workpiece. This final touch is what produces the desired end result.
To ensure you get consistent results from every job, you need to document your process. Standardizing your parameters helps you repeat your successes and troubleshoot problems faster.
- Keep detailed records of all measurements and machine parameters for each job.
- Use Statistical Process Control (SPC) to monitor trends and correct issues before they affect quality.
- Create a feedback system where operators can share observations, helping to refine the grinding process over time.
By controlling your parameters and documenting what works, you build a reliable system for achieving the best results with your grinding wheels.
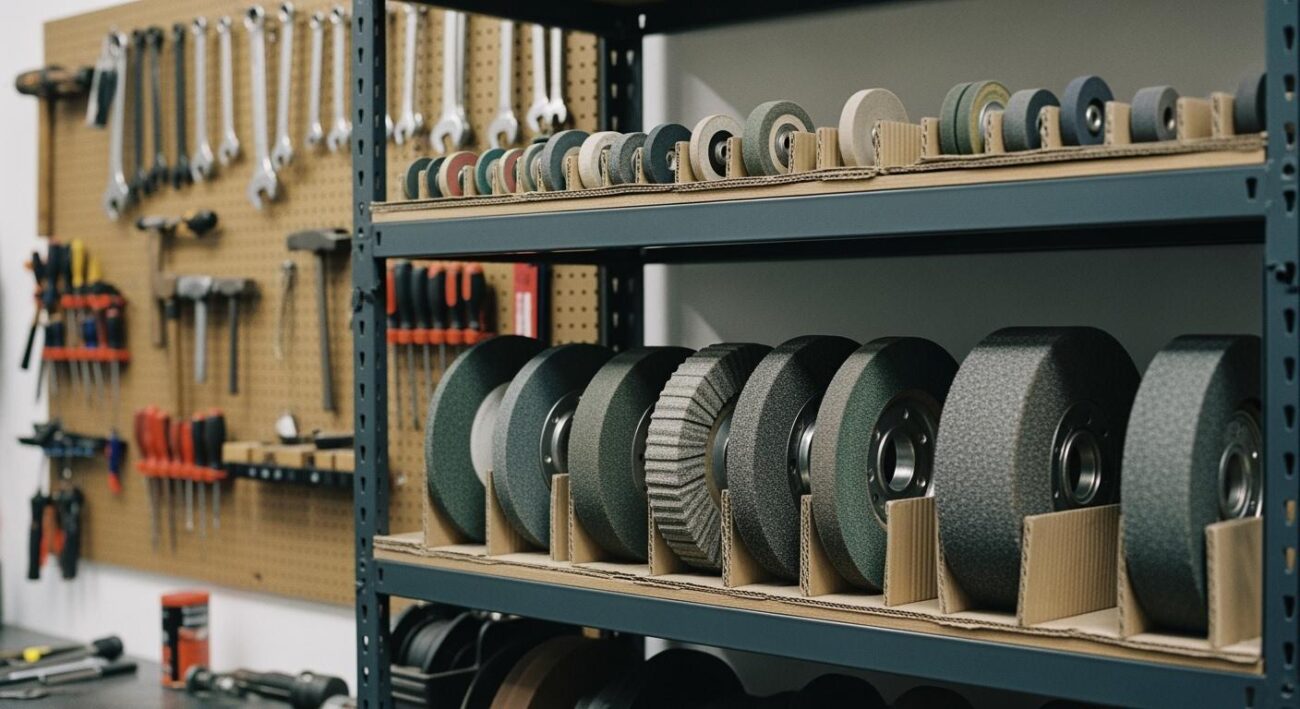
Master Maintenance for Consistent Grinding
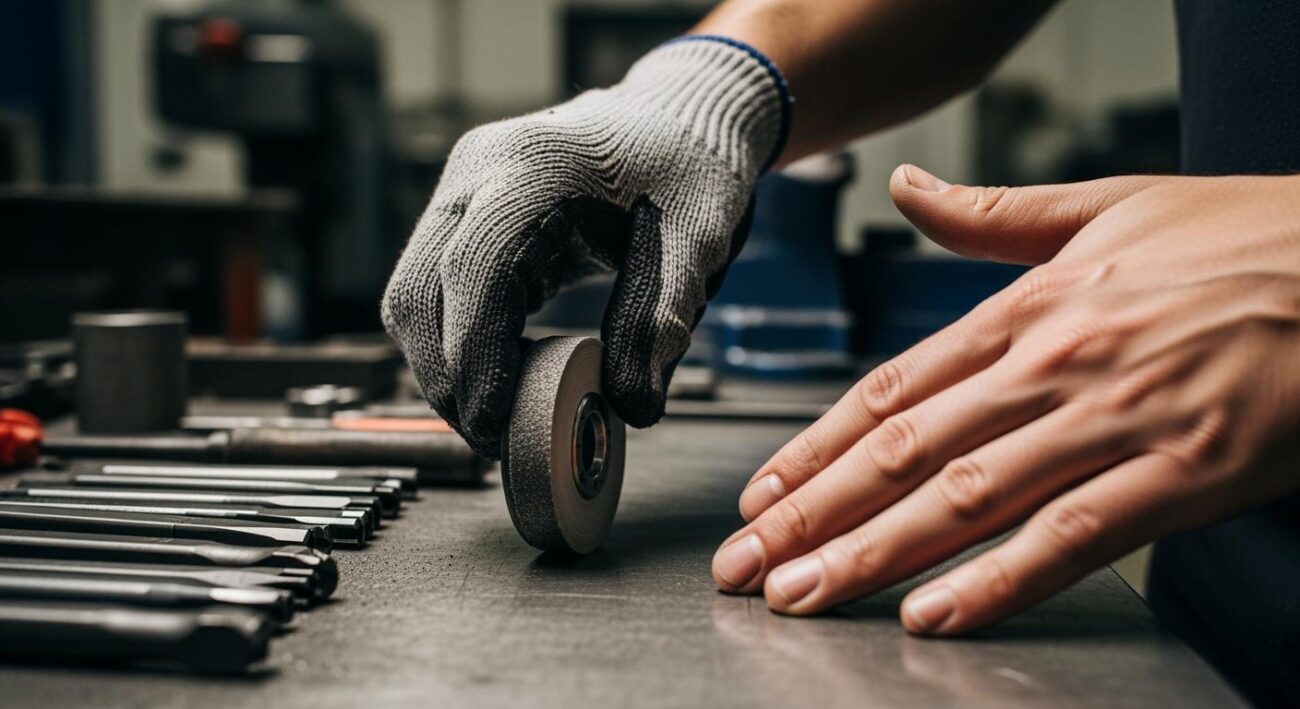
You have the right wheel and the best parameters. Now, you must maintain your equipment for consistent grinding results. Proper maintenance of your grinding wheels ensures every part you produce meets the same high standard. Two key processes, truing and dressing, keep your wheels in optimal condition.
Truing Your Wheel for Perfect Concentricity
Truing makes your grinding wheel perfectly round and concentric with the machine’s spindle. A true wheel eliminates vibration and ensures the entire surface of the disc makes even contact with your workpiece. You should true a new wheel before its first use and whenever you notice run-out.
Pro Tip: You can use a permanent marker on the edge of the wheel. The wheel is not true until all the ink is gone. This simple check confirms the disc is perfectly round.
For superabrasive wheels, you can use a brake truing device. Follow these steps for a perfectly true wheel:
- Check that your machine spindle and wheel flanges are clean and undamaged.
- Mount the superabrasive wheel securely.
- Start the wheel at its normal grinding RPM.
- Bring the brake dresser’s wheel into contact so it spins with your grinding wheel.
- Move the dressing wheel back and forth across your wheel’s face.
- Feed in no more than 0.0005 inches per pass until the wheel is true.
Dressing Your Wheel for a Sharp Cut
Dressing cleans the wheel’s surface and exposes fresh, sharp abrasive grains. Over time, a wheel can become “loaded” with material from the workpiece or “glazed” as the abrasive grains become dull. The importance of wheel dressing is that it restores the wheel’s cutting ability. Proper dressing is essential for a good finish.
The frequency of dressing a grinding wheel depends on your application. For high-volume production with durable wheels, you might grind hundreds of parts between each dressing session. You must monitor part quality and perform dressing when the finish starts to decline. This step-by-step guide to dressing is a general approach, but always consult your specific dressing tools and techniques. Effective dressing keeps your grinding process efficient. This disc maintenance is a key part of quality control. The dressing process ensures your wheels perform like new.
Troubleshoot Problems for Better Results
Even with the best setup, you may encounter issues. Learning to troubleshoot common problems will help you achieve better results and maintain a high-quality surface finish. These simple techniques can solve most grinding challenges.
Fixing Burn Marks and Discoloration
Burn marks on your workpiece surface are a sign of too much heat. This often happens with materials that have low thermal conductivity or inherent hardness. You can prevent this damage with a few adjustments.
- Ensure you have a continuous flow of coolant to dissipate heat.
- Select a coolant with good lubricating properties for your specific material.
Insufficient coolant leads to excessive heat, which can cause discoloration on the material surface. Proper dressing of your wheels also helps reduce friction and heat buildup.
Eliminating Chatter Marks and Vibration
Chatter marks are wavy patterns on the workpiece surface caused by vibration. These vibrations can come from several sources.
- An unbalanced grinding wheel.
- Worn spindle bearings or loose machine parts.
- A workpiece that is not held securely.
Mechanical vibrations cause the wheel and workpiece to oscillate, creating an inconsistent surface. You must balance your grinding wheels before use. Proper dressing also ensures the wheel runs smoothly. A solid machine foundation is critical for preventing vibration and achieving a smooth surface.
Correcting a Rough or Scratched Surface
A rough or scratched surface often means your wheel is not cutting cleanly. This can happen if you use a grit that is too coarse for finishing. Contaminated coolant can also introduce foreign particles that scratch the workpiece surface. You should perform regular dressing to keep the wheel sharp. Strict filtering and maintenance of your coolant system are crucial for preventing scratches and achieving a perfect surface.
Preventing Wheel Loading and Clogging
Wheel loading occurs when chips from the workpiece clog the grinding wheel’s surface. This can be caused by chemical reactions or mechanical interlocking between the chips and the abrasive grains. A loaded wheel cannot cut effectively and will ruin your surface finish. You can clean loaded wheels using a dressing stick. Regular dressing is the best way to prevent loading. Proper dressing exposes fresh abrasive grains and restores the cutting ability of your wheels for the best results.
You can achieve a perfect finish. Your success rests on four pillars: wheel selection, parameter optimization, proactive troubleshooting, and diligent maintenance. Consistent quality comes from controlling these steps in your finishing process. Your maintenance must include truing and dressing; remember dressing, dressing, dressing, dressing, dressing, dressing, dressing, dressing, dressing, and dressing are key. This focus on process control delivers superior results.
For example, an aerospace manufacturer improved component quality by automating their finishing. This shows how a systematic approach creates a better final finish.
Mastering these variables ensures repeatable, high-quality results. With a systematic approach, you can Grind with Passion, and Achieve with Aim.
FAQ
Why is wheel dressing so important?
Wheel dressing restores your wheel’s cutting ability. Proper dressing exposes sharp abrasive grains. This dressing process prevents loading and glazing. You need effective dressing for a smooth finish. Consistent dressing ensures top performance.
How do I choose the right abrasive product for my job?
You should match the abrasive product to your workpiece material. Use standard abrasives for most steels. For hard materials like ceramics or carbide, you need a superabrasive wheel like diamond to achieve the best results.
What causes burn marks on my workpiece?
Burn marks come from too much heat. This can happen from a lack of coolant or a dull wheel. You can prevent this by improving coolant flow. Regular wheel dressing also reduces friction and heat.
How often should I perform wheel dressing?
The frequency of dressing depends on your application. You should perform dressing when you notice a decline in surface finish. For some jobs, this means dressing after many parts. For others, more frequent dressing is necessary. The key is consistent dressing.