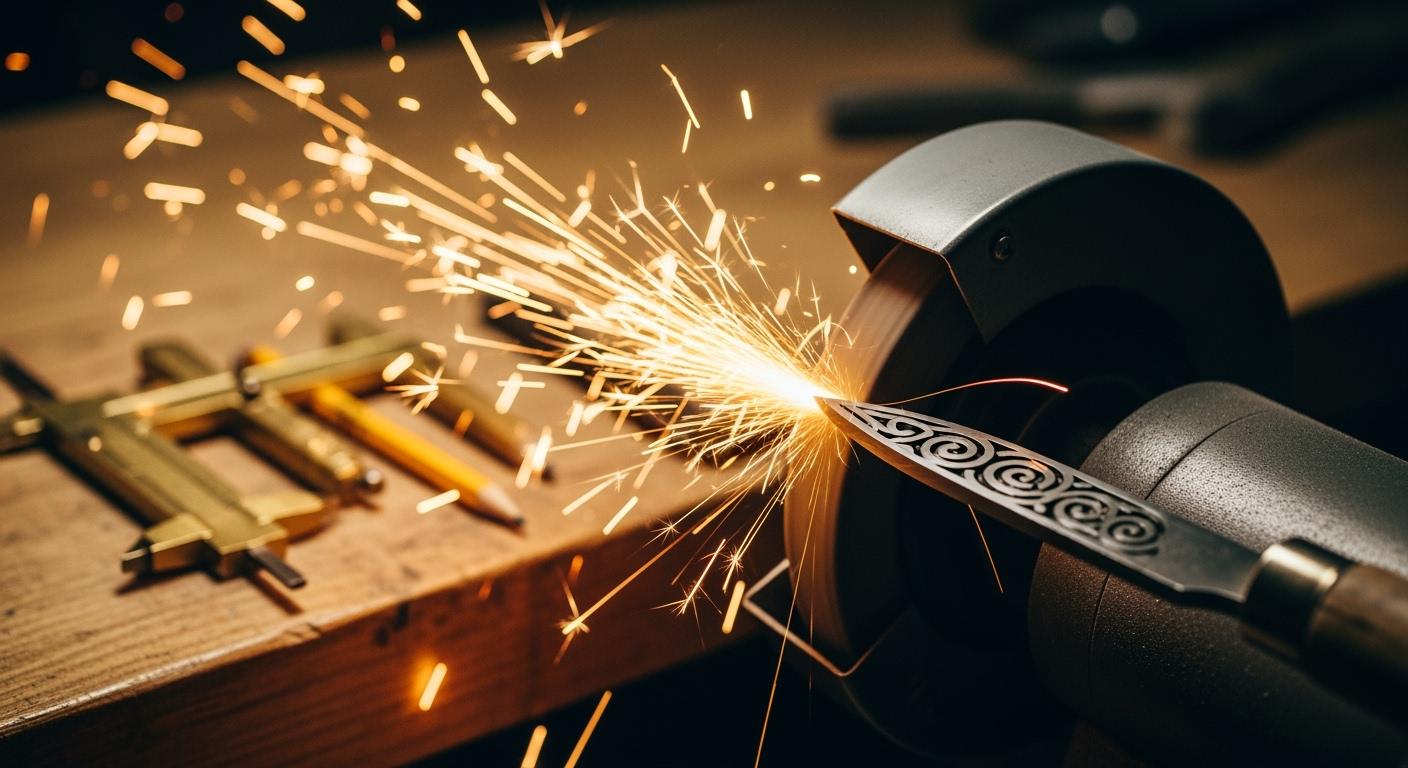
Profile grinding is the process of shaping high-speed steel to create custom woodworking knives. You use these special tools to produce a unique wood profile for moldings and trim. This guide walks you through the entire grinding process, from tool selection to final sharpening.
Pro Tip: Mastering this grinding skill is essential for a wide range of applications, allowing you to achieve professional results with precision and safety.
Key Takeaways
- Profile grinding shapes steel to make custom woodworking knives. These knives create unique wood designs.
- Use the right tools for profile grinding. A profile grinder, HSS knife blanks, and CBN grinding wheels are important. CBN wheels keep the steel cool and last longer.
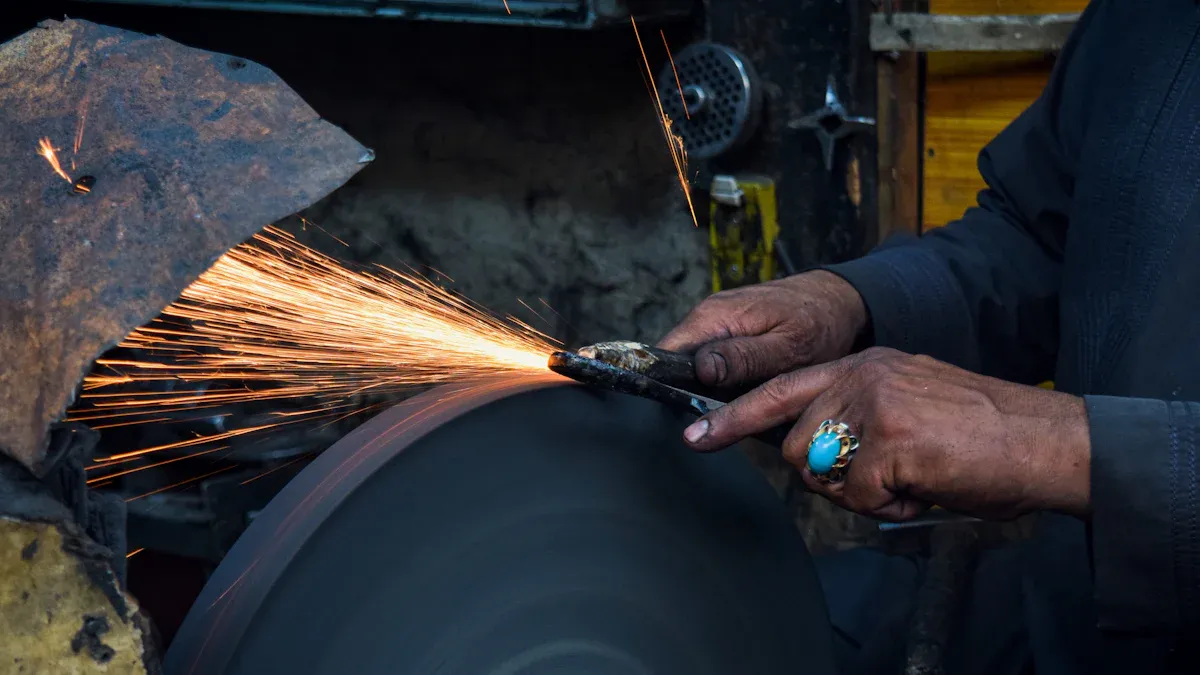
- Always wear safety gear. This includes eye, face, ear, and hand protection. Grinding makes sparks, dust, and noise.
- Follow steps to grind knives. First, make an accurate template. Then, prepare the grinder and knife blank. Rough grind the shape, then finish grind for precision. Finally, sharpen the knife.
- Keep the steel cool when grinding. Overheating can ruin the knife. Always check your grinding wheel for damage before you start.
Essential Tools for Profile Grinding
Having the right tools is the first step toward creating flawless custom knives. Your success in profile grinding depends on quality equipment that ensures both precision and safety. This section covers the essential gear you need to get started.
The Profile Grinder
The profile grinder is the heart of your operation. This specialized machine holds the knife blank and the grinding wheel, allowing you to shape the steel with high accuracy. You will use it to transfer the shape from your template directly onto the knife.
Choosing Your Grinding Wheels
Your choice of grinding wheel directly impacts the quality of your work. For grinding High-Speed Steel (HSS), Cubic Boron Nitride (CBN) wheels are the top choice.
We strongly recommend Aimgrind‘s CBN grinding wheels for their superior performance. They offer significant advantages:
- Cooler Operation: CBN pulls heat away from the steel, which prevents burning and maintains the temper of your HSS knife.
- Longer Wheel Life: These wheels last much longer than conventional abrasives, saving you money over time.
- Faster Cutting: You can remove material more quickly, making your grinding process highly efficient.
The grit size of your wheel determines the speed of material removal and the final finish. Coarse grits (like 54-60) are for rough grinding, while fine grits (100-120) produce a smooth surface. For woodworkers needing specific grits or bonds, Aimgrind provides customized grinding solutions.
Feature CBN Wheels Ceramic Wheels Heat Ultra-cool grinding Cooler than standard wheels Durability Very long life, no dressing needed Extended life, needs dressing Cost Higher initial cost Premium cost Best For Grinding HSS with precision Rapid stock removal
High-Speed Steel (HSS) Knife Blanks
HSS knife blanks are the raw material for your custom knives. This steel is strong enough to hold a sharp edge against hardwoods. Blanks come in various grades, such as M2, which is great for general woodworking. They are available in many standard lengths and thicknesses to fit different moulder heads.
Template Materials
You need a template to guide your grinding. It acts as a pattern to create a perfectly matched set of knives. You can make templates from durable materials like thin plastic, aluminum, or specialized template material. Accuracy here is key to a professional result.
Mandatory Safety Gear
Grinding produces sparks, dust, and noise. Protecting yourself is not optional. Always wear the proper Personal Protective Equipment (PPE) in line with safety standards like ANSI Z87.1.
- Eye and Face Protection: Wear ANSI-rated safety glasses or a full face shield.
- Respiratory Protection: Use a NIOSH-approved respirator (N95 or better) to avoid inhaling metal dust.
- Hearing Protection: Earplugs or earmuffs are necessary to protect against machine noise.
- Hand Protection: Wear heavy-duty gloves suitable for handling abrasive materials.
The Step-by-Step Profile Grinding Process
With your tools ready, you can now begin the exciting part: creating your custom knives. This profile grinding process requires patience and attention to detail. Follow these steps carefully to transform a simple steel blank into a precision cutting tool.
Creating Templates for Custom Knife Grinds
Your template is the blueprint for your knife. An accurate template ensures your final knife grinds are perfect. You can create a template from a wood sample or a drawing.
Pro Tip: For the best results, use a durable material like thin plastic or aluminum for your template. This helps it withstand repeated use.
To transfer your design accurately, you can use a few effective methods.
- Direct Tracing: If your template material is semi-transparent, you can place it over your design on a lightbox. Then, you can trace the lines directly onto the material. Use an erasable pen so you can correct any mistakes.
- Trace and Cut: You can also trace your design onto tracing paper first. Cut out the paper pattern and secure it to your template material. Then, carefully cut the material around the paper pattern.
Accuracy is everything at this stage. A small error here will be magnified on the final profile. Take your time to get it right. Choosing the right grind starts with a perfect template.
Preparing the Grinder and Knife Blank
Proper setup is crucial for safety and precision. Before you start grinding, you must prepare your machine and the knife blank.
First, mount your grinding wheel. If you are using a new wheel, you must balance it correctly. An unbalanced wheel creates vibrations that can ruin your grind geometry and create a safety hazard.
- Inspect the Wheel: Check the wheel for any cracks or damage. Never use a damaged wheel.
- Mount Securely: Place the wheel on the grinder’s arbor. Make sure all flanges and washers are clean. Tighten the nut just enough to hold the wheel firmly.
- Balance the Wheel: Follow your grinder manufacturer’s instructions for balancing. This may involve adjusting weights on the wheel flange until it spins smoothly without wobbling.
Next, secure the knife blank in the grinding jig. The grinding jig holds the blade at a consistent angle.
- Clamp the knife blank securely into the grinding jig.
- Ensure the bolts are tight so the blank cannot move during grinding.
- If you are not using a file guide, use two G-clamps to hold the blade firmly to the grinding jig. A stable blank is essential for creating clean and consistent knife grinds.
Rough Grinding the Profile
Rough grinding removes the bulk of the steel to establish the basic shape of your knife. This step is about efficiency, not fine detail.
For this stage, a coarse wheel like a 36-grit CBN wheel is ideal. It removes material quickly. A good starting point for many different knife grinds is to create an aggressive 45-degree bevel. This initial grinding gets you close to the final edge thickness.
Here is a useful technique for tracking your progress:
- Gently warm the knife blank.
- Rub a crayon over the bevel area.
- As you work, the grinding wheel will remove the crayon, showing you exactly where you are cutting. This helps you grind evenly toward your target lines.
Focus on following the template guide on your grinding jig. Move the grinding jig smoothly and steadily. Do not rush this process. Consistent pressure and movement are key to good results.
Finish Grinding for Precision
After roughing out the shape, you will switch to a finer grit wheel (100-120 grit) for the finish grinding. This step refines the profile and creates a smooth, sharp edge. The goal here is to perfectly match your template without removing too much material.
To achieve a perfect match, pay close attention to your setup.
- Make sure your grinder’s tracing pin has the same thickness as your grinding wheel. This prevents you from accidentally undercutting or over-grinding the profile.
- Adjust your tool rest carefully. You want the side clearance grind to meet the primary edge perfectly.
- Use a light touch. Let the wheel do the work. Applying too much pressure can lead to mistakes and overheat the steel.
This stage defines the final grind geometry and is critical for performance. Your work here determines the quality of the different knife grinds you produce.
Final Inspection and Sharpening
The final step is to inspect your work and perform the final sharpening. Your knife should be a perfect mirror of your template.
For inspection, you can use several tools to check for accuracy and symmetry.
- Visual Check: Look down the spine and edge of the knife against a plain background. This helps you spot any unevenness or waves.
- Optical Comparator: For ultimate precision, an optical comparator magnifies the knife’s profile, allowing you to measure it with extreme accuracy.
- Feeler Gauges: You can use feeler gauges with a straight edge to check for any variance in the grind.
Once you confirm the knife is accurate, it’s time for the final sharpening. This is more than just grinding; it’s about honing the edge to razor sharpness. There are many sharpening tips to consider. A popular method involves using a guided rod sharpening system to maintain a precise angle, followed by stropping to remove any burr. This final sharpening makes the knife ready for work. Proper sharpening is essential for all knife grinds. Following good sharpening tips ensures a long-lasting, effective cutting edge. Choosing the right grind is only half the battle; expert sharpening completes the job. These sharpening tips will help you achieve a professional edge. The final sharpening is a critical skill. Good sharpening makes a huge difference. These sharpening tips are for creating the best edge.
Safety and Best Practices in Grinding
Safety is the most important part of any workshop activity. Your profile grinding work requires focus and respect for the machine. Following best practices protects you and ensures high-quality results.
Preventing Steel Overheating
You must keep the steel cool during grinding. Overheating can ruin the temper of your HSS blank, making it unable to hold a sharp edge.
Safety Tip: Keep a container of water nearby. You can dip the knife blank into the water frequently to cool it down. This simple step prevents heat damage during the grinding process.
Use light, consistent pressure. Let the grinding wheel do the work instead of forcing the steel into it. This gives you more control and reduces heat buildup.
Safe Machine Operation
You should perform a safety check before every grinding session. A quick inspection prevents accidents and ensures your machine runs correctly.
Before you begin, check the following:
- Verify the wheel guard is secure and covers at least half of the grinding wheel.
- Ensure the machine’s RPM does not exceed the wheel’s maximum RPM rating.
- Check that your eye shield is in good condition and positioned correctly.
- Confirm you are wearing all your Personal Protective Equipment (PPE), especially eye and hand protection.
Grinding Wheel Inspection
A damaged wheel is a serious hazard. You must inspect your wheels before mounting them. Look for visual signs of damage that require immediate replacement. These signs include cracks, chips, frayed edges, or a shiny, glazed surface. Unusual vibrations or squealing sounds during grinding also signal a problem.
A great way to check for hidden flaws is the “ring test.”
- Make sure the wheel is dry and clean.
- Suspend the wheel by placing your finger through the center hole.
- Gently tap the side of the wheel with a nonmetallic tool, like a screwdriver handle.
A healthy wheel will make a clear, metallic ringing sound. If you hear a dull thud, the wheel is likely cracked and you must discard it. This simple test is a critical step for safe grinding.
You now have the knowledge to master profile grinding. Success comes from creating accurate templates, performing controlled grinding, and prioritizing safety. Choosing quality tools like Aimgrind’s CBN wheels saves you significant money over time, as shown by their lower cost per part despite a higher initial price.
Remember, with over 5,000 injuries from grinders annually, your safety is paramount. Your final sharpening is just as crucial as the initial grinding. Proper sharpening and careful sharpening techniques ensure professional results.
With the right techniques and tools, you can “Grind with Passion, Achieve with Aim.”
FAQ
Why should I use a CBN wheel for HSS?
You should use CBN wheels for High-Speed Steel (HSS). They run cooler and prevent the steel from burning. This process keeps your knife hard and able to hold a sharp edge. CBN wheels also last much longer, saving you money.
How do I know if I overheated the steel?
Look for color changes on the steel’s surface. A blue or straw color indicates you have overheated it. This heat ruins the steel’s temper. The knife will no longer hold a sharp edge and must be re-hardened or discarded.
Can I reuse my custom knife templates?
Yes, you can reuse your templates for future projects. You should make them from a durable material like thin plastic or aluminum. This allows you to create the same knife profile again with perfect accuracy, ensuring consistency across jobs.
What is the “ring test” for a grinding wheel?
The ring test is a simple safety check for your grinding wheel. You tap the wheel gently with a nonmetallic tool. A healthy wheel makes a clear ringing sound. A dull thud means the wheel is cracked and unsafe to use.