You want a perfectly clean edge or truly sharp edges on your project. A single burr can cause major problems; improper deburring costs industries billions each year. Effective hand grinding methods for proper edge treatment depend on three key pillars. This guide helps you achieve a sharp, clean edge through correct deburring techniques.
The Three Pillars of Hand Grinding
- The Right Tools
- The Right Technique
- A Focus on Safety
Key Takeaways
- Use the right tools for deburring and sharpening. This includes files, sharpening stones, and sandpaper.
- Follow a step-by-step process. First, remove large burrs. Then, refine the edge with finer abrasives.
- Maintain a consistent angle when sharpening. This creates a very sharp and strong edge.
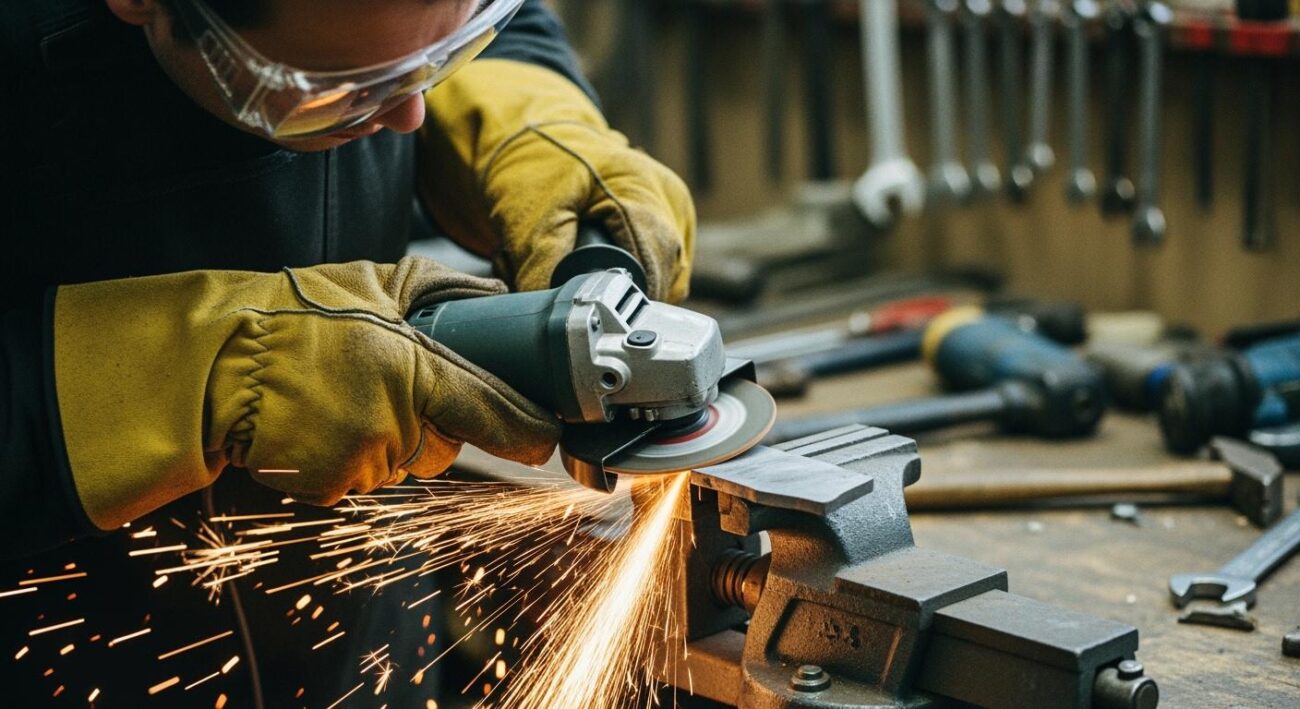
- Always prioritize safety. Wear eye protection, gloves, and a respirator. Secure your workpiece.
- Progress from coarse to fine abrasives. This makes a smooth and sharp edge.
Essential Deburring Tools & Hand Grinding Methods
Selecting the right deburring tools is the first step toward achieving a perfect finish. Your choice of tool depends on the material and the specific edge you are working on. These hand grinding methods give you complete control over the process.
Choosing the Right Files
Files are essential deburring tools for removing large burrs and shaping an edge. You should choose a file based on the shape of your workpiece. Using the correct file makes the initial deburring process faster and more precise.
| File Type | Shape/Design | Deburring & Cleaning Use Cases |
|---|---|---|
| Flat File | Flat on both sides | Deburring edges of large flat metal areas |
| Half-Round File | One side rounded, one flat | Deburring convex surfaces and welded joints |
| Tapered File | Tapered end, double cut pattern | Deburring inside holes and curved surfaces |
| Round File | Rounded, tapered point | Cleaning rounded holes and concave surfaces |
Selecting Abrasive Sharpening Stones
After initial filing, you will use abrasive stones for refining the edge. The material of your stone affects the grinding speed and finish. For a versatile, high-quality option, consider Aimgrind’s sharpening stones. Aimgrind offers stones in various materials like diamond, aluminum oxide, and silicon carbide to suit different needs. A key advantage is their compatibility with both water and oil. Using water is often preferred because it is easy to clean and provides a fast cutting action.
- Silicon Carbide: Best for very hard steels. Its sharp grains make deburring tough materials easier.
- Aluminum Oxide: A great all-around choice for most common steels.
- Diamond: The hardest material, required for high-vanadium steels and offers extreme durability.
Using Sandpaper and Abrasive Cloth
For the final finishing and polishing stages, you will use sandpaper or abrasive cloth. You should progress from a coarser grit to a finer grit. This process removes the smaller scratches left by files and stones, creating a smooth, clean edge. The grit size directly impacts the final surface quality. As you increase the grit number, the surface becomes smoother.
This systematic approach to your hand grinding methods ensures you achieve a professional-level finish on all your edges.
The Step-by-Step Guide to Deburring
You have your tools ready. Now you can begin the deburring process. Following a systematic method ensures you achieve a clean, high-quality edge safely and efficiently. This guide breaks down the steps for effective hand deburring.
Securing the Workpiece
A stable workpiece is the foundation of all good deburring operations. Any movement or vibration can ruin your edge and create a safety hazard. You must secure your material firmly before you start.
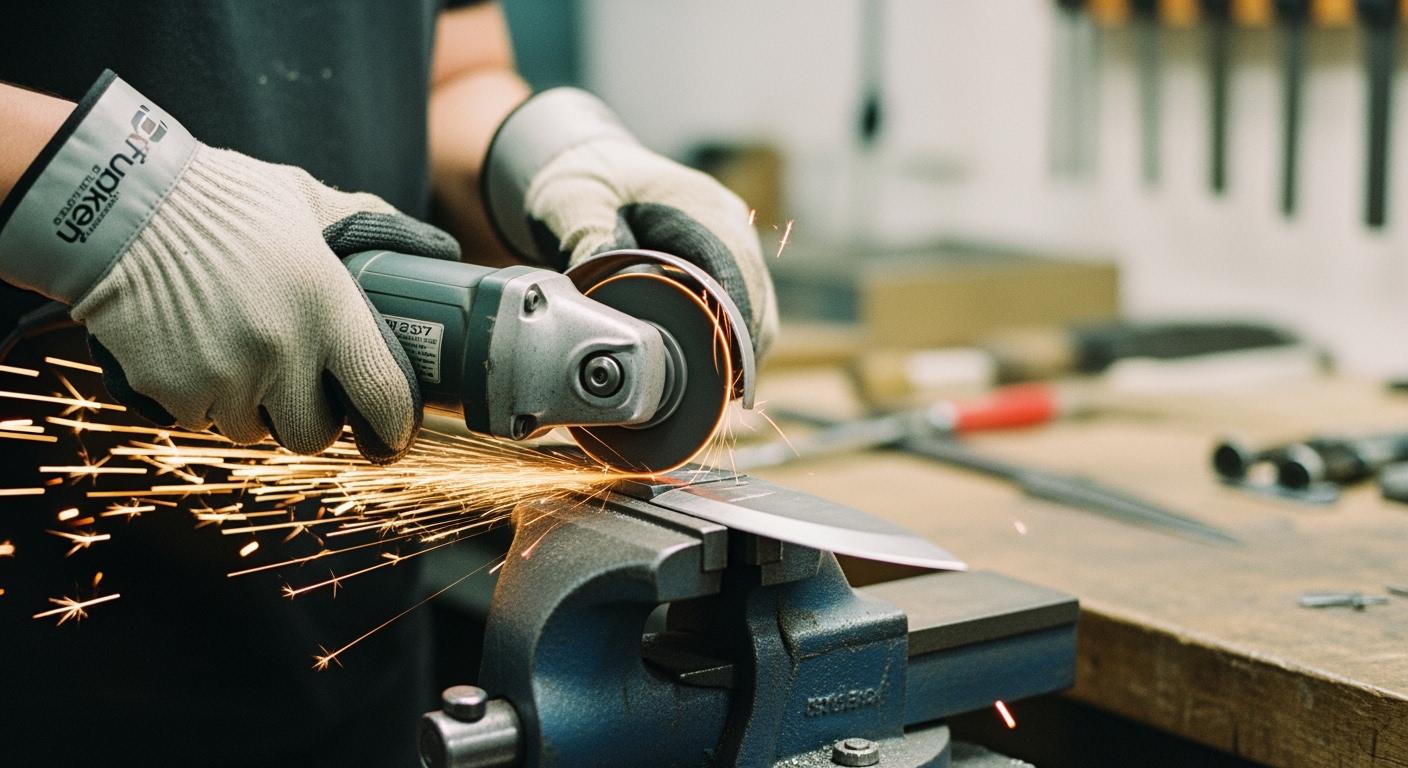
- Use Clamps or a Vise: Always secure your workpiece to prevent it from shifting. This is crucial for both safety and achieving a precise edge.
- Support Your Material: For long pieces, support both ends to prevent flexing. For thin sheets, use several clamps spaced out evenly to stop the material from bending.
- Protect Delicate Surfaces: When working with round or irregular shapes, you can use soft-jawed vises. These special clamps prevent dents and scratches on your project.
Poor stability leads to problems like chatter and vibration. This can cause a rough surface finish and damage your tools. Insufficient clamping force allows the part to shift, resulting in poor quality. Proper setup is essential for good deburring quality.
Initial Hand Deburring with a File
You can start the primary hand deburring with a file. Your goal is to remove the main burr without damaging the workpiece. The direction of your file stroke is very important for this step. You should use an edge-trailing pass.
An edge-trailing pass moves the file away from the cutting edge, as if you were trying to dull it. This motion bends the burr back and forth. This fatigues the metal, causing the burr to shear off cleanly. An edge-leading pass, which pushes into the edge, can rip the burr or fold it over, making it harder to remove later.
Apply firm, consistent pressure as you push the file. Lift the file off the workpiece on the return stroke to avoid dulling the tool. Focus on removing the bulk of the burr to prepare the edge for the next stage. This initial hand deburring step sets the stage for a perfect finish.
Refining the Edge for a Smooth Finish
After removing the large burr, you will refine the edge. This step smooths out the file marks and creates a clean, uniform surface. You can use a technique called “draw filing” for an exceptionally smooth finish. To do this, you hold the file at both ends. Then you move it sideways across the edge, pulling and pushing. This shearing action produces a much finer surface than standard filing.
Next, you will use abrasives to polish the edges. You should progress from a coarser grit to a finer one. This sequence removes smaller and smaller scratches until the edge is perfectly smooth.
- Coarse Grit (80-120): Use a medium-grit stone or sandpaper to smooth the surface after filing.
- Medium Grit (220-400): Move to a finer grit to remove the scratches left by the coarse abrasive.
- Fine Grit (600 or higher): Finish the deburring with a very fine grit to polish the edge to a final, smooth quality.
You can wrap abrasive cloth around a form or use your fingers to gently round the edge. This creates a uniform surface and helps prevent stress concentration. This final part of the deburring process ensures your workpiece has a professional and durable finish.
A Method for Precision Edge Sharpening
Moving beyond deburring, precision sharpening transforms a clean edge into a high-performance cutting tool. This process is about creating and refining specific angles to achieve a razor-sharp finish. This edge treatment requires patience and a systematic approach.
Establishing the Correct Bevel Angle
Your first step is to establish the correct bevel angle for your tool. The angle of the edge determines its cutting performance and durability. A lower angle creates a very sharp edge but is less durable. A higher angle makes a stronger edge that lasts longer. You must choose an angle that fits your tool’s intended use.
- Kitchen Knives: Use a 20° angle for delicate tasks like filleting. A 25-35° angle works well for general-purpose knives.
- Chisels: A 20-25° angle is standard. Woodworkers might prefer an angle of 15° or less for fine carving.
- Axes: Use a 30-40° convex edge for a forester’s axe. A wood chopping axe needs a stronger 40-55° angle.
Maintaining this angle consistently is the most critical part of sharpening. A sharpening guide, or jig, makes this process much easier. A jig holds your blade at an exact angle during the entire grinding process. It gives you precise control and prevents the small deviations that can create an uneven edge. This is especially valuable for thinner blades where holding a steady angle by hand is very difficult.
Grinding the Primary Bevel
With your angle set, you can begin grinding the primary bevel. You will use a coarse or medium-grit stone for this step. Your goal is to grind one side of the blade until a small burr forms along the entire opposite edge. A burr is a thin ridge of metal that curls up at the apex. It tells you that you have ground the bevel all the way to the very edge.
How to Feel for a Burr You can easily check for a burr to know when it’s time to switch sides.
- Place your thumb on the side of the blade opposite the stone.
- Carefully slide your thumb off the edge, moving away from it.
- You will feel a slight catch or roughness. This is the burr.
- Check for this feeling along the full length of the edge to ensure it is even.
Once you feel a consistent burr along the entire length, you can flip the blade over. Then, you repeat the process on the other side. This step creates the basic geometry for your sharp edge.
Honing and Polishing the Edge
After establishing the primary bevel, you will hone and polish the edge. This stage refines the edge, removes the scratches from the coarser stones, and makes it truly sharp. Many professionals create a secondary bevel, or microbevel, during this step.
A microbevel is a tiny, second bevel applied at a slightly higher angle than the primary bevel. This technique offers several advantages:
- Speed: Honing a tiny microbevel is much faster than re-sharpening the entire primary bevel.
- Strength: The microbevel adds strength and rigidity to the very tip of the edge, protecting it from chipping or deforming.
- Performance: It can reduce friction during cutting, allowing for smoother performance.
To hone your blade, you will progress through a series of finer grit stones. This systematic progression is key to achieving a high-quality finish and excellent deburring quality. You start with a medium-fine grit and work your way up to an extremely fine grit for a polished result.
| Grit Level | Micron Size | Description of Edge Appearance |
|---|---|---|
| 400 – 600 Grit (Medium Fine) | 25-35 Micron | The edge appears frosted. This is a good starting point for honing. |
| 1000 – 2000 Grit (Extra Fine) | 8-15 Micron | The edge starts to look polished and becomes very sharp. |
| 2000 – 6000 Grit (Extremely Fine) | 4-8 Micron | The edge is extremely sharp and reflects light well. |
| 10,000+ Grit (Mirror Polish) | 0-2 Micron | You achieve the sharpest edge possible with a mirror finish. |
Each step removes the scratches from the previous one, creating progressively finer and sharper edges.
Removing the Final Micro-Burr
The final edge treatment involves removing the last, tiny micro-burr left from honing. The best way to do this is by stropping. Stropping uses a piece of leather, often loaded with a micro-abrasive polishing compound, to align and refine the final edge.
The compound contains microscopic abrasive particles that gently hone the edge. The leather provides a forgiving surface that helps polish the steel. This process pushes the final burr back and forth until it breaks away, leaving a clean, razor-sharp edge.
- Technique: Always draw the blade backward across the strop, with the edge trailing. Never push into the leather, as this will cut it and dull your blade.
- Angle: Maintain an angle similar to your honing angle.
- Pressure: Use very light pressure. Let the compound and strop do the work.
Stropping is the last step to achieving truly sharp edges. This final polishing action ensures your tool has a superior quality finish, ready for any cutting task.
Critical Safety Procedures for Hand Grinding
Your skill with hand grinding methods means nothing without safety. You must protect yourself from metal shards, dust, and other hazards. Following these critical procedures ensures you can focus on creating a perfect edge without risking injury.
Essential Personal Protective Equipment (PPE)
You must wear the right gear before you start any work. Your eyes, lungs, and hands are most at risk.
- Eye and Face Protection: OSHA requires you to wear safety glasses that meet the ANSI Z87.1 standard. Look for the “Z87+” mark, which indicates high-impact resistance suitable for grinding. A face shield offers even more protection for your face.
| Marking | Meaning | Use for Grinding? |
|---|---|---|
| Z87 | Basic Impact | No |
| Z87+ | High Impact | Yes |
| D3 | Splash/Dust | Yes (Goggles) |
- Respiratory Protection: Metal dust is a serious health hazard. A simple paper mask is not enough. You should invest in a quality respirator with the correct filters. Fine dust particles from a grinder can stay in the air long after you finish, so keep your mask on.
- Hand Protection: Wear durable gloves, like leather, to protect your hands from sharp edges and abrasions. A good pair of gloves also helps you maintain a firm grip on your tools and workpiece.
Proper Workpiece Handling
A secure workpiece is essential for safety and quality. Any movement can ruin your edge or cause an accident. You should always use a vise or clamps to hold your material firmly. For delicate items, you can glue leather strips to your vise jaws. This provides a strong grip without scratching the surface. Make sure the workpiece is held tightly to prevent any vibration. A vibrating edge is difficult to work on and can be dangerous.
Maintaining a Safe Workspace
Your work area plays a big role in your safety. A clean and organized space helps prevent accidents. You need two key things for a safe workspace: good lighting and proper ventilation. Bright, direct light helps you see the edge clearly, reducing eye strain and mistakes. Good ventilation is crucial for removing harmful dust created by the grinder. An open window with a fan or a dedicated dust collection system will keep the air clean. These hand grinding methods are safest when your environment is well-prepared. After you finish, clean and store your tools properly to keep them in good condition for the next job.
Your success in deburring and sharpening comes from one core idea. You must progress from coarse to fine abrasives. This method creates a smooth edge, much like in automotive restoration. Proper edge treatment for sharp edges depends on two skills: maintaining a consistent angle and applying controlled pressure. These create a perfect edge. Remember, your deburring work on any edge is only as good as your safety practices.
Safety First, Always 🛡️
Your safety is not optional. Always use proper PPE and secure your workpiece. This is the foundation for every sharp edge you create.
FAQ
What is the difference between deburring and sharpening?
Deburring removes rough metal burrs for a clean, safe edge. You create a smooth surface. Sharpening grinds a precise angle onto that edge. This action makes the tool able to cut effectively. Both processes are key for proper edge treatment.
Can I use water on all sharpening stones?
Some stones require only oil. You should always check the manufacturer’s instructions. Many modern stones, like Aimgrind’s sharpening stones, offer great versatility. You can use them with either water or oil to suit your preference and achieve excellent results.
Is stropping really necessary for a sharp edge?
Yes, stropping is a vital final step. It removes the tiny micro-burr left after honing. This action polishes and aligns the very tip of the edge. You achieve the sharpest possible result this way, creating a superior quality finish.