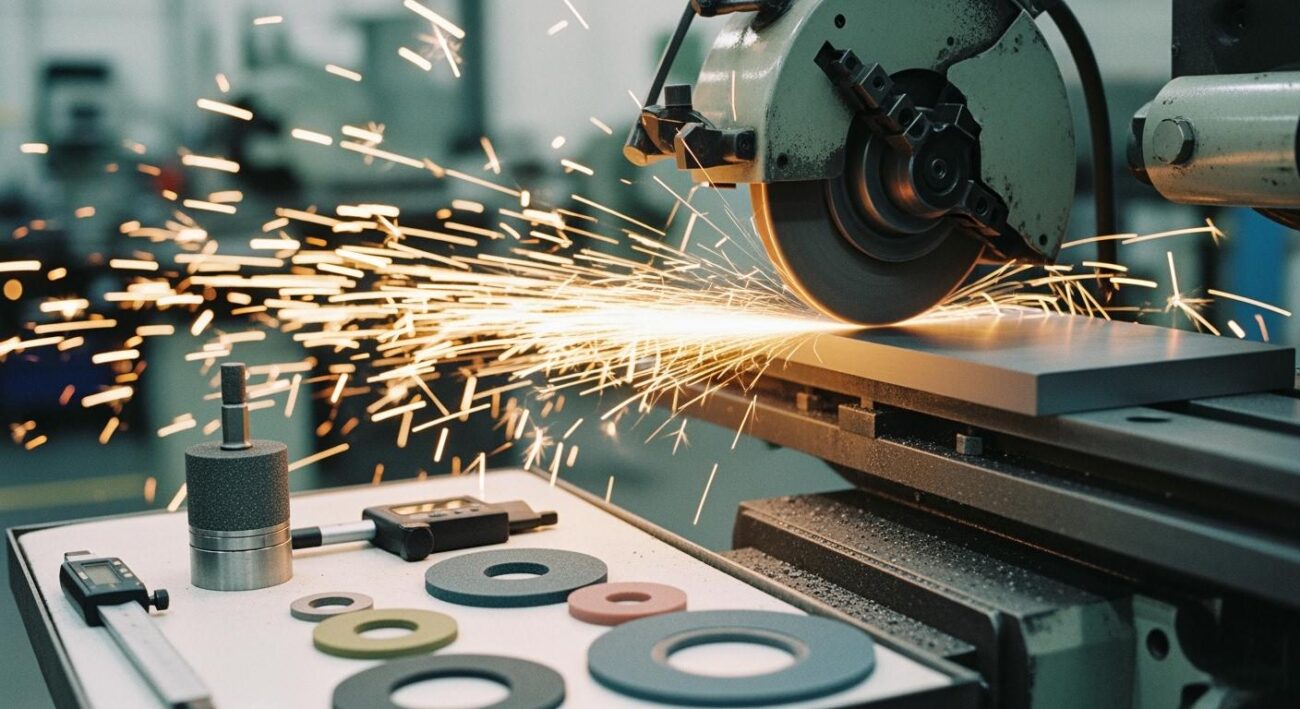
You see the tell-tale marks of chatter on your finished part. This frustrating vibration problem ruins an otherwise perfect surface. The solution to eliminate chatter is a step-by-step process. This guide provides a simple checklist to diagnose the root cause of grinding chatter. You will methodically check your process, your wheel setup, and the grinding machine itself. This approach helps you find the source of vibration quickly, starting with the easiest fixes first.
Key Takeaways
- Adjust cutting depth and feed rate. This reduces stress on the machine and wheel.
- Ensure your grinding wheel is balanced and true. An unbalanced wheel causes strong vibrations.
- Securely clamp the workpiece. Any movement causes problems and vibration.
- Inspect machine parts for wear. Worn bearings or loose parts create chatter.
- Use the correct grinding wheel for your material. This prevents dulling and vibration.
Section 1: Immediate Fixes to Eliminate Chatter
Before you inspect the machine for wear and tear, you should first check your process parameters. Simple adjustments to your grinding technique are often all you need to eliminate chatter. These quick fixes are the easiest to implement and can save you significant time and effort.
Adjust Cutting Depth and Feed Rate
Your cutting parameters have a direct impact on machine stability. Attempting to remove too much material in one pass is a common mistake. Surface grinders are precision tools not designed for aggressive cuts. A high depth of cut is a primary factor that contributes to forced vibration. This unwanted vibration creates chatter marks on the finished surface.
- Reduce the Depth of Cut: Your first action should be to reduce the amount of material you remove per pass. Lighter cuts place less stress on the wheel and the machine, significantly reducing the risk of vibration.
- Adjust the Feed Rate: The relationship between feed rate and chatter is complex. Sometimes, increasing the feed rate can solve the problem. Other times, you may need to reduce it. You might need to reduce both the speed and feed rate to find a stable combination for your specific setup.
Experimenting with these two variables is a crucial first step in diagnosing the issue.
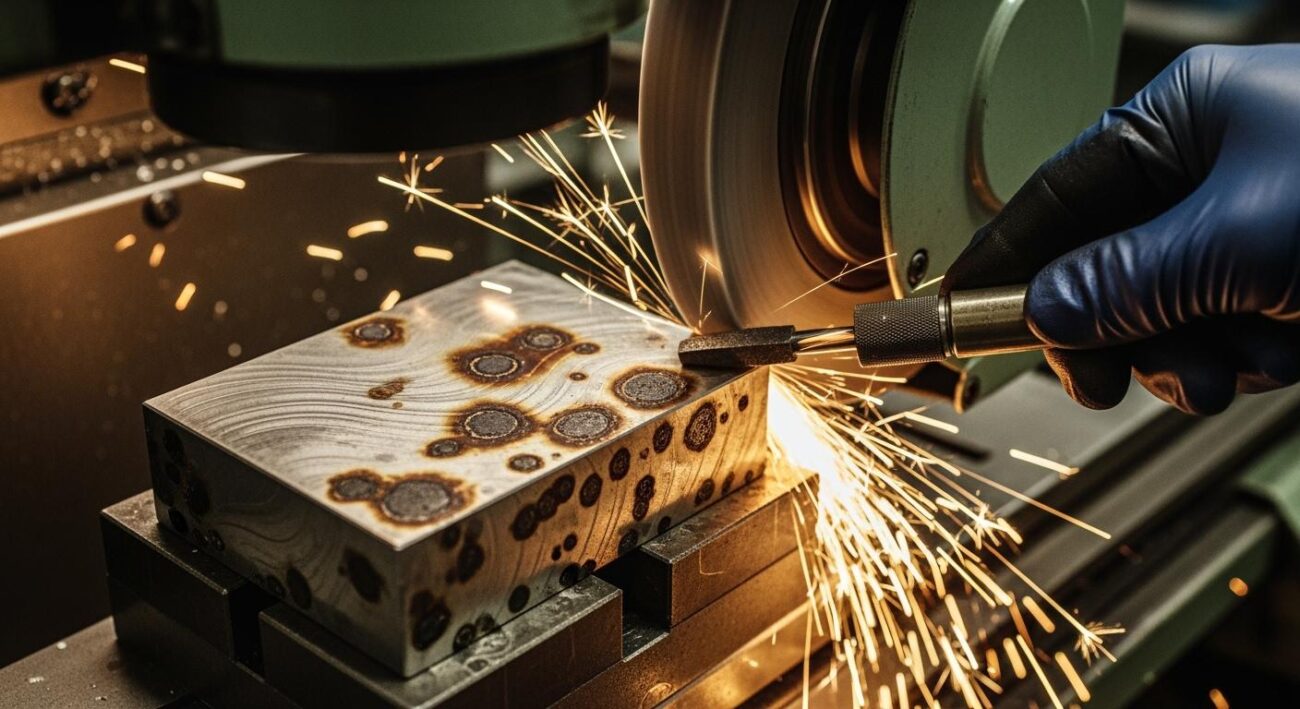
Optimize Wheel Dressing Parameters
A properly dressed wheel is sharp, clean, and ready to cut efficiently. An improperly dressed wheel, however, is a major source of problems. Your goal is to create a fresh, open cutting surface on the wheel.
Pro Tip: A dull dressing tool will glaze the wheel, making it smooth and ineffective. A traverse speed that is too slow during dressing will “close up” the wheel face, clogging it with debris. Both of these conditions prevent the wheel from cutting freely and will cause vibration and chatter.
Follow these guidelines for a perfect dress every time:
- Use a Sharp Dressing Tool: Always ensure your diamond dressing tool is sharp and securely mounted. A loose tool will vibrate, transferring marks directly to your wheel.
- Set a Light Infeed: A light feed rate of approximately 0.001 to 0.005 inches per pass is ideal.
- Maintain a Proper Traverse Speed: An acceptable traverse speed ranges from 20 to 50 mm/min. This speed ensures the wheel face is opened correctly for optimal grinding performance.
Check Grinding Fluid and Application
Grinding fluid, or coolant, does more than just cool the part. It lubricates the cutting zone, flushes away chips, and helps dampen vibration. Insufficient or poorly applied coolant can lead to a host of issues, including wheel loading and thermal shock, which degrade the final surface finish.
Proper nozzle placement and flow rate are critical. You must ensure the fluid reaches the precise point of contact between the wheel and the workpiece. High-pressure systems are very effective at breaking the air barrier created by the spinning wheel.
For best results, follow these parameters:
- Flow Rate: Aim for a flow rate of 10–20 L/min to ensure adequate cooling and chip removal.
- Pressure: Use a high-pressure delivery system (5–10 bar) to improve penetration into the grinding zone. This reduces friction and heat, leading to a more stable process.
Section 2: Wheel and Workpiece Checks for Grinding Chatter
If adjusting your process parameters did not solve the problem, your next step is to inspect the grinding wheel and workpiece setup. Issues in this area are a very common source of vibration. A careful check here can often reveal the root cause of your surface finish problems.
Verify Grinding Wheel Balance and Trueness
An unbalanced or out-of-true grinding wheel is a guaranteed source of trouble. These two conditions are different but equally damaging.
- Trueness refers to the wheel being perfectly round. A wheel that is not true will have high and low spots, causing it to hammer against the workpiece with every rotation.
- Balance refers to the even distribution of mass around the wheel’s center.
An unbalanced wheel generates a powerful centrifugal force as it spins. This force increases with the amount of unbalance and grows much faster as you increase the rotational speed. Even a tiny unbalance of just one ounce can create a significant force at high RPMs, causing the entire machine to shake. This vibration directly transfers to your workpiece, creating chatter.
Action Plan: Balancing and Truing
- Mount the Wheel Correctly: Always clean the machine spindle and the wheel’s mounting flanges before installation. Any dirt or debris can throw the wheel off-center.
- True the Wheel: After mounting, you must true the wheel directly on the machine. Use a sharp diamond dressing tool to make the wheel’s cutting surface perfectly concentric with the spindle.
- Balance the Wheel: Remove the wheel and place it on a static balancing stand. Adjust the balancing weights on the wheel flange until the wheel remains stationary in any position. This step is critical for all high-speed grinding operations.
Select the Correct Wheel Hardness and Grade
Using a high-quality, properly specified wheel is your primary defense against grinding chatter. The wheel’s characteristics, such as its hardness and grit size, must match your material and application. A wheel that is too hard for the job will not break down properly. Its abrasive grains will become dull instead of fracturing to expose new, sharp edges. This dulling action increases grinding forces, leading to vibration and a poor surface finish.
For applications involving hard alloys, ceramics, or composites, you need specialized wheels. Standard wheels will wear out quickly and fail to produce the required precision. This is where premium solutions become necessary. For example, Aimgrind‘s diamond grinding wheels are engineered specifically for these challenging materials. Their exceptional durability and precision help maintain stability during the grinding process, effectively preventing the vibration that causes chatter. Choosing the right wheel from the start saves you time and prevents costly mistakes.
Ensure the Workpiece is Securely Clamped
Your workpiece must be held with absolute rigidity. Any movement, however small, will cause problems. Insufficient clamping force makes the entire setup less stiff. This lack of rigidity allows cutting forces to fluctuate, which can trigger or worsen vibrations. When the frequency of these forces matches the natural frequency of your workpiece or machine, you get mechanical resonance—a major cause of chatter.
Firmly securing the workpiece increases its effective mass. This simple action helps reduce workpiece vibration and avoids resonance during the grinding process.
When using a magnetic chuck, you must follow best practices for a secure hold.
- Check Material: Magnetic chucks only work with ferromagnetic metals, like steel. They will not hold aluminum, brass, or other non-magnetic materials.
- Mind the Thickness: Workpieces thinner than 12mm (about 1/2 inch) may not have enough mass to absorb the magnetic flux for a strong grip. For these parts, use a chuck with denser poles or add a custom pole plate to improve holding power.
- Block It In: Always use steel blocks or rails around the perimeter of your workpiece. This provides a physical stop that prevents the part from sliding under cutting pressure, even if the magnetic force weakens.
A secure setup is the foundation of a good surface. Always double-check that your workpiece cannot move before you begin grinding.
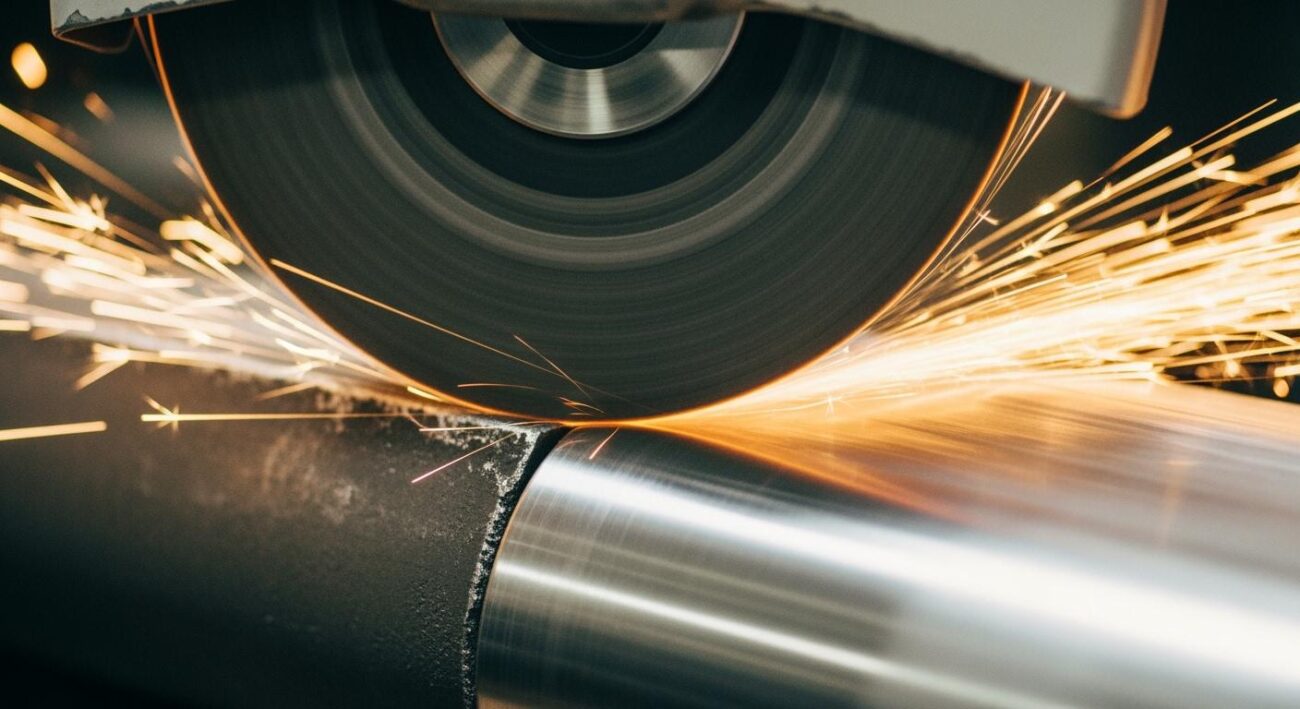
Section 3: Mechanical Inspections to Find Vibration Sources
If your process and setup checks did not fix the vibration problem, you must inspect the machine itself. Mechanical wear is a common source of chatter that develops over time. This step in troubleshooting machine vibration requires a closer look at the core components of your surface grinder.
Check Machine Leveling and for Loose Parts
A surface grinder must sit on a perfectly level and stable foundation. An unlevel machine will twist its frame, causing machine vibration and alignment issues. You should verify your machine’s level as a first step.
- Clean the worktable and your leveling instrument.
- Move the table to the far left and adjust the leveling screws.
- Move the table to the far right and repeat the adjustment.
- Check and adjust the level at the front and rear positions.
- Verify the overall level is within 0.02–0.03mm.
Also, check for any loose components. A simple loose bolt can create a surprising amount of vibration.
- Loose foundation bolts
- Shaky machine mounts
- Loose guards or covers
Inspect Spindles and Bearings for Wear
The grinding spindle and its bearings are critical to a smooth surface finish. Worn bearings are a major cause of high-frequency vibration. You should listen for signs of wear. A healthy spindle runs quietly.
Listen for Trouble 👂
A faint rustling sound indicates early wear. As damage worsens, you may hear a distinct “clunking” noise. A shrill metallic grinding sound signals severe, late-stage wear that can damage the main shaft.
Increased noise is often the first sign of a problem. You might also notice the spindle housing feels hotter than usual. Any new or increased vibration felt through the machine frame points to bearing issues.
Examine Drive Belts and Hydraulic Systems
The systems that move the spindle and the table can also introduce chatter. Check the drive belts for signs of wear, cracks, or improper tension. A worn belt can slip and cause inconsistent spindle speed.
Your hydraulic system controls the table’s movement. Air or contamination in the hydraulic fluid can cause erratic motion. This jerky movement will transfer directly to the workpiece during grinding. Listen for these symptoms:
- A high-pitched whining noise, which suggests air is in the fluid.
- Spongy or inconsistent table movement.
- A chattering sound from a relief valve opening and closing rapidly.
These issues disrupt the smooth motion required for a perfect surface, making your surface grinder less effective.
Section 4: Advanced Methods to Reduce the Effect of Vibration
Sometimes, basic adjustments are not enough. When you face persistent vibration, you can use advanced strategies to reduce the effect of vibration. These methods involve changing how the wheel interacts with the workpiece to cancel out chatter before it ruins your surface.
Understanding Contact-Length Filtering
You can use the geometry of the cut itself to fight vibration. This technique is called “contact-length filtering.” It works by increasing the contact length between the wheel and the workpiece. A longer contact area helps smooth over the high and low spots created by high-frequency vibration.
You can think of it like this: if the contact area is long enough, the wheel bridges the tiny waves of chatter. This action effectively removes the peaks, leaving a smoother surface. To achieve this, you need to make sure your contact length is greater than the chatter wavelength.
Rule of Thumb: You can reduce the effect of vibration when double your contact length is greater than the chatter wavelength. You can influence this by adjusting your depth of cut and work speed.
How to Alter Cut Geometry to Cancel Chatter
Regenerative chatter happens when the grinding wheel hits a bump left from its previous pass. This creates a rhythm of vibration that gets worse with each rotation. You can break this cycle by altering the cut geometry.
One way to do this is by using tools with intentionally uneven features, like a variable-pitch design. These tools change the timing of the cutting forces. Because the forces are not applied at the same frequency, they cannot build up into a harmonic vibration. This simple change in geometry disrupts the pattern and stops chatter from forming.
When to Apply Advanced Grinding Techniques
When you have tried everything else, it may be time for advanced grinding techniques. Modern manufacturing uses complex methods like constant-temperature grinding (CTG). These processes use computer models to find the perfect grinding conditions that prevent heat and vibration from the start.
For your own work, applying advanced techniques means a final, thorough review of your system. You should:
- Check your grinding fluid for cleanliness and proper concentration.
- Ensure no vibration is coming from nearby machines.
- Verify your machine’s belts are tight and undamaged.
- Confirm your spindle bearings have no wear or play.
These final checks ensure your machine is in optimal condition to produce a perfect surface.
You now have a clear path to eliminate chatter. Solving this frustrating vibration problem is a process of elimination, not guesswork. Remember the diagnostic path to fix grinding chatter:
- Process: Adjust your cutting parameters first.
- Setup: Inspect your wheel and workpiece next.
- Machine: Examine the machine for wear last.
Following these steps helps you achieve a high-quality surface. A truly smooth surface improves part functionality, durability, and assembly. Your goal is a smooth surface with low roughness values, like those shown below.
| Indicator | Typical Range (Precision Grinding) |
|---|---|
| Ra (Average Roughness) | 0.1 – 0.8 µm |
| Rz (Max Roughness) | 1 – 5 µm |
By applying these methods, you can eliminate chatter and produce a perfect surface in every grinding job.
FAQ
What is the most common cause of grinding chatter?
An unbalanced grinding wheel is a very common cause. This creates a strong vibrating force as it spins. You should always true and balance your wheel before starting a precision job to prevent this issue.
How often should I balance my grinding wheel?
You should balance your wheel every time you mount it on the spindle. You also need to re-balance it after significant dressing removes a lot of material. This practice ensures your setup remains stable and vibration-free.
Can the wrong grinding fluid cause chatter?
Yes, it can. Poor coolant flow fails to lubricate the cut or clear away chips. This increases friction and heat, leading to vibration. You must ensure a steady stream of clean fluid hits the grinding zone directly.
Is a more expensive wheel always better for preventing chatter?
Not always. The correct wheel is more important than the price. You need a wheel specified for your material. For hard materials, a premium wheel like an Aimgrind diamond wheel provides the stability needed to stop chatter.
Contact Us
For More Grinding Solution or Customized Abrasive Tools