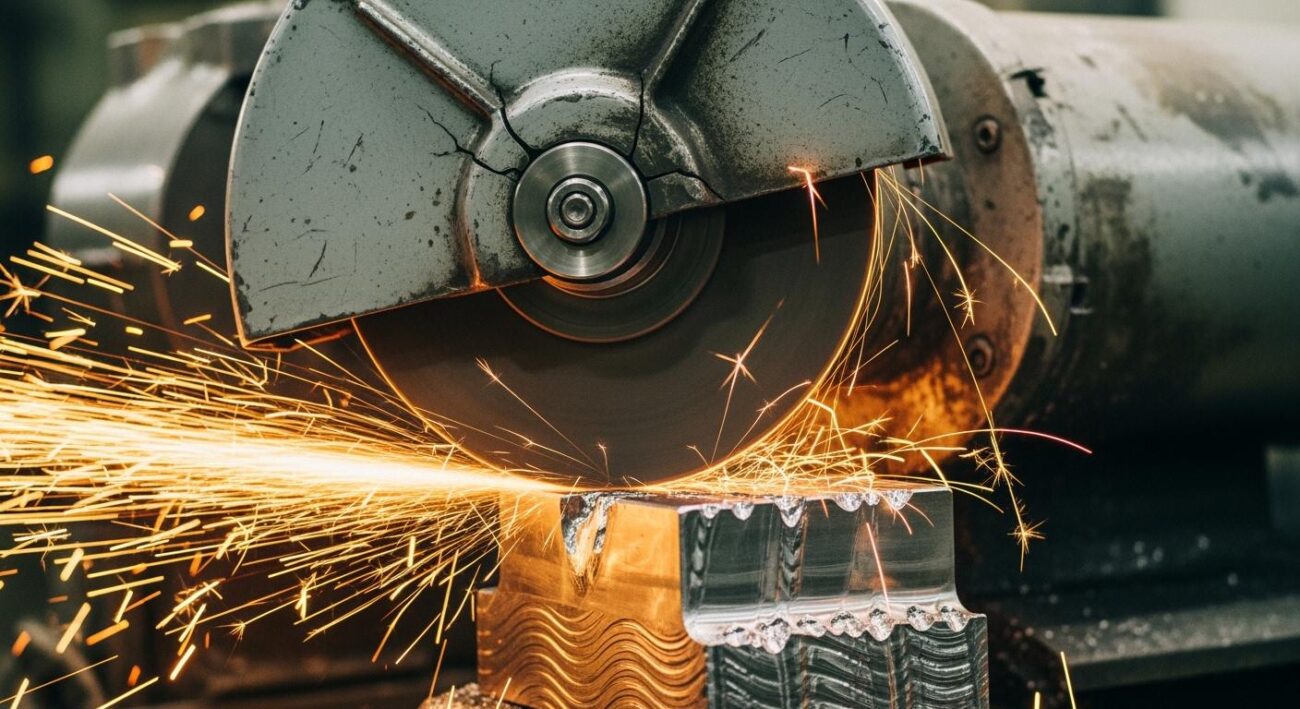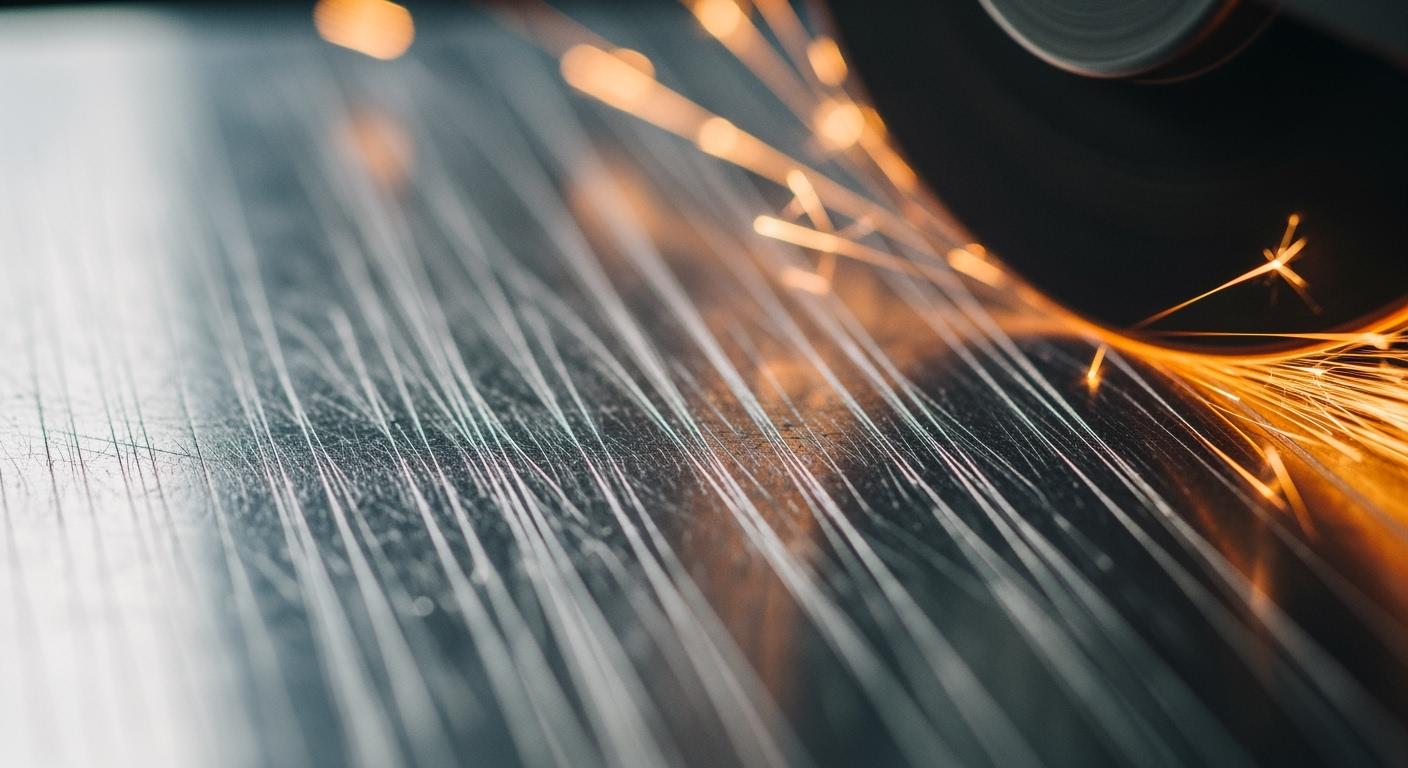
Grinding scratches on your workpiece are a common but solvable issue. Finding the causes of scratches on a workpiece requires a systematic check. The problems usually stem from one of three areas in your grinding operation:
- Issues with the grinding wheel.
- Problems with the machine and its setup.
- Errors in the grinding process itself.
This guide will help you diagnose your entire grinding method. You can systematically find the problem and achieve a better surface finish.
Key Takeaways
- Choose the right grinding wheel for your material to prevent scratches.
- Keep your grinding machine stable and clamp the workpiece tightly to avoid vibrations.
- Use enough clean coolant to prevent overheating and wash away debris.
- Make sure the workpiece surface is smooth before you start grinding.
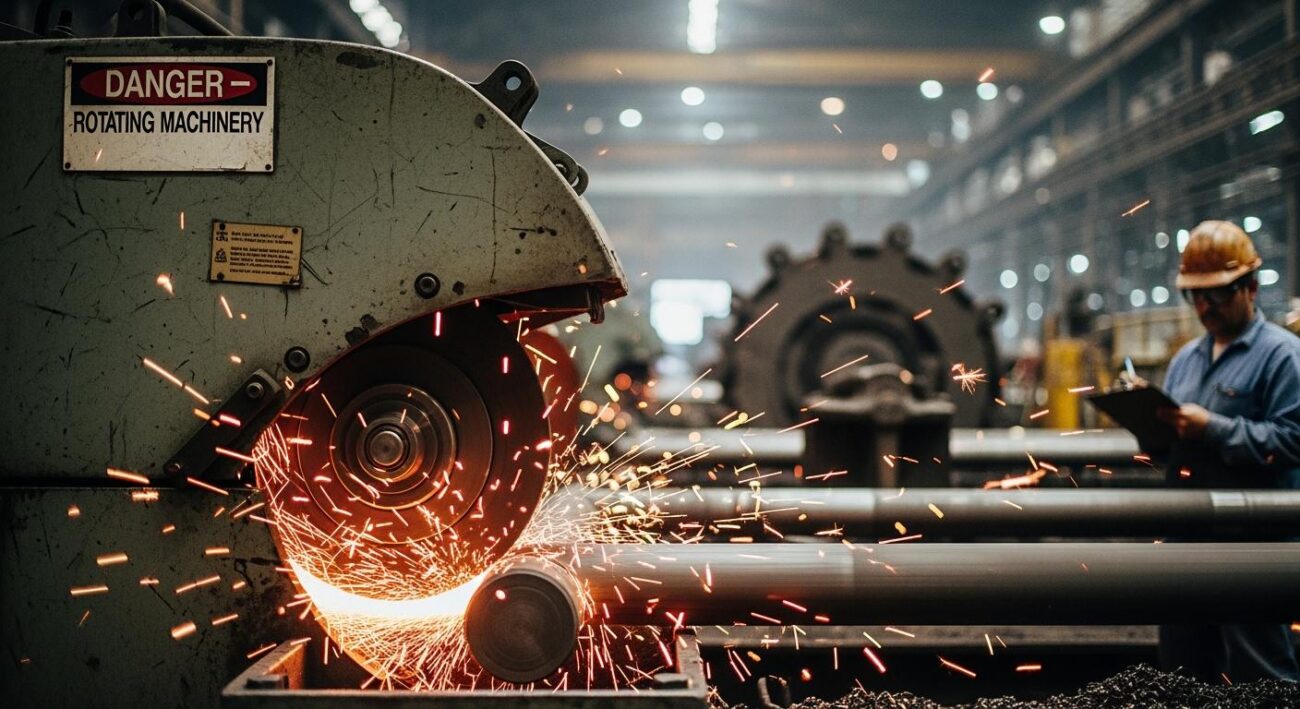
Common Situations Leading to Grinding Scratches: Wheel Issues
The grinding wheel is often the first place to check for problems. These are common situations leading to grinding scratches that originate from the wheel itself. A careful review of your wheel can quickly solve many issues in your grinding process.
Improper Wheel Selection
Choosing the right wheel is the most critical step in any grinding process. An incorrect wheel is one of the most common situations leading to grinding scratches. The grit size and bond hardness must match your workpiece material.
- Too Large Grit Size: Coarse grains remove material quickly but can leave deep scratches on the workpiece surface.
- Too Small Grit Size: Fine grains can cause the wheel to clog, which reduces grinding efficiency and can lead to new scratches.
- Bond is Too Hard: A hard bond does not release dull abrasive grains. This increases heat and can damage the workpiece surface.
Expert Tip: Selecting the perfect wheel can be complex. A specialized provider like Aimgrind offers customized grinding wheels. Their service includes problem diagnosis and parameter matching to help you choose the ideal wheel, preventing scratches from the start.
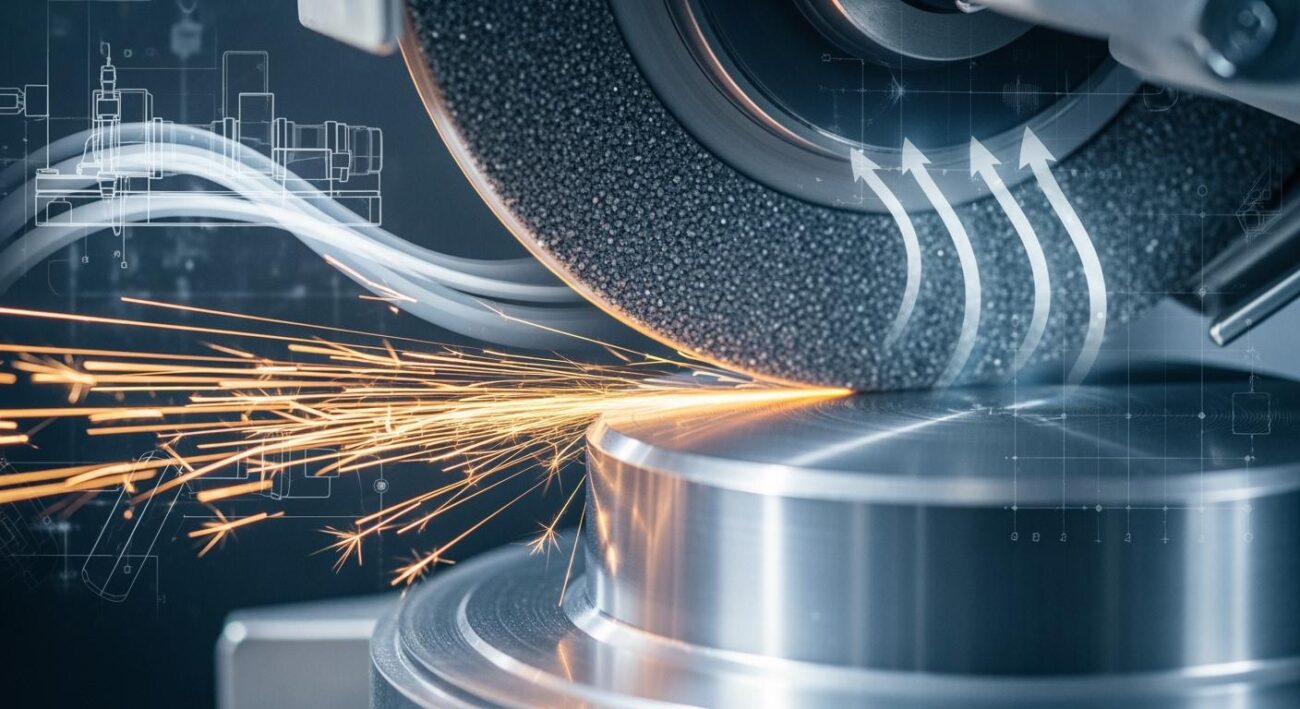
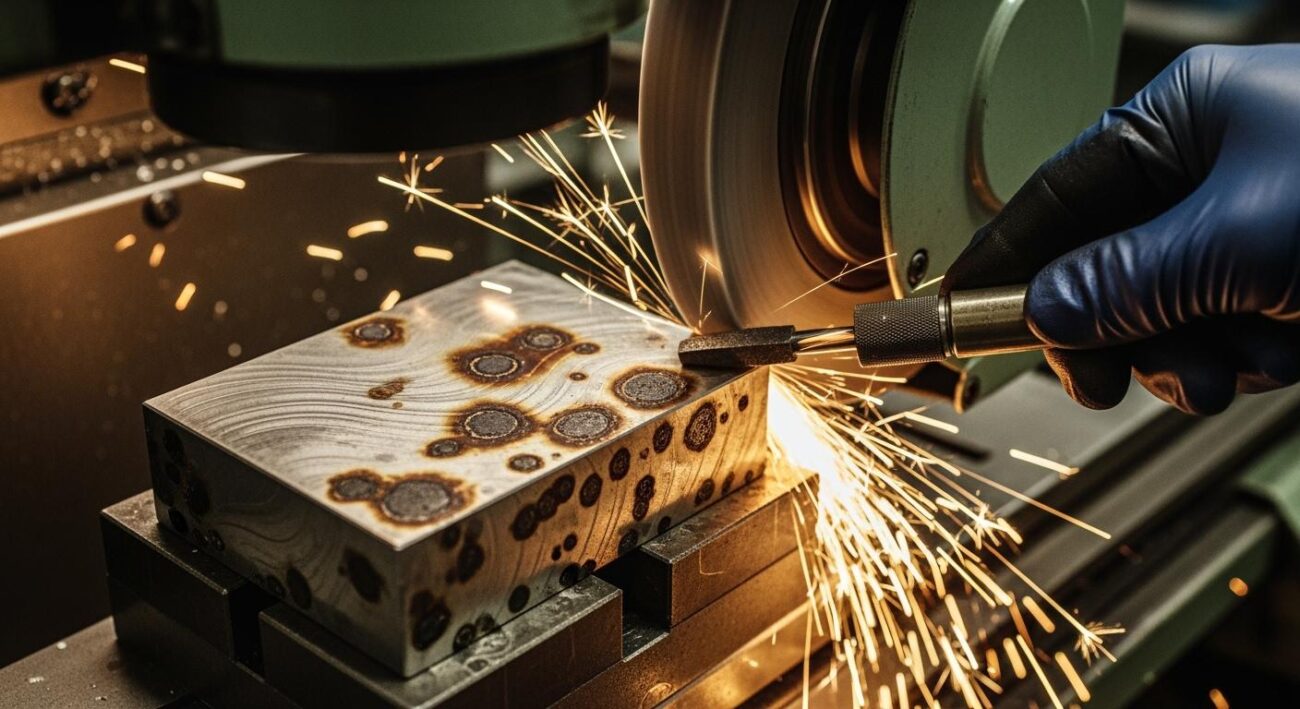
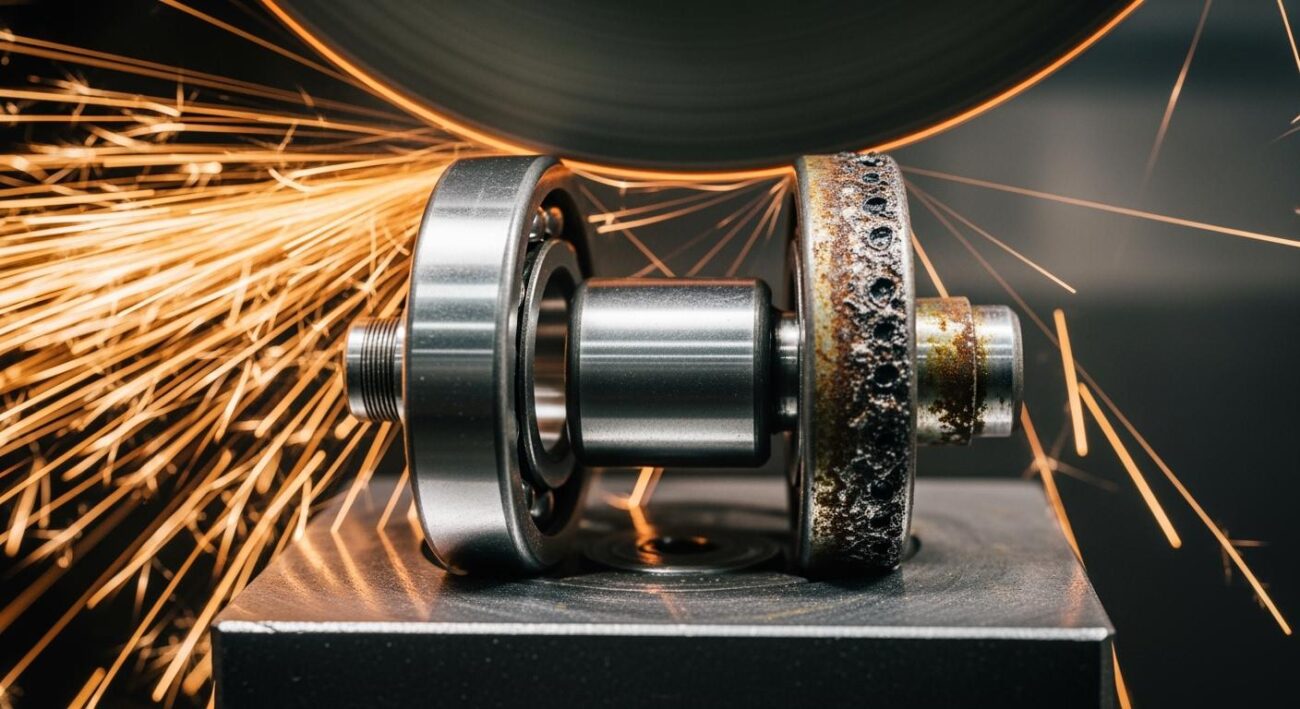
Wheel Clogging and Glazing
Your wheel’s condition directly impacts surface quality. Clogging occurs when material chips get stuck in the wheel’s pores, a common issue when grinding soft metals like aluminum. Glazing happens when the abrasive grains become dull and smooth, losing their cutting ability. Both problems prevent effective grinding and cause scratches. A glazed wheel often rubs the workpiece instead of cutting it.
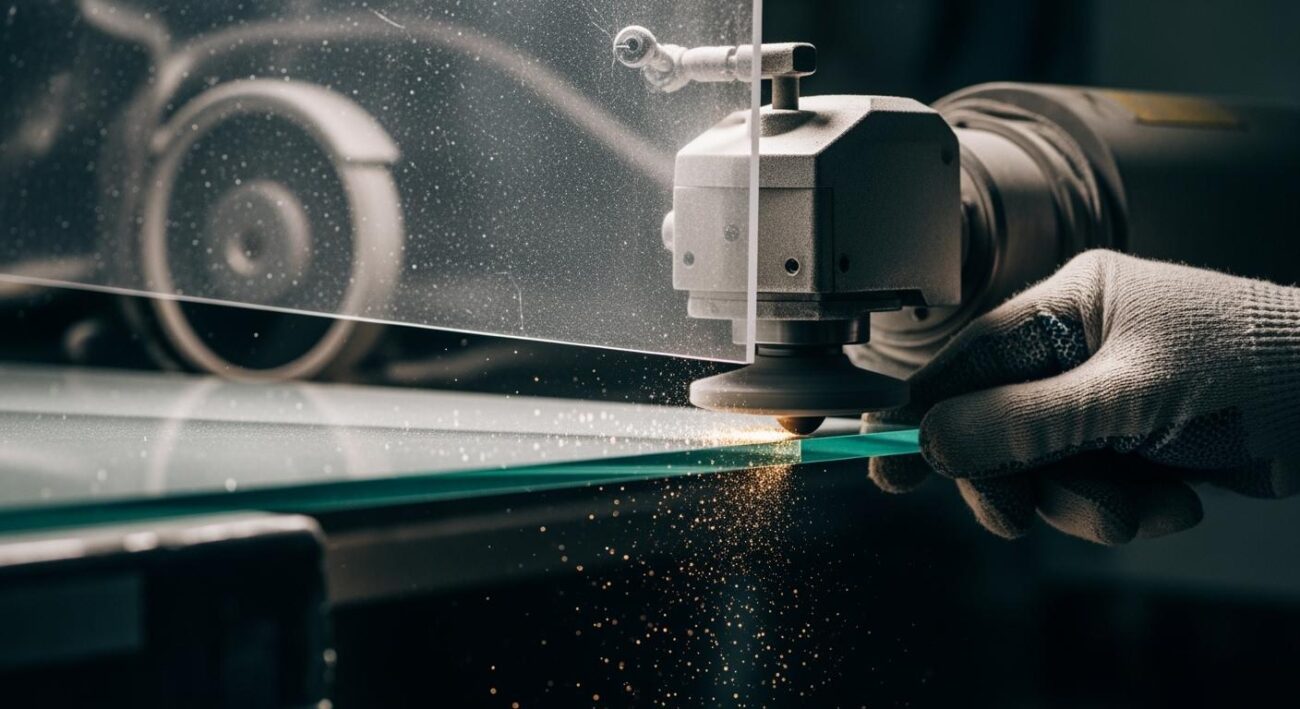
Poor Wheel Dressing Technique
Dressing restores the wheel’s sharp cutting surface. A poor dressing technique can create an uneven surface on the wheel, which then transfers imperfections to your workpiece. The dressing depth and feed rate must be correct for your specific wheel. For example, a dressing cut should generally not exceed 0.03 mm per pass. Increasing the cross-feed velocity, not the depth, is the proper way to make the grinding wheel more aggressive.
Using High-Quality Super Hard Abrasives
For difficult materials, the type of abrasive is key. Using high-quality super hard abrasives can prevent many grinding issues. These advanced tools are essential for achieving a flawless finish on very hard materials.
Aimgrind’s diamond and CBN (Cubic Boron Nitride) products offer superior performance.
- They provide exceptional durability and a long service life.
- Their high thermal conductivity reduces heat during the grinding process, preventing thermal damage.
- They resist glazing, ensuring a consistent and sharp cutting surface for a longer time.
This resistance to wear and glazing makes them an excellent choice for a scratch-free grinding operation, especially when precision is critical.
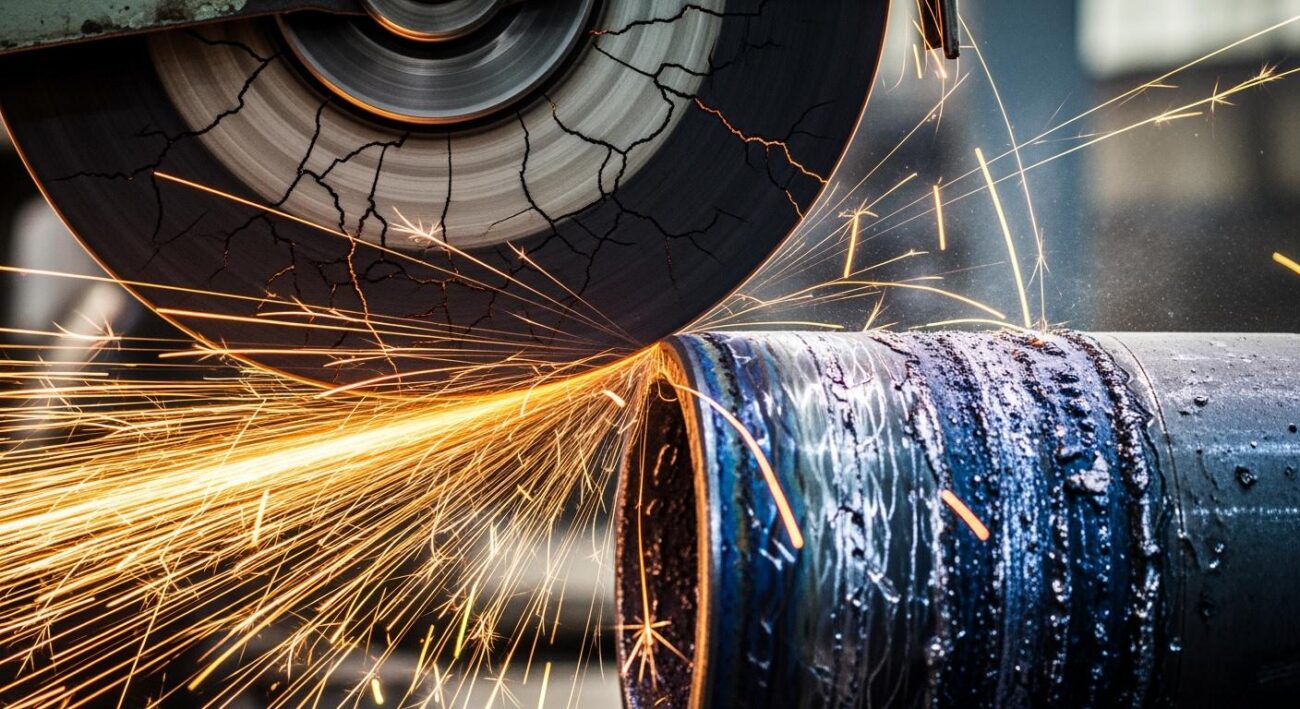
Machine and Setup Problems
Even with the perfect wheel, problems with your grinding machine or setup can cause grinding scratches. A stable machine and a secure workpiece are essential for a smooth grinding process. Issues in this area often lead to poor workpiece accuracy and a flawed surface finish.
Mechanical Vibration Sources
Vibrations are a major enemy of precision grinding. Any unwanted movement during the grinding process can transfer to the workpiece, creating chatter marks and scratches. These vibrations often come from the machine itself.
Common sources include:
- Imbalance: An unbalanced rotating part, like the grinding spindle, creates forces that shake the machine.
- Wear: Over time, machine parts wear down. Damaged bearings or worn gear teeth are frequent causes of vibration during grinding.
- Looseness: Parts that are not properly tightened can move excessively. Loose mounts or bearings allow for extra motion, which affects grinding accuracy.
Note: Operators can use special sensors to measure machine vibrations. Analyzing these measurements helps pinpoint the exact source of the problem, allowing for targeted repairs to improve the grinding process.
Improper Workpiece Clamping
Your workpiece must be held completely still during grinding. If the workpiece moves even slightly, it can result in deep scratches and ruin dimensional accuracy. Improper clamping is a common mistake.
Consider these points for a secure setup:
- The clamping structure must be rigid. A flexible setup will vibrate.
- The clamping force must be strong enough to prevent any micro-movements of the workpiece.
- For long or thin workpieces, support both ends to prevent bending and instability.
Holding a delicate workpiece requires a balance. Too much pressure can distort the workpiece, while too little allows movement. For example, thin-walled parts often need lower clamping pressure to maintain their shape and accuracy. A secure workpiece is key to a successful grinding operation.
Grinding Machine Misalignment
The parts of your grinding machine must be perfectly aligned. Misalignment between the grinding wheel spindle and the workpiece holder is a serious issue. This problem can create an uneven surface on the workpiece. If the spindle is not parallel with the workpiece, the grinding will be inconsistent. This can result in a tapered or “hourglass” shape instead of a perfectly cylindrical surface. Correcting this requires careful measurement and adjustment. Technicians use tools like dial indicators and test bars to check and fix the machine’s alignment, ensuring high grinding accuracy.
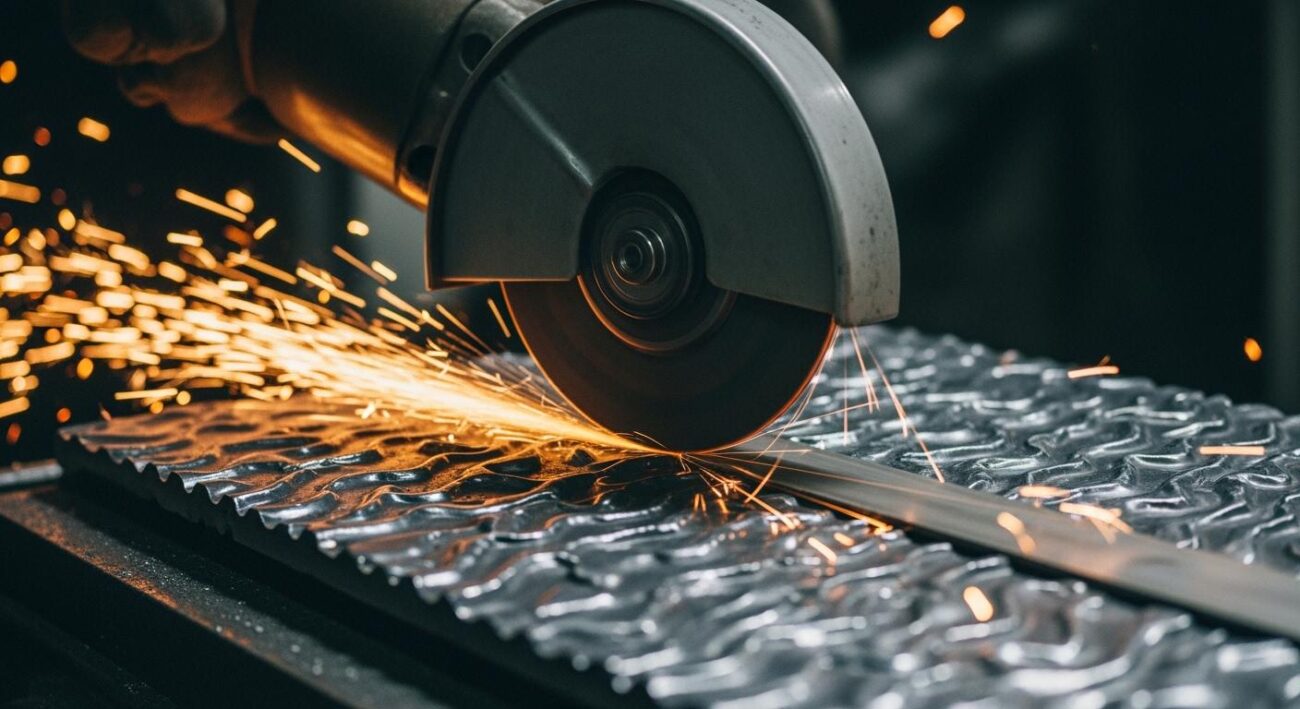
Process and Operational Errors
Your wheel and machine might be perfect, but errors in the grinding process can still create problems. The operator’s choices directly affect the final quality of the workpiece. Flaws at this stage often lead to grinding scratches, grinding burns, and poor dimensional accuracy.
Incorrect Parameters Causing Grinding Scratches
Setting the right parameters is crucial for a successful grinding process. Incorrect settings for speed, feed, and depth of cut are common sources of surface defects.
- Excessive Infeed Depth: A deep cut removes material quickly but creates intense heat. This can cause thermal damage, or grinding burns, on the workpiece surface. A deep grinding pass can also cause abrasive grains to break off and get stuck in the workpiece, creating deep scratches and grooves. This significantly increases surface roughness.
- Incorrect Wheel Speed: The speed of the grinding wheel also impacts the finish. A wheel speed that is too high can generate excessive friction and heat, leading to grinding burns. An unsuitable speed can also cause vibrations, which leave wavy patterns or chatter marks on the workpiece.
Optimizing grinding parameters is essential. For example, a light infeed (around 0.01–0.05 mm) combined with a high wheel speed can produce a mirror finish on hard tool steels. This shows how a balanced grinding process protects the workpiece and improves accuracy.
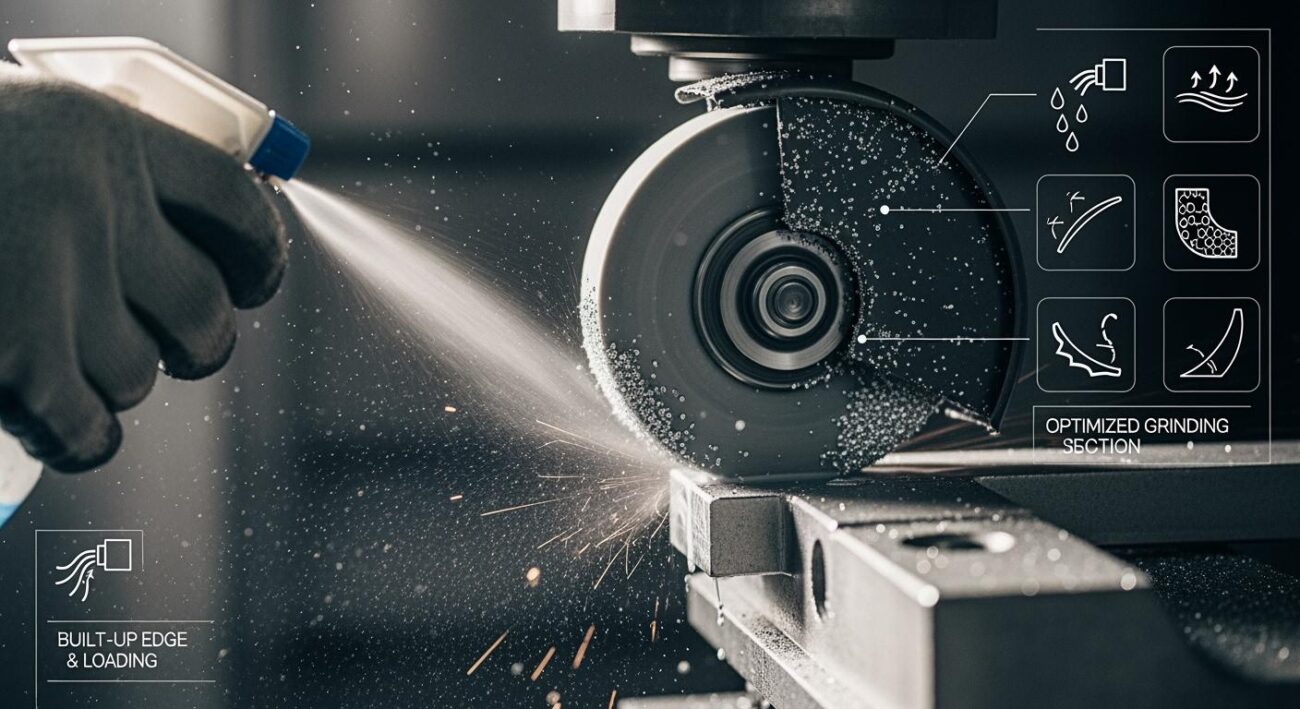
Insufficient or Contaminated Coolant
Coolant, or grinding fluid, plays two vital roles in the grinding process. It cools the workpiece to prevent overheating, and it flushes away chips and debris. Problems with coolant are a direct cause of scratches.
Insufficient coolant flow fails to remove heat effectively. This leads to high temperatures at the point of contact, causing grinding burns that weaken the workpiece material.
Contaminated coolant is just as bad. If the fluid contains metal chips or old abrasive particles, it will spray these contaminants back onto the workpiece. This debris gets trapped between the wheel and the surface, creating new scratches during the grinding operation.
Pro Tip 💡: Regularly check and maintain your coolant system. Ensure the flow rate is adequate and the filtration system is clean. Clean fluid is essential for a scratch-free grinding result.
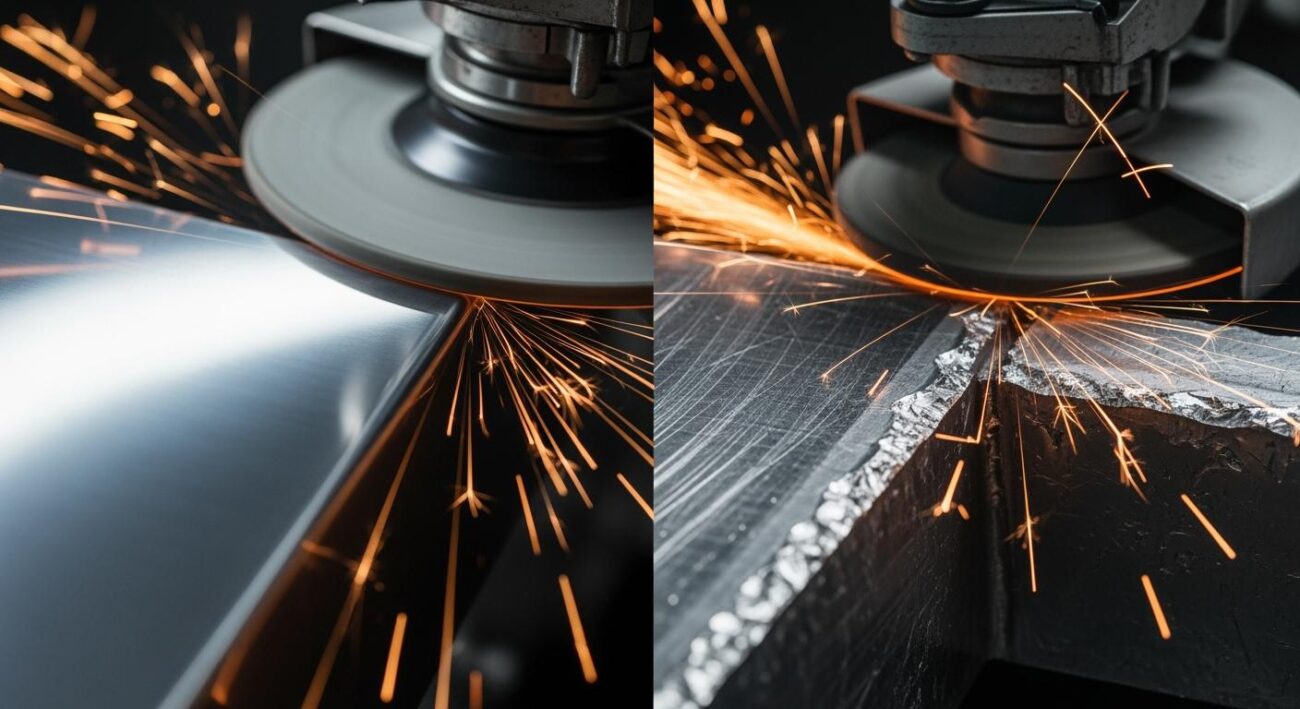
Poor Pre-Grinding Surface Condition
Grinding is a finishing operation. It is designed to remove a small amount of material to achieve high accuracy and a smooth surface. It cannot easily fix major flaws left over from previous machining steps.
An uneven surface on the workpiece before grinding causes inconsistent pressure during the operation. This leads to uneven material removal and a poor finish. The final workpiece may have waves or low spots that the grinding wheel could not correct. To achieve a good final surface, the pre-grinding condition must be relatively uniform.
Operators should leave a specific amount of extra material, called a stock allowance, for the final grinding pass. Typically, leaving about 0.2 mm to 0.3 mm is enough for the grinding step to clean up minor imperfections and achieve the desired accuracy.
Eliminating grinding scratches requires a full review of your operation. You must check the grinding wheel, the machine setup, and the grinding process itself. A systematic approach to the grinding process is key to achieving excellent surface quality. Effective grinding removes enough material to erase initial surface flaws, preventing deeper scratches on the workpiece. This careful grinding ensures a smooth final product.
For the best grinding solution, partner with an expert. Consulting with specialists like Aimgrind helps you find the optimal tools and methods, ensuring consistent, high-quality results and a scratch-free surface.
FAQ
What is the first thing to check for grinding scratches?
Start with the grinding wheel. An improper wheel, clogging, or poor dressing often causes scratches. A correct grinding wheel is essential for a good surface finish. This is a key part of any grinding operation.
Can machine vibration cause scratches during grinding?
Yes, absolutely. Machine vibrations transfer to the workpiece surface, creating chatter marks and scratches. A stable grinding machine is critical for a smooth grinding process and preventing these surface defects. The entire grinding setup must be rigid.
How does coolant affect the grinding process?
Coolant is vital for the grinding process. It prevents overheating and washes away debris. Insufficient or dirty coolant can cause grinding burns and scratches. Proper grinding requires clean coolant for a successful outcome.
Why is choosing the right grinding wheel so important?
The grinding wheel directly contacts the workpiece. The wrong grit or bond hardness can cause scratches. A proper grinding wheel ensures efficient material removal and a smooth finish. The grinding result depends heavily on this choice.
Contact Us
For More Grinding Solution or Customized Abrasive Tools