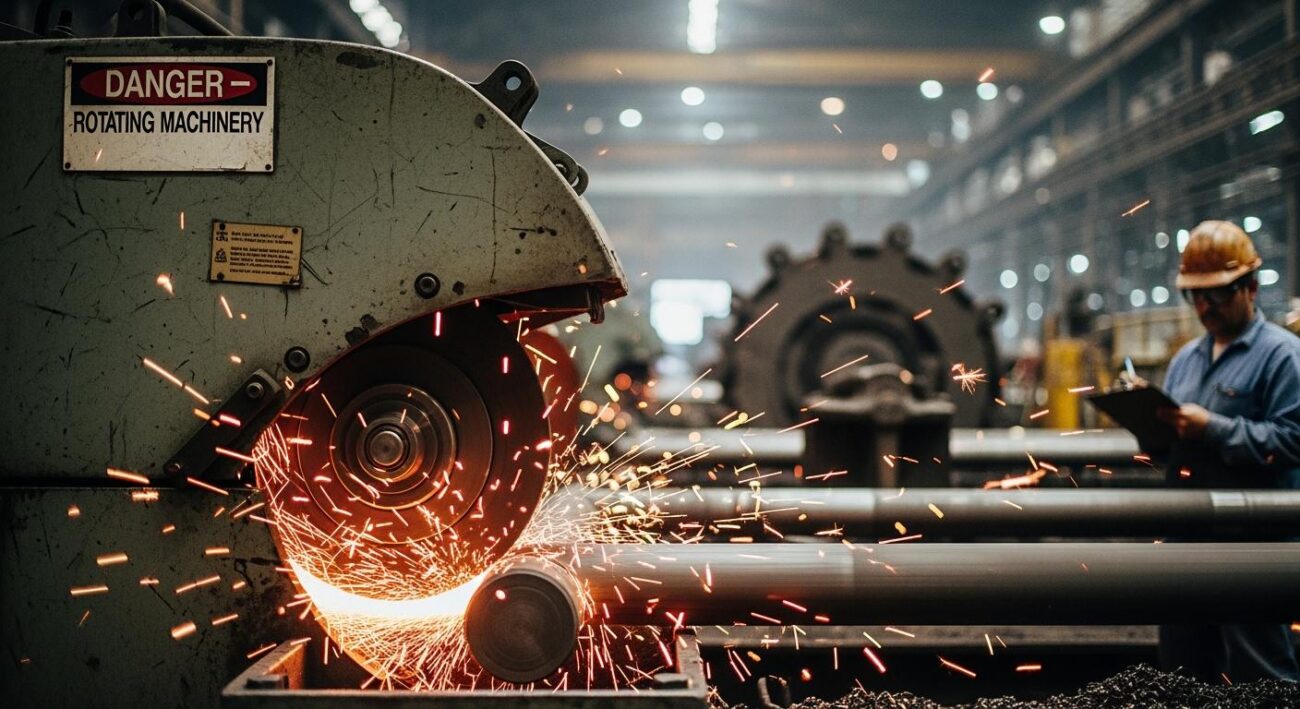
You experience common grinding problems like wheel glazing or workpiece burn. These issues often stem from a simple speed mismatch on your machine. This mismatch is the primary cause of most grinding failures.
The speed ratio between your grinding wheel and the machine is critical. It controls how each abrasive grain cuts. When this ratio is wrong, the wheel either fails to self-sharpen or becomes too aggressive. This impacts your entire grinding process on the machine.
Key Takeaways
- Incorrect speed settings between the grinding wheel and the workpiece cause most grinding problems.
- Wheel glazing happens when the wheel speed is too fast, making the wheel dull. Wheel loading happens when the workpiece speed is too fast, clogging the wheel.
- Adjusting wheel and workpiece speeds can fix issues like glazing, loading, workpiece burn, and chatter marks.
- Workpiece burn and chatter are signs of too much heat or vibration. You can fix these by changing the grinding speeds.
- Always check and adjust your machine’s speeds first before replacing a grinding wheel or seeking other solutions.
Common Grinding Problems: Glazing and Loading
Two of the most common problems you will face in grinding are wheel glazing and loading. Both stop your wheel from cutting effectively. They are distinct grinding wheel issues, but they share a root cause: an incorrect speed ratio on your machine. Understanding these issues is the first step toward solving many grinding problems.
Symptom: Ineffective Cutting Action
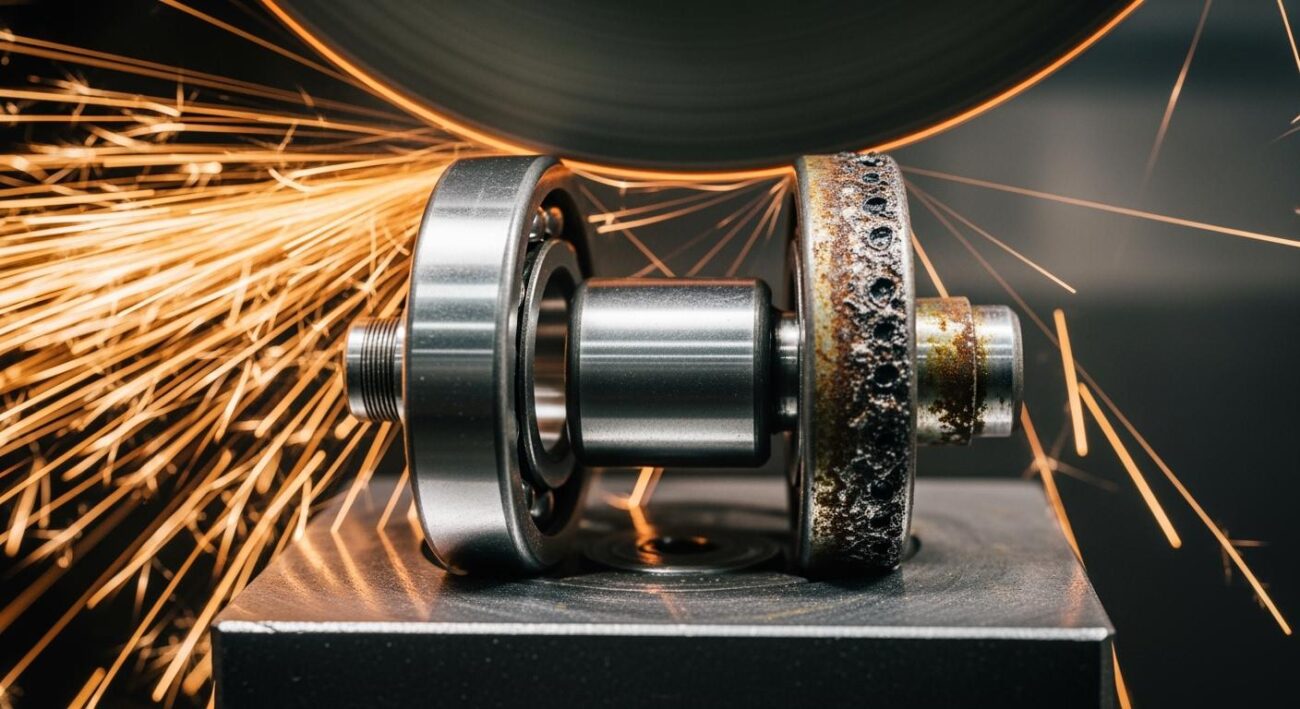
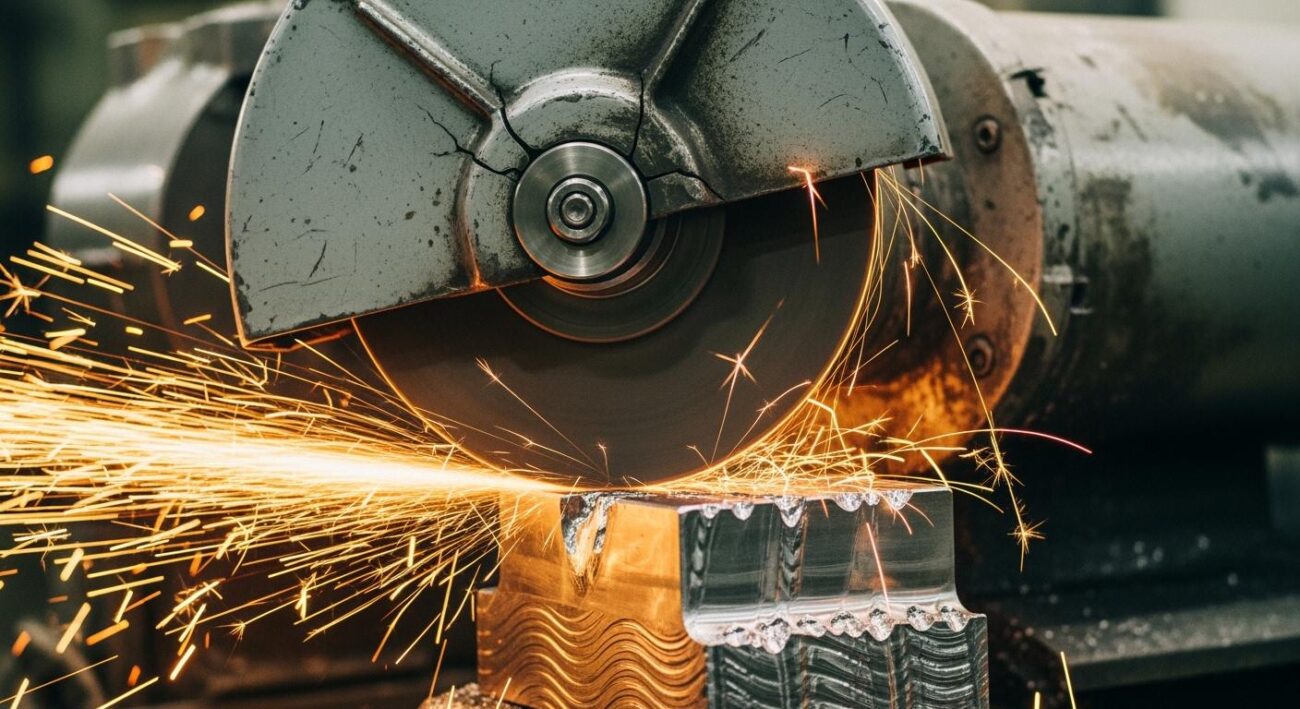
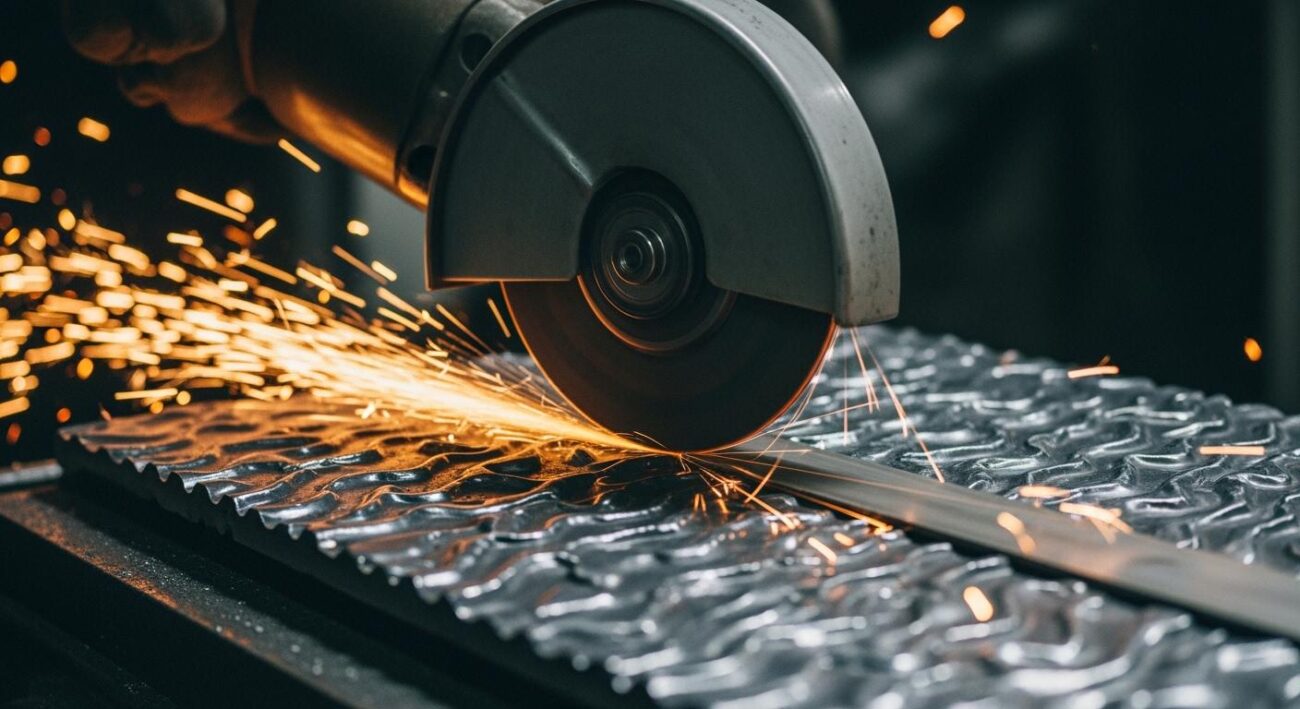
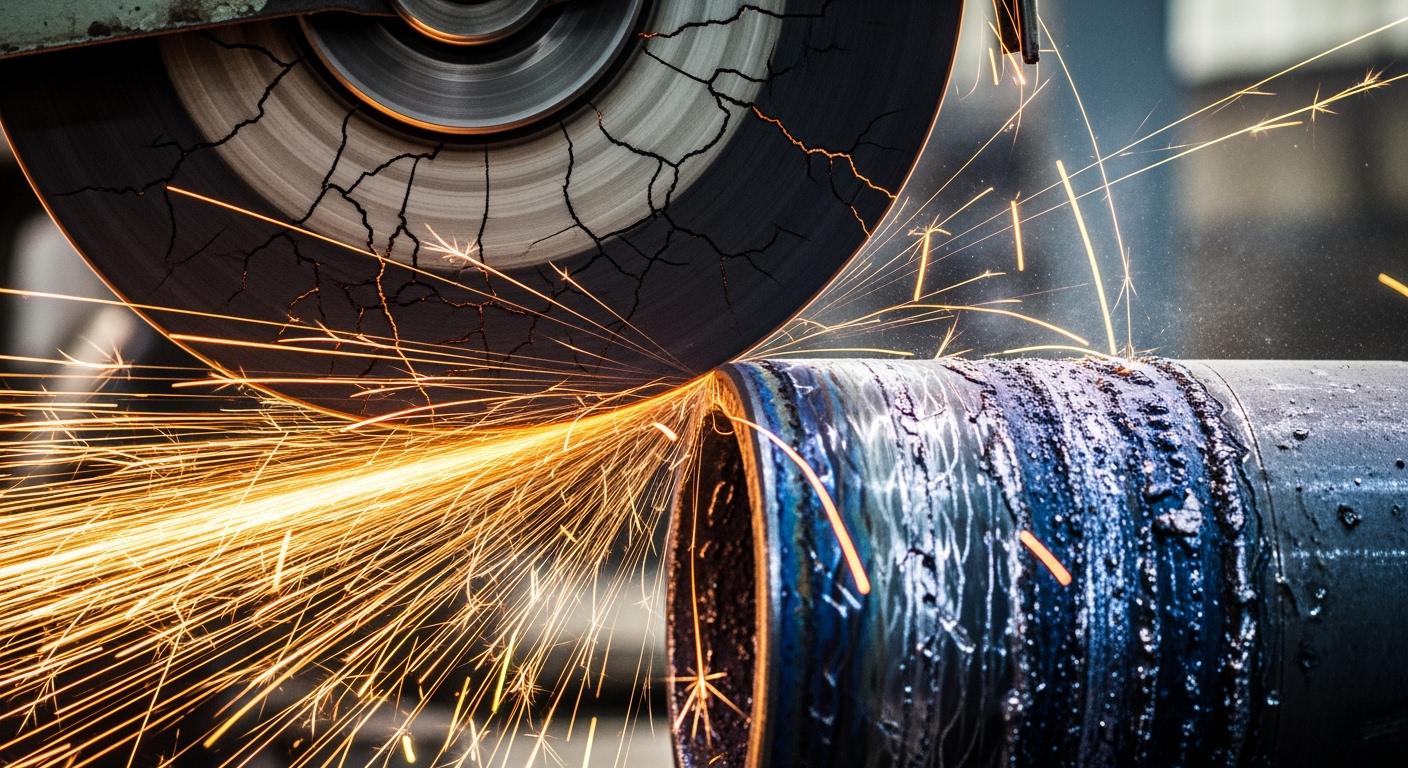
You know you have a problem when your grinding wheel stops removing material. Instead of a clean cut, you hear a high-pitched squeal and see sparks fly. This is a sign of ineffective cutting action. Your wheel is rubbing, not cutting. This generates immense friction and heat.
- Glazing occurs from high attritious wear. The abrasive grains on your wheel become dull. They develop flat spots and rounded edges. This progressive wear prevents the wheel from cutting into the workpiece.
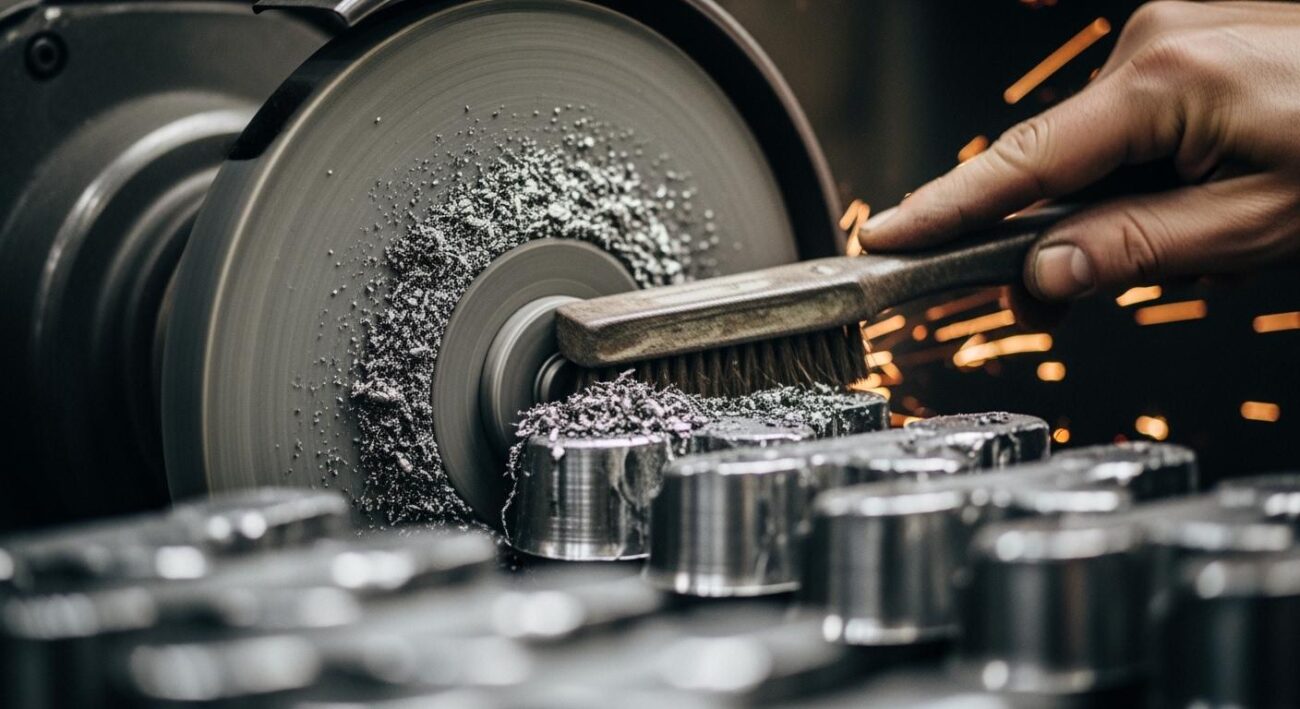
- Loading happens when chips from the material clog the pores of the wheel. This is common when grinding softer materials. The clogged wheel cannot clear debris, leading to poor cutting.
Both conditions cause excessive heat. This heat can lead to severe thermal damage on your workpiece.
🔥 Warning: The Dangers of Excessive Heat An ineffective wheel generates extreme temperatures. This can cause several adverse effects on your material’s integrity, including:
- Tempering or Burning: Visible discoloration (blue or brown) on the surface.
- Thermal Cracks: Small fractures caused by rapid heating and cooling.
- Residual Stresses: Internal stresses that can lead to part failure later.
This type of wear also leads to rapid wheel deterioration. You will find yourself dressing the wheel more often, which costs time and money. The table below summarizes these common problems.
| Issue | Effect on Workpiece Surface Integrity |
|---|---|
| Wheel Glazing | Prevents effective cutting, leading to potential burning and poor surface finish. |
| Wheel Loading | Prevents effective cutting, leading to potential burning and poor surface finish. |
Cause: Incorrect Speed Ratios
The cause of glazing and loading is almost always a speed mismatch between your wheel and the material. Each abrasive grain needs to take a proper-sized “chip” to self-sharpen. The speed ratio on your machine controls this chip thickness.
- Glazing Cause: Your wheel speed is too high relative to the workpiece speed. The abrasive grains are not engaging the material deeply enough. They rub instead of cutting. This friction dulls the grains, causing attritious wear and glazing the wheel.
- Loading Cause: Your workpiece speed is too high relative to the wheel speed. Each grain takes too large of a chip. The pores of the wheel cannot eject these large chips fast enough. This causes the wheel to load up with material, leading to more wear.
Solution: Correcting Speed Adjustments
The solution is to adjust the speeds on your machine to restore the proper cutting action. You must change the speed ratio to control the chip load. This allows the wheel to self-sharpen correctly, breaking down old grains and exposing new, sharp ones. This process reduces wear and improves your grinding performance.
Here are the direct adjustments you can make on your machine:
✅ To Fix a Glazed Wheel (Dull Grains): Your wheel is acting too hard. You need to make it act softer and encourage grain fracture.
- Decrease the wheel speed. This increases the chip load per grain, forcing the dull grains to fracture and expose sharp ones.
- OR, increase the workpiece speed. This achieves the same effect, making the wheel cut more aggressively.
✅ To Fix a Loaded Wheel (Clogged Pores): Your wheel is acting too soft. You need to make it act harder and reduce the chip size.
- Increase the wheel speed. This reduces the chip load per grain, creating smaller chips that the wheel can easily clear.
- OR, decrease the workpiece speed. This also reduces the chip size, preventing the wheel from loading up.
By making these simple speed adjustments on your machine, you can solve most glazing and loading issues. You will achieve a better finish, reduce thermal damage, and extend the life of your grinding wheel.
Workpiece Burn and Other Thermal Damage
Workpiece burn is one of the most visible grinding problems. It signals that your process is generating destructive heat. This thermal damage goes far beyond a simple color change. It can compromise the integrity of your entire part. Understanding the signs and causes is crucial for any operator.
Symptom: Workpiece Discoloration
You will first notice a brown, blue, or black discoloration on the workpiece surface. This is a clear sign of burning. However, the damage often runs deeper than what you can see. Excessive heat from improper grinding creates severe subsurface issues.
⚠️ Beyond the Burn: Hidden Thermal Damage A discolored surface is just the tip of the iceberg. The intense heat can also cause:
- Microcracks and grinding cracks
- A reduction in surface hardness
- Residual tensile stresses that lead to future part failure
- Unfavorable changes to the material’s metallurgical structure
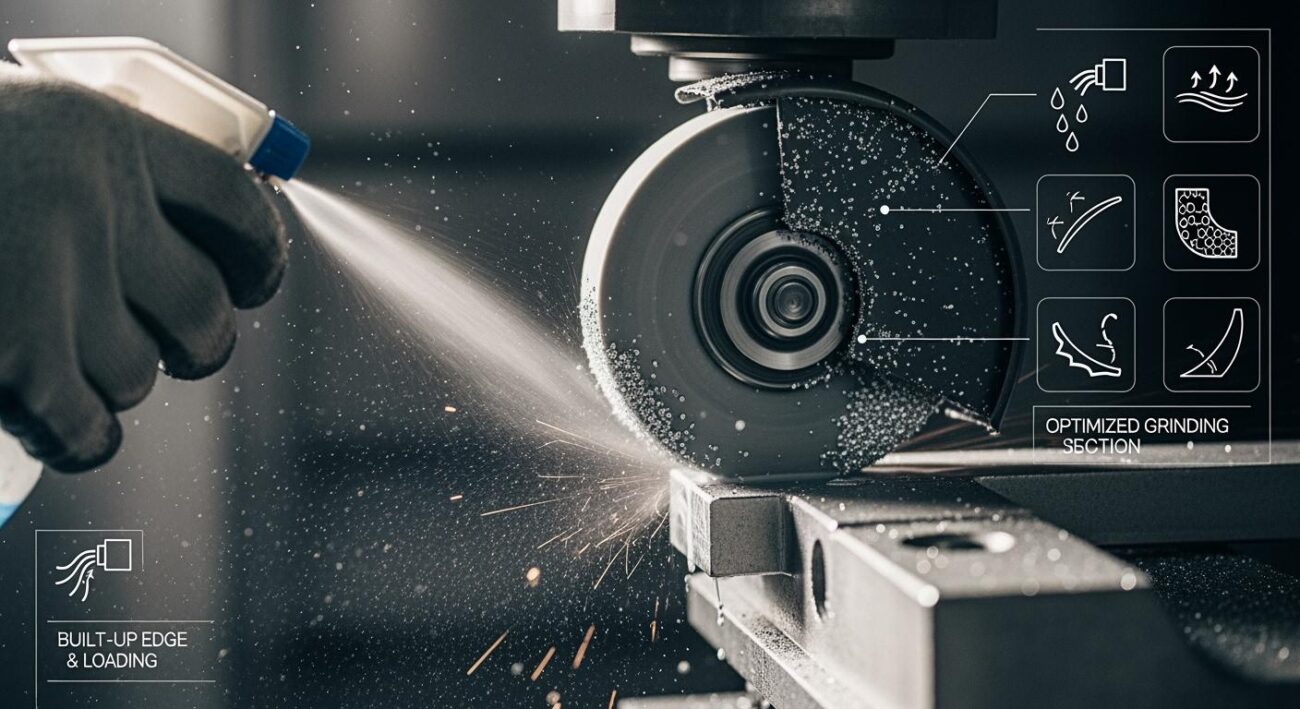
This type of damage results from excessive wheel wear, which prevents the wheel from cutting efficiently.
Cause: Excessive Frictional Heat
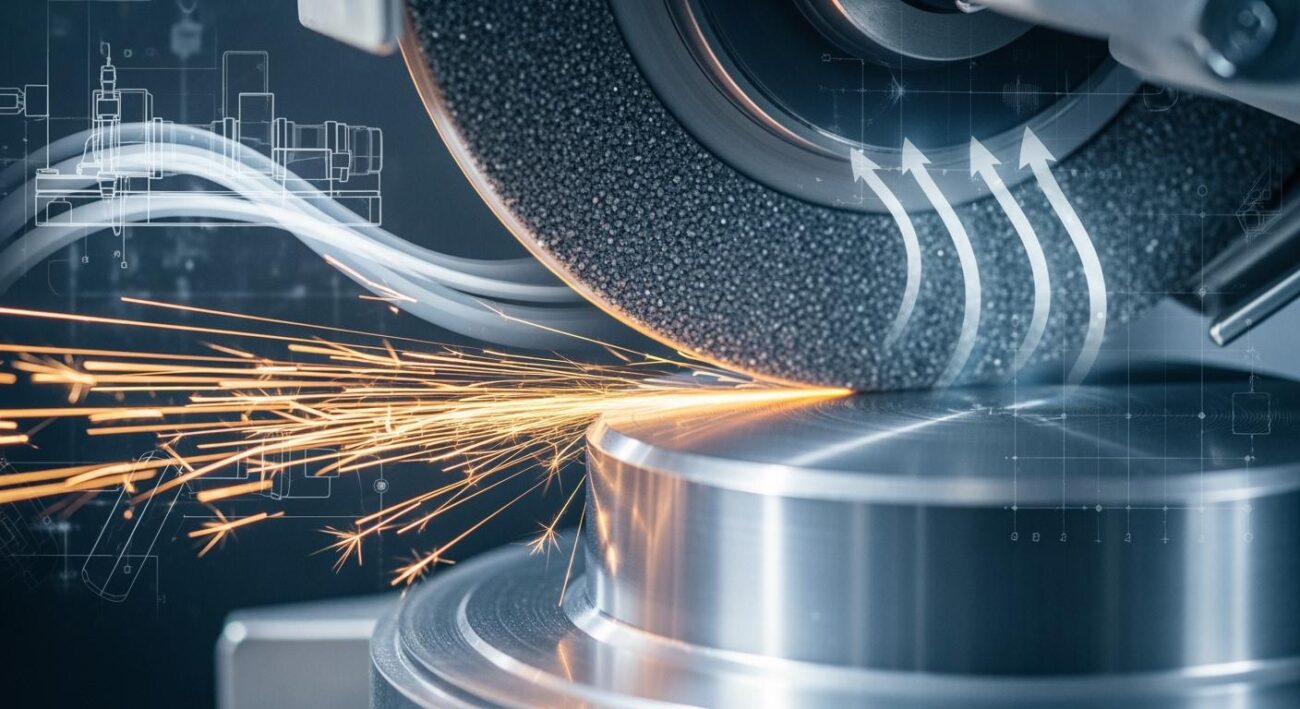
The direct cause of workpiece burn is excessive heat. This heat comes from friction. When your grinding wheel rubs against the workpiece instead of cutting it, your machine generates intense thermal energy. Increased wheel speed on your machine can lead to higher friction, which increases the temperature in the grinding zone. A glazed or loaded wheel creates the most friction. The dull abrasive grains plow through the material, causing extreme heat and rapid wear. Your machine is working harder, but the wheel is not removing material effectively.
Solution: Balancing Speeds to Reduce Heat
You can solve thermal damage by adjusting your machine to reduce friction. The goal is to find a speed ratio where the wheel cuts freely. This minimizes heat generation and prevents wear. While a higher wheel speed can sometimes increase heat, it can also improve heat dissipation. The key is balance.
To reduce heat and restore proper cutting action on your machine:
- Decrease the wheel speed. This allows each grain to take a larger chip, which can help a glazed wheel self-sharpen.
- Increase the workpiece speed. This also encourages a more aggressive cut, reducing the time the wheel spends rubbing in one spot.
Finding the right combination on your machine ensures the wheel acts sharp. A sharp wheel requires less force, generates less heat, and delivers a clean, damage-free finish.
Achieving Smooth Grinding: Eliminating Chatter
Chatter is a disruptive vibration that ruins surface finish and causes premature tool wear. You can feel it through the machine and see its effects on the workpiece. This problem arises from an unstable cutting action. You can eliminate it by finding the right balance of speeds for your specific setup.
Symptom: Visible Patterns and Vibration
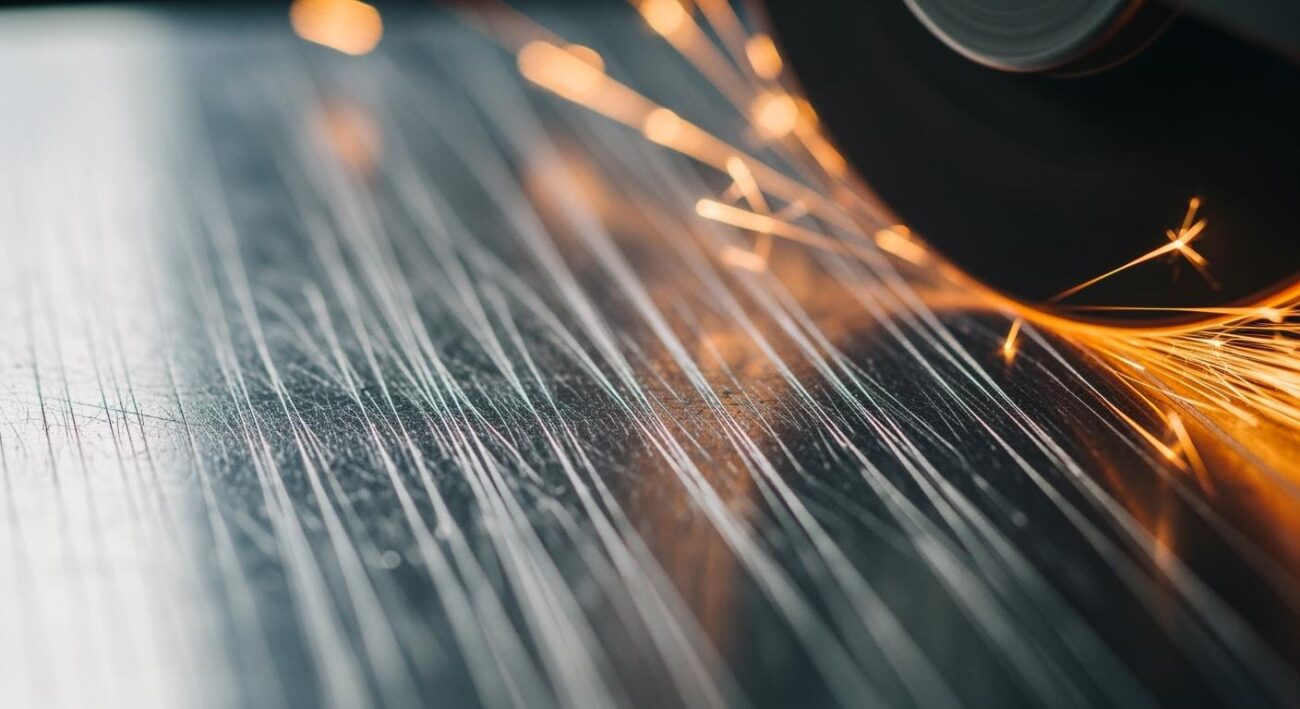
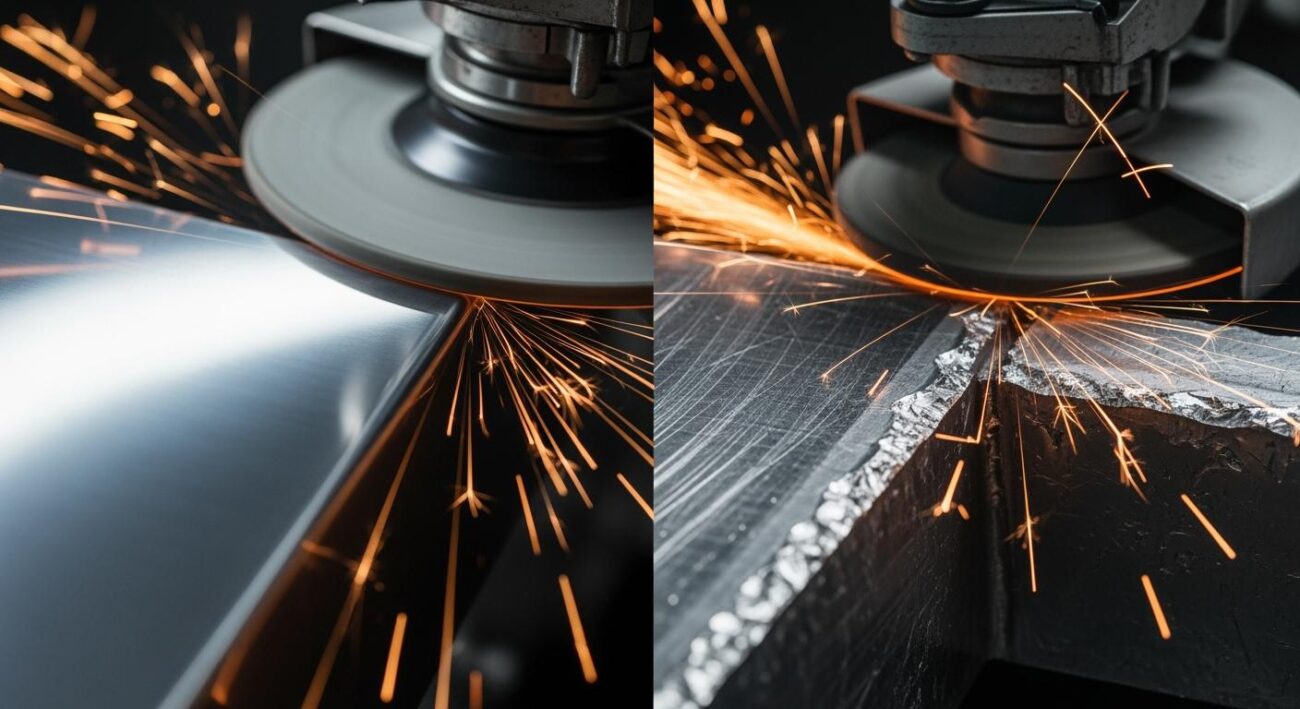
You can easily identify chatter by its distinct signature. It leaves a unique pattern on the workpiece surface. You should look for regular, repetitive marks that are different from random scratches.
- Visual Marks: Chatter creates evenly spaced, parallel lines or scalloped ridges. These patterns are uniform and predictable, unlike other surface defects.
- Audible and Physical Cues: You will often hear a rhythmic humming or droning sound during the grinding process. You may also feel a noticeable vibration through the body of the machine.
These vibrations can have very small amplitudes, sometimes at sub-micron levels. However, they still negatively impact the quality of your part. The frequency of this vibration can vary greatly depending on your machine and the specific grinding conditions.
Identifying Chatter vs. Other Defects
You can distinguish chatter from other issues by its regularity. Scratches or general surface roughness appear random and irregular. Chatter marks, in contrast, have a consistent, periodic pattern that points directly to a vibration problem.
Cause: Unstable Cutting Action
Chatter is a form of self-excited vibration. It begins with a small slip-slide interaction between the grinding wheel and the workpiece. This initial instability creates a tiny wave on the workpiece surface. As the wheel continues to rotate and cut, it passes over this wave again, which reinforces the vibration. This cycle is called a “regenerative” effect.
The vibration grows with each pass of the wheel. This unstable cutting action significantly harms the geometrical accuracy of your workpiece. The complex, multi-frequency characteristics of chatter are influenced by your machine conditions and wheel wear. The vibration gets worse, leading to poor surface quality and increased tool wear. Your machine is essentially fighting itself, creating an unstable grinding environment.
Solution: Finding the Speed ‘Sweet Spot’
You can eliminate chatter by restoring stability to the cutting process. This requires finding the speed “sweet spot” for your machine. You must systematically adjust your speeds to find a combination that disrupts the regenerative vibration cycle.
💡 Tip: A Systematic Approach to Stability
Change only one setting at a time to isolate the cause of the chatter. Experiment by making small, incremental adjustments to your wheel or workpiece speed. This methodical process helps you find the “magic speeds” where the machine runs smoothly, allowing for a chatter-free cut.
Here is a process you can follow:
- Start with the Wheel Speed: Slightly increase or decrease the wheel speed. A small change can often break the harmonic vibration causing the chatter.
- Adjust the Workpiece Speed: If changing the wheel speed does not work, return it to the original setting. Then, try slightly increasing or decreasing the workpiece speed.
- Document Your Findings: Note the speed combinations that reduce or eliminate chatter. Every machine and tool combination has its own unique stable operating windows.
While speed is a primary factor, the quality of your grinding wheel is also critical for stability. A high-quality, well-balanced wheel is inherently less prone to vibration. Inferior wheels can have inconsistencies that contribute to an unstable cutting action and accelerate wear.
For demanding applications on hard materials, stability is paramount. Aimgrind‘s precision-engineered diamond grinding wheels are designed for this purpose. Their exceptional rigidity and controlled porosity ensure effective coolant delivery and chip clearance, reducing the forces that lead to vibration. The superior bond strength prevents premature grain pull-out, maintaining a consistent cutting surface that resists the onset of chatter. Investing in a stable wheel from the start gives you a much wider operating window and makes finding that chatter-free sweet spot on your machine much easier.
Optimizing Your Grinding Wheels for Performance
You can solve most grinding issues by mastering your machine speeds. Before you replace a wheel or call for service, you should diagnose the problem. A systematic approach helps you pinpoint the exact cause and apply the right fix. This saves you time and improves your grinding outcomes.
Diagnosing Speed-Related Issues
You can become an expert at identifying wear and tear on your machine. Listen to your machine and observe the process closely. A simple diagnostic checklist helps you determine if speed is the root cause of your grinding problems.
- Evaluate the Noise: Listen for changes in sound during operation. A high-pitched squeal often points to a glazed wheel, while a low rumble might indicate vibration. Note when the noise occurs.
- Check for Vibration: Feel the machine for any shuddering or vibration. Note the speed at which the vibration starts. This often points to chatter or an unbalanced wheel.
- Isolate the Speed: Determine if the issue is tied to the wheel speed or workpiece speed. If a problem appears at a specific wheel RPM regardless of workpiece speed, your wheel speed is likely the issue. This helps you focus your adjustments.
Quick-Reference Speed Adjustments
Once you diagnose the problem, you can make targeted adjustments. This table provides quick solutions for common issues related to wheel speed and wear. Use it as your first line of defense on the machine.
| If You See… | The Likely Cause (Speed-Related) | Your Solution on the Machine |
|---|---|---|
| Workpiece Burn | Wheel speed is too high, causing friction. | Decrease wheel speed OR increase workpiece speed. |
| Wheel Glazing | Wheel speed is too high for the workpiece. | Decrease wheel speed OR increase workpiece speed. |
| Wheel Loading | Workpiece speed is too high for the wheel. | Increase wheel speed OR decrease workpiece speed. |
| Chatter Marks | A harmonic vibration has developed. | Slightly change wheel speed OR workpiece speed. |
When to Consider Wheel Selection
You have adjusted your speeds, but the problems persist. What now? While speed is a primary factor, sometimes the issue is the wheel itself. An incorrect wheel specification for your material or machine can cause excessive wear and poor performance that speed changes cannot fix.
💡 Expert Tip: If speed adjustments do not resolve glazing, burning, or excessive wear, your grinding wheel may not be suited for the application.
This is the time to consult an expert. At Aimgrind, we specialize in problem diagnosis. We help you match your process with the perfect grinding wheels. If you work with hard materials, our customized diamond grinding wheels are engineered for stability and long life, preventing many speed-related issues from the start. We ensure your grinding wheels are a solution, not a problem.
You can solve most grinding problems by checking your speeds first. Before you blame the machine, coolant, or grinding wheels, adjust your speeds. This simple step often fixes common problems like burn marks and chatter. The correct speed ratio on your machine allows the wheel to self-sharpen. This ensures each grain on the wheel cuts efficiently instead of rubbing. Proper grinding prevents damage and extends the life of your grinding wheels. Your machine will perform better with a balanced wheel and correct grinding speeds.
Take control of your grinding outcomes. Grind with Passion, Achieve with Aim by mastering your machine’s speeds for a perfect cut.
FAQ
What is the first thing I should check for grinding problems?
You should always check your speeds first. An incorrect ratio between your wheel and workpiece speed causes most common issues. Adjusting speeds is the simplest and most effective first step you can take to solve grinding failures on your machine.
Does a faster wheel speed always mean a better finish?
No, a faster wheel speed is not always better. If the speed is too high for your workpiece, it creates excessive friction. This can lead to workpiece burn and wheel glazing. You must find a balanced speed for optimal results.
How do I know if my wheel is glazed or loaded?
You can identify a glazed wheel by a shiny, reflective surface and a high-pitched squeal during grinding. A loaded wheel has visible material clogged in its pores. Both conditions stop the wheel from cutting effectively and generate excess heat.
When should I consider a new wheel instead of changing speeds?
You should consider a new wheel when speed adjustments do not solve your problem. If issues like burning or chatter persist, the wheel itself may be wrong for your material.
An expert can help you select the right wheel. At Aimgrind, we diagnose these issues and provide customized diamond grinding wheels for your specific application.