You can achieve fantastic metal polishing results with Abrasive Sticks. The core process is straightforward. First, prepare the metal surface and select the right tools for the job. Next, apply the polishing compound from the Abrasive Sticks to a spinning buffing wheel. Finally, begin polishing your item. Mastering this technique is a valuable skill, especially as the global demand for high-quality metal finishing continues to grow each year.
Key Takeaways
- Gather the right tools like polishing compounds, buffing wheels, and safety gear before you start.
- Choose the correct abrasive stick for your metal type; hard metals need strong compounds, soft metals need gentle ones.
- Follow a 5-step process: prepare the metal, set up the wheel, apply compound, polish the surface, then clean and check your work.
- Always wear safety glasses and a respirator to protect yourself from flying debris and dust.
- Use separate buffing wheels for different compounds to avoid mixing them and ruining your polish.
Gathering Your Polishing Tools and Abrasive Sticks
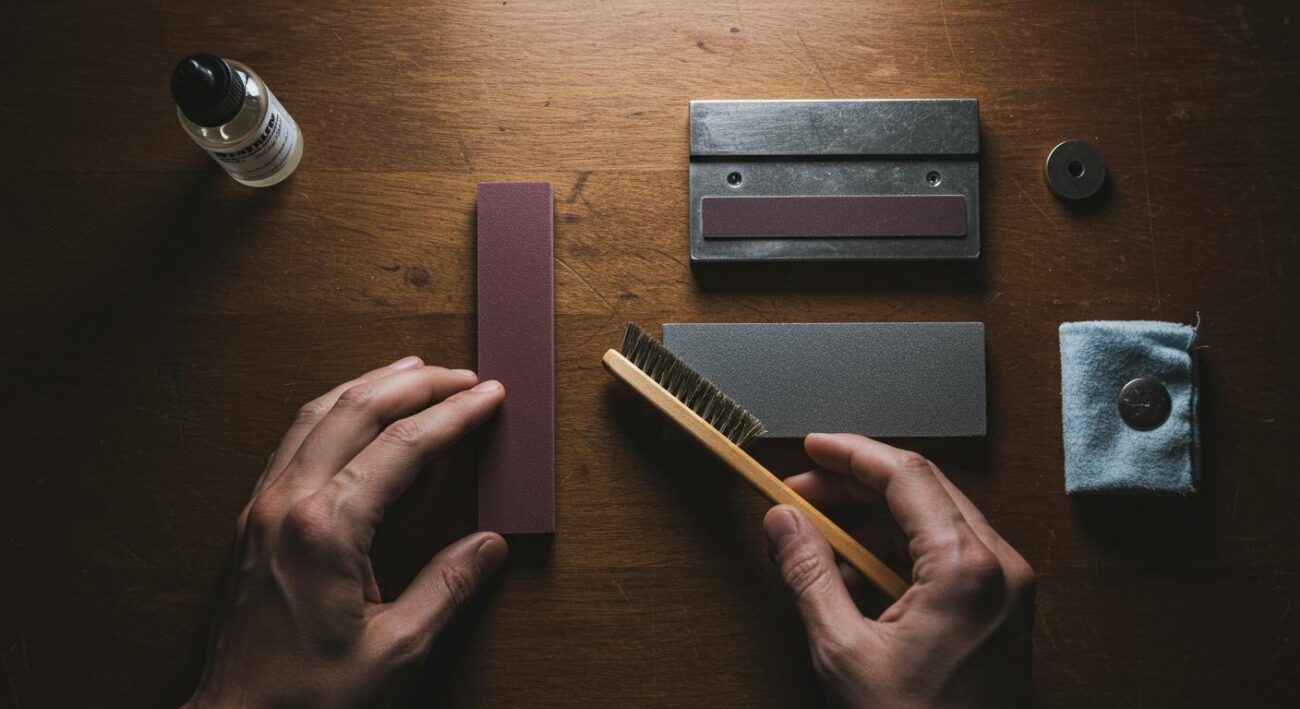
Proper preparation is key to a successful metal polishing project. You need the right tools and supplies before you begin. Having everything ready ensures a smooth and safe workflow from start to finish.
Polishing Compounds
Polishing compounds do the actual work of abrading the surface. A polishing compound stick contains abrasive powders mixed with fats and waxes. This mixture creates a solid bar. You will generally need three types for a complete polishing job:
- Cutting Compounds: These are aggressive and remove scratches.
- Intermediate Compounds: These offer a mix of cutting and luster.
- Finishing Rouges: These provide the final high-gloss shine.
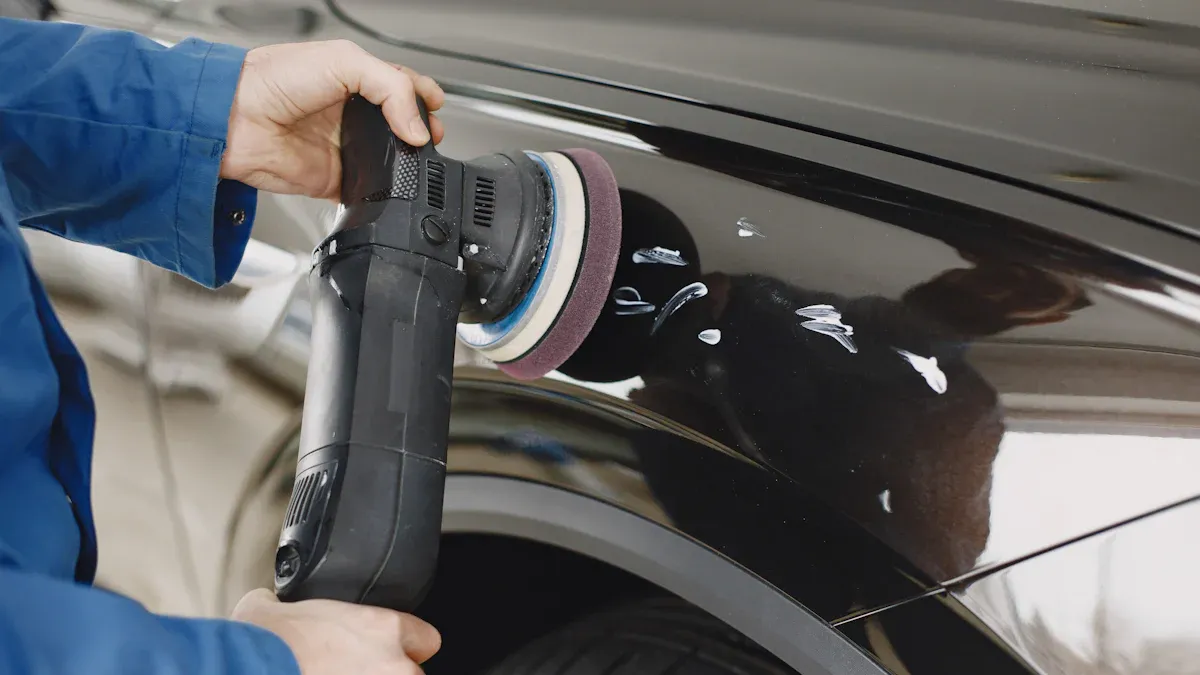
Buffing Wheels & Power Tool
You will apply the abrasive sticks to a buffing wheel. The wheel then transfers the compound to your metal piece. For effective metal buffing, you should have a few different wheels. A good starting set includes a heavy cut wheel, a medium cut wheel, and a soft finish wheel. You will mount these wheels on a power tool. Bench grinders and angle grinders are excellent choices for this type of polishing work.
Safety Gear
Safety is the most important part of any polishing project. The process creates flying debris and fine dust. You must protect yourself.
Note: Always wear the proper Personal Protective Equipment (PPE) to prevent injury.
| Hazard | Required PPE | Safety Standard |
|---|---|---|
| Flying Debris | Safety glasses or face shield | ANSI Z87.1 |
| Dust / Air Particulates | NIOSH-approved respirator (N95) | 1910.134 |
Cleaning Supplies
Your metal surface must be completely clean before polishing. Any dirt or grease will interfere with the process. You can use effective solvents like acetone or alcohol to degrease the surface. These are safer options than many harsh industrial chemicals. You will also need some cloths for cleaning. Keep soft terry cloths and microfibers handy to wipe down your workpiece before and after the polishing steps.
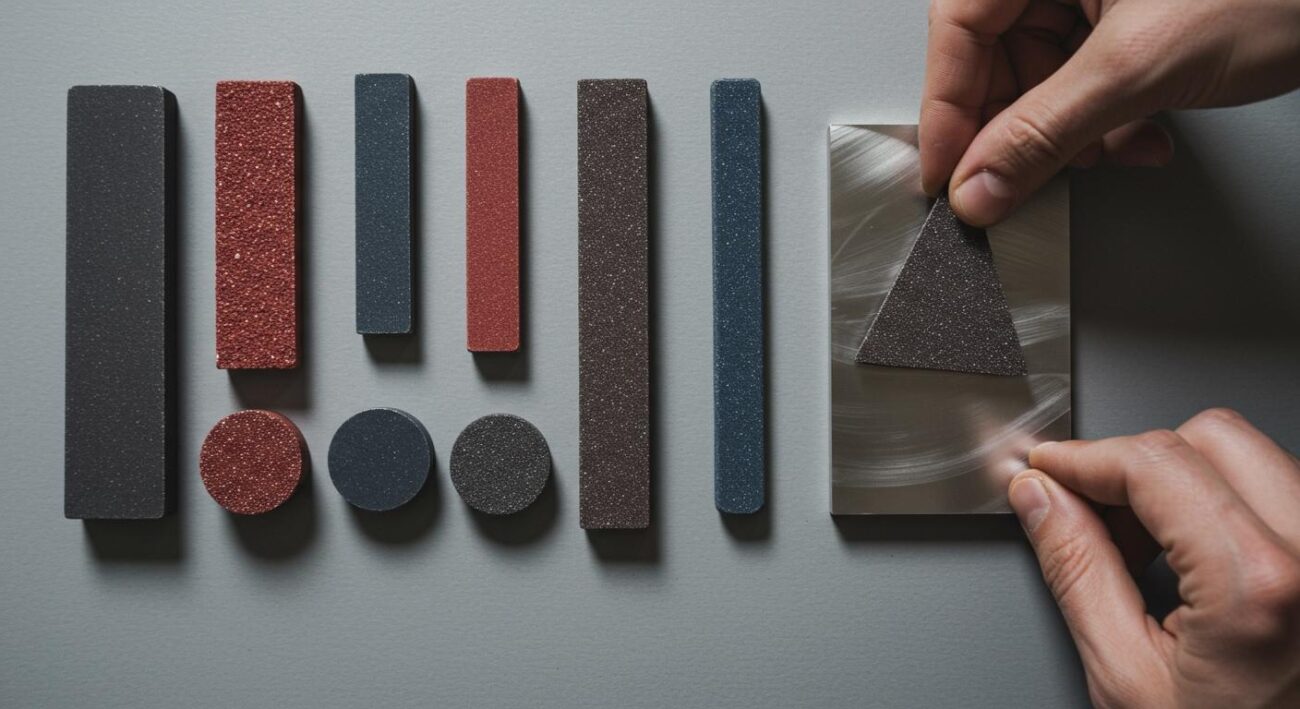
Choosing the Right Abrasive Sticks
Selecting the correct abrasive sticks is crucial for your project’s success. Your choice depends on two key factors: the type of metal you are working with and your current polishing stage. A coarse compound for cutting will not produce a final shine, and a finishing compound cannot remove deep scratches.
Compounds for Hard Metals
Hard metals like steel and iron require aggressive compounds for the initial cutting phase.
- Black Emery is a coarse compound perfect for removing deep scratches and heavy flaws.
- Greystar is a medium-grade compound that effectively removes scale and prepares the surface for further polishing.
After the initial cutting, you will switch to a finer compound for the final shine. Green Rouge is an excellent choice for achieving a mirror-like high-gloss finish on hard metals.
Compounds for Soft Metals
Soft metals like aluminum, brass, and copper need a gentler approach.
For removing light scratches and preparing the surface, you should use a Brown Tripoli compound. It is a fast-cutting compound designed specifically for softer materials.
For the final high-gloss polishing step, a White or Blue Rouge will give you a brilliant, clean finish without damaging the metal. This step is essential for achieving a professional look in your metal polishing project.
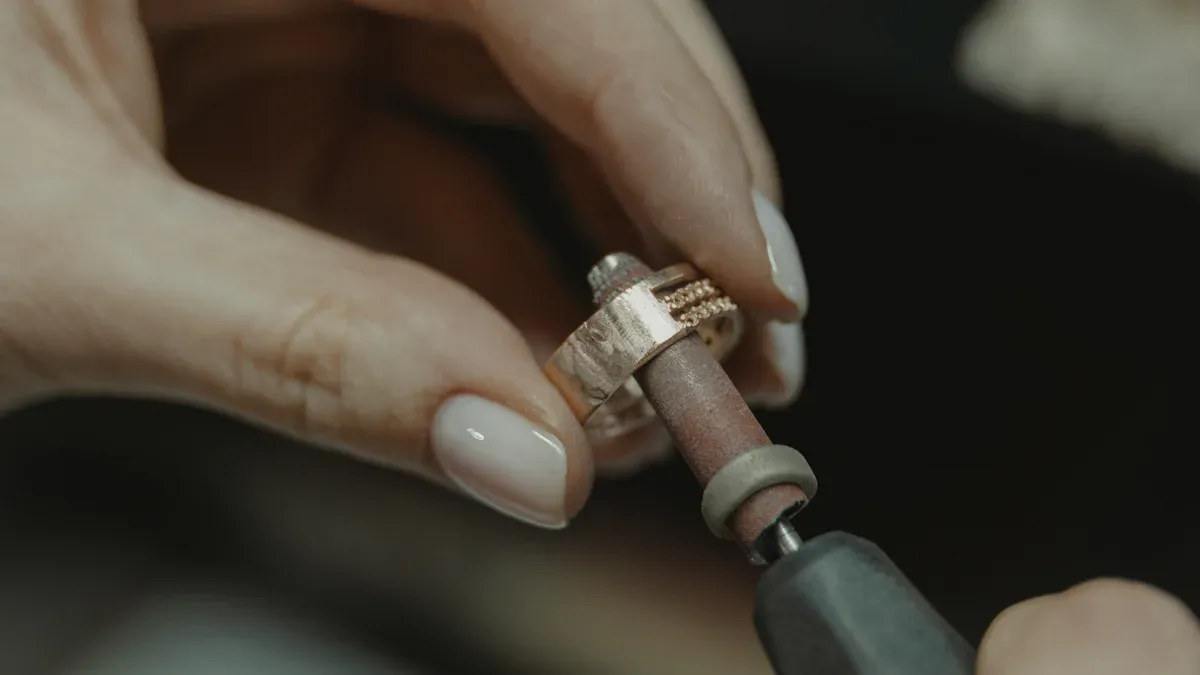
Compounds for Precious Metals
Polishing precious metals such as gold and silver requires special care. You need a very fine abrasive that will not scratch the soft surface.
- Red Jeweler’s Rouge is the classic choice. It contains a superfine abrasive that produces a brilliant, high-luster finish.
- Modern alternatives like Polinum or Blue Magic are also available, especially for polishing platinum.
Aimgrind Super Hard Abrasives
For the most demanding applications on hardened tool steels or superalloys, you need the highest level of performance. Aimgrind‘s super hard abrasives use diamond and Cubic Boron Nitride (CBN) to deliver unmatched results. These advanced tools are ideal for industries like aerospace and precision tool manufacturing. They offer a much longer service life and create a superior surface finish, making them a valuable investment for professional polishing tasks. A polishing compound stick with these materials ensures top-tier results.
5-Step Polishing Guide
With your tools and compounds ready, you can now begin the rewarding process of metal polishing. This five-step guide breaks down the technique into simple, manageable actions. Following these steps will help you achieve a professional finish safely and effectively.
Step 1: Prepare the Metal
A clean surface is the foundation of a great finish. You must remove all dirt, grease, and rust before you start polishing.
- Wipe the metal with a cloth and a solvent like acetone or alcohol to remove any oils.
- For heavy rust, you can use a rust-remover gel. Some people find that household vinegar also dissolves rust, but be aware it can be harsh on certain metals.
- If your metal has deep scratches, you will need to sand them out. Start with a coarse grit sandpaper, like 40 or 60 grit, for major flaws. Then, work your way up through finer grits. A good progression is 120, 220, 320, and finally a fine grit like 600 or higher to prepare the surface for polishing.
Step 2: Set Up the Wheel
Your safety and results depend on a secure setup. You need to correctly attach the buffing wheel to your power tool.
- Unplug your bench grinder or angle grinder.
- Select the correct buffing wheel for your first polishing step (usually a cutting wheel).
- Mount the wheel onto the tool’s arbor, making sure it is centered.
- Tighten the nut securely.
- Give the wheel a quick spin by hand to ensure it is balanced and does not wobble.
Safety Tip: Always stand to the side of the wheel when you first turn on the power tool, never directly in front of it.
Step 3: Apply Compound to Wheel
Now you will load the buffing wheel with an abrasive. This is a key step in the metal buffing process.
- Put on your safety glasses and respirator.
- Turn on your power tool and let the wheel get up to full speed.
- Gently press your polishing compound stick against the spinning wheel for just 2-3 seconds.
You only need a thin, even layer of compound on the wheel. Too much compound will be messy and ineffective. The goal is to transfer the abrasive from the stick to the wheel.
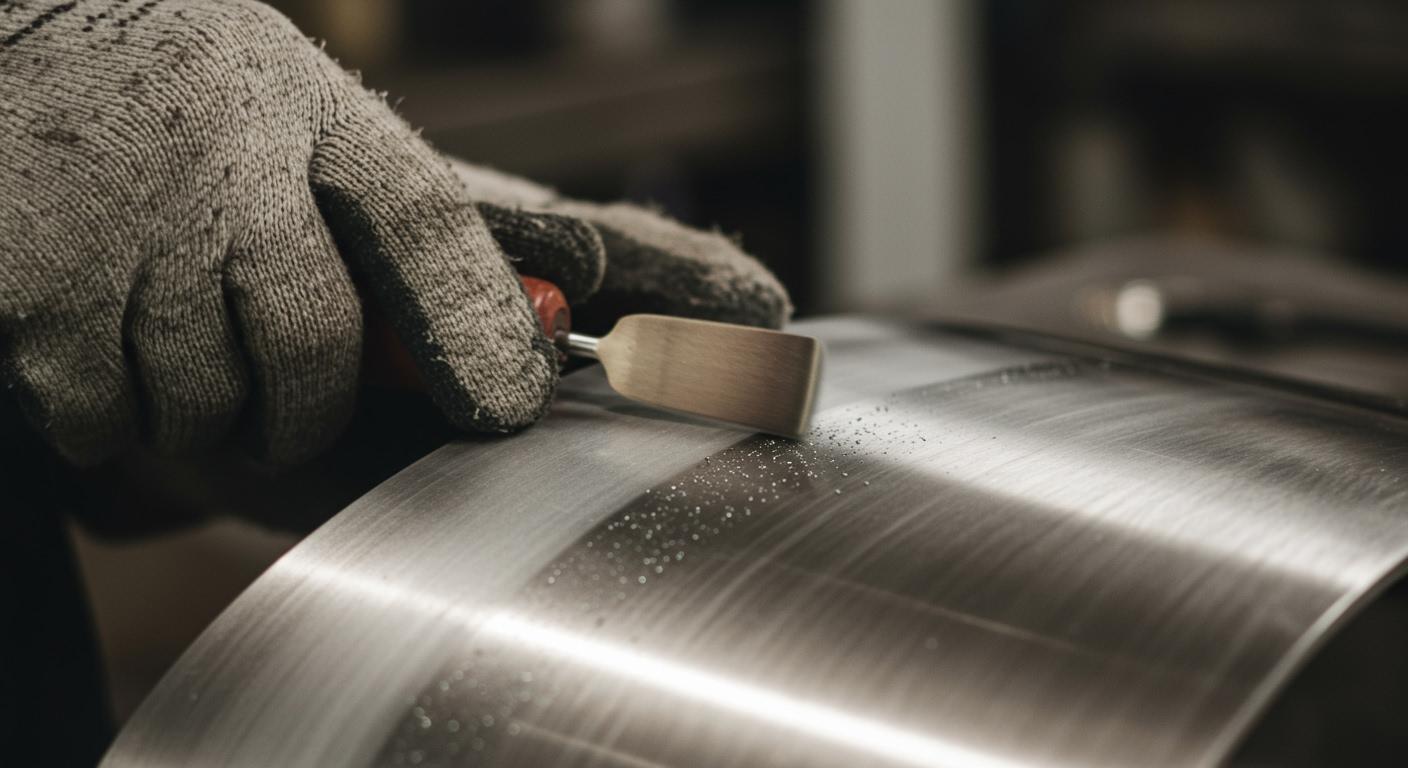
Step 4: Polish the Surface
You are now ready for the main event: the polishing.
- Hold your metal object firmly.
- Bring it into contact with the lower half of the spinning wheel.
- Apply moderate pressure. You should see the wheel flare out slightly where it touches the metal. This friction is what makes the polishing happen.
- Keep the object moving at all times to avoid creating hot spots or uneven areas.
- For the final polishing steps with a finishing rouge, use very light pressure to bring out a high-gloss shine.
You will need to reapply compound to the wheel periodically. You will know it is time when the polishing action decreases.
Step 5: Clean and Inspect
After you finish a polishing pass, you need to clean and inspect your work. This helps you see the true finish and decide on the next step.
- Wipe the metal piece with a clean, soft cloth to remove all compound residue. For stubborn residue, a mix of isopropyl alcohol and water (1:1 ratio) or a simple solution of hot water, clear ammonia, and a drop of dish soap works well.
- Examine the surface under a bright light. Look for any remaining fine scratches or swirl marks.
- If you see imperfections, you may need to repeat the process with a finer compound and a softer wheel. For example, if you started with a Black Emery compound, you would move to a Green Rouge for the final shine.
This careful inspection ensures you achieve the best possible result from your abrasive sticks and hard work.
You now have the knowledge for successful metal polishing. Following the 5-step polishing process ensures a professional, high-gloss finish. Remember the core technique for all polishing: apply compound to the wheel, then the wheel to the metal.
Expert Tip: Patience is crucial for quality polishing. You should avoid excessive pressure or aggressive grits to achieve the best polishing results and prevent costly mistakes.
Your dedication to the polishing craft will produce amazing outcomes. Grind with Passion, Achieve with Aim.
FAQ
How often do I apply compound to the wheel?
You should reapply the compound when you notice the polishing action has decreased. A fresh application every few minutes is common. You only need to press the stick to the spinning wheel for 2-3 seconds to reload it.
Can I use one buffing wheel for all compounds?
No, you should use a separate wheel for each type of compound. Using one wheel for different compounds will mix the grits. This cross-contamination prevents you from achieving a clean, mirror-like finish.
Pro Tip: Label your buffing wheels to remember which compound you used on each one. This simple step saves you from costly mistakes.
What speed should my grinder run at? ⚙️
Most polishing tasks work well between 1,750 and 3,600 RPM (Revolutions Per Minute). Slower speeds are generally safer and reduce heat buildup. Always check your power tool’s manual for recommended operating speeds for buffing and polishing.
Why isn’t my metal getting shiny?
Your metal might not shine for a few reasons. You may not have sanded out all the deep scratches first. You might also be using the wrong compound for the metal type. Ensure the surface is perfectly clean before you start.
See Also
Selecting the Optimal Metal Grinding Wheel for Your Specific Project Needs
Choosing the Perfect Grinding Wheel for Stainless Steel Applications
Mastering Safe and Effective Use of Your Dremel Grinding Wheel
Discovering the Ideal Grinding Wheel Dresser for Your Workshop
Picking the Best Bench Grinding Wheel Material for Your Requirements