To ensure excellent grinding wheel quality, you must follow specific steps. These include inspecting the wheel visually, performing tests, and evaluating the material and bond. Additionally, you need to check the hardness and overall performance of the wheel. It’s important to verify that the wheel meets industry standards, document the results, and store it properly. Each step plays a crucial role in preventing issues such as cracks, imbalance, or wheels that are either too hard or too soft. These problems can lead to poor surface finishes or pose safety hazards. Major safety organizations recommend frequent inspections and proper handling to maintain grinding wheel quality. This guide serves as your checklist to keep every grinding job safe and efficient.
Table: Common Causes of Grinding Wheel Failure
Cause Category
Specific Issues
Machine-Related
Vibration, spindle wear, coolant issues, misalignment
Wheel-Specific
Imbalance, glazing, incorrect hardness, contamination
Key Takeaways
-
Always look at grinding wheels before using them. Check for cracks, chips, or other damage to stay safe.
-
Use tests like dye penetrant, ultrasonic, and ring tests. These tests help find hidden cracks and balance problems.
-
Pick the right abrasive type, grit size, and bond for your job. This helps you get better results and makes the wheel last longer.
-
Test how hard the wheel is and do a trial run. This checks if the wheel works well and stops problems during grinding.
-
Follow safety rules, keep good records, and store wheels the right way. This keeps the wheels good and keeps workers safe.
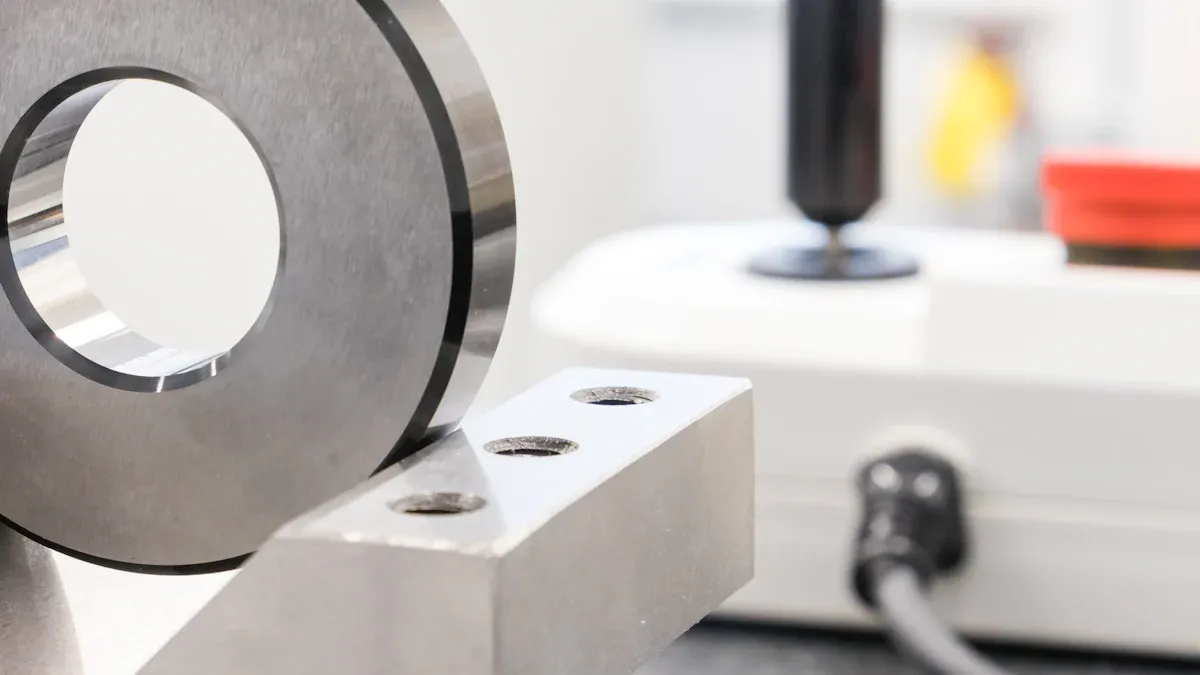
Grinding Wheel Quality Checks
Visual Quality Inspection
Start by looking closely at the grinding wheel. Check for cracks, chips, or other damage on the surface. Watch for uneven spots, strange colors, or things stuck in the wheel. These problems can make the wheel weak and easy to break. Look at the wheel’s markings to see who made it, its size, speed, and expiration date. These markings help you pick the right wheel and stay safe. If you see anything wrong, do not use the wheel. Checking with your eyes is the first step to keep everyone safe.
Tip: Use a bright light and a magnifying glass. This helps you see small cracks or chips you might miss.
Physical Tests
After looking at the wheel, do some tests to find hidden problems. Some cracks are hard to see. Use special tests that do not harm the wheel. These tests include:
-
Dye penetrant testing: Put a special dye on the wheel. The dye goes into cracks and shows up under certain lights.
-
Magnetic particle inspection: For some wheels, make them magnetic and sprinkle special particles. The particles gather where cracks are.
-
Ultrasonic testing: Send sound waves through the wheel. Cracks bounce the waves back, showing where they are.
-
Advanced methods: Some tests use lasers or listen for sounds to find cracks inside the wheel.
These tests follow strict rules like ASTM E1417 and ISO 3452. Using more than one test helps you find more problems. Good tests keep the grinding wheel quality high and keep people safe.
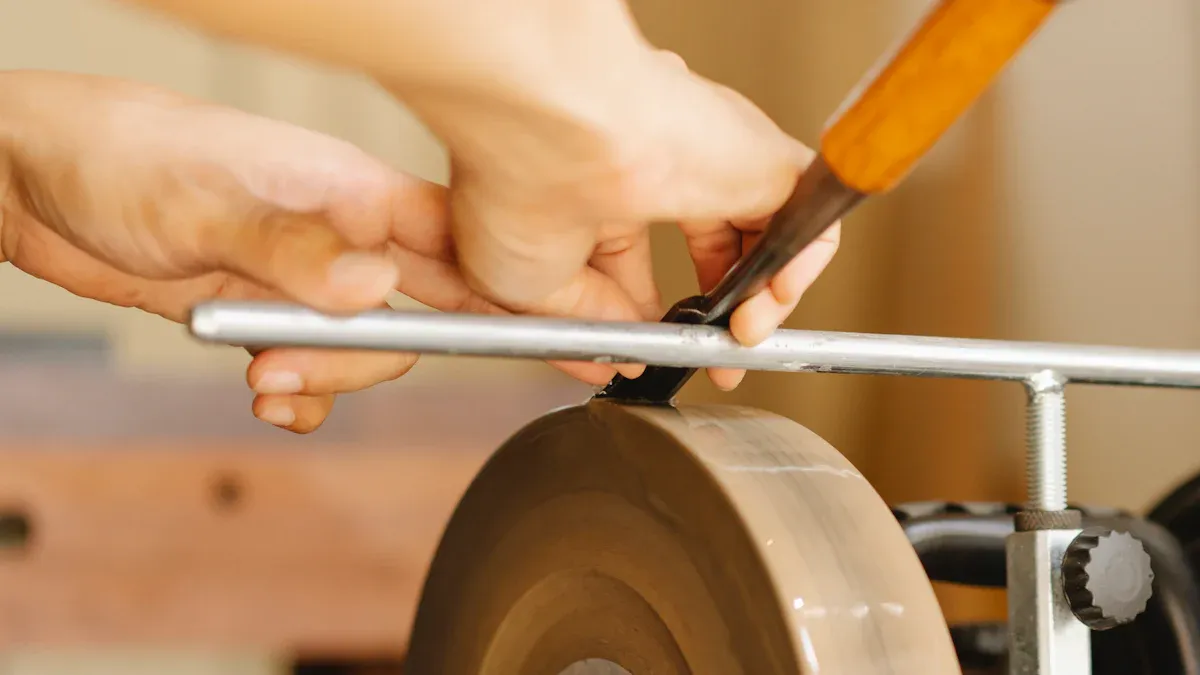
Balance & Ring Test
You also need to check if the wheel is balanced and strong. If the wheel is not balanced, it can shake and hurt the machine. Put the wheel on a balance tool and spin it. If it moves or wobbles, it is not balanced.
The ring test is a fast way to check for cracks. Hang the wheel and tap it gently with a soft tool. If it rings, the wheel is not cracked. If it sounds dull, there may be damage inside. The ring test is not as exact as some other tests, but it is quick and easy. You do not need special tools for it.
These checks are important for grinding wheel quality. They stop damage to your work and keep workers safe. Always do these steps to make sure grinding is safe and works well.
Material & Bond
Abrasive Type
You must pick the right abrasive type for your grinding wheel. The abrasive material changes how well the wheel cuts and how long it lasts. It also decides what things you can grind. Here are some common abrasive types and what they do:
|
Abrasive Type |
Characteristics |
Typical Applications |
|---|---|---|
|
Most common abrasive, versatile, used for carbon and alloy steels, wrought iron, bronze |
General grinding of carbon and alloy steels, metal fabrication |
|
|
Zirconia Alumina |
Durable mix of aluminum oxide and zirconium oxide, long-lasting, rough grinding |
Rough grinding and cut-off applications for steel and steel alloys |
|
Silicon Carbide |
Very sharp but brittle, works well on non-ferrous materials |
Grinding non-ferrous materials like rubber, stone, plastic, glass, cast iron, soft bronze, aluminum |
|
Ceramic Aluminum Oxide |
Controlled grain fracture for consistent sharpness, ideal for hard metals |
Precision grinding of hard metals and high-precision projects |
Aluminum oxide grits are good for many jobs. You can use them to grind metal, smooth wood, or take off rust. Zirconia alumina is strong and lasts longer, so it is good for rough grinding steel. Silicon carbide is sharp and works best for soft metals and non-metal things. Ceramic aluminum oxide stays sharp and is great for hard metals and careful work.
Tip: Pick the abrasive type that fits your workpiece. Hard abrasives like diamond or cubic boron nitride (CBN) are best for very hard things like hardened steel or ceramics. Softer abrasives are better for aluminum or wood so you do not damage them.
Abrasive wheels are used for many jobs:
-
Polishing surfaces to make them smooth
-
Honing tools to keep them sharp
-
Cutting off extra material from workpieces
-
Buffing to get rid of small marks
Choosing the right abrasive type helps you get better grinding wheel quality and makes your tools last longer.
Grit Size
Grit size tells you if the abrasive grains are big or small. This choice changes how much you can remove and how smooth the surface will be. Coarse grits take off more material but leave a rough surface. Fine grits make the surface smooth but work slower.

Here is a guide to grit sizes and what they do:
-
Coarse Grits (40-60): Use these to remove a lot of material from tough things like steel and aluminum.
-
Medium Grits (80-120): These are good for sanding and smoothing after using coarse grits.
-
Fine Grits (150-180): Pick these for the last sanding before finishing metal.
-
Very Fine Grits (220-240): Use these for polishing and fine finishing on metals.
-
Extra Fine Grits (320-400): These are best for very smooth finishes and polishing.
-
Super Fine Grits (500-600): Use these for super smooth finishes on wood and metal, even wet sanding.
Finer grits give you smoother surfaces with less roughness. Coarse grits help you remove material faster but leave it rougher. You should also think about the material, wheel speed, and how you grind. For example, aluminum oxide is best for steel, while silicon carbide is good for aluminum and soft metals.
Note: Always pick the grit size based on how smooth you want the finish. Keep your wheel in good shape and use coolant for the best results.
Bond Type
The bond holds the abrasive grains together in the grinding wheel. The bond type changes how hard, tough, and strong the wheel is. Here is a table showing the main bond types and what they do:
|
Bond Type |
Key Characteristics |
Influence on Grinding Wheel Performance |
|---|---|---|
|
Metal Bond |
High wear resistance, high thermal resistance, good form-holding |
Poor dressability, higher cost; suitable for endurance and shape retention; affects grinding forces and tool life |
|
Vitrified Bond |
Rigid, strong, porous |
Good cutting performance, coolant penetration, dressability; ideal for ferrous materials; improves grinding speed and heat removal |
|
Resin Bond |
Cool cutting, low process forces, self-sharpening; includes phenolic, polyimide, epoxy types |
Versatile for rough to finishing grinding; phenolic common for rough cuts; polyimide offers higher thermal resistance and form holding; epoxy used for fine finishing; bond additives improve strength and thermal conductivity |
|
Hybrid Bond |
Combines resin and vitrified advantages |
Faster material removal, higher thermal stability, reduced cycle times, lower spindle loads |
|
Electroplated |
Abrasive grains attached with strong nickel coating |
Strong abrasive retention, excellent profile holding; suitable for intricate profile grinding and hard materials |
|
Vacuum-brazed |
Abrasive grains brazed to wheel core |
Strong abrasive retention and form holding; used for hard materials |
Resin bonds are used the most. They cut cool and sharpen themselves, but need coolant to last longer. Metal bonds last longer and handle heat well, so they are good for hard materials and big jobs. Vitrified bonds are strong and let coolant flow through, keeping the wheel cool. Hybrid bonds mix the best parts of resin and vitrified bonds, so you get both toughness and sharpness.
Tip: For big jobs, pick a bond that matches your needs for strength and heat control. Metal and vitrified bonds last a long time and stay stable. Resin bonds are cheaper and good for careful work.
The right bond type helps you keep grinding wheel quality high, work better, and have less downtime.
Hardness & Performance
Hardness Test
You have to check the hardness before using the grinding wheel. Hardness means how tightly the bond holds the grains. There are a few ways to test this in factories:
-
Mechanical cone method
-
Rockwell hardness tester (most used)
-
Sandblast hardness tester
The Rockwell hardness tester presses a diamond cone or steel ball into the wheel. The deeper the mark, the softer the wheel is. Always be gentle with the wheel when testing so you do not make mistakes. Hardness changes how much you can grind and how fast the wheel wears out. If the wheel is too hard, it will not let go of old grains. This makes it grind slower. If it is too soft, it will wear down too fast. You need to pick the right hardness for your job.
Density & Structure
Density and structure are important for how well the grinding wheel works. Porosity means the wheel has tiny holes. These holes help coolant move and let chips get out. This keeps the wheel cool and stops it from getting clogged. Wheels with more holes stay cooler and last longer. They also make the surface look better. If you want a smooth finish, use a wheel with a lot of grains packed close together. This makes the wheel more stable and gives a finer finish. Wheels with open spaces are good for removing lots of material or for jobs that get hot. But they are not as exact.
Trial Run
Always do a trial run before you start grinding. This helps you find problems early. Watch for shaking, loud sounds, and how much power the machine uses. Check these things:
|
Performance Indicator |
What to Monitor |
Why It Matters |
|---|---|---|
|
Spins smoothly |
Stops shaking and rough finishes |
|
|
Mounting |
Set up right |
Keeps the wheel safe and undamaged |
|
Spindle Runout |
Little wobble |
Makes grinding safe and accurate |
|
Dressing |
How sharp and how often |
Keeps the wheel cutting well |
|
Vibration |
Not much shaking |
Shows the wheel and machine are healthy |
|
Power Use |
Normal amount |
Means the wheel is sharp and not working too hard |
|
Coolant Flow |
Steady and cool |
Stops the wheel from getting too hot |
Some problems you might see are uneven wear, trouble making tight fits, and burn marks. By checking these things, you keep grinding safe and working well.
Compliance & Handling
Standards Review
You have to follow safety standards to keep workers safe and keep grinding wheel quality high. There are rules from groups around the world and in the U.S. These rules help you use grinding wheels safely:
-
ANSI B11.9 tells you how to use grinding machines and wheels safely.
-
ANSI B11.19 explains how to guard machines and use them the right way.
-
ISO 12100 gives basic safety ideas and ways to lower risks with machines.
-
ISO 13849 series talks about safety systems that control machines.
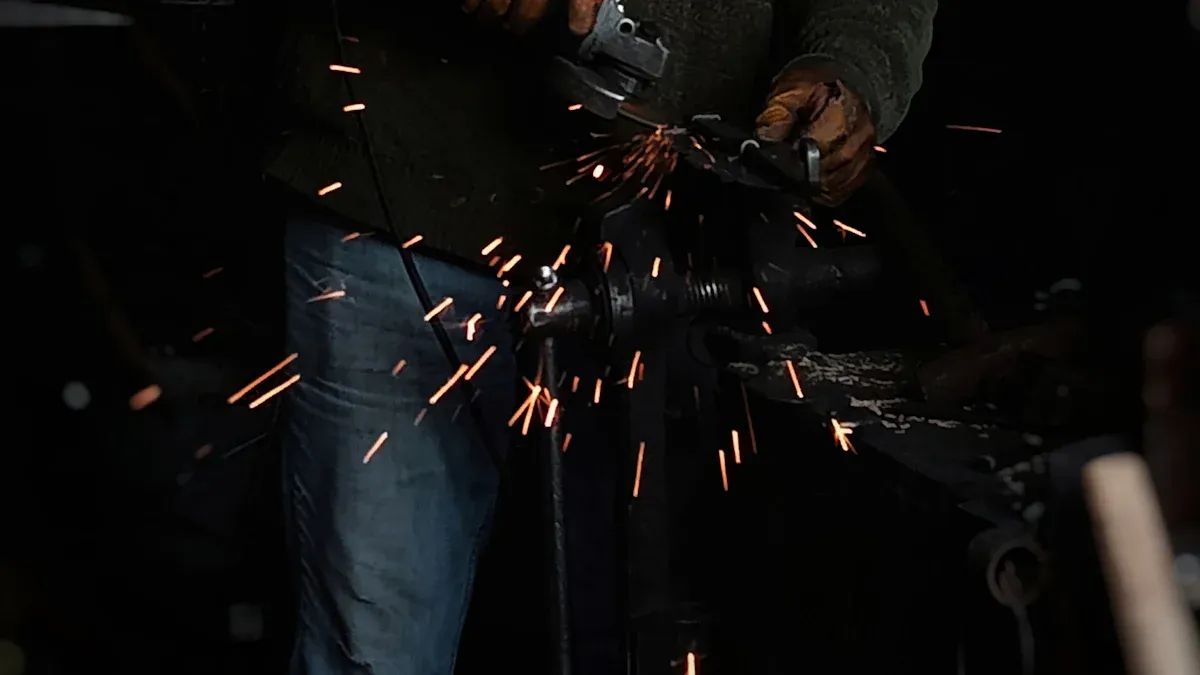
If you do not follow these rules, bad things can happen. Wheels can break and hurt people. This can cause injuries, blindness, or even death. OSHA says you must test wheels before putting them on machines. You also need to use guards and wear face shields. Stand to the side when you start the machine for the first minute. If you do not do these things, you could get in trouble with the law. People could also get hurt forever.
Note: Always look at the newest rules and what your wheel maker says before you use any grinding wheel.
Documentation
You should keep good records to show your wheels are safe and meet the rules. Keeping records helps you know where each wheel came from and how it was made. Here is what you should save:
-
Quality Certificates: These prove the wheel meets the right standards.
-
Traceability Records: These show the batch number and where the materials came from.
These records help you make sure your grinding wheels are safe and work well. If something goes wrong, you can find out why more easily.
Storage & Dressing
Storing your wheels the right way keeps them safe and ready to use. Put wheels in racks or special spots by type. Hold them up on their edges or use supports in the middle. The storage place should be dry, cool, and clean. Do not stack wheels in a messy way or let them touch chemicals. Write down the date you got each wheel and use the oldest ones first. If a wheel sits for over three years, ask the maker before you use it.
If you store wheels the wrong way, they can get weak. They might bend or break. This makes accidents more likely and the wheels will not last as long. Dressing your wheels is important too. Dressing takes off dull grains and fixes the wheel’s shape. This helps the wheel cut better, stay balanced, and last longer. You get smoother finishes and lower the chance of burning your work.
Tip: Dress your wheels often so they work well and stay safe.
You keep grinding wheel quality high by doing every inspection step. Checking often helps you stop mistakes, bad finishes, and wasted time.
-
Look at wheels for cracks and make sure they are balanced.
-
Check what abrasive type, grit size, and bond the wheel has.
-
Test how hard the wheel is and try it out before using.
-
Write down what you find and follow all safety rules.
If you check your wheels often and keep good records, you can get more work done and save money. You might make your shop almost half more productive and spend much less. Make these checks part of your routine to keep everyone safe and working well.
FAQ
How often should you inspect a grinding wheel?
You should inspect every grinding wheel before each use. Regular checks help you spot cracks, chips, or other damage early. This keeps your work safe and your results consistent.
What is the ring test, and why is it important?
The ring test helps you find hidden cracks. Tap the wheel gently and listen for a clear, metallic ring. A dull sound means the wheel may have damage. This quick test prevents accidents.
Can you use a wheel past its expiration date?
Note: Never use a wheel after its expiration date. Old wheels can weaken and break during use. Always check the date before mounting a wheel.
Why do you need to dress a grinding wheel?
Dressing removes dull grains and restores the wheel’s shape. You keep the wheel sharp and balanced. This step improves cutting performance and extends wheel life.
What records should you keep for grinding wheel inspections?
-
Quality certificates
-
Batch numbers
-
Inspection dates
-
Storage conditions
These records help you track wheel safety and meet industry standards.